
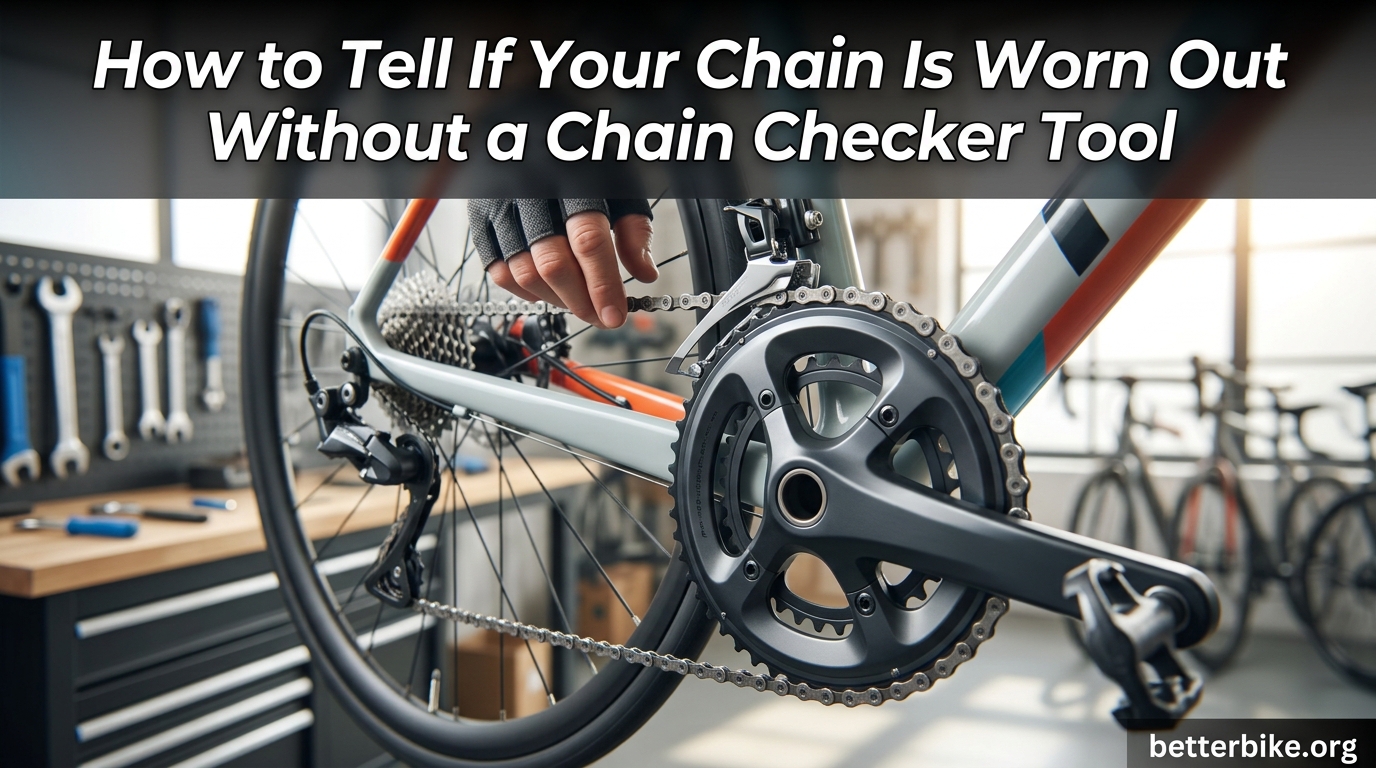
If you’ve ever wondered whether your bike chain needs replacing but don’t own a chain checker tool, you’re not alone. Most home mechanics don’t keep specialty gauges in their toolbox, and the good news is you don’t need one. I’ll show you three field-tested methods our team has used on hundreds of bikes to spot chain wear using nothing but your hands, a 12-inch ruler, and a new quicklink.
By the end of this guide, you’ll know exactly how to tell if your chain is worn out without a chain checker tool, what the magic 0.5%, 0.75%, and 1% numbers mean, and when a worn chain will start damaging your cassette and chainrings. These methods are the same ones our mechanics use during a quick tune-up, and they work on road, gravel, and mountain bikes. For related bike maintenance basics, our locking guide covers drivetrain care alongside security.
Table of Contents
What chain wear actually is (and why it matters)
Chain wear is what cyclists call “stretch,” even though the metal itself doesn’t actually stretch. What happens is the small pins and rollers inside each chain link slowly wear down with every pedal stroke. As those contact surfaces erode, the pitch (the distance between pin centers) gradually increases. A brand-new chain has a half-inch (12.7mm) pitch. A worn chain can measure 12.8mm or more per link, which adds up to a noticeable gap across 12 inches.
Why does this matter? Because your cassette and chainrings are cut to match a new chain’s pitch. When you ride a stretched chain, its longer links mesh incorrectly with the teeth on your cogs. The chain rides up the tooth profile and slowly “shark-fins” the metal, ruining expensive drivetrain parts. A chain costs far less than a cassette, and a cassette costs far less than a crankset. Catching wear early is the cheapest thing you can do for your bike.
Method 1: The lift test (visual inspection, zero tools)
The lift test is the fastest no-tool method for checking chain wear. It’s the one most home mechanics reach for first, and it works whether you’re in the garage, on a trail, or about to leave for a ride.
Step 1: Shift to the gear that puts the most tension on the chain
Shift your bike into the smallest cog in the back and the largest chainring up front. This is the “crossed” gear combination that puts the chain under maximum tension with the least amount of slack. If you ride a 1x drivetrain, just shift to your smallest cog in back.
Step 2: Pull the chain away from the front chainring
Stand on the right side of the bike, grasp the bottom of the chain where it runs across the chainring, and pull it straight out, away from the bike, with your thumb and forefinger. Don’t pull hard. You’re not trying to rip the chain off, just trying to see how much daylight shows between the chain and the teeth of the chainring.
Step 3: Read the gap
On a new chain, you’ll see almost no gap. The chain sits snug against the chainring teeth, with maybe a millimeter of play. On a worn chain, you can pull the chain out so far that you can see daylight, and sometimes even slip a fingernail or a thin object into the gap. If the chain lifts a quarter inch or more off the chainring, it’s well past 1% wear and needs replacement right away. A smaller but visible gap (a few millimeters) means it’s time to start shopping for a new chain.
This method is qualitative, not exact, but it’s how most of us diagnose chain wear on the fly. Riders on the r/bikewrench subreddit often call it the “eyeball test,” and they rate it as reliable for catching chains that are clearly past due.
Method 2: The 12-inch ruler measurement
When you want a more precise answer, the ruler method is the gold standard for no-tool chain inspection. A new chain measures exactly 12 inches (304.8mm) across 12 full links, pin to pin. As the chain stretches, that 12 inches becomes 12 1/16 inches, 12 1/8 inches, and beyond. The amount of deviation tells you exactly how worn the chain is.
Step 1: Get a ruler with 1/16-inch markings
You need a standard ruler, the kind you’d find in any school supply drawer. Make sure it has 1/16-inch (1.6mm) gradations, not just 1/8-inch. A tape measure works too, but a stiff ruler is easier to align with the chain pins.
Step 2: Align the zero mark with the center of a pin
Lay the chain on a flat surface, or measure it on the bike with the chain relaxed. Line up the zero mark of the ruler precisely with the center of any chain pin. The chain needs to be taut, not sagging, so you get an accurate reading.
Step 3: Count 12 complete links (24 pins) and read the measurement
Count out 12 full links, which is 24 pins total (each link has an inner and outer pin). The pin 12 links away from your starting pin should land exactly on the 12-inch mark if the chain is new. Read where it actually falls. Each 1/16 inch of deviation past 12 inches equals roughly 0.5% wear. So if your chain measures 12 1/16 inches, you’re at about 0.5% wear. At 12 1/8 inches, you’re at 1% wear, which is well past the safe limit for most drivetrains.
For a chainring inspection that pairs with this, our guide to cleaning your chain properly walks through how dirty grime accelerates wear. A clean chain stretches more slowly.
For the most accurate reading, take the measurement with the chain off the bike, laid flat on a table, and apply light tension by hand. A slack chain on the bike can give a falsely short reading because the chain sags between the cogs.
Method 3: Quicklink comparison method
This is the trick our mechanics use when they want a quick visual answer without pulling out a ruler. It’s a comparison method that’s been gaining traction in mountain biking forums for being surprisingly reliable.
Step 1: Get a new quicklink or a known-good chain segment
If you’ve recently replaced a chain, keep an old-but-not-worn quicklink or a small section of new chain in your toolbox. A brand-new quicklink from the same brand and speed class as your chain is perfect for comparison.
Step 2: Hold the new link next to the worn chain
Pick a worn section of your chain (the upper span between the chainring and cassette is usually easy to access) and hold the new quicklink right next to it. Make sure the chain is in tension so the pins are visible. Look at the gap between the inner link plates of the new quicklink versus the gap on your worn chain. If the worn chain’s link plates are visibly farther apart, even by a small amount, you have measurable stretch.
Step 3: Estimate the wear percentage
Since a new quicklink is exactly 0% wear and the new chain’s pitch is 12.7mm per link, you can roughly estimate wear by how much the worn link’s gap exceeds the new one. A gap that’s 0.1mm wider is roughly 0.75% wear, the threshold for 11 and 12-speed drivetrains. Anything visibly wider than the new quicklink means your chain is at or past its safe limit.
MTB community members on r/MTB report this method as more reliable than the lift test because it gives you a direct side-by-side comparison rather than a gut feeling. The accuracy is around plus or minus 0.25% in the hands of an experienced rider, which is good enough to make a replacement decision.
Understanding wear thresholds: 0.5%, 0.75%, and 1%
You can’t inspect chain wear without running into these three numbers. They refer to the percentage by which the chain has stretched past its original length, and they correspond to different replacement recommendations based on your drivetrain. Park Tool publishes the most widely used table, and the thresholds below reflect industry consensus.
| Drivetrain Type | Replace at 0.5% | Replace at 0.75% | Replace at 1.0% |
|---|---|---|---|
| 11-speed and 12-speed | Yes | Too late | Damaged |
| 10-speed | Optional | Yes | Too late |
| 9-speed and older | Optional | Optional | Yes |
| Single-speed | Not needed | Optional | Yes |
The pattern is clear: more gears means a tighter replacement window. Modern 11 and 12-speed cassettes have thinner, more closely spaced teeth that wear out faster under a stretched chain. By the time your chain reaches 0.75% wear, it’s already started to damage the cassette, and you’ll need to replace both. Catching the chain at 0.5% means you can swap just the chain and save your cassette. Our essential bike tools for maintenance guide covers which replacement tools you’ll want on hand for the swap.
For older 9-speed and single-speed bikes, the cassette teeth are thicker and more forgiving. A chain can run to 1% wear without destroying the drivetrain, though shifting will get noticeably worse long before then.
Symptoms of a worn chain while riding
Sometimes the bike tells you the chain is worn before you even pick up a ruler. These riding symptoms are warning signs that should send you straight to inspection mode.
Chain skipping under load
If the chain skips or jumps when you stand up to pedal or climb a hill, that’s almost always a stretched chain. The chain’s longer pitch can’t stay engaged with the worn cassette teeth under high torque, so it slips. Skipping under load is dangerous, especially on a climb, and is the single most common symptom of an over-stretched chain.
Chain suck
Chain suck is when the chain fails to release cleanly from the chainring and gets pulled up into the bottom of the chainring, jamming there. It’s caused by worn chainring teeth combined with a stretched chain. If you’ve ever had to stop mid-ride to yank your chain free from between the chainring and frame, that’s chain suck, and it’s a strong indicator that both the chain and possibly the chainring are past their service life.
Slow or hesitant shifting
Worn chains cause shifts to feel mushy, slow, or hesitant. The derailleur has to move farther to compensate for the extra chain length, so the shift feels delayed. If you’ve adjusted your cable tension recently and the shifting is still off, suspect the chain.
Visible chain sag when you push the pedals backward
Turn the bike upside down or lift the rear wheel and slowly turn the cranks backward. Watch the chain as it moves across the cassette. If it bounces or sags visibly between cogs, the chain is stretched. A new chain runs smooth and tight across the cassette like a conveyor belt.
What happens if you keep riding on a worn chain
Once a chain is past 1% wear, every pedal stroke is grinding metal off your cassette and chainrings. The chain’s longer pins and rollers ride up the tooth profile of the cogs and shave the leading edge into a hook shape. A tooth shaped like a wave or a shark’s fin can’t hold the chain under load, which is why skipping happens.
Replacing a chain costs a fraction of replacing a cassette. A new chain and cassette together cost several times more than a chain alone. If you let it go long enough, a worn chain will also damage the chainrings, and replacing those can cost as much as a brand-new crankset. Our team has seen riders come in needing a full drivetrain replacement (chain, cassette, and chainrings) when they could have gotten away with a $20 chain swap by catching the wear 1,000 miles earlier.
For riders doing bike chain care on long rides, the stakes are even higher. A chain that fails mid-trip can leave you stranded far from a bike shop, especially in remote areas. Inspect your chain before any multi-day ride.
How often to check your chain
A good rule of thumb is to check chain wear every 500 to 1,000 miles, depending on conditions. Riding in wet, muddy, or salty environments accelerates wear, so check more often if you train in winter or ride in dusty climates. A new chain can stretch to 0.5% in as little as 1,000 miles for a heavy rider or 3,000 miles for a lighter rider on clean roads. The lift test takes 30 seconds and should be part of your regular pre-ride check, alongside tire pressure and brake feel.
If you’ve been riding for years and never checked your chain, do it today. Most riders we work with are surprised at how stretched their chain is once they measure it for the first time. The earlier you catch it, the more you save on drivetrain parts.
FAQ’S
Can I check chain wear without a tool?
Yes, you can check chain wear without a tool using the lift test. Shift to the smallest cog and largest chainring, then pull the chain away from the chainring. If you can see a visible gap of more than a few millimeters between the chain and chainring teeth, the chain is stretched. For a more accurate reading, use a 12-inch ruler and measure across 12 complete links.
What can I use instead of a chain tool?
The three best chain tool alternatives are the lift test (visual inspection of chain-to-chainring gap), the 12-inch ruler method (measuring 12 full links for deviation past 304.8mm), and the quicklink comparison method (holding a new quicklink next to your worn chain for a side-by-side visual). A digital caliper also works for very precise measurements.
How accurate is the 12-inch ruler method?
The 12-inch ruler method is accurate to within about 0.1% to 0.2% when measured carefully with a quality ruler. Make sure the chain is taut, count exactly 12 full links (24 pins), and read the deviation at the center of the destination pin. Many home mechanics rely on the ruler method as their primary inspection method, and it is the standard referenced by Park Tool and other industry authorities.
Is 0.75 chain wear bad?
0.75% chain wear is past the safe replacement threshold for 11-speed and 12-speed drivetrains, which should be replaced at 0.5%. For 10-speed drivetrains, 0.75% is the recommended replacement point. For 9-speed and single-speed setups, 0.75% is acceptable but you should plan to replace the chain soon. If your chain is at 0.75%, inspect your cassette for shark-tooth wear as well.
How much chain stretch is acceptable?
Acceptable chain stretch depends on drivetrain speed class. 11 and 12-speed chains should be replaced at 0.5% stretch. 10-speed chains should be replaced at 0.75% stretch. 9-speed and single-speed chains can run up to 1.0% stretch. Beyond 1.0%, all drivetrains are at risk of accelerated cassette and chainring wear, and the chain should be replaced immediately.
What are the symptoms of a stretched bike chain?
The most common symptoms of a stretched bike chain are skipping under load (especially when climbing), chain suck (the chain fails to release from the chainring), slow or hesitant shifting, visible chain sag when turning the pedals backward, and increased drivetrain noise. Any of these symptoms warrant an immediate chain inspection using the methods described above.
The bottom line on how to tell if your chain is worn out without a chain checker tool
You don’t need a specialty gauge to know if your chain is worn out. The lift test catches the obvious cases in under a minute, the 12-inch ruler method gives you a precise percentage reading using a household tool, and the quicklink comparison trick gives you a quick visual answer on the trail. Pick whichever method fits the situation. Use the lift test before every ride, the ruler method once a month, and the quicklink comparison as a sanity check when you’re not sure what you’re seeing.
Catching chain wear early is the single cheapest maintenance task on your bike. A 20-minute chain swap every few months protects a drivetrain that costs hundreds to replace, and it keeps your shifting crisp and your rides safe. Pull out a ruler today, check your chain, and ride with confidence.