
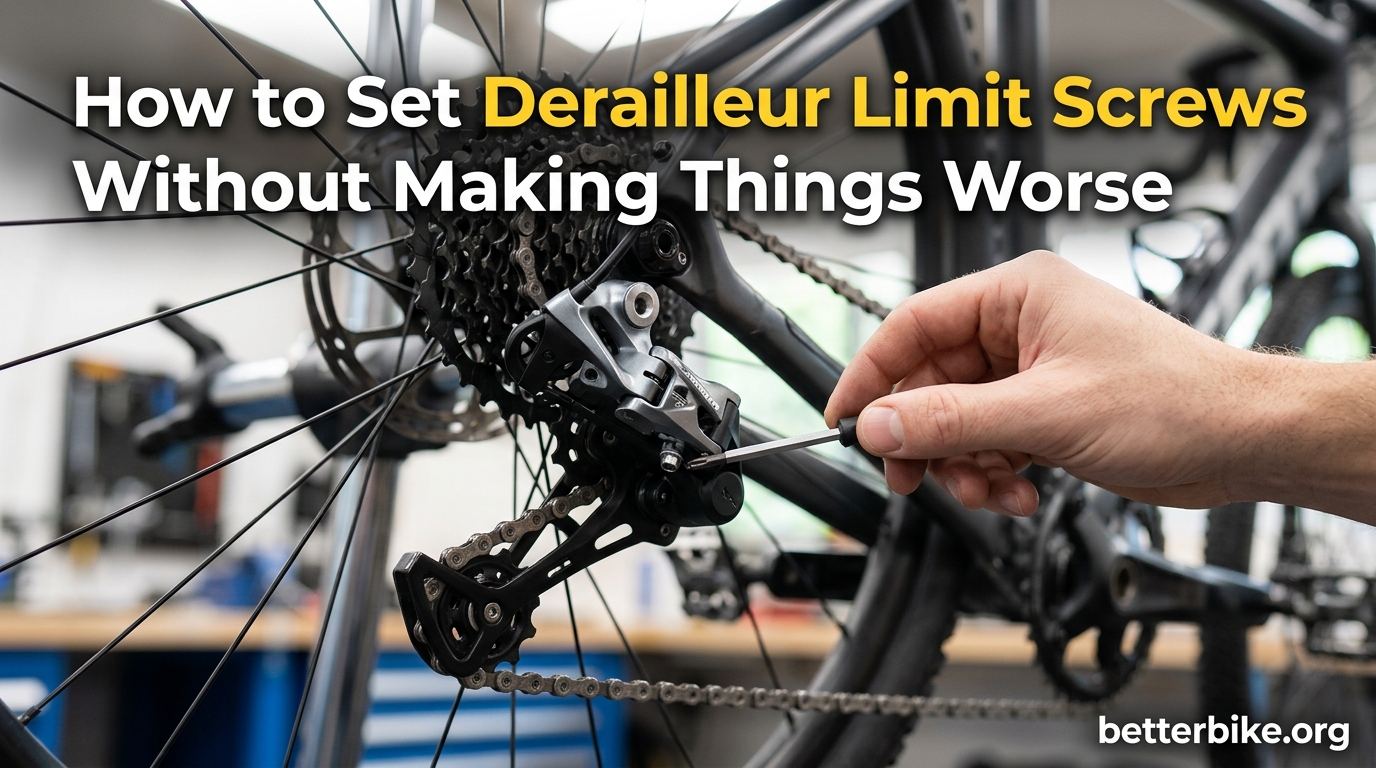
I have spent more Saturday afternoons than I care to admit hunched over a friend’s bike, turning little screws by fractions of a turn and praying the chain would not launch itself into the rear wheel. If you are reading this, you probably feel the same low-grade anxiety I used to feel before every adjustment.
Learning how to set derailleur limit screws without making things worse is mostly about understanding what each screw actually does, then changing one thing at a time and watching the result. In this guide I will walk you through the process the way I wish someone had walked me through it years ago, including the mistakes that bend hangers and the signs that tell you to stop and walk away.
By the end you will know which screw is which, how to set both ends of the derailleur’s travel without overthinking it, and when to leave well enough alone and let a shop handle the rest.
Table of Contents
What derailleur limit screws actually do
Derailleur limit screws are small adjustment screws on the back of your rear derailleur body that set the maximum range the derailleur can travel. They physically stop the derailleur from moving too far inward (toward the spokes) or too far outward (past the smallest cog). They do not change shifting feel across the middle of the cassette. They only set the endpoints.
There are two of them and they each do one job.
- H screw (high limit): Stops the derailleur from moving past the smallest cog. Turning it clockwise restricts travel inward. Turning it counter-clockwise allows more inward travel.
- L screw (low limit): Stops the derailleur from overshooting into the spokes on the largest cog. Turning it clockwise restricts travel outward. Turning it counter-clockwise allows more outward travel.
Think of the H and L screws as physical bumpers. They are not responsible for crisp shifting between gears. That job belongs to cable tension, which you set later with the barrel adjuster. Many beginners wreck their shifting by turning the wrong screw when the real problem is cable tension, so remember this rule: if the chain misbehaves in the middle of the cassette, suspect cable tension. If the chain misbehaves at the very ends, suspect the limit screws.
Properly set limit screws protect your wheel from being chewed up by a chain that escapes into the spokes, and they prevent the derailleur from jamming sideways against the smallest cog. They are also the first things to check whenever shifting feels off after a cable change, a crash, or a long winter of riding. In my experience, more than half of “my bike will not shift” complaints at the trailhead come down to a single limit screw that drifted out of position.
On most rear derailleurs, the H and L screws sit right next to each other on the derailleur body. They are usually labeled with tiny letters stamped into the metal. If you cannot see the letters, use a flashlight or take a phone photo and zoom in. On older Shimano derailleurs, the screws sometimes have no label at all, and you have to identify them by position. The H screw is the one closer to the top of the derailleur body and the L screw is closer to the bottom. Getting them swapped is one of the most common setup errors, and it is easy to do when you are tired and squinting.
Before you touch anything: tools, hanger check, and setup
Half of the “limit screws are impossible to set” problems I have seen come from riders skipping the setup. Before turning a single screw, make sure your foundation is solid. The fifteen minutes you spend on setup will save you an hour of frustration later.
You will need a 2mm hex key for the limit screws on most modern rear derailleurs, a Phillips or flathead screwdriver (depending on the brand), a clean rag, and a way to lift the rear wheel off the ground. A work stand helps a lot. If you do not have one, flip the bike upside down resting on the saddle and handlebars. A piece of cardboard on the ground protects the grips and saddle from scratches.
It is also worth having a flashlight or your phone’s flashlight ready. The screws are small, the markings are smaller, and good light turns a guessing game into a straightforward adjustment. Keep a marker or piece of tape nearby too, so you can mark the original screw position before turning anything. That way you always have a reference point to return to if you go the wrong direction.
Now check three things in this order.
- Confirm the derailleur hanger is straight. Look at the hanger from behind the bike. The two pulley wheels should line up directly under the cogs. If the hanger is bent even a few degrees, no amount of limit screw adjustment will give you clean shifting. Bent hangers are the number one cause of “I adjusted the limit screws and it is still wrong” frustration. Most bike shops have a hanger alignment tool and will straighten it for a small fee.
- Make sure the wheel is fully seated in the dropouts. A wheel that has shifted a few millimeters to one side will make every limit screw adjustment feel off. Loosen the quick release or thru-axle, push the wheel down and back until it bottoms out, then re-tighten.
- Shift to the smallest cog before you start. Click the shifter until the chain is on the smallest rear cog. This is the gear in which you will set the H screw.
If you are heading out on a long ride and want to know what to pack for these adjustments, our guide on essential tools for derailleur adjustment walks through a complete repair kit. The good news is that limit screws only need a small hex key, so roadside adjustment is genuinely possible. Most multi-tools even include a 2mm or 2.5mm hex bit that works for limit screws on Shimano, SRAM, and Campagnolo derailleurs.
How to set derailleur limit screws: the H (high gear) screw
The H screw controls how far the derailleur can travel toward the smallest cog. Setting it wrong in one direction gives you a chain that rubs or falls off the smallest cog. Setting it wrong in the other direction sends the chain into the frame or even past the cassette entirely. Here is the safe sequence.
- Shift to the smallest cog with the cable fully released (turn the barrel adjuster all the way out, then back in one full turn).
- Look at the upper jockey wheel (the top pulley) and line it up directly under the smallest cog. Stand behind the bike and squint along the chain line.
- Turn the H screw a quarter turn at a time. Clockwise moves the derailleur outward (away from the spokes). Counter-clockwise moves it inward (toward the spokes).
- Keep adjusting until the upper pulley sits exactly in line with the smallest cog. Not past it, not short of it.
- Now pedal forward and listen. The chain should run silently on the smallest cog. If you hear rubbing, the derailleur is slightly outboard and needs the H screw turned clockwise a hair. If the chain hesitates to shift down to the next gear, the H screw is set too far inboard.
Two safety notes specific to the H screw. First, never loosen the H screw more than a few turns at a time without re-checking the cable. A completely slack cable plus a fully unscrewed H screw will let the derailleur wander. Second, on older Shimano and SRAM derailleurs, the H and L screws are not labeled. They live next to each other on the back of the derailleur body, and the H screw is usually the one closer to the top of the derailleur. If your bike is used and the previous owner has fiddled with them, take a phone picture before turning anything so you have a reference point to return to.
After setting the H screw, do a quick reality check. With the chain on the smallest cog, try to push the derailleur further outward with your thumb. It should not move. If it does, tighten the H screw another quarter turn. Then shift down one gear. The chain should drop cleanly to the next cog with no hesitation and no noise. If it hesitates, the H screw is slightly too tight and is pulling the derailleur inboard when it should be free to move. Back the H screw off a quarter turn and try again.
Setting the L-limit (low gear) screw the right way
The L screw is the more dangerous of the two to mis-adjust because it controls the path the chain takes past the largest cog. Set it too loose and the chain will overshoot into the spokes, which is the most expensive mistake in this whole guide. A chain in the spokes can crack a rear rim, destroy a cassette, and bend a hanger in a single pedal stroke. I have personally seen a friend ruin a carbon rim this way, and the replacement cost him more than the rest of the bike.
This is why I always recommend setting the L screw with the chain on the largest cog but with the wheel spinning slowly and your hand near the brake to stop it if anything goes wrong. A spare hand on the frame works too.
- Shift up the cassette to the largest cog. Click through every gear until the derailleur stops moving further outboard.
- Pedal slowly and watch the upper pulley. It should sit directly under the largest cog, with the chain running straight and not catching on the next cog outboard.
- Turn the L screw a quarter turn at a time. Clockwise restricts outward travel (pulls the derailleur inboard). Counter-clockwise allows more outward travel (lets the derailleur reach further toward the spokes).
- Adjust until the upper pulley aligns with the largest cog. Pedal and listen. There should be no grinding, no ticking, no chain noise from the next cog.
- Test by trying to shift one more click. The shifter should feel “blocked” because the derailleur is at its physical limit. If it shifts past the largest cog toward the spokes, the L screw is set too loose. Stop pedaling and tighten the L screw a quarter turn clockwise.
One trick I use every time: after setting the L screw, I gently push the derailleur body outward with my thumb while pedaling. If I can push it past the largest cog toward the spokes with light thumb pressure, the L screw is too loose. If I cannot budge it at all, the L screw is too tight and the chain will not want to reach the largest cog. You want the derailleur to be just barely held in place by the L screw, with no slack and no play.
It is worth doing this test on a work stand or with the bike upside down before you ever load the L screw under hard pedaling. A mistake at low speed in your garage is recoverable. The same mistake on a steep climb is a new wheel waiting to happen. Once the L screw passes the thumb test, ride the bike around the block, shift up and down through the cassette a few times, and confirm the chain is staying where it should. If everything looks right, the L screw is done.
Indexing and barrel adjuster: the screw everyone confuses with the limit screws
Once your H and L screws are set, your derailleur can only travel within a safe range. Now you need it to land cleanly on every cog in between. That is indexing, and it is controlled by cable tension, not by the limit screws.
The barrel adjuster is the small knurled ring where the cable enters the derailleur (or sometimes where it exits the shifter). Turning it clockwise tightens cable tension and pulls the derailleur inboard. Turning it counter-clockwise loosens tension and lets the derailleur move outboard. Many beginners reach for the H or L screw when shifting is sloppy in the middle of the cassette, but that is almost always a barrel adjuster problem, not a limit screw problem.
To index properly, follow this sequence.
- Shift to the smallest cog. Unscrew the barrel adjuster all the way out, then screw it back in one full turn. This is your starting point.
- Click up one gear at a time, all the way to the largest cog. Note which shifts feel slow or hesitate before clicking into the next gear. These gears are under-shifted and need more cable tension.
- Turn the barrel adjuster counter-clockwise a quarter turn. This adds cable tension.
- Click back down to the smallest cog, then up through the cassette one click at a time again. The slow shifts should improve.
- Repeat steps 2 through 4 until every up-shift is crisp and every down-shift is quiet.
One important rule: if you have to turn the barrel adjuster more than a full turn in either direction to get clean shifting, the cable itself is probably stretched or the housing is sticky. A stretched cable or contaminated housing will drift out of adjustment every few rides. If your indexing keeps going off, replace the cable and housing before touching the limit screws again. Many riders chase limit screw problems that are actually cable problems, and they end up bending hangers in the process.
Also remember that new cables stretch slightly during their first few rides. If you do a perfect bench setup and the shifting drifts a few days later, that is normal. A small barrel adjuster tweak fixes it. After the first 50 miles or so, the cable settles and the adjustment holds. Old cables that have been on the bike for a year or more tend to fray inside the housing and cause the opposite problem: indexing that will not stay put no matter what you do. If that is your situation, the right fix is a new cable and housing, not more turning of the limit screws.
Forum regulars have another useful tip: if the chain hesitates on the up-shift in a particular gear, the cable is too loose. If the chain hesitates on the down-shift in a particular gear, the cable is too tight. That is a fast way to know which way to turn the barrel adjuster without trial and error.
B-tension screw: the third adjustment most guides forget
The B-tension screw sits on the back of the derailleur body, near the limit screws but doing a completely different job. It controls how far the upper pulley sits below the largest cog. When it is set correctly, the pulley clears the biggest teeth of the cassette by about 5 to 6 millimeters. When it is set too tight, the pulley rubs the cassette and your shifting gets noisy on the easy gears. When it is set too loose, the chain can skip teeth under load.
To set B-tension, shift into the largest cog, pedal slowly, and turn the B-tension screw in quarter turns until the pulley stops rubbing but is still as close to the cassette as possible. Many modern 11 and 12 speed derailleurs have a specific mark or window to help you see the right gap. If you are riding an older 8 or 9 speed system, the gap is forgiving and you can set it by feel.
The B-tension screw is not a limit screw, but it lives in the same neighborhood and gets mistaken for one all the time. A lot of forum threads about “limit screws not working” turn out to be B-tension issues. The simplest way to test is this: shift into the largest cog and look at the gap between the upper pulley and the largest cog. If the chain is jumping, skipping, or refusing to stay on the largest cog under load, the B-tension is likely too loose. If you can hear the pulley ticking or grinding against the cassette, the B-tension is too tight.
Modern clutch-equipped derailleurs often have a slightly different B-tension setup, sometimes called the B-spring setting, and the screw sits at a different angle. If you have a Shimano Shadow, SRAM Type 2, or similar clutch derailleur, check the manufacturer documentation for the exact gap spec. Getting this wrong is not catastrophic, but it is the difference between crisp shifting and slightly hesitant shifting on the easy gears.
Common mistakes that make things worse (and how to avoid each one)
This is the section I wish I had fifteen years ago. Every one of these mistakes has cost somebody a hanger, a wheel, or a long afternoon. Going through them once before you start will save you from learning them the hard way.
- Adjusting limit screws with the cable under tension. Cable tension pulls the derailleur around, so you cannot tell whether a quarter turn of the H screw did anything or whether the cable is just fighting you. Always start with the cable fully released.
- Setting the L screw while pedaling hard. If something goes wrong, a hard pedal stroke shoves the chain into the spokes before you can react. Pedal gently with a finger on the brake lever until you trust the setting.
- Turning a screw and forgetting which way you turned it. Take a photo before you start. If you make things worse, you can always return to the original position.
- Confusing the B-tension screw with the L screw. They sit next to each other on the derailleur body. The B-tension screw adjusts the gap to the cassette, not the derailleur travel. If your chain will not reach the largest cog, the L screw is the one to turn.
- Chasing shifting problems with limit screws. Limit screws only set the endpoints. If the chain hesitates in the middle of the cassette, the answer is the barrel adjuster and the cable, not the H or L screw.
- Skipping the hanger check. A bent hanger makes limit screws feel completely random. Check it first.
- Forcing a stuck screw. If a limit screw will not turn with light pressure, stop. Cross-threaded screws and seized screws need penetrating oil and patience, not muscle. A snapped screw is a much bigger problem than a slow adjustment.
One more mistake worth calling out: assuming that the limit screws are the cause of any shifting complaint. A stretched chain, a worn cassette, a bent derailleur, a sticky cable housing, and a bent hanger can all look like limit screw problems. Run through the full diagnostic list before turning anything, and you will fix the actual issue the first time.
When to stop adjusting and get help
Sometimes the right answer is to put the hex key down. Stop adjusting and take the bike to a shop if any of the following are true.
- The hanger is visibly bent or was bent in a recent crash.
- The derailleur itself is bent, the parallelogram does not move smoothly, or there is a creak when the cage swings.
- You have turned the limit screws more than two full turns in either direction from the factory position and shifting is still wrong.
- You have replaced the cable and housing and indexing is still off by more than a barrel adjuster can correct.
- You are not 100 percent sure which screw is which and the bike did not come with a clear diagram.
There is no shame in any of these. Limit screws are simple once you understand them, but a bent hanger or damaged derailleur is not a limit screw problem. Spending 30 dollars at a local shop is cheaper than a new wheel, and the mechanic will probably finish the job in 15 minutes while you drink coffee. Knowing when to stop is part of becoming a better home mechanic, not a sign of giving up.
Forum wisdom from the r/bikewrench community echoes the same point. The most expensive cycling repairs almost always start with “I kept turning the screws and it still was not right.” A good bike mechanic will tell you the same thing: the goal is a working bike, not proof that you can do it all yourself.
Frequently asked questions about derailleur limit screws
How to set limit screws on rear derailleur?
Shift to the smallest cog and adjust the H screw until the upper pulley lines up under that cog. Then shift to the largest cog and adjust the L screw until the pulley lines up under the largest cog without overshooting into the spokes. Always start with the cable released and adjust in quarter turns.
What does tightening the H limit screw do?
Tightening the H screw (turning it clockwise) restricts how far the derailleur can travel toward the smallest cog. It pulls the derailleur outward and prevents the chain from falling off the smallest cog into the frame.
Is the high limit screw in a back derailleur for the smallest cogs?
Yes. The H screw, sometimes called the high limit screw, controls the derailleur’s travel toward the smallest cog on the cassette. The L screw controls travel toward the largest cog.
How tight should a derailleur bolt be?
Limit screws and the B-tension screw should be snug but not forced. Most manufacturers do not publish a torque spec for limit screws. Use light pressure and stop as soon as the screw stops moving. The cable pinch bolt at the derailleur is different and is usually torqued to 4 to 6 Newton meters.
Can you adjust limit screws with the cable attached?
You can, but it is harder. Cable tension pulls the derailleur around, which makes it difficult to see whether a screw adjustment is doing anything. The cleanest setup is to release cable tension fully, adjust the limit screws, then re-tension the cable and use the barrel adjuster to index the gears.
Final thoughts on setting derailleur limit screws safely
Setting derailleur limit screws is one of those jobs that looks scary the first time and becomes routine by the third or fourth attempt. The trick is to work in the right order, make small adjustments, and check the result after every change. Check the hanger first, release cable tension, set the H screw on the smallest cog, set the L screw on the largest cog with a hand on the brake, and finish by indexing with the barrel adjuster.
If you take it slow and remember that limit screws only set the endpoints, you will not make things worse. You will get quieter shifting, a chain that stays on the cassette where it belongs, and the confidence to tackle the rest of your bike maintenance list. The best part is that once you have done it once, every future adjustment will be faster and less stressful.