
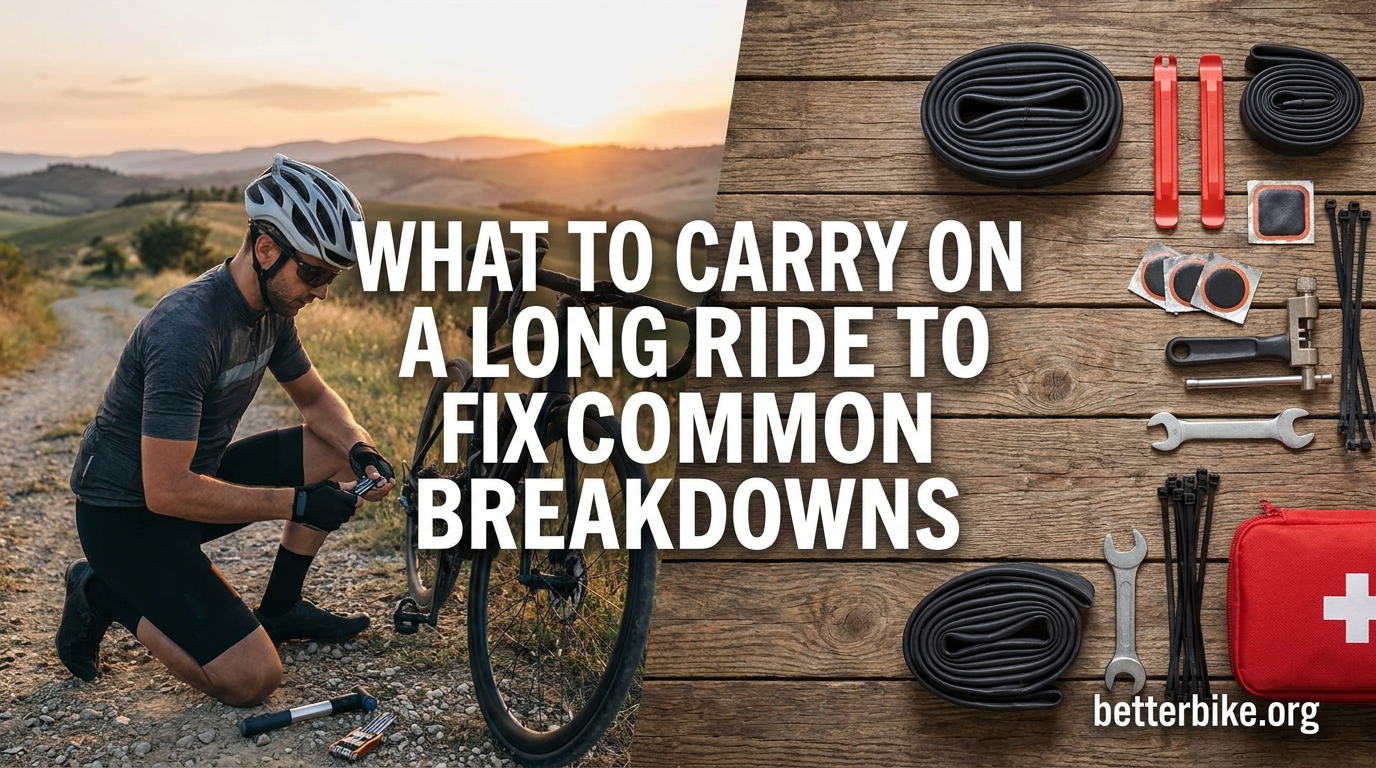
I’ve been the rider standing at the side of a remote road holding a deflated tire and a multitool that did not fit the bolt I needed. That moment, somewhere outside a town in the Colorado Rockies, taught me the hard way that packing a long ride breakdown kit is not optional. After a long talk with myself in the wind, I walked three miles to a cafe and called my partner for a ride.
This guide is the kit I wish I had packed that day. Below is exactly what to carry on a long ride so you can fix common breakdowns, why each item earns its space, and how to use it when something goes sideways. If you ride longer than 30 minutes from home, or you are planning any sort of bikepacking or gravel trip, this is for you.
Table of Contents
What to carry on a long ride to fix common breakdowns
The short answer: a small repair kit that covers the four most common roadside failures on a bike. Those failures are flat tires, broken chains, loose bolts, and brake issues. A good long ride breakdown kit weighs about 400 to 700 grams, fits in a saddlebag or ride pack, and lets you finish or safely abort your ride without outside help in most situations.
Every item in this guide solves a real problem that I or a riding partner have personally hit on the road. I have reorganized them into the order you should pack them in your bag, so the most-used items sit on top where you can grab them quickly.
The most common breakdowns you will face
Before you pack a thing, it helps to know what you are packing against. Across thousands of forum threads on r/bikecommuting, r/bikepacking, and the bicycles Stack Exchange, four problem categories show up over and over.
Flat tires and punctures
By a wide margin this is the number one mechanical issue on any ride. A single sharp rock, thorn, or piece of glass can deflate a tire in seconds. On a 60 mile ride you have roughly an 80% chance of seeing at least one flat if you ride on mixed surfaces. Tubeless tires cut that risk significantly, but they are not puncture-proof.
Chain failures
Chains break, twist, or pop off the chainring, usually on rough gravel or after a worn link finally gives up. A broken chain on a remote road will stop you dead unless you have a quick link and the tool to install it.
Loose or misadjusted bolts
Handlebars, seatposts, bottle cages, and pedals all rely on bolts that can work loose over time. A rattling noise or a wobbly handlebar mid-ride usually means a quick tighten will get you home.
Brake issues
Worn pads, a contaminated rotor, or a stretched cable can leave you with weak or noisy brakes. On a long descent this is not just annoying, it is unsafe. A compact spare brake pad and a 4mm hex can sometimes save your day.
How to diagnose a breakdown before you start working on it
One thing no other guide I read covered well is the diagnosis step. Riders waste time fixing the wrong problem. A quick triage before you pull out a tool can save 20 minutes of frustration.
When something feels wrong, stop somewhere safe off the road. Walk around the bike and look before you touch anything. Listen for repeated clicking, hissing, or rubbing noises. Touch each component to feel for heat, wobble, or loose play. A hissing sound plus a soft tire is almost always a puncture. A sudden skip under power plus a visible kink is a damaged chain link. A loose handlebar plus a wobbly front wheel is usually a stem or stem bolt issue, not a headset failure.
Once you know what is broken, pull only the tools you need. Forcing the wrong tool is how riders strip bolts and turn a 10 minute fix into a 10 mile walk. I keep the most-used items at the top of my saddlebag so this step is fast.
Essential tire repair kit for every long ride
Tire problems are the single most common mechanical issue on a bike, so this is the section that deserves the most attention. Pack these items even on a short ride, and double up on long ones.
Spare inner tube
Carry at least one spare inner tube that matches your tire size and valve type. Check the sidewall of your tire for a number like 700x25c or 650bx47. Match that to the box. Presta valves are standard on most road and gravel bikes. Schrader valves are common on hybrids and older bikes. A valve that does not match the rim is a tube you cannot use.
On rides longer than 50 miles, or anywhere remote, carry two tubes. A second flat on the same ride is the exact scenario you do not want to be unprepared for, and forum users consistently report this as the moment they wish they had packed more.
Tire levers
Carry at least two tire levers, ideally three. Cheap plastic levers snap under tension, especially on tight tubeless-ready tires. I prefer sturdy nylon levers because they are tough and will not damage your rim tape the way a metal lever can. Three levers give you extra leverage and a spare if one breaks mid-fix.
Patch kit
A patch kit costs almost nothing, weighs almost nothing, and saves you when you have used both spare tubes. Self-adhesive patches are easier on the road than glue-style ones, but glue patches make a stronger bond for the rest of the trip. Carry both.
Check your patches before every ride. Glue dries out and adhesive loses tack after a year or two in a saddlebag. Expired patches are a common letdown.
Mini pump or CO2 inflator
You need a way to re-inflate the tire once you swap the tube. There are two main options.
A mini pump is heavier and slower, but it is unlimited and works in cold weather. A good mini pump gets a road tire up to riding pressure in about 200 strokes. Look for one with a flexible hose so you do not bend your valve stem when pumping.
A CO2 inflator is small, light, and fills a tire in seconds. The downside is each cartridge is one-shot. In cold weather CO2 pressure drops and can leave you under-inflated. On any ride over 40 miles, I carry both: a CO2 inflator with two cartridges for speed, plus the mini pump as backup.
Valve extender for deep rims
If you run deep section rims, your spare tube’s valve may be too short to reach through the rim and attach a pump head. A plastic valve extender solves this for under five dollars and weighs nothing. Carry one if your bike has deep wheels or tubeless tires with short valve stems.
Tubeless plug kit
If you run tubeless tires, a tubeless plug kit is essential. Tubeless sealant handles small punctures on its own, but a larger slash needs a physical plug. Kits like Dynaplug use a small barbed needle loaded with sticky rope. You push the plug into the hole, snap off the excess, and reinflate. The whole repair takes under two minutes.
Plug kits are cheap, light, and worth their weight even if you run tubed tires, because they can get you home without removing the wheel.
Multi-tool essentials and which sizes matter
Your multitool is the most versatile item in your kit. Most cycling multitools pack hex wrenches, torx bits, screwdrivers, and sometimes a chain breaker into a single pocket-sized body. Not all multitools are equal, and getting the wrong one has stranded plenty of riders.
Must-have hex sizes
Most bikes use 4mm, 5mm, and 6mm hex bolts. The 4mm hex adjusts your road shifter position, brake reach, and many stem faceplates. The 5mm hex handles brake caliper bolts and some stem clamps. The 6mm hex is critical for thru-axles on modern disc brake bikes, and many multitools skip it. Check your bike’s thru-axle before buying a multitool.
Beyond the hex sizes, carry a T25 torx bit if your bike has a torx stem faceplate or brake rotor bolts. Many modern road and gravel bikes now use T25 instead of hex for the rotor.
Chain breaker built in
Some multitools include a small chain breaker pin. It is slow compared to a real chain tool, but it works in an emergency. If your multitool does not have one, carry a separate mini chain tool. They weigh about 40 grams and have saved many rides.
Screwdrivers and spoke wrenches
A flathead screwdriver comes in handy for derailleur limit screws and barrel adjusters. A spoke wrench is rarely needed roadside, but if you are riding remote gravel, one allows you to true a wheel enough to ride out.
Chain repair essentials for long rides
A broken chain can happen anywhere, especially on rough terrain or after a shift under load. Packing for chain repair is light, cheap, and the difference between walking and riding home.
Quick link or master link
Carry at least one quick link that matches your chain speed. Modern 11-speed and 12-speed chains need their own specific quick links, and 12-speed links from SRAM, Shimano, and KMC are not interchangeable. Check what is on your chain before you ride and pack the right one.
I pack two quick links on any ride over 30 miles. A second failure can happen if the original break damaged nearby links, and a spare link lets you cut out a damaged section.
Chain breaker tool
To install a quick link on a broken chain, you often need to remove a damaged link. A chain breaker tool pushes the pin out. Most multitools include a basic version, but a dedicated chain tool is faster and stronger. Carry whichever you have.
Small bottle of chain lube
A noisy or skipping chain can sometimes be quieted with a drop of lube. A 5ml travel bottle of chain lube weighs almost nothing and can buy you hundreds of miles. Wet lubes last longer, dry lubes stay cleaner, but either works in a pinch.
Emergency backup items worth packing
Beyond the core repair kit, a handful of small extras can rescue a ride that has gone sideways in ways you did not predict.
Cash and ID
Carry at least 20 dollars in cash, ideally small bills. If your bike is unrideable and you need a taxi, a coffee, or a train ticket home, cash is what gets you there. Folded bills slip into a jersey pocket or ride pack with no weight penalty. Bring ID and your insurance card too. Some cycling insurance policies, like British Cycling or BCA, will reimburse you for a taxi home if you break down on a registered ride.
Zip ties and electrical tape
A handful of zip ties and a short wrap of electrical tape around a pencil or a spare tube is the duct tape of cycling. Zip ties can reattach a loose fender, secure a broken bag, or fix a rattling bottle cage. Electrical tape can patch a torn sidewall, hold a broken bag together, or wrap a stripped bolt to make a tool fit.
Tire boot
A tire boot is a small piece of tough material that you slide inside the tire when the sidewall or tread has a large cut. Park Tool, Schwalbe, and others sell adhesive-backed patches that work for this. Without a boot, a large cut will bulge under inflation and fail again. A tire boot is lighter than carrying a spare tire and works for small to medium damage.
Phone, light, and visibility
Pack a fully charged phone, a small rear light, and a reflective element if you are riding anywhere near dusk. A phone lets you call for help, navigate, and take a photo of the problem if you need roadside advice from a friend. A small backup battery bank weighing 80 grams will recharge a phone one time, which is often enough to call a ride.
How to pack your kit: saddlebag, ride pack, or jersey pockets
Where you carry the kit matters almost as much as what is in it. Each option has tradeoffs.
Saddlebag
A small under-saddle bag holds the bulk of your kit. It is out of the way, stable, and the standard choice for road and gravel riders. Bags in the 0.5 to 1 liter range fit tubes, levers, multitool, patch kit, and a mini pump without rattling. The downside is friction with bib shorts on longer rides and limited capacity.
Frame bag or top tube bag
Bikepacking riders often use a frame bag or top tube bag for the repair kit. These give more room and keep weight centered low on the bike. They also make it easier to access tools without flipping the bike upside down. The tradeoff is more strap clutter and the need to stop to dig through the bag.
Jersey pockets and a ride pack
For shorter long rides, jersey pockets can hold a tube, levers, multitool, and patches. The upside is zero frame clutter and easy access. The downside is no room for a pump or inflator, and pockets can bounce or sag when loaded. A small ride pack or hip pack combines jersey-pocket convenience with pump capacity and is my pick for 3 to 5 hour rides.
Quick-reference checklist before you roll out the door
Run through this list before any long ride. It takes 60 seconds and catches the most common mistakes.
- Spare inner tube that matches tire size and valve type
- Second spare tube for any ride over 50 miles or in remote areas
- Two or three tire levers, sturdy nylon preferred
- Patch kit, checked for expired glue
- Mini pump with flexible hose, or CO2 inflator plus two cartridges
- Tubeless plug kit if you run tubeless tires
- Valve extender if you run deep section rims
- Multitool with 4mm, 5mm, and 6mm hex plus T25 torx
- Quick link matching your chain speed, plus a spare
- Chain breaker, either on the multitool or as a separate tool
- Tire boot or tough patch material
- Zip ties, electrical tape, and a small bottle of lube
- Cash, ID, insurance card, and a fully charged phone
- Small rear light for low light conditions
When to fix it yourself and when to call for help
Self-sufficiency is great, but it is not a religion. Some problems are not worth roadside repair, and pushing through them can make things worse or unsafe.
Fix it yourself when the problem is a flat, a quick link, a loose bolt, a stuck chain, a brake pad swap, or a minor adjustment. These are routine, and every cyclist should feel comfortable with them after a few practices at home.
Call for help when the frame is cracked, the wheel is seriously out of true, the drivetrain is jammed beyond a stuck link, you are dizzy or injured, or the road ahead is unsafe in fading light. Walking is always an option, and a few miles with your bike is better than a long ride in an ambulance.
Knowing the difference is a skill, and the only way to build it is to ride with a kit, practice a few repairs at home, and accept that some days the bike wins. That is part of long ride cycling.
FAQ
Practice the fixes before you need them
The last thing I will leave you with is the thing experienced riders say more than any other on forums: know how to use your tools before you need them. A multitool in your saddlebag is just dead weight if you have never practiced removing a tire or installing a quick link.
Spend an evening in the garage once a season. Remove and reinstall a tire. Patch a tube. Install a quick link. Adjust your brakes. Swap a brake pad. None of these are hard, but they are not obvious the first time you try them on the side of a road with cold hands and a setting sun.
Once you have practiced, pack the kit from this guide on your next long ride. You will probably never need most of it, and that is exactly the point. When something finally does break, you will roll into a repair with calm hands and ride home. That is what carrying a long ride breakdown kit is really about.