
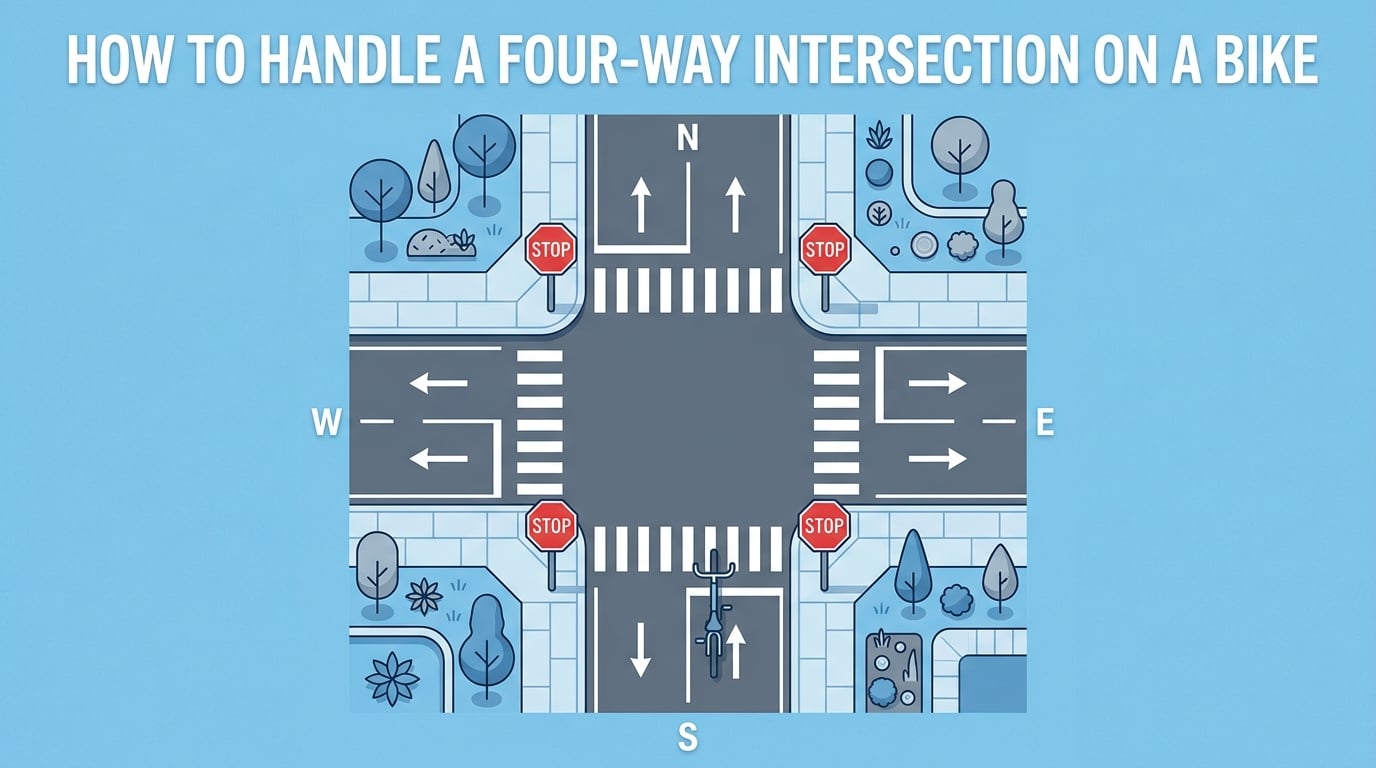
Four-way intersections are some of the most stressful places you will ride a bike. Cars, trucks, and other cyclists all converge from four directions, and the rules are not always obvious. If you have ever frozen up at a four-way stop wondering who goes next, you are not alone. Learning how to handle a four-way intersection on a bike comes down to three things: knowing the right of way rules, positioning yourself where drivers can see you, and following a repeatable step-by-step process for every approach.
This guide breaks down each of those pieces in plain language. Whether you are a brand new commuter or a seasoned rider looking to clean up your technique, you will find practical, field-tested advice here. For related skills that build on intersection safety, check out our breakdown of common cornering mistakes that make you slow and unsafe.
Table of Contents
Why Four-Way Intersections Are High-Risk for Cyclists
A four-way intersection is any crossing where two roads meet at roughly 90 degrees, with all four directions controlled by stop signs or traffic signals. They are everywhere in urban and suburban neighborhoods, which means most cyclists pass through several on every ride.
These crossings are high-risk for cyclists because drivers are scanning for other cars, not bikes. A cyclist hugging the curb or tucked in a blind spot is easy to miss. According to crash data cited by the League of American Bicyclists, the majority of urban car-bike collisions happen at intersections, not mid-block.
The good news is that the risk drops sharply once you understand how to position yourself and how right of way works. Most intersection collisions are predictable and preventable.
Under US traffic law, bicycles are treated as vehicles. That means you have the same rights and the same responsibilities as a driver at a four-way intersection on a bike. You are not a pedestrian unless you dismount and walk in the crosswalk.
Right of Way Rules at Four-Way Stops
The basic rule for four-way stops is simple: first come, first served. The first vehicle to arrive and come to a complete stop has the right of way and proceeds first.
If two vehicles arrive at the same time, the vehicle on the left yields to the vehicle on the right. This is the tiebreaker rule and it applies to cyclists exactly the same way it applies to drivers.
If you and a car arrive simultaneously and the car is on your right, the car goes first. If you are on the right, you go first. It does not matter that one is a bike and one is a car. The rule is based on position, not vehicle type.
Here is the quick mental checklist experienced cyclists use at every four-way stop:
1. Did I arrive first? If yes, I stop fully, then proceed.
2. Did someone else arrive first? If yes, I wait my turn.
3. Did we arrive at the same time? Yield to whoever is on the right.
4. Is the intersection unclear? Wait and make eye contact before moving.
Some cyclists wonder whether they need to come to a complete stop or if a rolling stop is acceptable. In most states, the law requires a full stop, just like a car. A few states have adopted Idaho Stop or Safety Stop laws that treat cyclists differently, which we cover later in this guide.
Lane Positioning: Where to Ride at the Intersection
Your lane position is the single biggest factor in how safely you get through a four-way intersection on a bike. Where you place yourself determines whether drivers see you and whether they can pass you safely.
The three positions to know are curb-hugging, center of lane, and left of center. Each has a purpose, but only one is right for most intersection situations.
Take the Lane: Center or Left of Center
Experienced cyclists overwhelmingly recommend taking the lane at intersections. This means riding in the center of the travel lane, or just left of center. Doing this makes you visible in the same sight lines drivers use for other cars.
Taking the lane also prevents one of the most common and dangerous intersection crashes: the right hook. A right hook happens when a driver passes you on your left and then turns right across your path. If you are already in the center of the lane, the driver cannot pass you and cannot cut you off.
The left hook is the mirror image. A driver coming toward you turns left across your path. Being in the lane, not at the curb, makes you far more visible to oncoming drivers who are scanning for vehicles, not objects near the gutter.
Avoid the Curb-Hug at Intersections
Riding right against the curb feels safer because you are out of the traffic flow. At intersections, this position is actually more dangerous. Drivers pulling out from cross streets look down the middle of the lane, not at the curb line. You disappear into the scenery.
The curb position also invites drivers to squeeze past you and then turn. That is how right hooks happen. If you need to brush up on your overall bike handling skills, our guide on descending steep terrain with confidence covers bike control fundamentals that translate directly to intersection riding.
What About Bike Lanes?
Bike lanes are great for mid-block travel, but at intersections they can create problems. If a bike lane continues all the way to the stop line, you still need to watch for turning vehicles crossing your path.
The safest move at a four-way intersection on a bike with a bike lane is to merge out of the bike lane and into the travel lane before the intersection. Do this early, signal your merge, and take your position in the lane. Some intersections now have bike boxes painted at the front of the queue. If one is present, use it. A bike box lets you position yourself ahead of stopped cars so they can see you.
Never slide up between a line of cars and the curb at a four-way stop. This is a classic setup for a right hook. You are invisible to drivers and you are positioned right where they want to turn.
How to Handle a Four-Way Intersection on a Bike: Step by Step
No competitor guide lays this out as a clear procedure, so here is the step-by-step process for each scenario. Memorize the one that matches your daily commute and practice it until it is automatic.
Scenario 1: Going Straight Through
This is the most common move and the easiest to get wrong if you drift. Follow these steps:
Step 1: As you approach, scan the intersection for cars already stopped or approaching.
Step 2: Merge into the center of the travel lane, roughly 100 feet before the stop line.
Step 3: Signal your merge with a hand signal if traffic is behind you.
Step 4: Come to a complete stop at the stop line, not past it.
Step 5: Identify who has the right of way based on arrival order.
Step 6: Make eye contact with any driver whose path crosses yours.
Step 7: When it is your turn, proceed straight through the center of the lane.
Step 8: Maintain your lane position until you are clear of the intersection, then merge back if needed.
Scenario 2: Turning Left
Left turns are the trickiest because you have to cross oncoming traffic. The key is to claim your space early.
Step 1: Check behind you and signal your left turn well in advance.
Step 2: Move to the left side of your travel lane, or into the left turn lane if one exists.
Step 3: Take the center of that lane so no car tries to pass you on either side.
Step 4: Stop at the stop line and wait for your turn based on right of way.
Step 5: When it is clear and it is your turn, make eye contact with oncoming drivers.
Step 6: Execute the turn at a controlled speed, staying in the center of your new lane.
Step 7: Do not cut the corner. Follow a wide, predictable arc.
If a left turn feels too risky in heavy traffic, you always have the option to do a two-stage turn. Ride straight through the intersection, stop on the far side, reposition, and continue when the light or stop sign allows. This is legal and is the safest option for new cyclists.
Scenario 3: Turning Right
Right turns are where the right hook danger is highest. The fix is positioning.
Step 1: Approach in the center of the travel lane, not the curb.
Step 2: Signal your right turn at least 100 feet before the intersection.
Step 3: Stop at the stop line and wait for your turn.
Step 4: Check your right side for any pedestrians or cyclists before turning.
Step 5: Make your turn from the center of the lane, sweeping through in a predictable arc.
Step 6: Stay off the curb on the exit. Drivers behind you need to see you settle into the new road.
The reason you turn from the center and not the curb is simple. If you hug the curb, a driver on your left may try to pass you and turn right at the same time. That squeeze is exactly how right hooks happen. Turning from the center of the lane eliminates that possibility.
Dealing With Unpredictable Drivers
Right of way rules only work when everyone follows them. At a four-way intersection on a bike, you will run into two problem behaviors from drivers: the overly polite wave-through and the outright ignore.
When a Driver Waves You Through
This is one of the most discussed pain points in cycling forums. A driver who arrived before you waves you through even though it is legally their turn. It feels polite, but it creates danger.
The problem is that the driver in the next lane over may not be waving and may not understand why traffic has stopped. If you proceed on the wave, you can get hit by cross traffic. The safest move is to politely decline. Shake your head, point at the driver, and wait for them to take their legal turn.
If the driver insists and traffic is fully stopped in all directions, proceed cautiously with both hands on the brakes and eyes scanning every approach. Never assume the intersection is clear just because one driver waved.
When Drivers Ignore You
Some drivers treat cyclists as invisible or assume a bike cannot possibly have right of way. They may roll through their stop sign or cut across your path. Your defense is visibility and an escape route.
Always make eye contact. If a driver does not look at you, assume they do not see you. Slow down, cover your brakes, and be ready to stop even if you have the legal right of way. Being right does not help you if you get hit.
Keep an escape route in mind at every intersection. Know where you can swerve if a car turns into your path. Usually that means the lane to your left or a clear shoulder. For more on staying sharp and aware during longer rides, see our piece on what bonking feels like and how to recover mid-ride, because fatigue is when awareness drops and mistakes happen.
Idaho Stop and Safety Stop Laws Explained
Most states require cyclists to stop completely at four-way stops, just like cars. A small but growing number of states have adopted what is commonly called the Idaho Stop or Safety Stop law.
Idaho was the first state to pass this law back in 1982. It allows cyclists to treat stop signs as yield signs. In practical terms, a cyclist approaching a four-way stop must slow down and yield to any vehicle that has the right of way, but does not need to come to a complete stop if the intersection is clear.
As of 2026, states with some version of a stop-as-yield law for cyclists include Idaho, Delaware, Arkansas, Oregon, Washington, Colorado, Utah, North Dakota, and several others. The specifics vary. Some laws apply only to stop signs, others to red lights as well. Check your local state law before assuming you can roll through.
The rationale behind these laws is that cyclists benefit from maintaining momentum and can clear intersections faster, which reduces conflict time with cars. Studies from Delaware and Idaho showed a measurable drop in bike-car crashes at stop-signed intersections after the laws passed.
Even in states with a Safety Stop law, you must still yield. If a car arrived first or has the right of way, you wait. The law just removes the requirement for a foot-down complete stop when the intersection is clear.
Tips for New Cyclists at Intersections
Forum discussions consistently show that new cyclists feel real anxiety at four-way intersections, especially those who do not have a driver license and have never had to learn right of way rules from a car perspective. That anxiety is valid and manageable.
Start by practicing at quiet intersections with little traffic. Get the sequence down: scan, merge, stop, identify right of way, eye contact, proceed. Repeat it until the steps feel automatic. Muscle memory is what carries you through when your brain freezes.
Pick low-stress times of day for your first practice rides. Early mornings and weekends tend to have lighter traffic. Build confidence before you tackle a busy rush-hour four-way stop.
Consider taking a CyclingSavvy or League of American Bicyclists class. Both organizations offer on-bike instruction that covers intersection navigation in real conditions. Nothing beats having an experienced instructor watch your technique and give you feedback.
If you ever feel genuinely unsafe at an intersection, dismount and walk your bike through the crosswalk. This is always legal and always an option. There is no shame in walking a tricky intersection while you build skills.
Finally, remember that predictability is your best safety tool. Ride in a straight line, signal your turns, stop at the stop line, and take the lane. Drivers can handle a cyclist who behaves predictably far better than one who darts and hesitates.
FAQ’s
How to handle a four-way intersection on a bike?
Stop completely at the stop line, determine right of way using first-come first-served rules, take the center of the lane for visibility, make eye contact with drivers, and proceed when it is your turn. Position yourself in the lane, not at the curb, to stay visible and avoid right hooks.
Do bicycles have the right of way at a 4-way stop?
Yes. Under US traffic law, bicycles are treated as vehicles, so cyclists have the same right of way as cars at a four-way stop. The first vehicle to arrive and stop goes first. If two arrive simultaneously, the vehicle on the right has the right of way.
What is the correct side position to begin a right turn without a bike lane?
Ride in the center of the travel lane, not the curb. Turning from the center prevents a driver from passing on your left and cutting across your path in a right hook. Signal your turn early and sweep through in a predictable arc.
How to safely ride a bike on the road through intersections?
Take the lane at intersections so drivers can see you, make eye contact before proceeding, follow the same right of way rules as cars, and always have an escape route in mind. Avoid hugging the curb, never pass stopped cars on the right, and signal every turn.
Putting It All Together
Handling a four-way intersection on a bike comes down to three habits: follow right of way rules exactly like a car, take the lane so drivers see you, and run the same step-by-step process every time. Master those habits for how to handle a four-way intersection on a bike and intersections stop being something to fear. They become just another predictable part of your ride.