
Squealing rim brakes are one of the most common complaints I hear from riders at our local shop, and almost every case comes down to one of three things: misalignment, contamination, or worn pads. The good news is that fixing squealing rim brakes step by step is something you can do in your garage in about 30 minutes with a few basic tools. In this guide, I’ll walk you through the exact process our mechanics use, including the toe-in technique that solves 80% of squeal issues on the first try.
Table of Contents
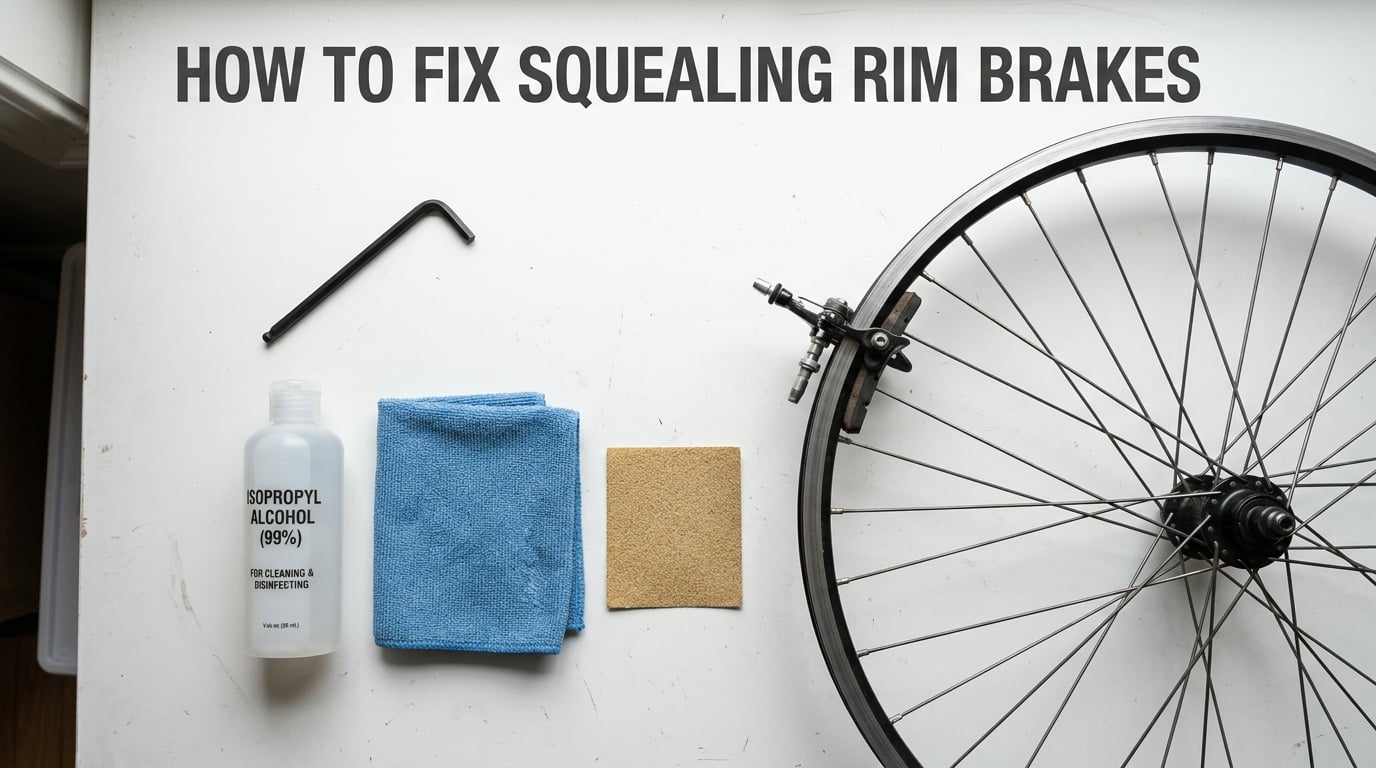
Tools You’ll Need to Fix Squealing Rim Brakes
Before we touch a single bolt, gather these items. I keep them in a small tray so nothing rolls away mid-repair.
- 4mm Allen key — the most common size for brake bolts
- 5mm Allen key — needed for some caliper centering and cable clamp bolts
- Isopropyl alcohol (90% or higher) — best cleaner for pads and rims
- Clean lint-free rags — old t-shirt material works well
- Medium-grit sandpaper (80-120 grit) — for de-glazing pads and roughing rims
- A flathead screwdriver — for adjusting barrel adjusters
- Optional: bike-specific degreaser — for heavy oil contamination
- Optional: nitrile gloves — to keep skin oils off fresh pads
Tip from the bench: skip the WD-40. Mechanics on the bikewrench subreddit will tell you the same thing — lubricants sprayed on rim brakes reduce stopping power and can soak into the pad compound, making squealing worse over time.
How to Fix Squealing Rim Brakes Step by Step
Follow these steps in order. Each one builds on the last, so don’t skip ahead even if the first fix seems to work.
Step 1: Clean the Rim Brake Surface
Wipe the braking surface of your wheel rim with an alcohol-dampened rag and spin the wheel as you go. You’ll be surprised how much black grime comes off — that’s a mix of pad dust, road oil, and brake residue. I usually do two passes, then let the rim dry for a minute. Clean rims give the pads something consistent to grab, which is the foundation for stopping squeal.
If the rim still looks shiny or has a glazed appearance, lightly scuff the brake track with 80-grit sandpaper while turning the wheel. This roughs the surface just enough to give the pads better bite.
Step 2: Inspect Your Brake Pads for Wear
Squeeze the brake lever and look at the pads. You’re checking for two things:
- Wear lines — grooves or channels on the pad surface. If they’re gone or barely visible, the pads are worn down and need replacement.
- Pad thickness — most rim brake pads should have at least 2-3 mm of rubber left. Anything thinner is unsafe, especially in wet conditions.
Also look for contamination. Oil, chain lube, or even fingerprints from bare hands can soak into the rubber and cause persistent squealing. If pads look glossy or feel smooth when you rub them with a gloved finger, they’re glazed.
Step 3: De-glaze or Replace Contaminated Pads
For lightly glazed pads, sand the surface with 80-grit sandpaper until you see fresh rubber with a dull matte finish. I do this over a trash can to catch the dust.
For heavily oil-soaked pads, replacement is the only real fix. The rubber has absorbed the contaminant and won’t hold friction no matter how much you clean it. New pads cost less than a sandwich, and the difference in braking is night and day.
Warning: Never ride on pads worn below 1.5 mm of rubber. Stopping distance increases dramatically and the metal pad holder can scratch or cut your rim.
Step 4: Set Toe-In on the Brake Pads
This is the single most important step. Toe-in means angling the front edge of the pad so it contacts the rim slightly before the rear edge. This prevents the pad from squealing under vibration.
Here’s how to set it:
- Loosen the pad bolt with your 4mm Allen key — just a quarter turn is enough.
- Place a business card or thin piece of cardboard behind the rear of the pad.
- Push the pad forward against the rim and re-tighten the bolt while holding pressure.
- Remove the card and check the alignment.
The front of the pad should touch the rim just a hair before the rear. You want a subtle angle, not a sharp one — about 0.5 mm of difference is plenty. Repeat on the other pad.
Step 5: Center the Brake Caliper
With the wheel in the frame, squeeze the brake lever and look at the gap between each pad and the rim. If one side is closer than the other, the caliper is off-center. Most rim brakes have a centering bolt on the side or top — a small screw that adjusts spring tension. Turn it until both pads sit an equal distance from the rim, usually 1-2 mm on each side.
For side-pull calipers, a quick trick is to loosen the mounting bolt, squeeze the lever hard, and hold it while retightening. The brake self-centers when the cable is tensioned.
Step 6: Adjust Cable Tension
Cable tension controls how far the pads sit from the rim when the lever is released. Too loose and the lever feels spongy with too much travel. Too tight and the pads rub while riding.
Start by loosening the cable pinch bolt with your 5mm Allen key. Squeeze the brake lever to take up slack, then — while still holding it — tighten the pinch bolt back up. Most brakes have a barrel adjuster where the cable enters the lever or caliper. Turn it out (counter-clockwise) to increase tension, in (clockwise) to reduce it. Make quarter turns until the pads sit about 1-2 mm from the rim with the lever at rest.
Spin the wheel to check for rub. If it drags, back off the barrel adjuster a touch and try again.
Why New Brake Pads Sometimes Squeak
If you’ve just installed new pads and the squeal is back, don’t panic. Fresh pads have a mold-release film from the factory that needs to wear off. Most riders see this clear up after 20-40 hard stops, which is the break-in period.
To speed it up, do a series of progressively harder stops from 15 mph down to 5 mph on a quiet road. Avoid locking up the wheel — you want heat, not skid marks. After a few sessions, the pads will match your rim surface and the squeal should disappear.
Common Mistakes to Avoid
I’ve made most of these myself, so learn from my mistakes:
- Spraying lubricant anywhere near the brakes. Even overspray from chain lube can contaminate pads. Cover the brake area when lubing the drivetrain.
- Touching the pad surface with bare hands. Skin oils reduce friction and cause glazing. Always handle pads by the metal holder.
- Over-tightening the toe-in. Too much angle causes uneven wear and a grabby feel. Subtle is better.
- Skipping the rim cleaning step. Even new pads will squeal if the rim is contaminated.
Frequently Asked Questions
How do I get rim brakes to stop squeaking?
The fastest fix is to set proper toe-in on the brake pads and clean both the pads and rim with isopropyl alcohol. Toe-in means angling the front of each pad so it hits the rim slightly before the rear, which prevents the vibration that causes squeal.
Can I spray WD-40 on my brakes to stop squeaking?
No. WD-40 and similar lubricants should never be applied to rim brake pads or the braking surface of a rim. They reduce stopping power and soak into the pad rubber, making squealing worse over time. Use isopropyl alcohol instead.
Can I fix squeaking brakes myself?
Yes. Most squealing rim brakes can be fixed at home in about 30 minutes with a 4mm and 5mm Allen key, isopropyl alcohol, and a rag. The main steps are cleaning, de-glazing or replacing pads, setting toe-in, and adjusting cable tension.
How often should I replace bike brake pads?
Replace rim brake pads when the rubber is worn down to 1.5 mm or less, or when the wear indicator grooves are no longer visible. For most riders, this means new pads every 1,000-3,000 miles depending on conditions and riding style.
What causes rim brakes to squeal in the first place?
Rim brakes squeal when the pads vibrate against the rim at high frequency. This is usually triggered by misalignment, contamination from oil or dirt, glazed pad surfaces from overheating, or worn-out pads that no longer grip properly.
Final Thoughts
Learning how to fix squealing rim brakes step by step saves you shop labor costs and gets you back on the road faster. In most cases, a clean rim, fresh toe-in, and properly tensioned cable will silence the squeal for good. If problems persist after following these steps, the issue may be a worn rim or a damaged caliper spring — both worth a trip to your local bike shop.