
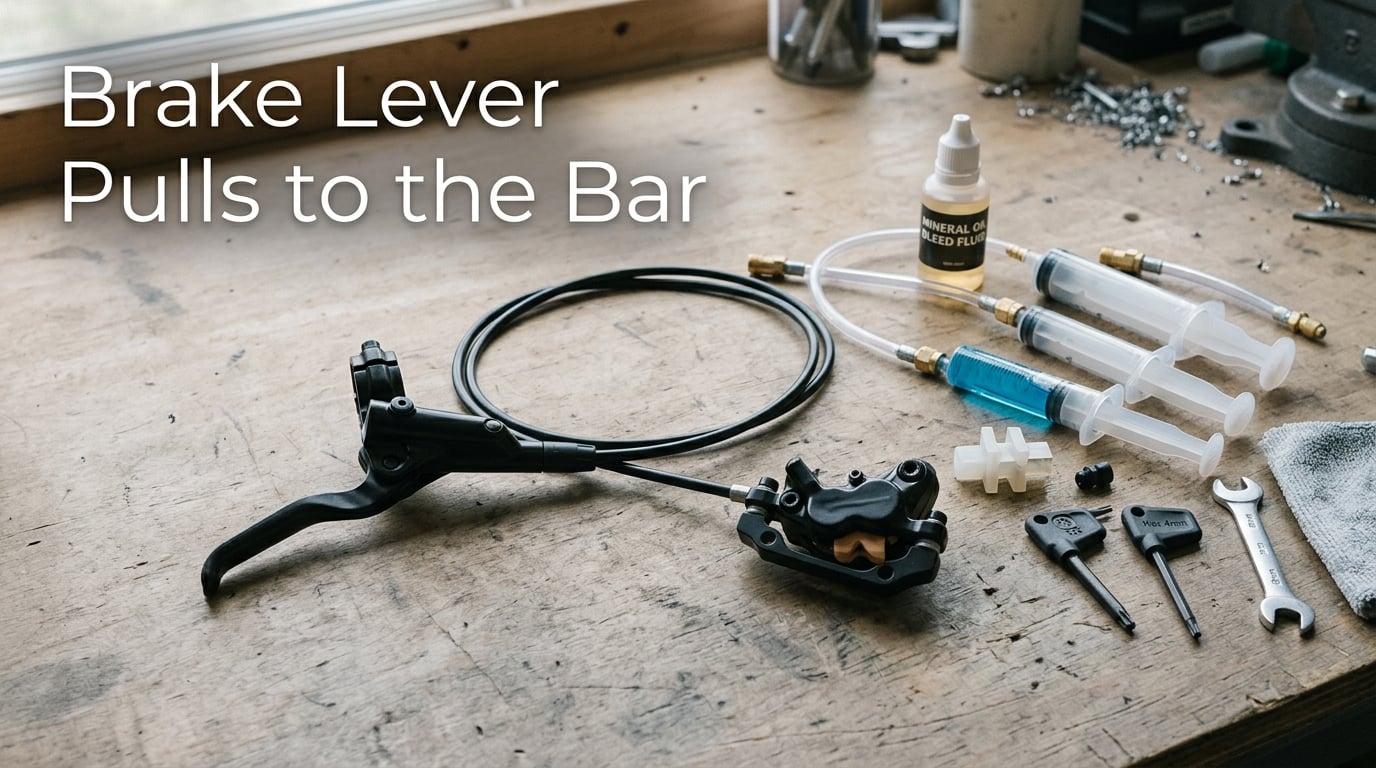
A brake lever that pulls all the way to the bar is one of the most common and frustrating problems for cyclists. I have run into this issue on my own mountain bike after a long winter, and the moment your fingers hit the grip without much stopping power is genuinely unsettling. This guide covers what the symptom means, why it happens, and the exact steps our team uses to bring lever feel back to normal.
The good news: in most cases a brake lever that pulls all the way to the bar is fixable at home with basic tools. In 2026, hydraulic disc brakes are now standard on most new bikes, and the core fixes have stayed the same for years. Read through the diagnosis steps before reaching for a bleed kit, because the cheapest fix is often just a fresh set of pads.
Table of Contents
What It Means When Your Brake Lever Pulls All the Way to the Bar
When a brake lever pulls all the way to the bar, it means your braking system is not building full hydraulic pressure before the lever reaches the handlebar. On a healthy system, you should feel a firm bite point about a third of the way through the lever’s travel. If the lever feels squishy, spongy, or mushy instead of crisp, the system is losing pressure somewhere.
This symptom is sometimes called a spongy brake lever or mushy brake lever. It is not just a comfort issue. A lever that travels too far gives you less modulation, weaker stopping power, and in a panic stop on a descent, it can mean the difference between a controlled stop and an over-the-bars crash. If you want a refresher on proper brake lever technique, our guide to brake lever reach adjustment and downhill braking explains how lever feel ties directly to control.
Mechanical disc brakes can show the same symptom, but for a different reason. Cable stretch, housing compression, or a stretched cable clamp can let the lever travel further than designed. Either way, the diagnosis path is similar: find the loss of pressure, then fix the source.
Common Causes of a Spongy Brake Lever
There are six common reasons a hydraulic disc brake lever pulls all the way to the bar. I will walk through each one with the giveaway signs, so you can match the symptom to your bike before buying parts.
Air in the Hydraulic Brake System
Air in the brake system is the number one cause of a mushy brake lever. Hydraulic brakes work by transferring fluid pressure from the lever to the caliper. Air compresses, fluid does not. When air gets into the line, the lever has to travel further before enough pressure builds to clamp the rotor.
Air usually enters through a loose fitting, a leaking seal, or during a previous service. Bikes that have been stored for months often develop air in the system as seals dry out and shrink slightly. Aftermarket pad swaps can also introduce air if the pistons were pushed back without a bleed block in place.
Worn or Contaminated Brake Pads
As pads wear, the caliper pistons extend further to keep the rotor centered. Once pads are thin, the pistons sit too far out, and the lever has to travel a longer distance before the pads contact the rotor. This shows up as a brake lever pulling all the way to the bar on a bike that used to feel firm.
Contaminated pads show a similar symptom. Oil, chain lube, or degreaser that splashes onto the rotor or pads will glaze them and drastically reduce friction. If your rotor looks shiny and the pads smell like anything other than mild brake dust, contamination is likely.
DOT Fluid Has Absorbed Water
SRAM, Hayes, and most motorcycle-style systems use DOT brake fluid. DOT fluid is hygroscopic, meaning it absorbs water from the air over time. Once the fluid has soaked up enough moisture, it compresses slightly under pressure, and the lever feels soft.
This is one reason SRAM and other DOT systems recommend a full fluid replacement every 1 to 2 years, even if the brakes feel fine. I have bled SRAM brakes that looked clean but had visible water droplets in the old fluid.
Mineral Oil Contamination or Leaks
Shimano, Campagnolo, and Magura use mineral oil, which is not hygroscopic. Mineral oil brakes do not absorb water, but they can still feel spongy if there is a leak at the caliper, lever, or banjo fitting. A slow leak lets air in over time, and the lever will gradually travel further as the system loses volume.
Mineral oil is also less tolerant of contamination. Mixing brands of mineral oil, or getting regular DOT fluid into a mineral oil system, can swell seals and cause leaks. Always use the fluid specified by the manufacturer.
Cable Stretch in Mechanical Disc Brakes
If your bike has mechanical disc brakes (cable-actuated, not hydraulic), a stretched cable or compressed housing will let the lever travel too far. This is most common on new bikes in the first few months, after heavy use, or if the cable routing has tight bends. A simple barrel adjuster turn or full cable re-tension will usually solve it.
Damaged Master Cylinder Seal
Pushing the caliper pistons back into the caliper without using a pad spacer or bleed block can damage the seal inside the master cylinder at the lever. Once the seal is nicked, it will not hold full pressure, and the lever will pull to the bar no matter how well you bleed the system. I learned this the hard way on an old bike. If the lever pulls to the bar right after a pad swap, this is the most likely culprit.
How to Fix a Brake Lever That Pulls to the Bar
Follow these steps in order. Most riders solve the problem by the end of step 3. Move on only if the lever still feels mushy.
Step 1: Check Pad Thickness First
Pull the wheel and inspect the pads. Most pads have a wear indicator groove; once the pad material is at or below that groove, replace the pads. On a mountain bike, pads typically last 300 to 500 miles of aggressive riding. On a road bike, 1,000 to 2,000 miles is more typical.
If the pads are fine, look at the rotor. A shiny, glazed, or blue-tinted rotor is contaminated. Clean the rotor with isopropyl alcohol and a clean rag, and replace the pads if they look oily. Always replace pads and rotors as a set if contamination is the cause.
Step 2: Inspect for Leaks and Fluid Color
Look at the lever, hose banjo bolts, and caliper for any wet fluid or residue. DOT fluid smells faintly of rubbing alcohol and can dry to a clear or amber film. Mineral oil leaves a clear, slightly slippery residue.
Check the fluid color in the reservoir (if visible) or the bleed port. Fresh mineral oil is nearly clear. Fresh DOT 5.1 is a pale amber. Dark brown or black fluid is contaminated and should be replaced.
Step 3: Bleed the Brakes
If pads and fluid look fine, the next step is a full brake bleed. The exact process varies by brand, but the general flow is the same:
- Remove the wheel and pads. Insert a bleed block between the pistons.
- Attach a syringe of fresh fluid to the lever bleed port and an empty syringe to the caliper bleed port.
- Push fluid from the lever to the caliper, then pull it back. Repeat until no air bubbles appear in the return syringe.
- Top up the lever reservoir to the marked line, close the bleed port, and reinstall the pads and wheel.
- Squeeze the lever several times. The bite point should now be firm and not pull to the bar.
For SRAM systems, use only DOT 5.1 fluid. For Shimano, use only Shimano mineral oil. Substituting one for the other will damage the seals.
Step 4: Adjust Lever Reach and Contact Point
Most modern brake levers have a reach adjustment screw that moves the lever closer to or further from the bar. Turn it until your index finger can comfortably pull the lever without overextending. Some higher-end Shimano and SRAM levers also have a free-stroke or contact-point adjustment that lets you tune where the bite starts. Our guide to brake lever reach adjustment shows the exact technique for both adjustments.
Step 5: When to Take It to a Shop
If the lever still pulls to the bar after a full bleed, the master cylinder seal is likely damaged. This is also true if the lever pulls to the bar right after a pad swap where pistons were pushed back. A bike shop can confirm the diagnosis and rebuild or replace the lever. Expect to pay between $40 and $90 for a professional bleed, and $80 to $200 for a lever rebuild depending on the brand.
How to Prevent a Spongy Brake Lever
Prevention is mostly about keeping air and water out of the system. A few simple habits will keep your lever feel consistent for years.
Stick to a Bleed Schedule
Bleed DOT brakes every 1 to 2 years as routine maintenance, even if they feel fine. Bleed mineral oil brakes every 2 to 3 years, or any time the lever starts to feel softer than normal. A scheduled bleed is cheaper and faster than a panic bleed in the middle of a ride.
Store Hydraulic Bikes Correctly
If you store your bike for more than a month, hang it or lay it level. Storing a hydraulic bike on its side for long periods can let air collect in the caliper. After long storage, pump the lever several times before riding to re-seat the fluid.
Use a Pad Spacer During Service
Whenever you push the caliper pistons back for pad installation, use a plastic pad spacer or an old pad between the pistons. This protects the master cylinder seal at the lever. Skipping this step is the most common cause of a damaged seal and a lever that pulls to the bar right after a service.
Doing a quick brake lever safety check before any ride is also a great habit, especially before a multi-day trip. Squeeze each lever hard at the start of every ride. If the lever goes to the bar, fix it before you head out.
Working on proper brake lever technique for descents also helps you notice changes in feel early, so you can catch a developing problem before it strands you on a trail.
FAQ’s
How to adjust brake lever pull?
Start with the reach adjustment screw on the lever body to set the distance from the bar. Then check pad thickness and bleed the system to restore firm feel. Reach alone will not fix a spongy lever caused by air in the line.
How to make a brake lever firmer?
A mushy brake lever usually needs a brake bleed. Check pad thickness first, then inspect for leaks. If pads and seals are good, a full fluid flush with the correct DOT 5.1 or mineral oil will restore firm lever feel.
How to free up a dragging brake caliper?
Check that the wheel is centered in the frame and the caliper is aligned with the rotor. Then make sure the pistons retract evenly by gently pushing them back with a pad spacer. A sticking piston may need cleaning or a rebuild if it does not move freely.
Can I ride with spongy brakes?
Riding with a brake lever that pulls all the way to the bar is not safe. Stopping distance increases dramatically and modulation is poor, which is dangerous on technical descents. Bleed the brakes or take the bike to a shop before riding again.
Get Back to Confident Braking
A brake lever that pulls all the way to the bar is fixable, and most cases come down to air in the system, worn pads, or fluid that needs replacing. Start with a pad check, work through the bleed steps, and reach out to a shop if the lever still feels soft. If you want to keep your stopping power consistent in 2026, build a habit of squeezing the levers before every ride and bleeding DOT systems once a year. Your future self on a steep descent will thank you.