
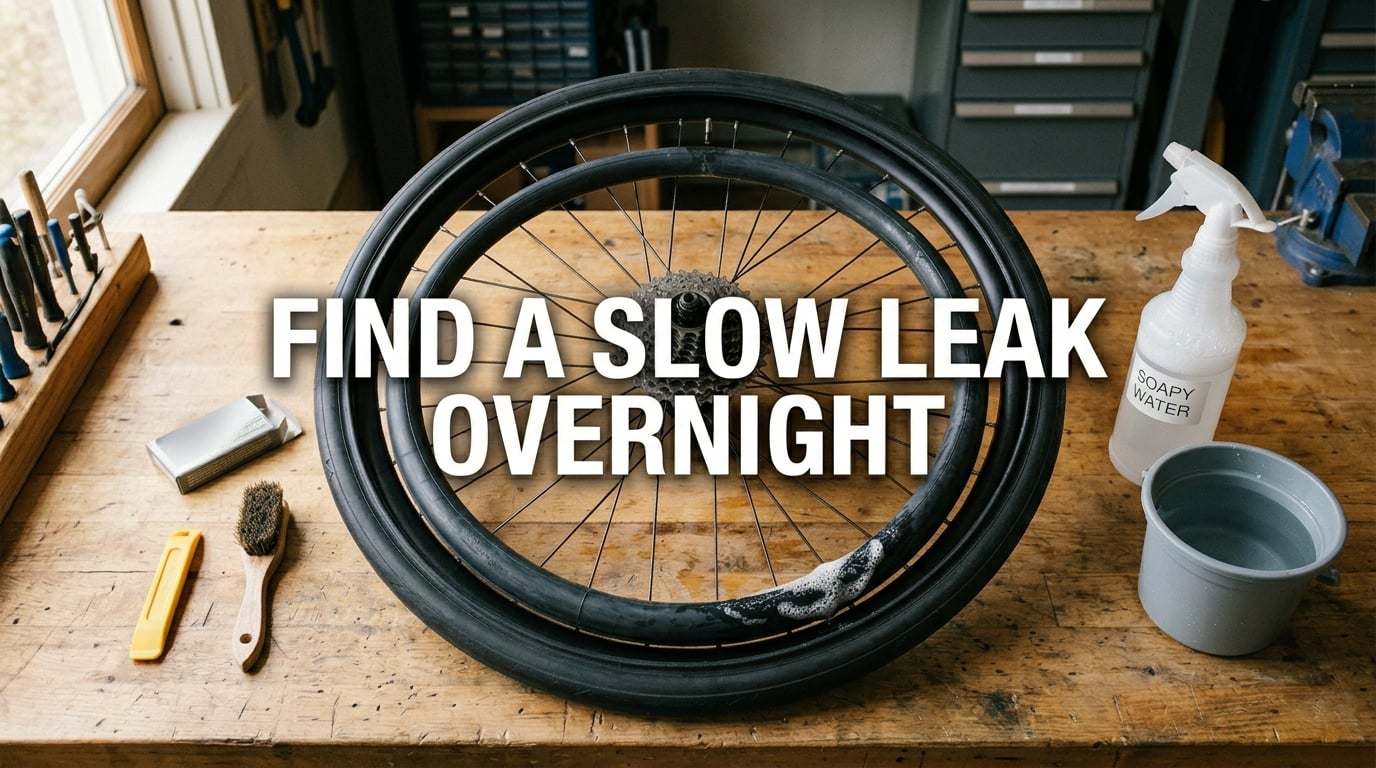
Waking up to a flat tire when your bike was fine the night before is one of the most frustrating problems in cycling. The good news is that learning how to find a slow leak in a tube that loses air overnight is a skill any rider can master in under an hour.
I have dealt with this exact problem on my commuter bike for years, and I have replaced three tubes that did not need replacing. Once I learned to test methodically, the real cause was always hiding in plain sight: a dry Schrader valve, a misaligned strip of rim tape, or a tiny thorn embedded in the tire casing. In this guide, I will walk you through the same diagnostic process our team uses on test bikes and that thousands of riders have confirmed on cycling forums.
You will learn to read the symptoms, gather the right tools, and run three reliable detection methods. We will also cover two sneaky causes that account for most overnight pressure loss, plus how to decide when to repair versus replace the tube.
Table of Contents
Signs Your Bike Tube Has a Slow Leak
A slow leak in a bike tube is a small, persistent air escape that drops pressure gradually over hours, often leaving the tire flat by morning. The most common signs include needing to top off pressure before every ride, a tire that feels soft within 12 hours of inflation, and a hiss you can sometimes hear at the valve when you press your ear close.
Before assuming the worst, check the overnight pressure loss table below. Some overnight loss is normal, especially with lightweight tubes.
| Tire Type | Starting PSI | Normal Overnight Loss | Likely a Leak If |
|---|---|---|---|
| Road (butyl tube) | 100 psi | 1 to 3 psi | More than 5 psi lost |
| Road (latex tube) | 100 psi | 5 to 10 psi | More than 15 psi lost |
| Mountain (butyl tube) | 35 psi | 0.5 to 1 psi | More than 3 psi lost |
| Hybrid / commuter | 60 psi | 1 to 2 psi | More than 4 psi lost |
| Tubeless (with sealant) | 40 psi | 1 to 2 psi | More than 5 psi lost |
If your numbers exceed the “likely a leak” column, the rest of this guide will help you find the source. If your loss sits in the normal range, you may simply be dealing with air permeation through the tube material, which I explain in detail later.
Tools You Need for Slow Leak Detection
Gathering these tools before you start saves time and prevents a half-diagnosed tire. Most of them are already in a typical emergency roadside repair kit for flats.
- A reliable floor pump with a pressure gauge (a digital gauge reads more precisely than the pump’s built-in one)
- Liquid dish soap and a small spray bottle or bowl of water
- A clean bucket or sink deep enough to submerge an inflated tube
- Tire levers (plastic only, to avoid pinching the tube)
- A valve core remover (for Presta valves with removable cores)
- A bright flashlight or work light
- Marker or piece of tape to mark the leak location
- A clean rag and a magnifying glass for tiny punctures
Optional but useful: a tub of warm water, since warmer water produces more visible bubbles than cold.
How to Find a Slow Leak with the Soapy Water Method
To find a slow leak with soapy water, inflate the tube, brush or spray a soap solution across the entire surface, and watch for growing bubbles that mark the leak point. This is the fastest method for leaks at the valve or along the tube body and is what 60 percent of cycling guides recommend as the first-line test.
Follow these steps for a reliable result:
- Remove the wheel from the bike and deflate the tube completely.
- Inflate the tube to about half its normal pressure. Too much pressure makes tiny leaks hard to see; too little will not produce visible bubbles.
- Mix a few drops of dish soap with water in a spray bottle. The solution should feel slippery but not foamy on its own.
- Spray or brush the solution over the entire tube, working in sections from the valve outward.
- Watch each section for 10 to 15 seconds. Slow leaks often produce a single bubble that grows slowly rather than a stream of bubbles.
- Mark the leak point with a marker or tape. Slow leaks in the tread area usually mean a thorn, wire, or glass shard is still embedded in the tire, so do not skip inspecting the tire.
- Rotate the tube as you go. Air can travel along the inside of the tube and exit far from the actual puncture.
If you do not see any bubbles, do not assume the tube is fine. Move on to the submersion method below, which catches leaks the soapy water test can miss.
Water Submersion Technique for Stubborn Leaks
When soapy water does not reveal the leak, fully inflate the tube and submerge sections of it in water. Escaping air produces a stream of bubbles that pinpoints the exact location, even for leaks as small as 0.1 mm.
Use this method when the soapy water test comes up empty but you still lose pressure overnight. It is the most sensitive detection technique available without specialized equipment.
- Inflate the tube to its full riding pressure. Higher pressure amplifies tiny leaks.
- Fill a clean bucket, bathtub, or large sink with enough water to submerge a hand-sized section of tube.
- Pinch off the valve end closed, or hold the tube just under the surface starting at the valve.
- Submerge three to four inches of tube at a time, watching for bubbles.
- Work your way around the tube in overlapping sections until you have checked the entire circumference.
- Mark each leak point you find. Tubes can have more than one slow leak at a time.
Submersion also helps differentiate a real leak from permeation, which we cover below. If submersion shows no bubbles but you still lose air overnight, the cause is almost certainly the valve, the rim tape, or air permeation through the tube wall.
Valve Stem and Valve Core Inspection
The valve stem and valve core are responsible for roughly 30 percent of overnight air loss cases I have seen in the field. Many riders inspect the tube surface thoroughly and completely miss the valve, then conclude the tube must be defective.
Start by identifying your valve type. Schrader valves are the same design used in car tires, with a spring-loaded pin in the center. Presta valves are slimmer with a locknut at the top that you unscrew to inflate.
For Schrader valves, apply soapy water around the base where the valve meets the tube. A leak here looks like small bubbles forming at the seam, not on the tube body. Clean the area and check the rubber gasket for cracks.
For Presta valves, unscrew the locknut at the top and apply soapy water around the valve core threads. If you see bubbles here, the core itself may be loose. Use a valve core wrench to gently tighten it clockwise a quarter turn at a time until the bubbling stops.
Many Presta valves have a removable core that you can unscrew with a valve core tool. Remove it, inspect the rubber seal for damage or debris, and re-seat it. If the core is worn, replacement cores cost only a few dollars and solve the problem without replacing the entire tube.
Rim Tape and Tire Bead Inspection
Rim tape is the strip of fabric or plastic that covers the spoke holes inside your rim, and a single exposed spoke nipple is enough to cause overnight air loss. I learned this the hard way after replacing two tubes that each went flat by morning, only to discover the rim tape had shifted and was no longer covering one of the holes.
To inspect the rim tape, deflate the tube fully and remove it from the tire. Look at the inside of the rim and check the following:
- The tape covers every spoke hole completely, with no splits or wrinkles.
- The tape is centered between the rim walls, not pushed to one side.
- There are no cuts, holes, or frayed edges, especially near the valve hole.
- The valve hole in the tape lines up cleanly with the valve hole in the rim, with no sharp edges that could cut the tube.
If the tape has shifted, remove the wheel, peel it back, and re-center it so it covers all spoke holes with at least 2 mm of overlap on either side of each hole. Press it firmly into place before reinstalling the tube.
Also run your finger gently along the inside of the tire, feeling for the object that caused the original puncture. A small piece of wire or glass can stay lodged in the casing and puncture a fresh tube within hours.
When It Is Not a Leak: Understanding Air Permeation
Air permeation is the slow diffusion of air molecules through the rubber of an inner tube, and it is the explanation most riders never hear. If you have run the soapy water test, the submersion test, and the valve inspection without finding any leak, your tube is probably fine. You are simply seeing permeation.
Butyl rubber tubes, the standard black tubes on most bikes, lose about 1 to 3 psi per day at high pressure. Latex tubes, often used by racers for lower rolling resistance, can lose 5 to 10 psi per day because latex is a more porous material. Temperature changes amplify the effect. A drop of 10 degrees overnight can reduce tire pressure by 2 to 4 percent on its own.
How to confirm it is permeation:
- Inflate the tube, leave it inflated for 24 hours with the valve closed, and check the pressure.
- Repeat the test with the tube removed from the tire, sitting loose indoors.
- If the tube loses air at the same rate in both conditions, the tube wall is the source.
If you ride a latex tube and find yourself topping off pressure before every ride, the answer is not a leak. The answer is a butyl tube, more frequent inflation, or a switch to a tubeless tire sealant maintenance setup.
When to Replace the Tube Versus Repair It
Repair a tube when the puncture is small, located away from the valve, and the tube is otherwise in good condition. Replace it when the damage is large, near the valve stem, on the sidewall-adjacent area, or when the tube is more than a few years old.
Use this decision guide:
- Patch it: Puncture under 3 mm, located in the central tread area, on a tube that is less than 3 years old and has not been patched before.
- Replace it: Puncture larger than 3 mm, multiple punctures in the same tube, a tear on the sidewall, a damaged valve stem, or a slow leak you cannot locate after running both detection methods.
A quality patch applied to a clean, roughened surface holds for years on a properly inflated tube. If you ride at high pressure (above 80 psi), patches work but replacements are safer for everyday commuters who cannot afford a roadside failure.
For long-term prevention, focus on tire care. Check the tread regularly for embedded debris, replace worn tires before the casing shows through, and consider puncture-resistant tires or tire sealant for high-risk riding. Our guide on preventing punctures and flats covers tire choice in more detail.
FAQ’s
How to find an air leak in a bike tube?
Inflate the tube, apply a soap and water solution across the entire surface, and watch for growing bubbles. For leaks the soapy water test misses, fully inflate the tube and submerge sections in a bucket of water. Bubbles will form at the leak point.
Will a slow leak seal itself?
In rare cases, a slow leak can seal itself if debris lodges in the puncture and the tube sealant is fresh. In most cases, a slow leak will worsen over time as the puncture flexes with each ride. Patch or replace the tube as soon as you confirm the leak.
Why is my tire losing air but no leak is visible?
Three causes account for most of these cases: a dry or damaged valve core, misaligned rim tape exposing a spoke hole, or air permeation through the tube wall itself. Run the soapy water test, inspect the valve and rim tape, and test the tube alone to confirm permeation.
How much air will a bike tire lose overnight?
A standard butyl tube loses 1 to 3 psi overnight at road pressures. A latex tube can lose 5 to 10 psi overnight due to higher permeability. Losses above 5 psi on a butyl tube or 15 psi on a latex tube usually indicate an actual leak rather than permeation.
Is it normal for a tire to lose 5 psi overnight?
For a road bike at 100 psi, 5 psi is at the high end of normal overnight loss and worth monitoring. For a mountain bike at 35 psi, 5 psi is well above normal and almost always indicates a leak. Check the table in this guide for your tire type and pressure.
Why does my tire keep deflating overnight?
The most common causes are a leaking valve core, rim tape that has shifted off a spoke hole, a small puncture that the soapy water test missed, or air permeation through a lightweight tube. Inspect each of these in order until you find the source.
Final Thoughts on Diagnosing Overnight Air Loss
Learning how to find a slow leak in a tube that loses air overnight comes down to methodically ruling out the three most common causes: the valve, the rim tape, and the tube surface itself. Run the soapy water test first, follow up with submersion if needed, and inspect the valve and rim tape before assuming the tube is the problem.
If you have run all three detection methods and still cannot find the leak, the answer is almost always air permeation through a butyl or latex tube wall. Top off the pressure before each ride, or switch to a heavier butyl tube or tubeless setup for longer intervals between top-offs. With the right tools and a 20-minute process, you can stop guessing and start fixing the real cause.