
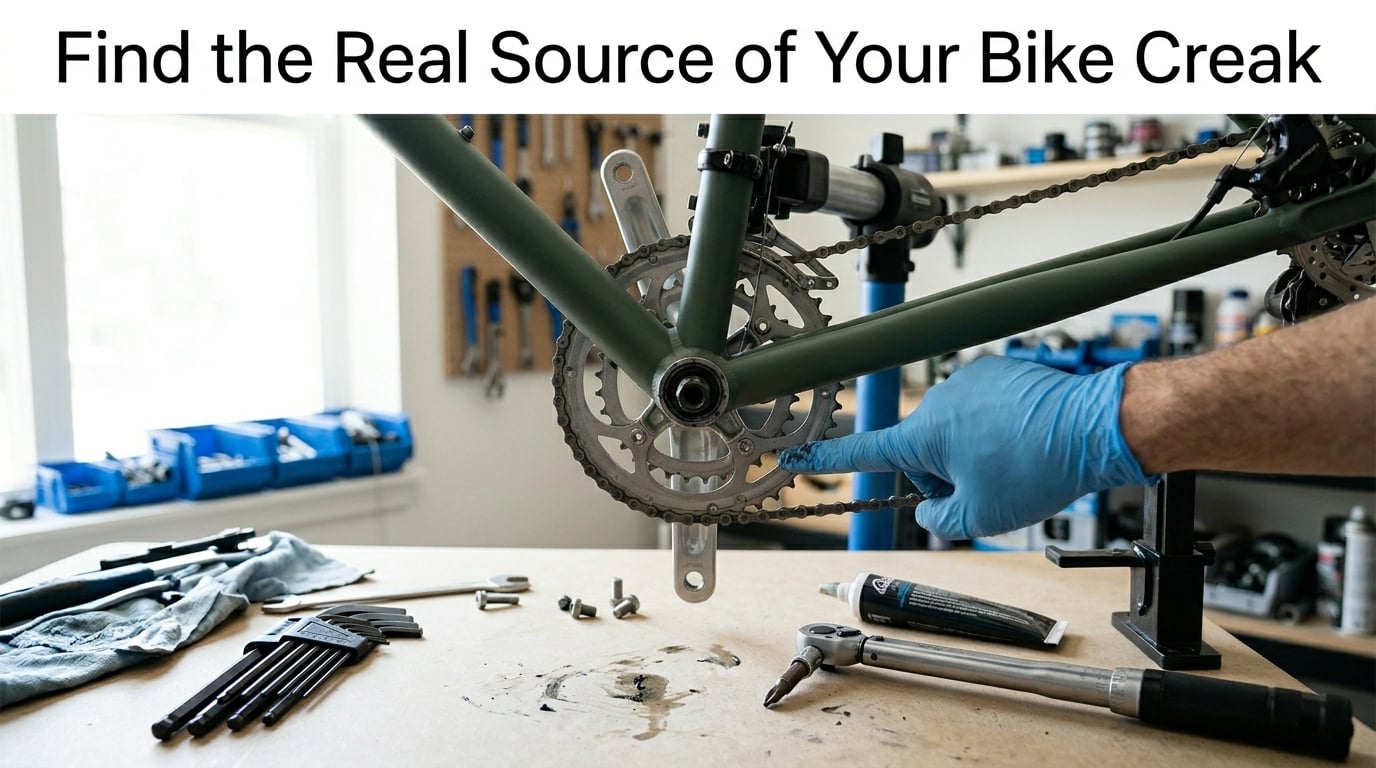
A creaking bottom bracket when pedaling is one of the most common complaints I hear from riders. In our experience wrenching on bikes for years, the bottom bracket is the usual suspect, but it’s the wrong suspect about 90% of the time.
Sound travels through metal frames in weird ways, so a creak that sounds like it’s coming from your bottom bracket is often the chainring bolts, the pedals, the seatpost, or even the rear skewer. Mechanics in bike shops dread the BB creak complaint for exactly this reason.
This guide walks you through the diagnostic order we use. You’ll start with the cheapest, easiest fixes first and only touch the bottom bracket itself if everything else checks out. By the end, you’ll have a clear method for finding the real source of that annoying creak.
Table of Contents
5 Things That Sound Like a Creaking Bottom Bracket (Check These First)
Before you pull out the bottom bracket tool, run through this checklist. These five components are responsible for the majority of “bottom bracket creaks” that show up in our shop.
- Chainring bolts – the most common false positive
- Pedal spindles – especially on clipless pedals
- Crank bolts – the side-to-side movement test catches this
- Seatpost and saddle binder – hidden culprit, easy to miss
- Quick-release skewers or thru-axles – the surprise offender
Work through them in this order. If a fix doesn’t silence the creak, move to the next one. Most riders find their answer within the first three items.
Chainring Bolts Are the #1 False Positive
If your bike has a creaking bottom bracket when pedaling, the chainring bolts are the first place we look. The bolts that hold the chainrings to the crank arm loosen over time from vibration, grit, and pedaling force. They create a creak that resonates through the crank arm and sounds exactly like a BB issue.
Here’s the test. With the bike in a stand or upside down, push the crank arm side to side while looking at the chainring. If you see any gap opening between the chainring and the spider, the bolts are loose.
Fix it with a Torx or hex key, tighten each bolt in a star pattern to the manufacturer’s torque spec (usually 10-12 Nm for most cranks). Apply a drop of medium-strength threadlocker like blue Loctite 243 to the bolt threads before reinstalling. That stops them from backing out again.
Pedal Spindles Creak More Often Than You Think
Pedals take a beating, and the spindle bearings inside them wear out. When they get dry or contaminated, they creak with every pedal stroke. Because the pedal sits right next to the bottom bracket, the sound is hard to localize.
Stand over the bike and unclip from one pedal. Spin the pedal by hand and listen for any rough feeling or noise. A good pedal should spin smoothly for many seconds. If you feel grittiness, the bearings need service or replacement.
For most serviceable pedals, remove the end cap, slide out the axle, clean everything, and repack with fresh grease. For sealed-bearing pedals, replacement is usually the only option. While you’re at it, grease the pedal threads before reinstalling them into the crank. That’s a separate common source of creaks that riders often miss.
Crank Bolts and the Side-to-Side Movement Test
Loose crank bolts are another top cause of creaking when pedaling. The crank arm bolts onto the spindle, and if they back off even slightly, the whole arm moves under load and creaks. On a brand new bike, this can happen in the first few rides if the factory didn’t apply threadlocker.
Grab the non-drive-side crank arm and try to wobble it side to side relative to the spindle. There should be zero play. If you feel any movement, the crank bolt needs torque.
For external bearing cranks, use an 8mm or 10mm hex key and torque the bolt to spec (typically 40-50 Nm for Shimano Hollowtech II, around 48-54 Nm for SRAM). For older square-taper or Octalink cranks, use a crank puller to remove the arms, clean the spindle tapers with isopropyl alcohol, apply a thin layer of anti-seize, and reinstall to spec.
Seatpost and Saddle Binder Bolts Are Common Hidden Culprits
The seatpost and saddle are above the bottom bracket, but creaks from the saddle area travel down through the frame and end up sounding like a BB creak. Mechanics see this one constantly.
Start by gripping the saddle and trying to twist it. Any movement means the saddle binder bolt is loose. Tighten it to spec and re-test.
Next, remove the seatpost entirely. Clean the inside of the seat tube and the post itself with a rag, then apply a thin layer of grease to the post. Reinsert and clamp down. If the post is carbon and the frame is metal (or vice versa), use a carbon assembly paste instead of grease. This compound grips better and prevents the dreaded carbon-to-metal creak.
Our team has fixed countless “bottom bracket creaks” with nothing more than a fresh layer of grease on a seatpost. It’s worth doing even if it doesn’t seem like the obvious culprit.
Other Components That Mimic a Creaking Bottom Bracket
If you’ve gotten this far and the creak is still there, you have a smaller list of suspects to chase. Each one is worth a few minutes of inspection.
Shoe Cleats
Worn or loose cleats on your cycling shoes creak with every pedal stroke. The sound transmits up through the pedal and into the frame. Inspect the cleats for wear (most brands have wear-indicator lines) and tighten the cleat bolts. If the cleats are shot, replacement is cheap and instant.
Quick-Release Skewer or Thru-Axle
This one is famous in our shop. A rear wheel that isn’t fully clamped creaks under pedaling load, and the sound rolls forward through the frame to sound like a BB issue. A Reddit user recently traced a year-long “BB creak” to a loose rear skewer.
Open the quick release, apply a small amount of grease to the skewer shaft, and reclose it firmly. For thru-axles, make sure the lever is fully closed and torqued to spec.
Derailleur Hanger
A bent or loose derailleur hanger can shift slightly under pedaling force and creak. Grab the derailleur cage and try to wiggle it. The hanger itself should be tight in the frame. If the hanger has play, tighten the mounting bolt. If the hanger is bent, replace it.
Frame and Bottle Cages
Loose bottle cage bolts, fender mounts, or accessory bolts on the frame can creak too. Run a hand over the frame while rocking the bike and listen for the creak to amplify.
If You Ruled Out Everything Else, Check the Bottom Bracket Itself
If you’ve checked chainring bolts, pedals, crank bolts, seatpost, and the skewer without finding the creak, you can finally start suspecting the bottom bracket. At this point, the creak is much more likely to be the BB itself.
To test, remove the chain from the front chainring and spin the cranks freely. Listen for grinding, clicking, or roughness. Any of those signs point to worn bearings. A simple way to test: place the bike in a stand, grab the drive-side crank arm, and try to rock it back and forth. Any play means the bearings are loose.
Press-fit bottom brackets are particularly known for creaking. The cups press directly into the frame, and any micro-movement between the cup and the frame shell causes a creak under load. Even brand new bikes with press-fit BBs can develop this issue within a few months of riding.
For threaded bottom brackets (BSA, T47), the fix is usually just replacing the BB. Removal is straightforward with the right tool. For press-fit BBs, the diagnosis is the same but the fix is more involved. You’ll need a bearing press or a BB removal tool. Keeping up with proper bearing maintenance extends their life significantly.
Threaded vs Press-Fit: Why Your BB Type Changes the Diagnosis
The bottom bracket standard on your bike changes how you approach the problem. Threaded BBs (BSA, T47) screw into the frame and rarely creak at the frame interface. Press-fit BBs (BB30, PF30, BB86) press into the frame and are much more prone to creaks at the cup-to-frame interface.
Threaded BBs are generally more service-friendly. The bearings sit inside a self-contained unit that screws in and out. When they creak, the fix is replacement, and it’s a 15-minute job with the right tools.
Press-fit BBs were designed to be lighter and stiffer, but they have a reputation for creaking. The cups are an interference fit inside the frame, and over time, that fit loosens. Mechanics often use a retaining compound like Loctite 609 or a BB-specific anti-creep compound when reinstalling a press-fit BB. Some riders go as far as wrapping the cups with Teflon tape or thin shim material to tighten up the fit.
If you’re shopping for a new bike and creak-free riding is a priority, threaded BBs (especially T47) are the easier-to-maintain choice.
When to Take Your Bike to a Mechanic
Most of the steps in this guide are DIY-friendly, but there are times when a shop visit makes sense. If you’ve worked through the entire checklist and the creak is still there, a mechanic with a stethoscope or ultrasonic probe can find it in minutes.
Also take it in if you find play in the bottom bracket itself and aren’t comfortable pressing in a new one. The tools for press-fit BBs are specialty items, and forcing things can damage the frame.
Carbon frames deserve a special mention. Creaks transmit through carbon in unusual ways, and what sounds like a BB creak can come from a seatpost binder, a bottle cage bolt, or even an internal cable routing guide. If you have a carbon frame and a persistent creak, a mechanic who works on carbon bikes regularly is worth the visit.
Riding with a creak is generally safe, but it’s a sign that something is loose or worn. Address it before the loose part damages another component or fails mid-ride.
Frequently Asked Questions
Why does my bottom bracket make a creaking sound?
A creaking bottom bracket sound is most often caused by components near the BB, not the BB itself. Chainring bolts, pedal spindles, crank bolts, and seatpost binder bolts are all common culprits. Sound transmits through the frame, making the BB area the noisiest sounding spot.
Why does my bike creak when pedaling?
Your bike creaks when pedaling because something is loose, dry, or worn where power transfers. Common sources include chainring bolts, pedal threads, crank arm bolts, seatpost, saddle binder, and quick-release skewers. The creak only happens under load because that’s when these components shift slightly against each other.
Why is my bottom bracket creaking under load?
A bottom bracket creaks under load because the bearings or BB cups are moving slightly under pedaling force. Press-fit BBs are especially prone to this because the cups can shift in the frame shell. Threaded BBs creak under load when the bearings are worn or contaminated with water and grit.
Why does my bottom bracket click when I pedal?
A clicking bottom bracket when pedaling usually points to a loose chainring bolt, a worn pedal bearing, or play in the crank arm interface. A single click per pedal stroke is often a chainring bolt. Rapid clicking under load is more often the pedal or the BB itself.
Final Thoughts on Diagnosing Your Creaking Bottom Bracket
A creaking bottom bracket when pedaling is one of the most common bike complaints out there, and it’s almost always something other than the BB. The trick is to work through the diagnostic order methodically: chainring bolts, pedals, crank bolts, seatpost, and skewers, in that order.
Only after ruling out every other source should you suspect the bottom bracket itself. By that point, you’ve also learned a lot about your bike, and the fix will be much faster.
If you found this guide helpful, work through the checklist on your own bike this weekend. Most riders silence the creak in under 30 minutes with basic tools. If you have a stubborn creak we didn’t cover, drop us a comment and we’ll help you track it down.