
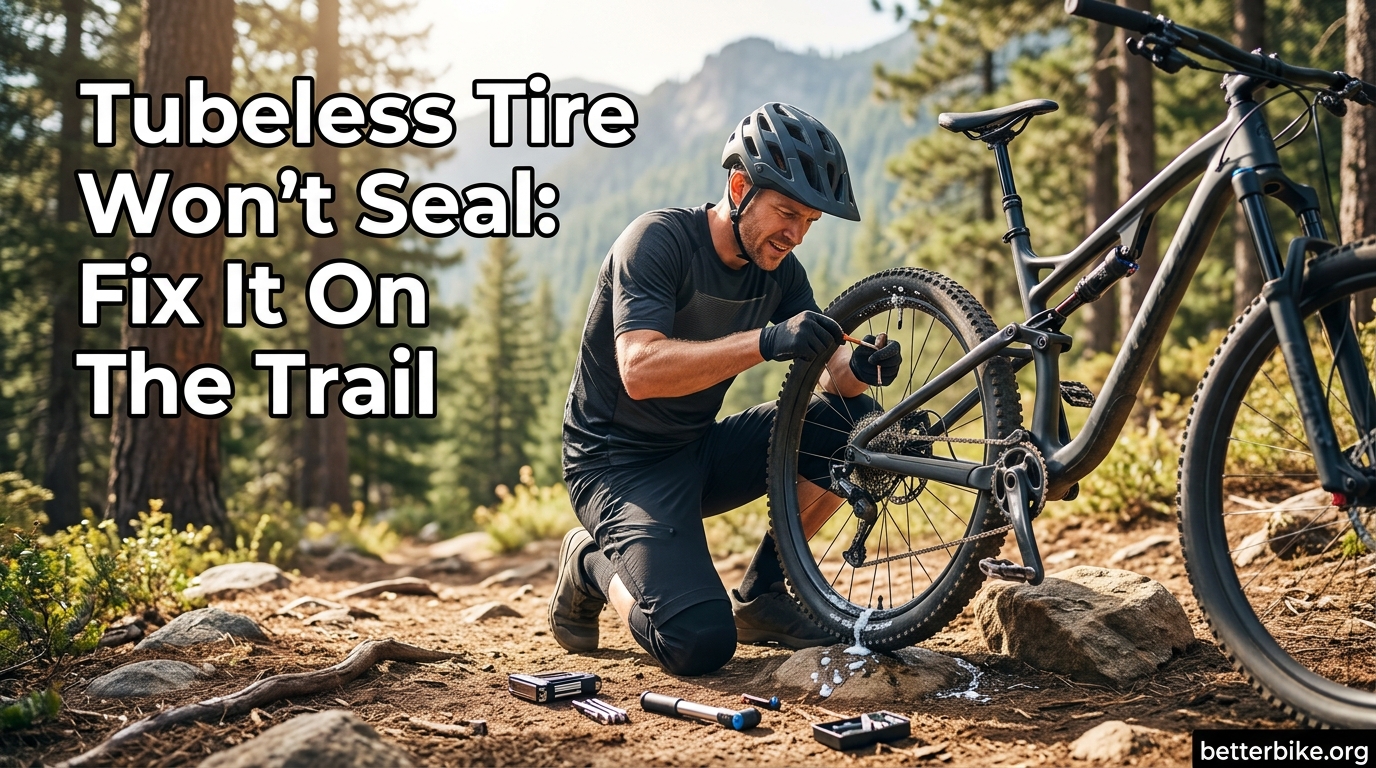
A tubeless tire won’t seal when air escapes faster than the liquid sealant can plug the gap. The usual suspects are dried-out sealant, damaged rim tape, a sticky or loose valve core, or a tire bead that never popped into the rim channel. The good news: most of these problems are fixable on the trail with a few basic tools and about ten minutes of patience.
I’ve been running tubeless on everything from my gravel bike to my full-suspension MTB for years, and the first time a tire refused to seal I nearly walked home. Since then I’ve learned that the trick isn’t adding more sealant. It’s finding the actual leak. In this guide, I’ll walk you through the same diagnostic steps I use, starting with the easiest checks and moving toward trail-side fixes that have saved several of my rides.
If you’re new to tubeless setups, you may also want to read about tubeless setup benefits for gravel riding to understand why we put up with this hassle in the first place.
Table of Contents
Why a tubeless tire won’t seal: the common causes
Most tubeless sealing failures come from one of five problems: sealant that has dried out or separated, rim tape with gaps or bubbles, a valve core that is loose or clogged, a tire bead that didn’t seat properly, or a porous sidewall that bleeds air through the tire casing. Each of these has a different fix, and the wrong fix wastes time.
Before you start pouring sealant into your tire, take five minutes to actually find the leak. A soapy water test takes less time than a second setup attempt, and it tells you exactly where to focus your repair. I cover the full test method further down.
Check the sealant first
Expired or insufficient sealant is the number one reason a tubeless tire won’t seal. Latex-based sealants have a shelf life of about two years unopened, and once you install them they start drying out inside the tire. In hot climates or with thin casings, sealant can turn to chunky latex paste in as little as three months.
How to tell if your sealant has dried out
Shake the wheel and listen. Fresh sealant sloshes audibly. If you hear nothing, the sealant has likely dried into clumps. You can also deflate the tire, unseat one bead, and look inside. Healthy sealant is milky white or blue, depending on the brand. If it looks like rubber cement or has separated into watery liquid with floating chunks, replace it.
For most mountain and gravel tires, plan to top off or replace sealant every 4 to 6 months. I refresh mine at the start of every riding season and again mid-summer. If you want a deeper dive into long-term tubeless care, our guide to tubeless tire maintenance covers the full checklist.
How much sealant to use
Most road tires need 30 to 40 ml per wheel. Gravel tires usually take 40 to 60 ml. Mountain bike tires, especially plus-size or 2.5 inch plus casings, can swallow 80 to 120 ml. When in doubt, err on the side of more rather than less, but don’t go overboard. Excess sealant sloshes around, adds weight, and can clog valve cores.
Inspect the rim tape
Rim tape is the unsung hero of any tubeless setup. If it has gaps, bubbles, or has shifted off the spoke holes, air will leak straight into the rim cavity. On a tubeless tire, this often shows up as a slow overnight pressure loss with no obvious puncture.
To check, deflate the tire fully and push the bead to one side so you can see the rim bed. Look for wrinkles, lifted edges, or visible spoke holes. The tape should be smooth, centered over the spoke holes, and extend at least 2 mm past the nipple bed on each side.
If the tape is damaged, peel it off completely and start fresh. Clean the rim with isopropyl alcohol, let it dry, then apply a single wrap of quality tubeless tape. Stretch the tape firmly as you apply it so it pulls into the spoke hole dimples rather than bridging over them. Most 25 to 30 mm rims need 25 mm wide tape. Hookless rims may need the manufacturer-recommended tape type. Avoid generic electrical tape. It shifts and breaks down quickly.
Look at the valve and valve core
Valve issues account for a surprising share of tubeless problems. The two most common: a loose valve core and a clogged valve core. Either one prevents the tire from holding pressure.
Grab a valve core tool and remove the core. Blow through it. If air doesn’t pass freely, the core is clogged with dried sealant. Soak it in warm water for ten minutes, then clear it with a thin wire or pin. If the rubber seal on the core looks cracked or deformed, replace the core. Quality Presta cores cost only a couple of dollars each.
While the core is out, check the valve base inside the rim. There should be a rubber gasket or O-ring seated against the rim bed. If it’s missing, twisted, or pinched, air will leak around the valve stem. Some valves have a lock ring that threads onto the stem from inside the rim. Make sure it’s snug but not over-tightened, which can crack plastic valve bodies.
Seat the tire bead properly
A tire bead that hasn’t popped into the rim’s bead channel is the classic setup problem. You inflate the tire, hear air hissing, and nothing seats. The fix is more volume of air delivered faster than the air can escape.
At home, a compressor is the easiest way. A floor pump can work on road and gravel tires, but for mountain bike tires you’ll struggle to generate enough volume. If you don’t have a compressor, the trick is to add sealant through the valve with the core removed, then inflate with a floor pump. The liquid sealant temporarily plugs the gaps long enough for the bead to seat.
For hookless rims, do not exceed the maximum pressure printed on the tire. Hookless systems require a tight, fast burst, and exceeding pressure can blow the tire off the rim dangerously.
Diagnose sidewall weeping
Sidewall weeping happens when tiny air bubbles push through the porous casing of the tire itself, not around the bead or valve. It’s most common with lightweight cotton-casing tires and high-pressure road setups. A thin mist of sealant droplets appears on the sidewall and dries to a pale crust.
Mild weeping usually stops on its own once the sealant coats the inside of the casing. Persistent weeping means there isn’t enough sealant, or the sealant has thinned from old age. Refreshing the sealant often solves it. For stubborn cases, boosting the sealant dose or switching to a brand with larger particles (or adding a glitter additive) can help fill bigger gaps in the casing weave.
Use the soapy water test to find leaks
The soapy water test is the fastest way to identify exactly where your tubeless tire won’t seal. Mix a small bottle of dish soap with water in roughly a 1:4 ratio. Squeeze it onto the tire, paying special attention to the bead area, valve stem, and any visible punctures.
Inflate the tire and watch. Bubbles form and grow at the leak site within seconds. The first place I always check is the valve, because valve leaks account for a huge percentage of phantom slow leaks. Then I run my eyes around both beads, especially at the bottom of the tire where sealant pools. Last, I inspect the tread and sidewalls for punctures too small to see with the naked eye.
Mark the leak with a piece of tape or a dot of paint pen, deflate the tire, and patch or plug as needed.
How to fix a tubeless flat on the trail
When you hear that dreaded hiss of sealant and air mid-ride, you don’t need a compressor or a workshop. You need a plug kit, a mini pump or CO2 cartridge, and about ten minutes. Here’s the trail-side workflow I use.
- Find the leak. Spin the wheel and look for sealant spray. If you can’t see one, the soapy water trick works on the trail too. Spit on the tire if you have to. Bubbles form at the leak.
- For punctures under 5 mm, push a tubeless plug (sometimes called a “bacon strip”) through the hole from the outside using the insertion tool. Leave about 5 mm of plug sticking out, then snap it flush with the tread.
- Spin the wheel so the sealant inside flows over the plug. The latex will bond with the plug material within a few rotations.
- For larger cuts, insert a tire boot or a folded dollar bill under the tire, between the casing and the inner tube if you’ve already thrown one in. Better yet, carry a proper tire boot in your saddle bag.
- Inflate with a mini pump. If the pump can’t deliver enough air to seat the tire, use a CO2 cartridge. A 16 g cartridge is enough for most gravel and mountain tires. 25 g for high-volume 2.4 inch and larger.
- Re-check pressure after a minute. If the tire holds air, ride carefully back to the trailhead or finish your loop at lower pressure. Top off sealant at home.
For more on what to carry for these moments, see our guide to building an essential tubeless repair kit. If you want a more detailed walk-through of mid-ride repairs, the article on trail-side tubeless tire repair breaks down the same process with photos.
When to replace instead of repair
Some tubeless tire problems aren’t worth fixing. Replace the tire if the sidewall is badly cut, the bead is damaged or kinked from being folded, or the casing has more than a handful of plugs in it. Replace the rim tape any time you suspect a slow leak that soap testing can’t pinpoint on the tire or valve. And always replace a valve core that is corroded, cracked, or stuck.
The goal isn’t a perfect-looking tire. It’s a tire that holds air reliably for the duration of your ride. If a repair feels sketchy in the garage, it will feel worse 20 km from the trailhead.
FAQ’s
Why can’t I get my tubeless tire to seal?
A tubeless tire won’t seal when air escapes faster than the sealant can plug the gap. The most common causes are dried-out or insufficient sealant, rim tape with gaps or bubbles, a loose or clogged valve core, a tire bead that hasn’t seated in the rim channel, or a porous sidewall. A soapy water test pinpoints the exact leak location in under a minute.
Can you use WD-40 to seal a tire bead?
WD-40 is not a sealant and will not hold air in a tubeless tire. It can temporarily help a stubborn bead slip into place, but it dissolves quickly and leaves no lasting seal. Use proper tubeless sealant for sealing and a soapy water or dedicated bead lubricant only for seating.
How do I fix a tubeless flat on the trail?
Locate the leak by spinning the wheel and looking for sealant spray, or use a squirt of water to find bubbles. For punctures under 5 mm, push a tubeless plug through the hole with the insertion tool, trim it flush, and rotate the wheel so the sealant inside bonds with the plug. Reinflate with a mini pump or a CO2 cartridge.
What happens if tubeless sealant dries out?
When tubeless sealant dries, it turns from a milky liquid into chunky latex paste or separates into watery fluid with floating solids. The tire stops self-sealing because the dried clumps can no longer flow into punctures. Refreshing sealant every 4 to 6 months prevents this, and any tire that has sat unused for more than six months should have the sealant replaced.
What happens if you put too much sealant in a tubeless tire?
Excess sealant adds rotational weight, sloshes audibly, and can clog the valve core. In extreme cases, too much liquid prevents the bead from seating during inflation because the sealant pool blocks the air channel. Most road tires need 30 to 40 ml, gravel tires 40 to 60 ml, and mountain bike tires 80 to 120 ml per wheel.
Final thoughts on tubeless sealing
A tubeless tire won’t seal for a reason, and finding that reason is faster than guessing. Start with the soapy water test, work from the valve outward, and refresh the sealant on a regular schedule. Keep a plug kit and a CO2 cartridge in your saddle bag, and you can fix 90 percent of trail flats without walking out.
For most riders, tubeless is still worth the small amount of fiddling. You get fewer flats, lower pressures, and more grip. Spend an afternoon dialing in your setup at home, and the trail will reward you with a lot fewer surprises.