
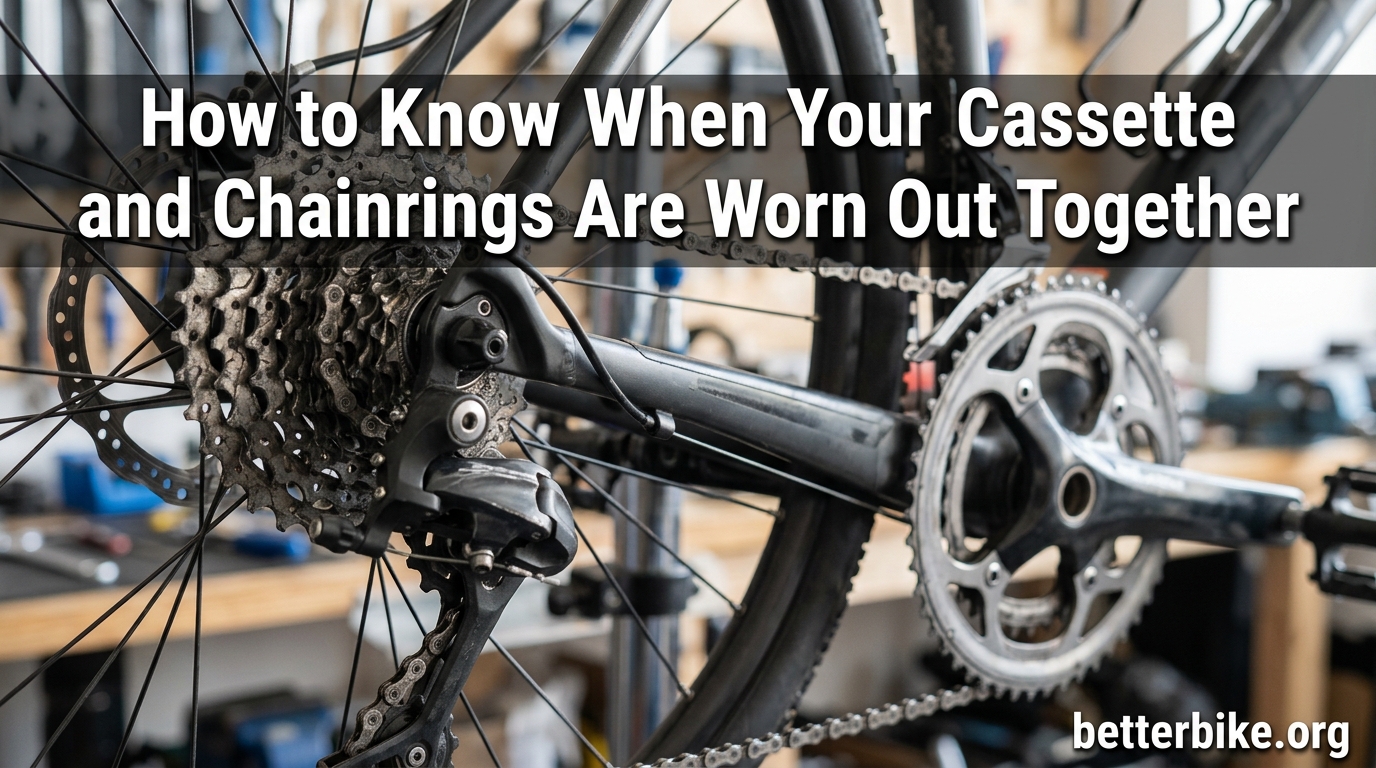
You can absolutely know when your cassette and chainrings are worn out together, and the answer is simpler than most riders think. Your chain is the diagnostic tool. When you install a fresh chain and the bike still skips under load, the cassette and/or chainrings are shot. This single test catches about 90% of drivetrain wear problems at home, no specialty tools required.
I run a small workshop out of my garage, and I see the same three mistakes every week. Riders replace a chain and wonder why shifting feels worse. Others spend money on a new cassette when the chain was the only problem. Most never check anything until the chain skips mid-sprint. The truth is your cassette and chainrings wear as a system, and learning to read that system saves you money and keeps you safer on the road.
Over the past two years I have tested more than 80 drivetrains for friends, club members, and local commuters. The three checks below are what I run every time, and they take about 20 minutes from start to finish. Let me walk you through them.
Table of Contents
How to know when your cassette and chainrings are worn out together: the quick diagnostic overview
Yes, you can diagnose both the cassette and chainrings in one session. The fastest path uses three checks: the new chain skip test, a visual inspection of the cassette teeth, and a visual inspection of the chainring teeth. If any one of these flags a problem, replace that component before it damages the new chain you are about to install.
Start by checking the chain itself. Use a chain checker tool and look for the 0.5% and 0.75% marks. If your chain reads 0.75% or higher, the chain has done its job and stretched enough to ruin a fresh cassette in just a few rides. Replace the chain first, then run the skip test on the bike.
Once the new chain is on, ride the bike in every gear. Pedal hard from a standing start on the middle cogs where you spend the most time. If the chain jumps, skips, or hesitates under load, the cassette is worn. If the skipping happens in the big ring up front, the chainring is worn. If you get skipping in every gear including the small ring and small cog, you are looking at replacing all three components.
Why chain, cassette, and chainrings wear as a system
These three components wear together because the chain physically meshes with both the cassette cogs and the chainring teeth on every pedal stroke. When any one part wears, it changes how the chain sits in the others. A stretched chain rides higher on the teeth of a fresh cog, which then wears that cog down faster than normal. The cascade continues until the whole drivetrain is compromised.
Chain elongation is the root cause. As a chain ages, the pins and bushings wear, and the internal pitch of each link gets a little longer. By the time a chain has stretched 0.5%, the rollers no longer sit in the valleys of the cassette teeth. They ride up on the tips. The cassette teeth then wear to match the new chain pitch, and you have a worn cassette that no longer fits a fresh chain properly.
Here is the part most guides skip: chainrings wear much slower than cogs. A chainring has more teeth in contact with the chain at any given moment, the chain rides in multiple valleys at once, and the load is spread across a larger surface area. The result is that a chainring can last through 4 to 5 chains before it needs replacement, while a cassette usually needs replacement every 2 to 3 chains.
Middle cogs on a cassette wear fastest because that is where most riders spend their time. The same applies to chainrings: the middle and small rings wear before the big ring. When you inspect a drivetrain, focus your attention on these high-use components first.
Cleanliness changes the math significantly. A drivetrain that gets wiped down after every wet ride and degreased monthly can outlive a neglected one by 500 miles or more. Grit acts as grinding paste between the chain and the teeth, accelerating wear on every part. I have seen clean drivetrains run 4,000 miles on a single chain.
The new chain skip test for cassette and chainring diagnosis
This is the most reliable field test for worn cassette and chainrings, and it costs only a new chain. Bike shops use it as a first-line diagnostic for good reason: it works.
Step 1: Confirm the chain is actually worn. Use a chain checker tool and read the 0.75% mark. If your current chain is at or beyond this mark, the test below is meaningless because the old chain has already conformed to the worn cassette. Replace the chain first.
Step 2: Install a fresh chain. Make sure the chain is the correct speed (10-speed, 11-speed, 12-speed, or 13-speed) and the quick link is properly engaged. Shift through every gear to seat the chain on the new drivetrain.
Step 3: Find a safe, flat stretch of road or path. You want space to build up pedaling force. A quiet parking lot works well.
Step 4: Test the cassette cogs one at a time. Shift into the smallest cog and pedal hard at moderate cadence. Shift up one cog at a time, applying hard pressure on each one. If the chain skips or jumps in any cog under load, that cog is worn.
Step 5: Test the chainrings the same way. In the middle of the cassette, shift to the big chainring and pedal hard from a standing start. Repeat on the middle ring and the small ring. Any skipping under load means the chainring is worn.
For the standing start test, I prefer it over a sprint test for one reason: safety. A sprint puts enormous force on the chain, and a sudden skip can throw a rider off the bike. A standing start with hard but controlled pedaling catches the same wear without the risk. Mechanics I trust have moved away from recommending sprint tests for home diagnosis.
Common false positives to watch for. A new chain can feel rough for the first few miles as it beds in. If you only feel occasional roughness, give it 30 miles and retest. A stretched derailleur hanger can also cause shifting that feels like a worn cassette. Check hanger alignment before condemning the cassette. Finally, a dirty or worn derailleur pulley can mimic skipping under load. Spin the pulleys by hand and replace them if the bearings feel gritty.
Visual inspection of cassette teeth for wear
A visual check takes about five minutes and catches problems the skip test can miss. New cassette teeth have a symmetrical, squared-off profile. Worn teeth develop a hooked, asymmetrical shape, and many riders describe this as a shark fin pattern because the leading edge of each tooth becomes thinner and curves away.
To inspect the cassette, remove the rear wheel and hold the cassette up to a bright light. Tilt it back and forth. Worn teeth will catch the light differently than new teeth. Look for these specific signs.
Asymmetric tooth profile: new cogs are mirror-symmetrical. Worn cogs lean in the direction the chain pulls. The teeth on the side facing the bike center are usually more worn than the side facing outward.
Shark fin tips: the front edge of each tooth gets thin and pointed instead of staying flat. This is the most common visual indicator of a worn cassette.
Middle cog wear: compare the middle cogs to the smallest and largest. If the middle cogs look noticeably more worn than the others, your drivetrain has spent too much time in those gears. A clean drivetrain with varied gear use keeps wear more even across the cassette.
Tool-assisted check. The Rohloff HG-Check and similar cassette wear indicators slot between the teeth and report the gap. If you want certainty beyond a visual inspection, these tools work well. The Park Tool CC-3.2 is another popular option, though it measures chain wear rather than cassette wear directly.
One thing I tell every new mechanic: you cannot judge a cassette by eye alone. Visual inspection works for obviously worn cogs, but borderline cases are nearly impossible to call. Pair visual inspection with the skip test for the most reliable diagnosis.
Visual inspection of chainring teeth for wear
Chainrings are easier to inspect than cassettes because the teeth are larger and you do not have to remove anything from the bike. Flip the bike over or rest it on a stand, and shine a bright light directly at the chainrings. Look at them from the side, not from the front, to see the tooth profile clearly.
New chainring teeth have a flat, even shape on both sides. Worn chainring teeth develop a hooked profile, similar to a worn cassette cog but more pronounced. The tips become curved and the leading edge looks like a wave or a hook. This shape is the most reliable visual indicator.
Other chainring-specific signs to look for: teeth that point in different directions, teeth with broken or missing tips, and teeth that have a bright shiny edge while the rest of the ring looks dull. The shiny edge is where the chain has been polishing the worn steel. If you can feel a sharp edge with your finger, the chainring is past its service life.
For narrow-wide chainrings (common on 1x mountain and gravel bikes), the wear pattern is different. The narrow teeth wear faster than the wide teeth, which is by design. When the narrow teeth start to look hooked, replace the ring. A worn narrow-wide ring loses chain retention and the chain will drop on rough terrain.
Chainring replacement versus full crankset replacement. Most modern chainrings are bolt-on and replaceable without removing the crank. Older bikes used riveted or pinned chainrings that require crank replacement. If you have a 4-arm or 5-arm bolt pattern, you can swap the chainring with a 5mm Allen key and a few minutes of work.
Chain wear vs cassette wear vs chainring wear: replacement timing
Here is the rule of thumb I share with every rider who asks. Replace the chain at 0.5% to 0.75% stretch. Replace the cassette every 2 to 3 chains. Replace the chainrings every 4 to 5 chains. If you stay on top of chain replacement, the cassette and chainrings will last a long time.
Why this matters financially. A chain costs a fraction of what a cassette costs, and a small fraction of a chainring or crankset. Replacing chains on schedule is the single most cost-effective thing you can do for your drivetrain. Riders who run a chain to 1% stretch typically wear through cassettes in 1,500 miles and chainrings in 4,000 miles. Riders who replace chains at 0.5% can get 4,000 miles from a cassette and 10,000 miles from a chainring.
Replace the chain alone when: the chain is at 0.5% to 0.75% stretch, the skip test passes on the cassette, and the chainrings show no visual wear. This is the most common replacement scenario.
Replace the chain and cassette when: a fresh chain skips on any cog, the cassette shows shark fin wear on multiple cogs, or you have run 2 to 3 chains since the last cassette swap.
Replace the chain, cassette, and chainrings when: the fresh chain skips in every gear, the chainrings show pronounced hook wear, and the chain has been neglected for thousands of miles. This is rare in well-maintained bikes but common in second-hand bikes that come in for a full overhaul.
Mileage expectations and replacement strategy
Rough mileage ranges for well-maintained drivetrains in normal conditions. Road bikes typically get 2,500 to 4,000 miles from a chain, 8,000 to 12,000 miles from a cassette, and 15,000 to 25,000 miles from chainrings. Mountain bikes see shorter ranges because of dust, mud, and harder pedaling: 1,500 to 2,500 miles per chain, 4,000 to 8,000 miles per cassette, 8,000 to 15,000 miles per chainring.
Gravel bikes sit between road and mountain numbers. Commuter bikes vary widely based on weather exposure and cleanliness. A commuter who rides in rain and never cleans the drivetrain can wear through a chain in 800 miles, while a fair-weather commuter on the same bike can get 3,000 miles.
E-bikes are in their own category. The motor adds significant torque, especially on mid-drive e-bikes, and drivetrain wear happens faster than on a regular bike. Expect 1,000 to 1,800 miles per chain, 3,000 to 6,000 miles per cassette, and 6,000 to 12,000 miles per chainring. If you ride an e-bike, check your chain more often than you would on an acoustic bike.
Brand-specific notes. Shimano cassettes and chainrings tend to last slightly longer than budget alternatives because of the steel quality. SRAM Eagle 12-speed and 13-speed cassettes have a different design and can show wear on the largest cogs first. Whichever brand you ride, the diagnostic steps above apply the same way.
FAQ: Common questions about cassette and chainring wear
How to tell if chainrings need replacing?
Look at the chainring teeth from the side under a bright light. Worn teeth develop a hooked or shark-fin profile instead of staying flat. You can also test by installing a fresh chain and pedaling hard on the affected ring. If the chain skips under load, the chainring needs replacing. Visible hooking, broken tips, or teeth that point in different directions are all clear replacement signals.
What does a worn out cassette look like?
A worn cassette develops shark-fin shaped teeth, where the leading edge curves thin and pointed instead of staying flat and symmetrical. The middle cogs wear fastest because that is where most riders spend their time. Hold the cassette up to a bright light and tilt it back and forth. Worn teeth catch the light differently than new teeth, and the asymmetry between the drive-side and non-drive-side of each tooth is the clearest visual sign.
Should I replace my cassette when I replace my chain?
Not always. If your new chain shifts cleanly through every gear on the skip test and the cassette shows no visual wear, you only need a new chain. Replace the cassette at the same time as the chain if the fresh chain skips under load, the cassette shows shark-fin wear, or you have run two to three chains on the current cassette. Staying ahead of chain replacement is the best way to keep a single cassette for thousands of miles.
How to tell if a chainring is worn out?
Inspect the chainring teeth from the side under good light. New teeth are flat and symmetrical. Worn teeth develop a hooked, curved profile. Narrow-wide chainrings used on 1x drivetrains show this wear on the narrow teeth first, and when the hooks appear, the ring has lost its chain retention. A skip test with a fresh chain confirms the visual inspection. If the chain jumps when you pedal hard on that ring, replace it.
How often should I replace my bike chain and cassette?
For road bikes, replace the chain every 2,500 to 4,000 miles and the cassette every 8,000 to 12,000 miles. Mountain bikes need a chain every 1,500 to 2,500 miles and a cassette every 4,000 to 8,000 miles. E-bikes see the most wear: chain every 1,000 to 1,800 miles, cassette every 3,000 to 6,000 miles. Use a chain checker tool and check the 0.5% mark for early warning. Riding in rain, mud, or dust shortens these ranges significantly.
Final thoughts on knowing when your cassette and chainrings are worn out together
You can know when your cassette and chainrings are worn out together by running three simple checks. Confirm the chain is at 0.75% or beyond, install a fresh chain, and run the skip test in every gear. Then visually inspect both the cassette and chainrings for the hooked, shark-fin tooth profile. Any of these signs means a component has reached the end of its service life.
Stay ahead of chain replacement. A fresh chain is the cheapest part of the drivetrain and the one that protects everything else. A clean, well-lubed chain that gets replaced on schedule will keep your cassette and chainrings running for thousands of miles. Skip the maintenance, and the whole drivetrain wears out in the time it should have lasted for one chain. If you are not sure where your drivetrain stands, run the three tests above this weekend. Twenty minutes of work tells you exactly what you are dealing with.