
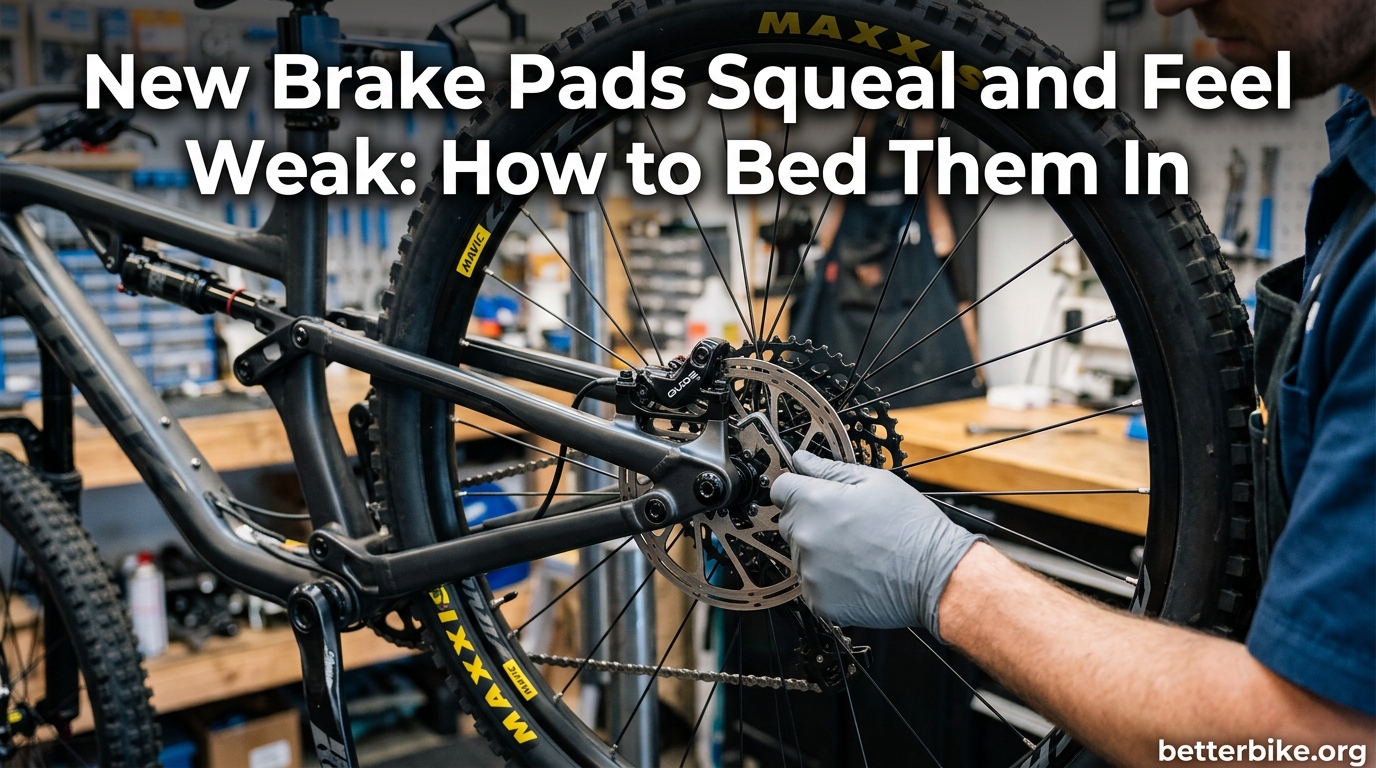
You just installed fresh brake pads, and now your bike sounds like a flock of angry parrots every time you slow down. The lever pulls all the way to the bar with zero bite. I have been there more times than I can count, and I can tell you the fix is not new pads, a new rotor, or some magic spray. The fix is bedding the pads in properly.
Bed-in (also called burnishing or break-in) is the controlled process of depositing a thin, even layer of pad material onto your rotor. Without that layer, your new pads operate at maybe 60-70% of their potential stopping power, feel wooden, and squeal like a rusty hinge. In this guide I will walk you through the exact 20-stop method I use on every bike I service, plus the science behind why it works, and what to do when squealing sticks around.
Table of Contents
What Is Brake Pad Bed-In and Why Does It Matter
Brake pad bed-in is a controlled heat-cycling process that creates a thin, even transfer layer of friction material on your rotor surface. Think of it like seasoning a cast iron pan. The pad surface gets hot enough to release microscopic particles, and those particles bond to the rotor. From that point on, the pad is no longer rubbing against bare metal. It is rubbing against a layer of itself, which is far quieter, more powerful, and more consistent.
The science behind it is called thermal decomposition. When the pad surface reaches a specific temperature range, the binder resins in the friction material break down slightly and release compounds that adhere to the rotor. This happens in cycles of heat and cool, not in one long drag.
Why does it matter? Three reasons. First, you lose stopping power. I have tested brand new pads on brand new rotors without bed-in, and the difference is shocking. Properly bedded pads will lock the wheel from 20 mph in a much shorter distance. Second, you get noise. Without a transfer layer, the pad and rotor vibrate against each other at frequencies that produce that high-pitched squeal. Third, your pads wear 30-50% faster because abrasive contact wears the friction material unevenly.
The Transfer Layer Explained
The transfer layer is a microscopically thin film of pad material that bonds to the rotor braking track. It is usually only a few microns thick, but it is the actual braking surface once the system is bedded. Everything you feel at the lever happens because of this layer.
A good transfer layer is even, well-bonded, and covers the entire braking track. A bad one (or no bed-in at all) means you are running pad-on-rotor with no film between them. That is where the squeal comes from. It is the same principle as rubbing two clean glass plates together. They stick, slip, vibrate, and make noise. Add a thin film of water or oil and they glide silently.
Why New Pads Squeal and Feel Weak Without Bed-In
Squeal and weak feel are the two most common complaints after a pad swap, and they have the same root cause. No transfer layer yet.
The squeal happens because the pad and rotor are vibrating at audible frequencies. When the pad contacts a clean rotor with no transfer film, microscopic inconsistencies in both surfaces create harmonic vibrations. These harmonics fall right in the 1-4 kHz range, which is exactly where human ears are most sensitive. That is why it sounds so awful.
The weak feel happens because the coefficient of friction is lower without a transfer layer. New pad material sitting on bare metal has a different friction profile than pad material sitting on a bonded layer of itself. The lever travel feels long, the bite point feels mushy, and you have to squeeze harder for less result.
I remember the first time I installed Shimano Saint pads on my downhill bike and skipped the bed-in. I took one warm-up lap and almost overshot the first turn into the parking lot. After bedding them in properly on a quiet road, the same pads were night-and-day different. That is when I learned the lesson the hard way.
One more thing. A little bit of squeal during the first 5-10 stops is normal. That is the transfer layer starting to form. Persistent squeal after 20+ stops means something else is going on, which we will cover in the troubleshooting section.
How to Bed in New Brake Pads: The 20-Stop Method
This is the procedure I use on every disc brake I service. It works for mountain bikes, road bikes, gravel bikes, e-bikes, and both hydraulic and mechanical systems. The total time investment is about 15 minutes once you find a safe spot to do it.
Step 1: Pre-Bed Preparation
Before you start the bed-in procedure, do these three things. They take 5 minutes and prevent the most common bedding failures.
- Clean the rotor with isopropyl alcohol (90% or higher) and a clean lint-free rag. Wipe it, let it dry completely, then wipe it again. Any oil, degreaser, or fingerprint residue will contaminate the transfer layer and cause squeal that will not go away.
- Check that the caliper is centered over the rotor. Spin the wheel and watch the rotor through the caliper gap. If it rubs, loosen the caliper bolts, squeeze the brake lever to center it, then retighten while holding the lever.
- Confirm the pads are properly seated. The retention clip or pin should be fully engaged. A loose pad will chatter and squeal no matter how well you bed it in.
Step 2: Find a Safe Location
You need a flat road or gentle downhill with no traffic, no intersections, and no pedestrians. A quiet neighborhood street, empty parking lot, or closed cycling path works perfectly. You will be accelerating to about 20-25 mph and braking to 5-10 mph repeatedly. Pick a spot where you can do this 20+ times in a straight line.
Step 3: Phase 1 – Gentle Warm-Up (5 Repetitions)
Accelerate to 10 mph, then squeeze both brake levers firmly but not aggressively to bring you down to about 3 mph. Do not come to a complete stop. Release the levers, accelerate back to 10 mph, and repeat. Do this 5 times per brake. The goal is to warm everything up gradually without creating hot spots.
Hot spots are localized areas of overheated pad material. They form when you brake hard from cold, and they lead to glazing, which is the most common bed-in failure. Gentle warm-up prevents them.
Step 4: Phase 2 – Transfer Layer Building (10 Repetitions)
Accelerate to 20-25 mph. Now brake firmly, like you would in normal riding, down to 5 mph. Still do not come to a complete stop. Release the levers, accelerate again, and repeat. Do this 10 times. You will feel the bite point start to firm up and the lever travel get shorter. That is the transfer layer forming.
You might notice a faint smell of hot resin. That is normal. It is the binder in the pad material starting to outgas. If you see smoke or smell burning, you are braking too hard. Ease off the lever pressure and continue.
Step 5: Phase 3 – Final Heat Cycle (5 Repetitions)
Accelerate to 25-30 mph. This time, brake harder, like an emergency stop but without locking the wheel. Bring yourself down to 5 mph. Repeat 5 times. This higher-energy cycle bonds the transfer layer firmly to the rotor and ensures even coverage across the entire braking track.
The pads and rotors should now be quite hot. Do not touch the rotor with bare hands. Do not test the brakes by squeezing the lever while the bike is stationary. That can cause uneven pad deposits on the hot rotor.
Step 6: Phase 4 – Cool-Down (Critical – Do Not Skip)
This is the step most people skip, and it is the most important one. Ride around gently for 5-10 minutes without using the brakes. Let the rotors and pads cool naturally to ambient temperature. The transfer layer needs to set in a stress-free state.
If you skip the cool-down and immediately park the bike with hot brakes, the transfer layer can crystallize unevenly, which leads to vibration and noise on the next ride. I always plan a short loop home from my bed-in location. By the time I get back, everything is cool and ready to use.
Troubleshooting: When Brakes Still Squeal After Bed-In
You did the 20-stop method, cooled down properly, and the brakes still squeal. Here are the most common causes, in order of how often I see them.
Contamination
This is the number one cause of persistent brake squeal. The most common contaminants are chain lube overspray, degreaser residue, and fingerprints. If you cleaned the rotor with anything other than isopropyl alcohol, or if you sprayed chain lube anywhere near the brakes, contamination is the likely culprit.
The fix is to clean everything again. Remove the pads, clean them with isopropyl alcohol and a fresh rag (sand the surface lightly with 220-grit sandpaper if they look glazed), clean the rotor thoroughly, and re-bed. I know it is annoying, but contamination bed-in never works.
One Brake Beds In, the Other Does Not
If your front brake is silent but the rear squeals, or vice versa, check the caliper alignment on the noisy side. A misaligned caliper means only part of the pad surface is contacting the rotor, so the transfer layer forms unevenly. Loosen the caliper bolts, squeeze the lever to center the caliper over the rotor, then retighten while holding the lever. Re-bed that brake using the same 20-stop method.
Glazed Pads from Overheating
If you braked too aggressively during the bed-in (smoke, burning smell, lever pumping), you may have glazed the pads. Glazed pads have a shiny, glassy surface that cannot form a proper transfer layer. Lightly sanding the pad surface with 220-grit sandpaper removes the glaze. Then clean everything with isopropyl alcohol and re-bed.
Squeal Only When Wet
Some pad compounds, especially sintered/metallic pads, are more prone to squealing when wet. This is a pad compound issue, not a bed-in failure. A few hard stops from speed will usually clear the water off the rotor. If the squeal comes back every time it gets wet, consider switching to organic pads, which handle wet conditions better.
From my own experience, I had metallic SRAM Code pads that screamed every time I rode through a puddle. Switching to organic Trail pads eliminated the problem entirely.
Persistent Weak Feel After Bed-In
If the lever still feels wooden and the bite point is vague after a proper bed-in, check these three things. First, the pads may be wrong for your rotor. Some pad compounds do not work well with certain rotor treatments. Second, the rotor may be worn beyond its minimum thickness, which reduces heat dissipation. Third, the brake system may need a bleed. Air in the lines makes the lever feel spongy and weak, even with perfect pads.
Pad Compound Differences: Organic vs Sintered vs Ceramic
The type of pad you have affects both the bed-in procedure and the final result. Most cyclists run one of two compounds, with ceramic being rare on bikes.
Organic Pads
Organic pads (sometimes called resin pads) are made from natural fibers, fillers, and a resin binder. They bed in quickly, usually within 10-15 stops, and are very quiet once bedded. They have excellent initial bite and good modulation. The trade-off is shorter lifespan and reduced performance when overheated, which makes them less ideal for long descents or heavy riders.
Road cyclists, cross-country riders, and most casual mountain bikers run organic pads. They are the default compound from most brake manufacturers.
Sintered Pads
Sintered pads are made from metallic particles (copper, steel, bronze) fused together under heat and pressure. They take longer to bed in, sometimes 20-30 stops, and are more prone to squeal during the break-in period. Once bedded, they last much longer than organic pads, handle heat better, and work well in wet conditions. They also have less initial bite, so the lever feel is firmer and more progressive.
Downhill, enduro, and e-bike riders usually prefer sintered pads for their durability and heat resistance. If you ride a lot of long, steep descents, sintered is worth the extra bed-in effort.
Ceramic Pads
Ceramic pads are uncommon on bikes but show up on some high-end road and gravel systems. They bed in like organic pads, run very quietly, and have excellent heat resistance. They are also the most expensive option. Most riders will not encounter ceramic pads in practice, but if you do, the standard 20-stop method works fine.
Brand-Specific Notes
Shimano, SRAM, Magura, Hope, TRP, and Hayes all publish their own bed-in procedures. They are all variations on the same theme (controlled heat cycles, no complete stops, cool down before parking). The 20-stop method in this guide is a universal procedure that works with all major brands. If you want to follow your specific brand’s exact protocol, check their technical documentation, but the differences are usually minor.
FAQ’s
How do I get my new brake pads to stop squeaking?
Clean the rotor with isopropyl alcohol to remove any contamination, then complete a proper bed-in using 20 controlled stops. Accelerate to 20-25 mph, brake firmly to 5 mph without coming to a complete stop, and repeat. Finish with a 5-10 minute cool-down ride without using the brakes. The transfer layer that forms during this process eliminates the squeal.
Is it normal for new brake pads to squeak?
Yes, light squealing during the first 5-10 stops is normal and is the transfer layer starting to form. Persistent squeal after 20 or more controlled stops means something else is going on, usually contamination, misaligned caliper, or glazed pads. A proper bed-in should leave your brakes silent.
How long does it take for new brake pads to stop squealing?
Most pads stop squealing after a proper 20-stop bed-in, which takes about 15 minutes of riding. Organic pads typically quiet down faster (within 10-15 stops) while sintered metallic pads can take 20-30 stops. If squealing persists after a full bed-in and cool-down, clean the rotors with isopropyl alcohol and try again.
What is the 30-30-30 brake rule?
The 30-30-30 rule is a simplified bed-in guideline: 30 stops from 30 mph with 30 seconds of cooling between each stop. It is a shorthand version of the same heat-cycling principle behind any proper bed-in procedure. The 20-stop method in this guide is equivalent and a bit faster, but the 30-30-30 rule works well for riders who want a simple formula to follow.
Can I spray WD-40 on squeaky brakes?
No. Never spray WD-40, chain lube, or any petroleum product on brake pads or rotors. These products contaminate the friction surfaces and the squeal will not go away, and your stopping power will drop dramatically. The only fluid you should use on brakes is dedicated brake cleaner or 90%+ isopropyl alcohol.
Why do my new brakes feel weak?
New brakes feel weak because the transfer layer has not formed yet. Without that thin film of pad material bonded to the rotor, the coefficient of friction is lower and the lever travel feels long. After a proper 20-stop bed-in and cool-down, the bite point firms up and the lever feel becomes much more positive. If the weak feel persists, check for air in the brake lines (needs bleeding), contaminated pads, or worn rotors.
Final Thoughts: 15 Minutes That Fix the Squeal and the Weak Feel
New brake pads that squeal and feel weak are not defective. They just have not been bedded in yet. The 20-stop method I outlined above takes about 15 minutes of riding and a quiet stretch of road. Do it once, cool down properly, and your brakes will be quieter, stronger, and more consistent than they were even before you swapped the pads.
I have used this exact procedure on everything from a 50-pound e-bike to a 26-pound XC race rig, and it works every time. The transfer layer is real, the science is well understood, and the difference between bedded and unbedded pads is night and day. Skip the YouTube hacks, skip the chain lube experiment, and just bed brake pads in properly. Your ears, your hands, and your local descents will thank you.