
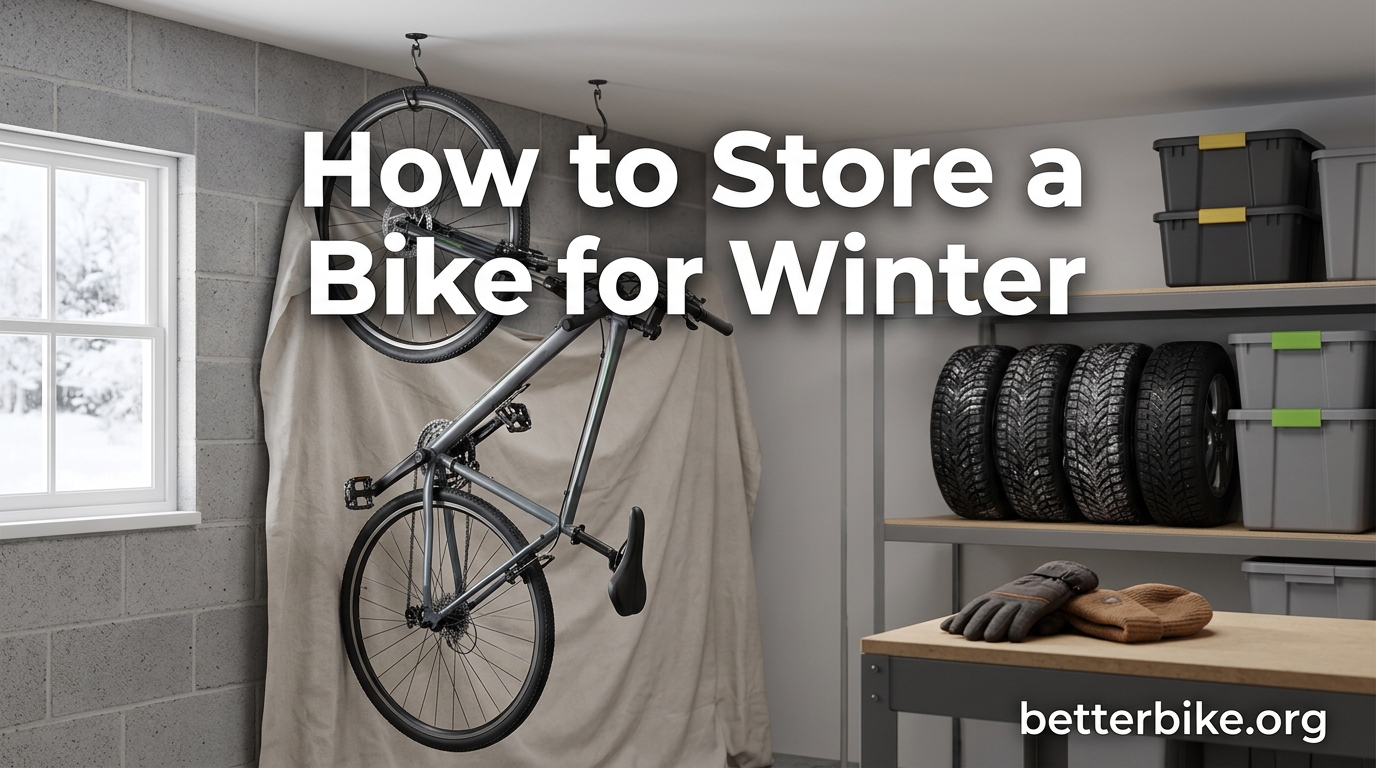
When the temperatures drop and the days get shorter, most of us park our bikes and forget about them until spring. But if you walk away without prepping your bike, you can come back in March to a rusted chain, flat-spotted tires, and seized cables. I’ve made every one of those mistakes, and I’ve learned that knowing how to store a bike for winter properly saves you money and a trip to the shop. This guide walks you through every step our team uses to keep bikes ride-ready through the cold months.
Whether you ride a road bike, mountain bike, or e-bike, the same core principles apply. I’ll cover climate-specific advice for both mild and brutally cold winters, plus the spring prep checklist we use at betterbike.org to keep our test fleet in shape.
Table of Contents
How to Store a Bike for Winter: Quick Answer
If you only have 60 seconds, here’s the short version of how to store a bike for winter:
- Wash and fully dry the bike to remove salt, grit, and moisture.
- Lubricate the chain, derailleurs, brake pivots, and exposed cables.
- Inflate tires to the maximum recommended pressure printed on the sidewall.
- Store indoors in a dry, temperature-controlled space if possible.
- Use a wall hook, ceiling mount, or freestanding rack to keep the bike off the floor.
- Cover with a breathable fabric to keep dust off.
- For e-bikes, remove the battery and store it at 40-60% charge between 50°F and 68°F.
- Check the bike once a month and re-inflate tires if needed.
This is the framework. Let’s dig into each step with the detail that actually matters.
Step 1: Clean Your Bike Thoroughly Before Storage
The single biggest mistake cyclists make is storing a dirty bike. Road salt, mud, and chain grime all hold moisture against metal surfaces, and that is the perfect recipe for rust and corrosion over a long winter.
Start with a gentle rinse to remove loose dirt. Then use a bike-specific cleaner or a mild dish soap mixed with warm water. Work from the top down with a soft brush, paying close attention to the drivetrain, brakes, and fork lowers.
Pay special attention to the cassette, chainrings, and derailleur pulleys. Old lube mixed with road grime forms a paste that traps moisture. A toothbrush or chain scrubber works well here.
After scrubbing, rinse thoroughly. Then dry the bike completely. I use a clean microfiber towel, and many forum users swear by a leaf blower or compressed air to push water out of every crevice. Moisture hiding in cable housings and seat tube junctions causes the flash rust that catches people off guard in spring.
Pro Tip: Don’t forget the brake calipers, derailleur mounting bolts, and the area under the bottom bracket. These spots collect grime you cannot see, and they corrode first.
Step 2: Lubricate Every Moving Part
Once the bike is dry, lubrication is your next line of defense. A fresh coat of chain lube displaces moisture and protects the metal from oxidation through the storage months.
Apply chain lubricant one drop per roller while slowly turning the pedals backward. Let it sit for 5 minutes, then wipe off the excess with a clean rag. Too much lube attracts dust and grit, which defeats the purpose.
Don’t stop at the chain. Hit the derailleur pivots, brake pivots, and any exposed cable sections near the levers and derailleurs. A few drops of light oil or a spray lubricant goes a long way toward preventing seized cables in the spring.
If you have hydraulic disc brakes, you can skip the brake lubrication. Just inspect the calipers for any signs of leaking fluid or damage before storage.
Step 3: Set Correct Tire Pressure to Prevent Flat Spots
When a bike sits in one position for months, the weight of the bike presses the same spot on the tires against the floor. Over time, that constant pressure can deform the tire carcass and create flat spots that feel weird when you start riding again.
Inflate your tires to the maximum PSI printed on the sidewall, not your normal riding pressure. The higher pressure gives the tire more structural support to resist deformation. For road bikes, this is typically 90-130 PSI. For mountain bikes, follow the sidewall rating, which is often 35-65 PSI.
Another trick our team uses is to hang the bike or rotate the wheels every few weeks. This shifts the contact patch and prevents any one area from bearing weight for too long. Users in the r/cycling community report the same approach working well through long Canadian winters.
Step 4: Choose the Right Storage Location
Where you store your bike matters as much as how you prep it. The ideal spot is dry, temperature-controlled, and protected from direct sunlight and humidity swings.
Indoor Climate-Controlled Space (Best Option)
A spare bedroom, heated garage, basement with a dehumidifier, or finished utility room is ideal. Stable temperatures between 50°F and 68°F protect tires, seals, and any electronic components.
Unheated Garage (Good with Prep)
An unheated garage is fine for most bikes, including in regions that hit -20°C in winter. The cold itself does not damage tires or aluminum frames. The bigger risks are moisture and temperature swings that cause condensation. Park the bike off concrete if possible, and consider a small dehumidifier or DampRid containers to control humidity.
Outdoor Shed (Use Caution)
Sheds work for short-term or mild winter storage, but they often have poor ventilation and big humidity swings. Place a moisture absorber inside, and never store the bike in direct contact with the shed floor. Hanging it on a wall hook works best.
Apartment Storage (Tight but Doable)
Wall-mounted vertical hooks or ceiling hoists keep the bike out of the way. If you have to store it in a closet, clean and lube thoroughly first to avoid grime transfer onto your walls or clothes.
Warning: Never store a bike on a balcony or porch exposed to the elements, even with a cover. Trapped moisture under the cover accelerates corrosion on steel frames and components.
Step 5: Pick a Storage Solution That Fits Your Space
Keeping the bike off the floor protects it from moisture, accidental kicks, and falling objects. It also makes it easier to grab and roll out for any winter rides you do squeeze in.
Wall Hooks and Wall Mounts
Wall hooks are the most affordable option, often under $20. They hold the bike by the front wheel, keep the frame visible, and free up floor space completely. Make sure to anchor them into wall studs, not just drywall.
Ceiling Mounts and Hoists
Ceiling storage makes sense for garages with high ceilings. Hoist systems let you lift the bike to the ceiling with a pulley, keeping it completely out of the way. Just check the weight rating before you buy.
Freestanding Racks
Freestanding racks cost a bit more and take up floor space, but they let you roll the bike in and out without lifting. Good for renters who cannot drill into walls, and for households with multiple bikes.
Bike Covers and Bags
Even in indoor storage, a breathable cover keeps dust off the drivetrain and brake rotors. Avoid plastic tarps, which trap moisture. Look for covers made from breathable fabric with a soft inner lining.
For more on keeping your bike protected year-round, see our guide to bike security tips.
E-Bike Winter Storage: Battery Care That Actually Works
E-bike batteries are sensitive to temperature and charge state, so they need extra attention. Storing a battery fully charged or fully depleted in cold temperatures permanently reduces its capacity.
Follow these steps for e-bike winter storage:
- Remove the battery from the bike before long-term storage.
- Charge or discharge the battery to between 40% and 60% state of charge.
- Store the battery indoors at room temperature, ideally between 50°F and 68°F.
- Check the battery once a month and top it up to 50% if it has dropped below 30%.
- Never store the battery on a concrete floor in an unheated garage.
The bike itself can stay in the unheated garage without issue, but the battery belongs inside. E-bike forum users consistently report that batteries stored at room temperature and partial charge hold their capacity far better than batteries left in the cold.
Maintenance Checks During Storage
You don’t need to fuss over your bike every day, but a quick check every 4-6 weeks prevents small issues from becoming spring headaches.
During each check, look at the chain for surface rust. Wipe it down and apply a drop of fresh lube if you see any orange dust on the rag. Re-inflate tires if they have lost more than 5 PSI. Spin the wheels to make sure they rotate freely and the brakes are not dragging.
For e-bikes, check the battery voltage or state of charge. Top it up to 50% if it has dropped. And give the connectors a quick visual inspection for corrosion.
Forum users in colder climates report success with this monthly schedule. A few minutes of attention beats a full spring overhaul every time.
Spring Preparation Checklist
This is the section most guides skip, and it is the one that matters most if you want to ride on day one when the weather warms up. Run through this list two weeks before your first planned ride.
- Re-inflate tires to normal riding pressure, not the storage max.
- Wipe down the chain and apply fresh lube appropriate for spring conditions.
- Check brake pads for wear and adjust cable tension or hydraulic fluid level.
- Inspect the tires for cracks, dry rot, or flat spots that need replacing.
- Shift through all gears to confirm the derailleurs are indexed correctly.
- Test the headset, bottom bracket, and wheel bearings for smooth rotation.
- For e-bikes, reinstall the battery and confirm full charge before the first ride.
- Take a short test ride in a low-traffic area before commuting or hitting trails.
If anything feels off, address it now. A 15-minute adjustment beats a mid-ride mechanical on your first commute back.
FAQ: How to Store a Bike for Winter
Is it okay to leave a bike in the garage in winter?
Yes, an unheated garage is fine for most bikes, including road, mountain, and gravel bikes. Cold temperatures alone do not damage tires, frames, or mechanical components. The bigger risks are moisture and humidity swings, so clean and lube the bike thoroughly, store it off the concrete floor, and consider a moisture absorber to control humidity.
What do I have to do for my bike to sit in the garage for winter?
Wash and fully dry the bike, lubricate the chain and all moving parts, inflate tires to maximum sidewall pressure, and store the bike off the floor on a hook or rack. Cover it with a breathable fabric to keep dust off. Check the bike once a month and re-inflate tires if needed.
How long can a bike sit unused?
A properly prepped bike can sit unused for 3-6 months without any issues. Beyond 6 months, tires can develop flat spots, lube can dry out, and any small leaks in hydraulic brakes may cause problems. A quick check every 4-6 weeks keeps everything in good shape through a full winter.
Where can I store my bike for the winter?
The best options, in order, are: a climate-controlled indoor space (50-68°F), a dry basement with a dehumidifier, an unheated garage with humidity control, a ventilated shed with a moisture absorber, or an apartment wall mount. Avoid outdoor storage and plastic covers that trap moisture.
Final Thoughts: How to Store a Bike for Winter
Learning how to store a bike for winter is one of the highest-value skills a cyclist can pick up. Thirty minutes of cleaning and prep saves hours of shop time and hundreds of dollars in parts come spring. The key steps, clean, lube, inflate, and store indoors, are simple once you build the habit.
Pull your bike out this weekend, run through the checklist, and put it away the right way. When March rolls around, you’ll be rolling out of the garage on a bike that feels brand new. For more cycling maintenance guides, check out our other resources.