
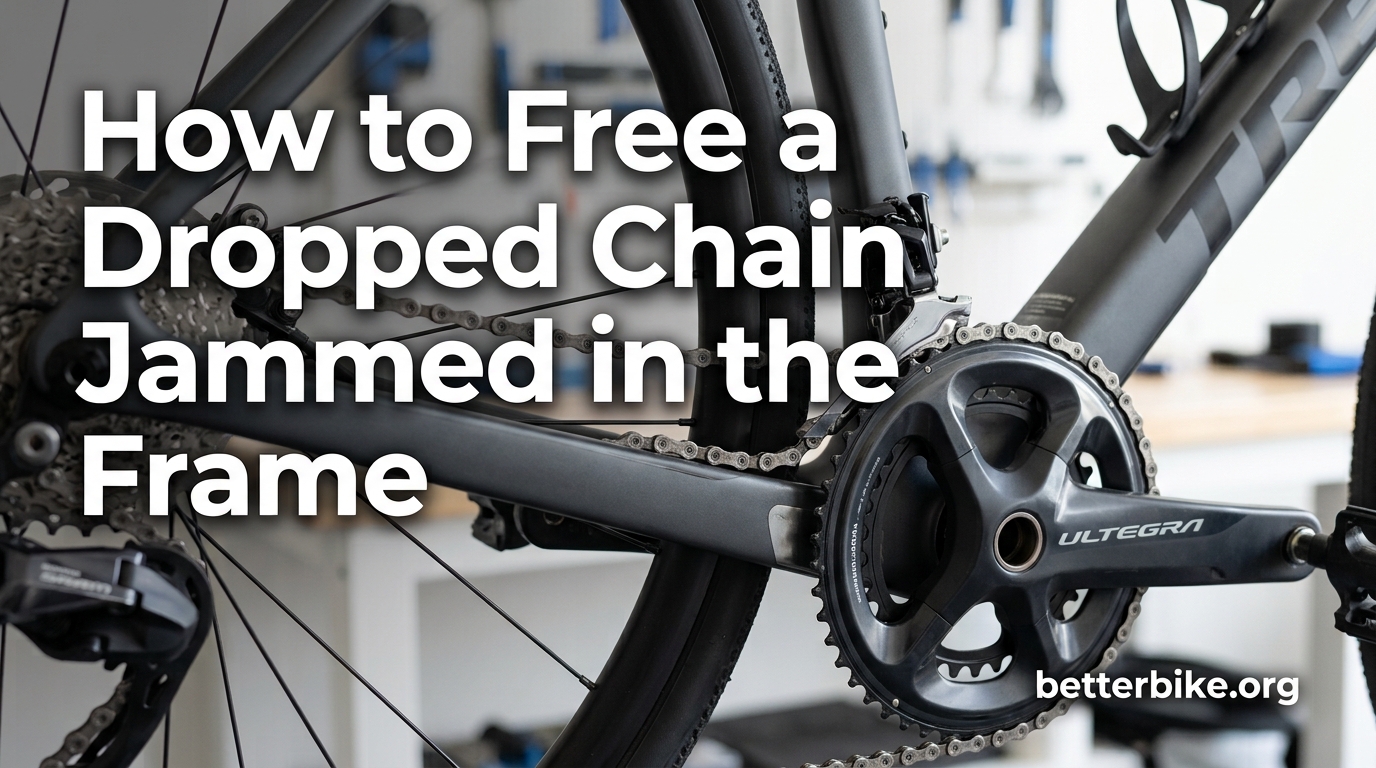
A dropped chain jammed between the frame and chainring is one of those ride-ending problems that catches every cyclist at least once. I have been stuck on a remote fire road with this exact issue, watching daylight fade and my phone battery drop to 8 percent.
Our team has helped riders fix this problem on trails, in parking lots, and at home in the garage. This guide walks through four methods, ordered from easiest to most involved. You will also learn why chains drop in the first place and how to stop it from happening again. For more on roadside fixes, see our emergency bike repair tips.
Most riders can clear this jam in under 10 minutes using nothing but their hands. A few need a stick, a multi-tool, or a crank puller. Let us walk you through it.
Table of Contents
Why Chains Drop Between the Chainring and Frame
A dropped chain happens when the chain slips off the chainring and falls inward toward the frame. On a triple crankset, the chain often wedges between the smallest chainring and the chainstay. On a 1x or 2x setup, it usually slips past the inner chainring and pins itself against the bottom bracket shell.
The most common cause is a misadjusted front derailleur. When the L (low) limit screw is set too far inward, the chain has nowhere to land if it overshifts. Worn chainring teeth are the second biggest cause. Shark-fin shaped teeth cannot grip the chain properly under load, and the chain slips inward instead of climbing back up.
Cross-chaining also plays a role. Riding in the big ring up front with the biggest cog in back puts the chain at a hard angle. A bump or hard pedal stroke can pop it off. I have personally watched this happen on a group ride when a rider shifted under load on a steep climb.
Worn chains stretch over time and no longer mesh tightly with the chainring. Once chain stretch exceeds 0.75 percent, replacement is the only real fix. A new chain costs far less than the frame damage a stuck chain can cause.
Method 1: Wiggle the Chain Free by Hand (Easiest)
This is the first move every mechanic I know reaches for. It works about 70 percent of the time on a fresh drop with no paint damage yet.
Tools needed: None. Your hands only.
Step 1. Shift your rear derailleur into the smallest cog (highest gear). This pulls the rear derailleur forward and creates slack in the chain.
Step 2. Push the front derailleur cage inward by hand. This opens up the space between the chainring and the frame where the chain is stuck.
Step 3. Grasp the visible section of the chain with both hands. Pull it forward toward the front of the bike while gently rotating the crank backward with your other hand or foot.
Step 4. Work the chain side to side like you are trying to coax a splinter out of skin. Small movements win. Yanking rarely helps and often scratches the frame.
If the chain feels like it has a memory and keeps springing back into the gap, move to Method 2. Do not keep forcing it. I have seen riders strip paint down to bare aluminum with too much enthusiasm here.
Method 2: Use a Lever or Stick to Pry It Out
When hand power is not enough, a simple lever does the trick. Anything stiff and flat will work. A tire lever, a plastic spudger, a flathead screwdriver wrapped in tape, or even a sturdy stick works well.
Tools needed: Tire lever, flathead screwdriver, or similar flat tool. A rag or painter’s tape to protect the frame.
Step 1. Wrap the tip of your lever tool with a rag or several layers of painter’s tape. This is the single most important step. The chain has already eaten some of your frame’s pride. Do not let your tool finish the job.
Step 2. Slide the wrapped tip into the gap between the chainring and the frame, right next to the jammed section of chain.
Step 3. Gently pry outward while rotating the crank backward. You are looking for the chain to lift up and over the chainring teeth.
Step 4. Once you see daylight between the chain and the chainring, grab the chain with your free hand and pull it forward.
One rider on Reddit used a cut coat hanger bent into a hook to grab a stubborn link. That worked because the hook slipped into a chain pin opening and gave real pulling leverage. If you try this, bend the wire carefully and keep tension slow.
If the chain still will not budge, the jam is past the lever’s reach. You need to remove hardware.
Method 3: Remove the Inner Chainring Bolts (Advanced)
This is the technique most casual cyclists never learn. It comes from the StackExchange community and it works on most triple cranksets and many doubles with bolt-on inner rings.
Tools needed: 5mm Allen key (most common), T30 Torx key on some models, clean rag.
Step 1. Locate the bolts holding the inner (smallest) chainring to the middle ring. There are usually 4 or 5 of them in a star pattern around the spider arms.
Step 2. Place a rag between the crank arm and the frame to protect the finish while you work.
Step 3. Loosen the bolts in a star pattern (1, 3, 5, then 2, 4), not in a circle. This prevents warping the chainring. Loosen each bolt only two or three turns before moving to the next. Repeat the pattern until all bolts are loose.
Step 4. Pull the inner chainring forward off the spider. This creates a wide gap that lets you free the dropped chain without forcing anything.
Step 5. Pull the chain out through the gap, then refit the chainring. Torque the bolts to the manufacturer’s spec (usually printed on the chainring or in your crank manual). Snug them in the same star pattern.
Warning: Some modern cranks use a one-piece chainring that does not come apart. If you do not see bolts connecting the inner ring to the spider, stop here. Moving to Method 4 is your only option.
Method 4: Remove the Crank Arm With a Puller Tool
Use this when the chain is jammed so deep you cannot reach the chainring bolts, or when the inner ring is a permanent part of the crank. Removing the drive-side crank arm gives you full access to the chainring area.
Tools needed: Crank puller tool (Park Tool CCP-22 or similar), 8mm Allen key for the crank bolt.
Step 1. Remove the plastic dust cap from the crank arm’s center. Most pry off with a flathead screwdriver.
Step 2. Unscrew the central crank bolt. This is usually an 8mm Allen head, but check your model. On Shimano Hollowtech II and SRAM DUB cranks, this bolt only clamps the preload cap. Do not confuse it with the pinch bolts on the drive-side arm.
Step 3. Thread the crank puller into the threads exposed under the dust cap. Turn the puller’s handle until the crank slides off the spindle.
Step 4. With the crank out of the way, the chainring is fully exposed. Free the jammed chain with your hands or a tire lever.
Step 5. Refit the crank, tighten the bolt to spec (usually 35 to 50 Nm), and replace the dust cap.
If you do not own a crank puller, this is your cue to either buy one (around $20 and worth every penny) or walk the bike to your local shop. Forcing a crank off without the right tool almost always damages the spindle.
Protect Your Frame During Chain Removal
Forum users consistently name frame scratches as the worst part of this repair. One rider pried their chain out and ended up with bare-metal streaks along the chainstay. Another used electrical tape wrapped around a screwdriver and still managed a small scuff.
Three habits protect your finish. First, wrap any tool that touches the frame in painter’s tape or a thin rag. Second, push the chain away from the frame, not across it. Third, work slowly and check for paint damage before each new push. Our team keeps a small roll of blue painter’s tape in every saddle bag for exactly this reason.
How to Prevent a Dropped Chain From Happening Again
Once the chain is free, the real work begins. A dropped chain that keeps dropping means something is out of adjustment or worn out.
Adjust the L limit screw. The L screw controls how far the front derailleur can move inward. With the chain on the smallest chainring and the smallest rear cog, look down at the derailleur cage. Turn the L screw until the cage sits about 1 to 2 mm above the chain. Too loose and the chain falls off; too tight and it will not shift down at all.
Replace worn chainrings. If the teeth look like shark fins instead of symmetrical shapes, replacement time has arrived. Worn teeth cannot hold the chain under power.
Check chain wear. A chain stretch gauge (a $10 tool) tells you when a chain has stretched past 0.75 percent. Replace the chain before it ruins your cassette and chainrings. For guidance on proper chain cleaning and maintenance, our related guide walks through the full process.
Install a chain catcher. A chain catcher is a small device that bolts to the frame and blocks the chain from falling past the inner chainring. Mountain bikers have used them for years. Road riders are catching on. They cost under $30 and install in 10 minutes with a 4mm Allen key.
Shift before loading the drivetrain. Easy pedaling during shifts lets the chain move cleanly between rings. Mashing pedals while shifting is a leading cause of chain drops.
Frequently Asked Questions
How do I release a jammed bike chain at home?
Shift the rear derailleur to the smallest cog to slacken the chain, push the front derailleur cage inward by hand, then wiggle the chain forward while rotating the crank backward. This frees a dropped chain jammed between the frame and chainring in most cases.
How do I get a chain unstuck without any tools?
Work the chain free by hand. Pull it forward toward the front of the bike while gently rotating the crank in reverse. Use small side-to-side movements rather than hard yanks. Most fresh jams clear in under 5 minutes with no tools.
How do I fix a dropped chain on the road?
Stop pedaling immediately when you feel the chain drop. Shift the rear to the smallest cog, push the front derailleur cage inward, and wiggle the chain free. If the chain is wedged tight, use a stick, tire lever, or even a strong twig wrapped in cloth to pry it loose.
What should I do when the chain is stuck between gears on a bike?
Stop pedaling to avoid further damage. Shift the rear derailleur into the smallest cog to create chain slack. Push the front derailleur cage inward by hand and gently work the chain forward and side to side. If wiggling fails, use a taped tire lever to pry the chain out without scratching the frame.
Should I remove the crank arm to free a jammed chain?
Only as a last resort. Removing the crank arm requires a crank puller tool. Try hand wiggling and prying with a taped lever first. If those methods fail and the chain is unreachable, removing the drive-side crank with a proper puller gives full access to the chainring area.
Can a dropped chain damage my bike frame?
Yes. Prying a stuck chain out without protecting the frame can scrape paint down to bare metal. Wrap any tool in painter’s tape or a rag before using it near the frame, and work the chain away from the frame rather than across it.
Final Thoughts
A dropped chain jammed between the frame and chainring is annoying but very fixable. Most riders clear the jam in under 10 minutes using the hand wiggling method. A few minutes more with a taped tire lever solves harder cases. For deep jams on triple cranksets, removing the inner chainring bolts is the cleanest fix.
If you have tried all four methods and the chain is still stuck, take the bike to your local shop. Forcing the issue past this point usually costs more in damaged components than a service fee would. The shop has the tools and the experience to handle the worst jams without harming your frame.
Once your chain is free, spend ten minutes adjusting your front derailleur L screw. That single adjustment prevents most future drops. I check mine every spring as part of my regular tune-up routine, and I have not had a dropped chain in over three years of regular riding. Updated for 2026.