
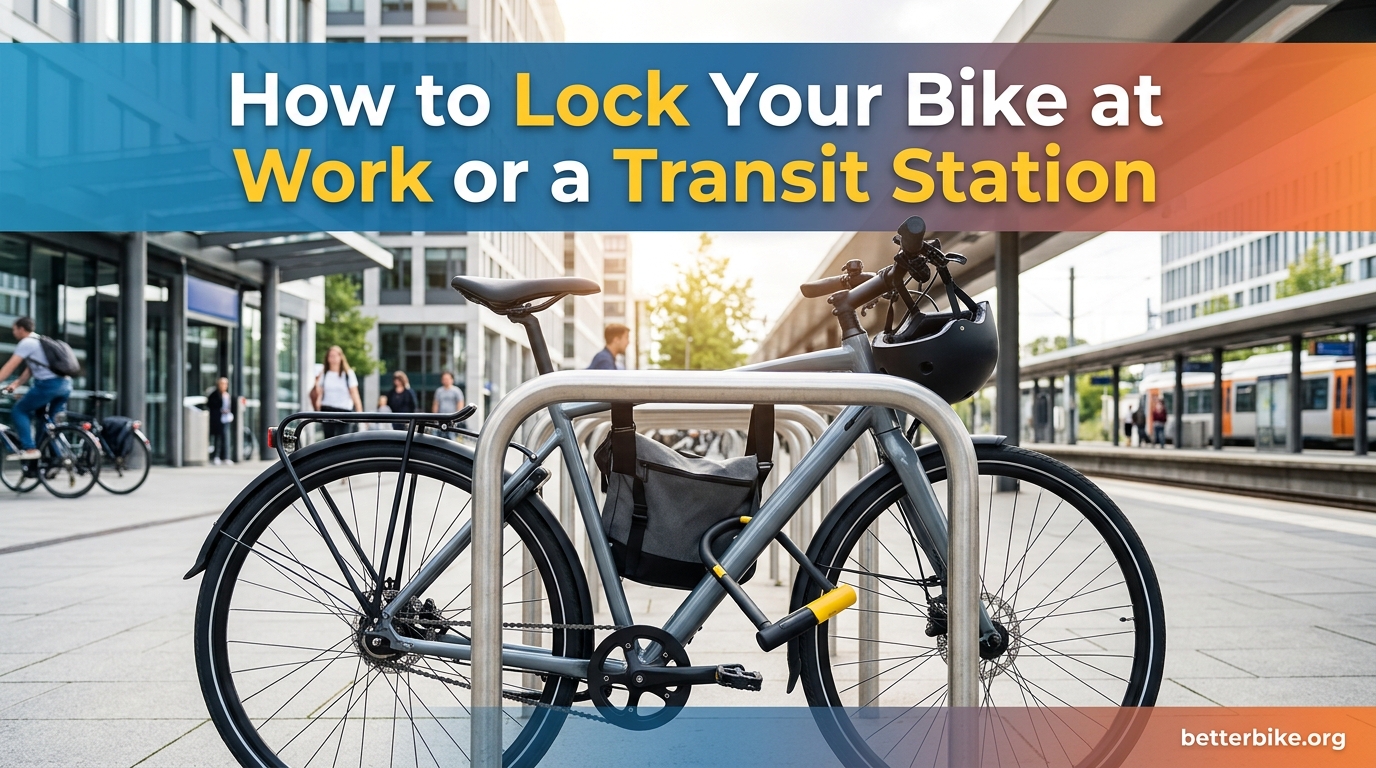
I’ve been commuting by bike for over a decade, and I’ve watched two bikes disappear from transit station racks and one from my office parking lot. Each theft taught me something the next lock-up routine had to fix. If you want to know how to lock your bike at work or a transit station so it’s there later, the answer isn’t one piece of hardware. It’s a layered routine: the right lock, the right anchor, the right technique, and a few habits that make your bike less attractive than the one next to it.
By the end of this guide, you’ll have a complete system for securing your bike whether you’re heading into a 9-to-5 office, jumping on a train, or stopping for a quick errand on the way home.
Table of Contents
How to lock your bike at work or a transit station: the core method
The single most important rule is this: lock your frame and your rear wheel to something that cannot be moved. That’s the basis of the Sheldon Brown method, named for the late bicycle mechanic whose site has been teaching this technique since the 1990s. Get this one part right, and you’ve eliminated the most common bike theft scenario – someone lifting your unlocked frame onto their shoulder and walking away.
Here’s the step-by-step process I follow every single time I leave my bike outside:
- Find a fixed, immovable object. A proper bike rack bolted into concrete is ideal. A metal sign post thick enough that bolt cutters can’t fit around it works too.
- Position your bike so both the frame and rear wheel are close to the anchor. If you can fit your fist between the lock and the rack, a thief has room to use a jack or pry bar.
- Pass your U-lock through the rear triangle of the frame (the seat stays or chain stays), around the rear wheel, and around the rack. This secures the frame, the wheel, and the rack in one motion.
- Make sure the lock keyway faces down or toward your body. This makes it harder for a thief to insert picking tools and keeps rain and grit out of the mechanism.
- Add a secondary cable or chain for the front wheel and accessories. The front wheel is the easiest part to steal on most bikes, especially if it uses quick-release skewers.
That five-step list is the minimum. Skipping any of those steps gives a thief a different attack path. If you only lock the front wheel, they take the frame. If you only lock the frame, they take the wheels. If you use a thin cable as your primary lock, they cut it in three seconds with bolt cutters.
Choosing the right lock for daily commuting
No single lock works for every situation, but most bike commuters end up using one of three main types. The right pick depends on where you park, for how long, and what your bike is worth.
U-locks (also called D-locks) are the gold standard for short stops and high-traffic areas. They’re made of hardened steel, resist bolt cutters, and can’t be easily leveraged open when the right model is properly mounted. A mid-size U-lock with a 11mm or thicker shackle and a Sold Secure Gold rating is what I recommend for most commuters. The downside: they’re heavy, they don’t fit around every rack shape, and they can be defeated by an angle grinder if a thief has enough time and a cordless grinder.
Chain locks use thick, hardened steel links inside a protective sleeve. They are heavier and bulkier than U-locks, but a high-quality chain resists angle grinders far better than a typical U-lock. If you’re locking at a transit station for 8-10 hours a day, a heavy chain is often the better trade-off. Look for chains with at least 10mm link thickness and a Sold Secure Diamond rating if you can find one.
Cable locks are the most portable and the least secure. A basic cable can be snipped in seconds with a cheap pair of bolt cutters. Use cables only as a secondary lock for your front wheel or accessories, never as your main defense at a public rack.
Here’s the practical framework I use:
- Under 30 minutes in a visible, busy area: One solid U-lock (frame + rear wheel).
- Full workday at an office with a secured bike room or covered rack: U-lock alone is usually fine.
- Full workday at an open outdoor rack or transit station: U-lock + heavy chain, or U-lock + cable, plus security skewers on the wheels.
- Overnight at a transit station: BikeLink locker or two heavy locks + skewers + insurance.
The Sold Secure rating system, run by an independent UK testing lab, is the easiest way to compare locks at a glance. Bronze is a baseline, Silver is good for most situations, Gold is what I recommend for high-risk areas, and Diamond is reserved for bikes worth several thousand dollars.
Where to lock your bike at work
Your choice of where to lock is almost as important as your choice of lock. A great lock on a bad rack is still a vulnerable bike.
The best case scenario is indoor storage. Many offices, especially in dense cities, have a bike room, a secured cage, or a dedicated basement storage area. If your workplace offers this, use it. The bike is out of sight, out of the weather, and out of reach of casual thieves. Most indoor bike rooms have a card-access reader and CCTV, which is a major upgrade from any lock you can buy.
Covered outdoor racks are the next best option. Look for a rack that is:
- In a well-lit, high-foot-traffic area (under a window, near a security camera, in front of a building entrance)
- Covered from rain and snow, which protects your lock mechanism and seat
- Anchored into concrete, not asphalt – thieves can pry up asphalt-anchored posts with a vehicle or jack
What to avoid: a flimsy sign post, a chain-link fence, a small tree, or a parking meter with a hollow top. These are all “sucker poles” – they look like anchors but can be cut, broken, lifted, or unbolted in seconds. The classic bike thief trick is to wrap a chain around a hollow sign post and yank the post out of the ground with a truck. If you can’t tell whether an object is solidly mounted, find a different one.
Your office building’s facilities team can also be a resource. Many workplaces will install a proper bike rack or upgrade a bad one if you ask, especially when more employees start commuting by bike.
Transit station bike parking: lockers, BikeLink, and racks
This is where the topic gets specific, and where most online guides fall short. Transit stations are not the same as office parking lots. They have unique infrastructure, unique theft patterns, and unique rules.
BikeLink lockers are my top recommendation when available. These are on-demand, keyless lockers installed at train, light rail, and bus rapid transit stations across California and a growing number of other US cities. You reserve a locker through the BikeLink app, pay by the hour or day, and unlock it with a code. Your bike sits inside a metal box, fully enclosed, protected from weather and theft. As of 2026, BikeLink operates at over 80 transit stations and is expanding each year.
How metro bike lockers work in practice:
- Download the BikeLink app or visit the kiosk at the station
- Pick an available locker and pay (rates are usually modest – often a few dollars per day)
- Set your personal access code
- Roll your bike in, close the door, and walk away
Not every transit agency uses BikeLink. Some run their own locker programs with a different reservation system or a monthly lease. Check your local transit agency’s website for “bike parking” or “bike storage” before your first commute – many riders don’t know these lockers exist because they’re often set back from the platform entrance.
Standard transit bike racks are the inverted-U or “staple” racks bolted to the platform. These work, but they’re public and exposed, so you should assume that anything you leave on the bike (lights, bags, the quick-release seat) is at risk. Use the same U-lock + cable method described above, and remove anything easily stolen before you board your train.
Overnight parking at commuter rail stations is the highest-risk scenario. Some stations allow it, some don’t, and theft patterns vary widely. If you must leave your bike at a station overnight, a BikeLink-style locker is dramatically safer than a public rack. If a locker isn’t available, use two heavy locks (a U-lock plus a chain) on different wheels and the frame, install security skewers, and make sure your homeowner’s or renter’s insurance covers bike theft. Many policies do, but only if the bike was locked at the time of the theft – keep a photo of your locked bike on your phone.
Securing the parts thieves target first
Thieves don’t always want the whole bike. The wheels, the saddle, and accessories are common targets, and they’re often easier to grab than the frame. Locking the frame does nothing if a thief can unclip your front wheel in five seconds and ride off with it.
Wheels: If your bike has quick-release skewers, a thief can remove a wheel without any tool. Replace them with locking skewers (also called security skewers or theft-resistant skewers). These require an Allen key or a special key to remove, and they cost around $20-40 for a set. Alternatively, thread your secondary cable through both wheels and the frame, so removing a wheel would require cutting the cable.
Seats and seatposts: Quick-release seat clamps are another five-second vulnerability. The simplest fix is to replace the quick-release clamp with a bolt-on version. If that’s not practical, run your cable through the saddle rails when you lock up. Brooks-style leather saddles and titanium rails are especially tempting targets.
Accessories: Lights, GPS computers, frame bags, and water bottles should come off the bike if you’re leaving it for more than a few minutes. A $5 light is gone in the time it takes a thief to walk past, and they know it. If you ride with bags, take them with you on the train.
Common bike locking mistakes to avoid
Most thefts I’ve seen could have been prevented by avoiding one of these patterns. None of them are subtle, but they happen every day.
- Locking only the front wheel. A thief lifts the back of the bike and walks away with the frame in under a minute. Always lock the frame.
- Using a cable as your only lock. Cables are cut by hand tools in seconds. They’re a supplement, not a defense.
- Locking to a hollow pole, a thin tree, or a chain-link fence. Any of these can be defeated without touching your lock.
- Leaving too much space inside the U-lock. A large gap gives a thief room to insert a bottle jack and pry the lock open. Fill the space.
- Locking in the same spot every day without varying your routine. Predictability helps thieves scout. If your work schedule allows, occasionally change racks or times.
- Leaving valuables in bags on the bike. If the bag is on the bike, it goes with the thief.
How thieves attack locks (and what to do about it)
Understanding attack methods helps you choose a lock that doesn’t fall to them. The three most common attacks in urban areas are:
Bolt cutters. Cheap, quiet, fast, and effective against thin cables and budget U-locks. A mid-grade U-lock with a 13mm or thicker shackle resists hand-held bolt cutters entirely.
Angle grinders. The most common power tool attack today, thanks to cheap cordless grinders. No lock is grinder-proof forever, but a thick chain or a high-end U-lock with anti-grinder features can buy you 5-10 minutes – long enough that most thieves will abandon the attempt and move to a different bike.
Leverage attacks (bottle jack, pry bar). These work by opening up a U-lock from one end. A properly sized U-lock with a small internal gap leaves no room for a jack. The Sheldon Brown method of filling the lock’s interior space directly counters this attack.
You will sometimes see claims that a specific lock is “grinder-proof.” That isn’t really a thing. The right question is: will this lock slow an attacker down long enough that they give up and move on, or pick a softer target? Make your bike a harder target than the one next to it, and most thieves will take the easier option.
Frequently asked questions
Can I lock my bike to a bus stop?
Most cities prohibit locking bikes to bus stop signs, benches, and shelters because they block pedestrian access. Check your local transit agency and municipal code. If a bus stop has a dedicated bike rack next to it, you can usually lock to that rack – but locking directly to the bus stop sign itself can result in your lock being cut and removed by the city.
How do you lock your bike in public?
Pass a heavy-duty U-lock through your bike’s frame and rear wheel, then secure both to an immovable bike rack or metal post in a visible, high-traffic area. Position the lock keyway facing down, fill the lock’s interior space to prevent leverage attacks, and add a secondary cable or chain for the front wheel. This is the Sheldon Brown method and is considered the gold standard for public bike security.
Where are you allowed to lock your bike?
You can usually lock your bike to dedicated bike racks, indoor bike rooms, and BikeLink-style transit lockers. Most public bike racks are open to anyone, though some office buildings and transit stations require a key fob or app access. Avoid locking to private property (handrails, fences, sign posts) without permission – the property owner can legally cut your lock and remove the bike.
How do metro bike lockers work?
Metro bike lockers are secure, weatherproof boxes at train, light rail, and bus rapid transit stations. With BikeLink and similar services, you reserve a locker through a mobile app, pay by the hour or day, and unlock it with a personal code. You roll your bike inside, close the door, and the locker protects it from theft, weather, and vandalism until you return.
Can a grinder cut through a Kryptonite lock?
Yes, an angle grinder can cut through any standard bike lock given enough time, including high-end Kryptonite U-locks and chains. Kryptonite’s heavier chains and grinder-resistant series slow the attack down to 5-10 minutes, which is often enough to deter thieves who prefer easier targets. No consumer lock is truly grinder-proof, but the right lock can make your bike a worse choice than the one next to it.
What is the best bike lock to prevent theft?
For most commuters, a Sold Secure Gold-rated U-lock with a 13mm or thicker shackle is the best single lock. For higher-risk situations – long-term transit station parking, high-theft neighborhoods, or expensive bikes – pair a heavy chain with a U-lock and add locking skewers to both wheels. The best lock is the one that makes your bike take longer to steal than the bikes around it.
The bottom line: a layered routine beats any single gadget
How to lock your bike at work or a transit station so it’s there later comes down to a layered routine, not a single product. A heavy-duty Sold Secure Gold or Diamond U-lock (or a chain of equal rating) goes through the frame and rear wheel. A solid, immovable anchor holds the bike in a visible spot. A secondary cable or chain protects the front wheel and accessories. Security skewers replace quick-release clamps. And whenever a BikeLink-style transit locker is available, use it – it’s a better defense than any lock you can buy.
Take five extra minutes at the start of your commute to set this routine up properly. Photograph your locked bike each day for insurance purposes. And remember: the goal isn’t to make your bike impossible to steal. The goal is to make it a worse target than the next one. That alone will keep it there when you come back.