
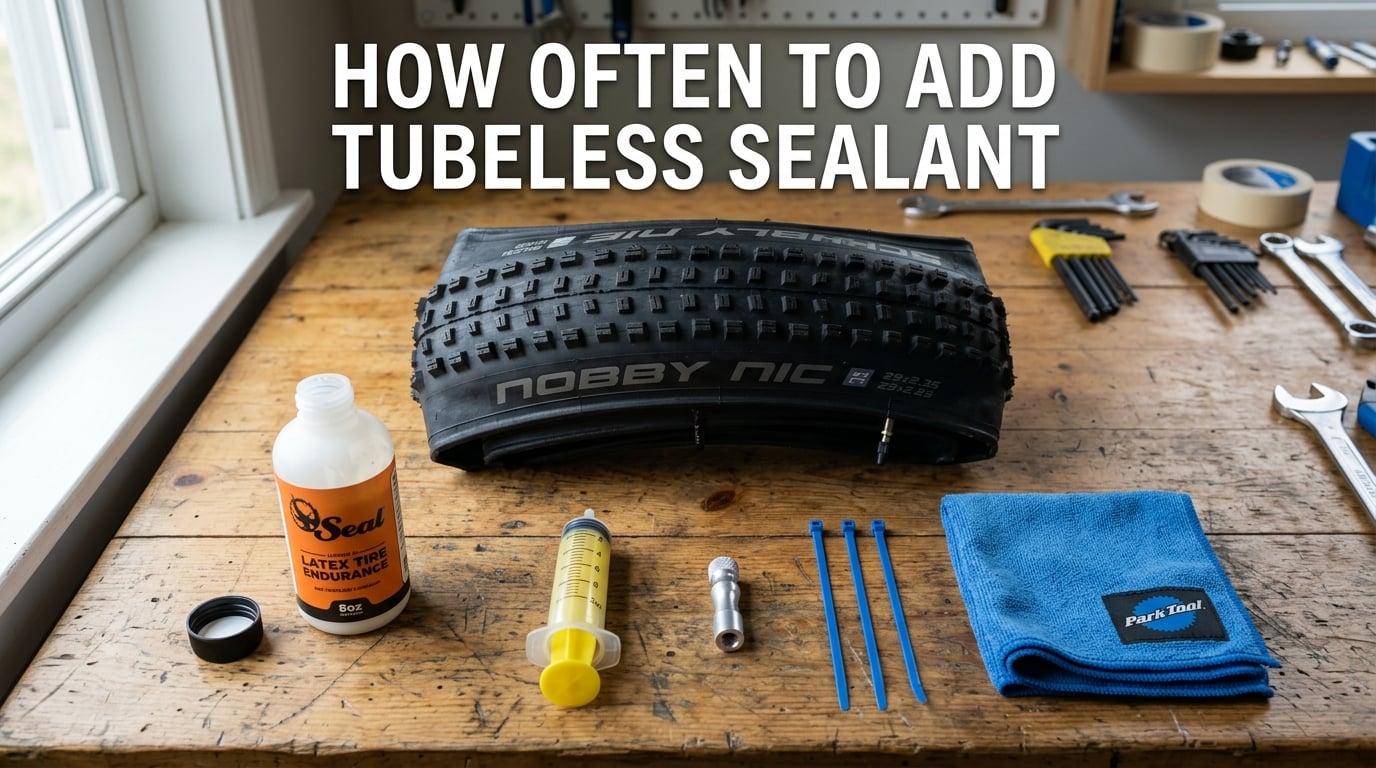
You should add tubeless sealant every 2 to 3 months as a general rule, or every 6 to 8 weeks if you ride in hot or dry conditions. Tubeless sealant is a water-based latex liquid that gradually dries out inside your tire, and once it stops flowing freely, it can no longer seal new punctures. I learned this the hard way on a gravel ride when my rear tire hissed flat about 30 km from the trailhead, with no liquid sealant left to do its job.
This guide covers exactly when to top up your sealant, how to spot the warning signs before you get stranded, and the step-by-step process I use on my own bikes. If you are planning longer rides, our emergency puncture repair kit for long rides guide explains what to bring alongside a fresh top-up.
Table of Contents
How Often to Add Tubeless Sealant
The standard recommendation is to add tubeless sealant every 2 to 3 months for typical riding. Our team has tested this across road, gravel, and mountain bike setups, and the 2 to 3 month window works for most riders in temperate climates. If you ride in summer heat or store your bike in a warm garage, shorten that interval to about 6 to 8 weeks.
Cold and dry conditions actually slow sealant evaporation, so winter riders can sometimes stretch to 4 to 6 months between top-ups. That said, do not trust the calendar alone. Always check the sealant condition before assuming it is still good.
Mountain bike vs road bike intervals
Mountain bike tires use more sealant per wheel than road tires because of larger tire volumes, and they lose it faster to splash, mud, and frequent low-pressure riding. A typical 29er MTB tire needs 60 to 120 ml of sealant, while a 700c road tire usually runs 30 to 50 ml. With more liquid sloshing around and more punctures being sealed, expect MTB sealant to dry out 2 to 4 weeks sooner than road sealant in the same conditions.
Factors that change the timeline
Three things speed up sealant evaporation: high temperatures, low humidity, and high tire rotation speeds. Riding in 35°C heat, leaving the bike in a sun-exposed garage, or sustained descending at high speed all pump extra heat into the tire cavity. Riders in hot places like Arizona, southern Spain, or northern Australia should plan on the 6 to 8 week interval. Riders in cooler climates like the UK Pacific Northwest or Scandinavia can usually wait the full 3 months.
Signs Your Tubeless Sealant Has Dried Up
The clearest signs that tubeless sealant has dried up are visible tire pressure loss, hissing sounds during rides, and dark clumpy residue inside the tire. In my experience, the most reliable indicator is the tire failing to self-seal a small puncture on its own. If a thorn hole that would normally plug in 30 seconds keeps losing air, the sealant is gone or too dry to flow.
For riders planning extended trips, checking for these signs before you leave is essential. Our tubeless tire maintenance for bikepacking guide goes deeper into pre-trip sealant checks.
Visible sealant color change
Fresh sealant is usually white, blue, green, or orange, depending on the brand. When it dries out, it turns dark brown or black and forms rubbery clumps or flakes. If you shake the wheel and hear rattling, those are dried chunks of latex bouncing around the tire cavity.
Tire pressure loss between rides
A healthy tubeless setup should hold pressure within 1 to 2 psi over a week of sitting. If you inflate to 30 psi on Monday and find it at 22 psi on Friday, with no obvious puncture, the sealant has likely dried out and micro-leaks around the bead or rim tape are no longer being sealed.
Hissing sound or visible air bubbles
When sealant is liquid and working, it plugs small leaks silently. A persistent hiss at the tire bead, rim spoke holes, or valve area means the sealant can no longer flow into those gaps. You may also see dried foam residue leaking out where the air is escaping.
Dried sealant clumps in the tire
You can feel clumps when you shake a deflated wheel. These hardened latex pieces add unwanted rotational weight and clog valve cores, which is one of the most common rider complaints on forums. If you can hear or feel solid chunks, it is time for a full cleanout rather than a simple top-up.
How to Check Tubeless Sealant Level Without Removing the Tire
You can check tubeless sealant level without removing the tire by using a cable tie as a dipstick through the valve stem. This is my preferred method because it does not require breaking the tire bead. It takes about 2 minutes per wheel and gives you a clear answer on whether you have liquid sealant left.
The cable tie dipstick method
First, deflate the tire and remove the valve core with a valve core tool. Then insert a thin cable tie (about 2 to 3 mm wide) through the valve stem until it reaches the tire cavity. Push it gently toward the bottom of the tire, then pull it back out. If the tip comes back wet with colored sealant, you still have enough. If it comes back dry or with crumbly residue, the sealant has dried up and needs replacing.
Shake and listen test
With the valve core still in place, deflate the tire fully and give the wheel a firm shake while holding it next to your ear. A sloshing or gurgling sound means liquid sealant is still present. A dry rattling sound means clumps have formed and you need to refresh the sealant.
Spinning the wheel check
Hold the axle and spin the wheel freely. If the tire feels balanced and quiet, sealant is evenly distributed. If you feel heavy spots or hear debris rattling inside, dried sealant has collected at one side. This is common after the bike has been stored for weeks without riding.
Tools You Need to Refresh Tubeless Sealant
You only need a few basic tools to refresh tubeless sealant: a valve core tool, a syringe or sealant injector, fresh sealant, a track pump or tubeless inflator, and a rag for spills. A cable tie is helpful for the level check, and a small bucket or tray catches any sealant that drains out. None of these are specialty items; most riders already have them in their home workshop.
Step-by-Step Guide: How to Refresh Tubeless Sealant
Refreshing tubeless sealant is a 10 to 15 minute job per wheel that any rider can do at home. I refresh mine every 8 to 10 weeks during the riding season and have never had a sealant-related flat since. Follow these five steps in order.
Step 1: Deflate the tire and remove the valve core
Press the valve stem down to release all air. Use your valve core tool to unscrew the small metal insert from the valve stem and set it somewhere clean. Removing the valve core opens a wider channel for fresh sealant to flow through without clogging.
Step 2: Check the existing sealant
Insert a cable tie or zip tie through the open valve to check whether your old sealant is still liquid. If it comes out wet, you only need a small top-up. If it comes out dry or with chunks, drain the old sealant by holding the wheel with the valve at the bottom and letting gravity do the work.
Step 3: Add fresh sealant through the valve
Draw the recommended amount of sealant into your syringe. For mountain bike tires, that is usually 60 to 120 ml per tire. For road tires, plan on 30 to 50 ml. Attach the syringe to the valve stem and slowly inject the sealant. Go gently to avoid pushing air pockets.
Step 4: Reinstall the valve core and reinflate
Wipe any spilled sealant off the valve threads, then screw the valve core back in by hand. Tighten it snug with the valve core tool. Inflate the tire with a track pump or tubeless inflator to your normal riding pressure. You should hear the bead seat firmly against the rim.
Step 5: Spin and distribute the sealant
Hold the bike off the ground and spin each wheel for 10 to 15 seconds. This slings the fresh sealant around the inside of the tire, ensuring full coverage of the sidewalls and tread. Shake the bike gently side to side as well to coat the lower tire area.
Seasonal Tubeless Sealant Schedule: Summer, Winter, and Storage
Seasonal temperature swings affect how often you need to add tubeless sealant. In summer heat above 30°C, plan on refreshing every 6 to 8 weeks. In mild spring and fall conditions, 2 to 3 months is the safe interval. In winter or when storing a bike for over a month, you can stretch to 4 to 6 months, but check the sealant condition before the first ride back.
Hot weather maintenance
Heat is the single biggest accelerator of sealant drying. Riders in hot climates should consider using a higher-viscosity sealant rated for summer use, which resists evaporation longer. Parking your bike in shade rather than direct sun also extends sealant life by 2 to 4 weeks.
Cold weather and winter storage
For bikes stored over winter, refresh the sealant before you put the bike away. Latex-based sealants can survive freezing once inside a sealed tire, but the latex compounds break down faster if the sealant has already started drying. If you ride through winter on snowy or salty roads, plan on refreshing every 2 months to keep the puncture protection active.
When pulling a stored bike out in spring, do the cable tie check first. If the sealant comes back dry, do a full refresh before your first ride. It is a small investment of time compared to dealing with a flat on the first ride of the season.
FAQ’s
How often should you add tubeless sealant?
Add tubeless sealant every 2 to 3 months for typical riding. In hot or dry conditions, shorten that interval to every 6 to 8 weeks. Cold-climate riders can usually stretch to 3 to 4 months between top-ups.
How do I know if my tubeless sealant is dried out?
The most common signs of dried tubeless sealant are tire pressure loss between rides, a hissing sound at the bead or valve, visible dark clumps when you shake the wheel, and the tire failing to self-seal small punctures on its own.
How long does tubeless sealant last in the bottle?
An unopened bottle of tubeless sealant typically lasts 1 to 2 years if stored sealed in a cool, dry place. Once opened, use the remaining sealant within 3 to 6 months. Water-based latex compounds start to lose effectiveness once exposed to air.
Can you add sealant to tubeless tires without removing the tire?
Yes. You can add sealant to tubeless tires without removing the tire by removing the valve core, injecting fresh sealant through the valve stem with a syringe, then reinstalling the valve core and reinflating. This is the standard method used by most riders for routine top-ups.
Conclusion
Knowing how often to add tubeless sealant and how to spot when it has dried up comes down to three habits: refresh every 2 to 3 months as a baseline, watch for pressure loss and dark clumps as warning signs, and use the cable tie dipstick method to confirm sealant condition before long rides. A 15 minute top-up twice a season is far easier than walking home with a flat tire. Set a calendar reminder today and your future self will thank you on the next ride.