
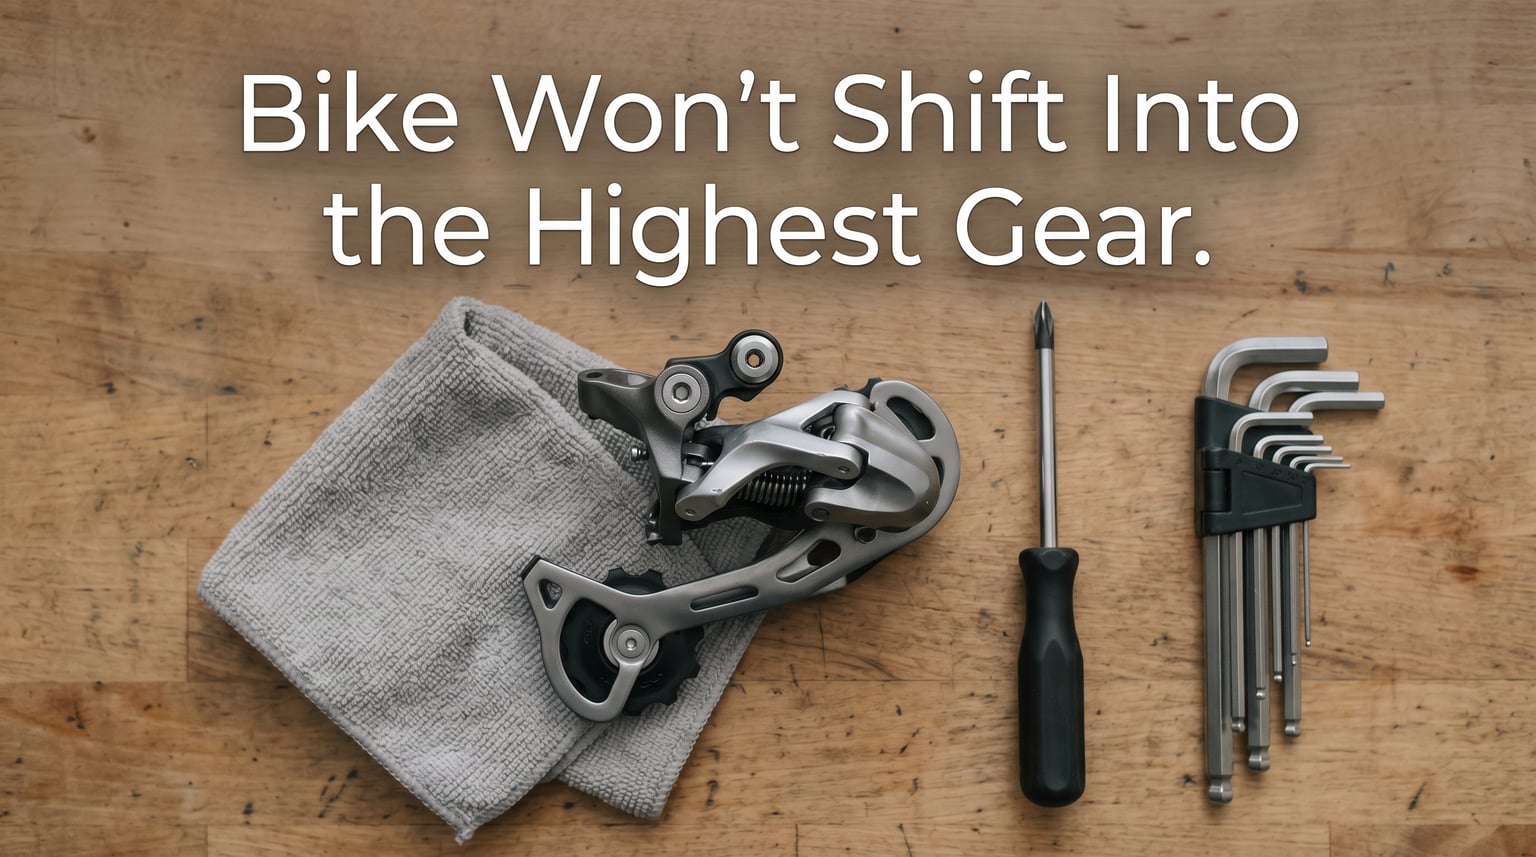
Your bike won’t shift into the highest gear most commonly because the H-limit screw is set too far inward or the shifter cable has stretched, keeping the derailleur from reaching the smallest cog. Cable stretch is normal after a few hundred miles, and limit screws get knocked out of alignment from a single bump or a dropped chain. The good news: in about 30 minutes with a Phillips screwdriver and a 4mm hex key, most riders can diagnose and fix this at home without a shop visit.
I run a small repair stand in my garage and I have helped dozens of neighbors walk through this exact problem. Most of them rode to my place convinced they needed a new derailleur. Nine times out of ten, the fix was a 2mm turn on a single screw. This guide walks you through the same diagnostic sequence I use, starting with the fastest checks and working toward the precise adjustments. If you also want to learn proper gear shifting technique once you are back in working order, that link covers the riding side of the equation.
Table of Contents
Quick Diagnosis Flowchart: Start Here Before Touching Anything
Before grabbing tools, run through this decision tree. It takes two minutes and often points you straight to the culprit.
- Does the shifter click but the chain stays put? Go to Step 1 (cable and housing inspection).
- Does the chain reach the smallest cog but slips or rattles? Skip to Step 2 (H-limit screw).
- Does the chain overshoot the smallest cog and try to fall off? The H-limit screw is turned out too far. See Step 2.
- Does the chain shift fine until you stand up and pedal hard? Cable tension is too low. Go to Step 5 (barrel adjuster indexing).
- Did the problem start right after a crash or a dropped chain? Check the derailleur hanger first, then run through all five steps in order.
This quick-check approach is something I started using after reading Park Tool’s repair guides and watching countless forum threads where the same problem gets misdiagnosed. The flowchart gets you to the right step fast, and it prevents the most common mistake of adjusting limit screws when the actual problem is cable tension.
Why Your Bike Won’t Shift Into the Highest Gear: The Common Causes
When a bike won’t shift into the highest gear, four things are responsible in roughly 90% of cases. Knowing which one you have saves you from turning screws that don’t need turning and from buying parts you don’t need.
Cable Tension Is Too Loose
The most common cause is a cable that has stretched slightly or shifted in its housing. The shifter pulls the cable, the cable moves the derailleur, and the derailleur pushes the chain onto a smaller cog. If the cable has even a millimeter of slack, the derailleur won’t travel the full distance outward. Riders who put on a few hundred miles a month almost always see this within a season. The symptom is that the chain shifts to most gears fine but refuses to land on the smallest cog, or it gets there only after a double-click of the shifter.
The H-Limit Screw Is Misaligned
Every rear derailleur has two limit screws. The H-limit (high gear) controls how far the derailleur can move toward the smallest cog. If this screw is turned in too far, it physically blocks the derailleur from reaching the top gear. A bump against a curb, a fallen bike, or a botched adjustment will throw it off. When the H-limit is the problem, the chain stays on the second-smallest cog no matter how many times you click the shifter.
The Cable or Housing Is Stuck
Cable housing compresses over time, and corrosion can build up inside the housing liner. A stuck cable feels like the shifter is doing nothing, no matter how many times you click. A Reddit user on r/bikewrench described this exact problem: clicking through seven shifts and watching the chain stay frozen on cog six. The fix in that case was a new cable and housing, not an adjustment.
The Cable Has Stretched or Frayed
Steel cables stretch a tiny amount under load, and over months this adds up. A frayed cable near the derailleur or shifter will eventually snap. Both situations require replacement rather than adjustment. Inspect the cable closely at both ends before assuming a simple tension fix will solve the problem.
Tools You’ll Need (and a Few Tool-Free Shortcuts)
For the full diagnostic and adjustment, gather these items:
- Phillips screwdriver (for the limit screws)
- 4mm hex key (for the cable pinch bolt)
- 5mm hex key (for the B-gap adjustment on some derailleurs)
- A clean rag and a small bottle of chain lube
- A bike stand or a friend to hold the rear wheel off the ground (optional but helpful)
You can do Steps 1 and most of Step 2 without any tools at all. If you don’t have a stand, flip the bike upside down so it rests on the handlebars and saddle. This works for visual checks and shifter tests, but you’ll need a stand or a helper for the fine adjustments because the rear wheel needs to spin freely. For broader bike maintenance guides, a basic repair stand pays for itself within a season and makes every adjustment job easier.
Step 1: Inspect the Cable and Housing Without Tools
Before adjusting anything, confirm the cable is actually moving when you shift. This is the step most riders skip, and it is the one that catches stuck-cable problems before they cost you an hour of turning screws.
Stand on the non-drive side of the bike and look at the rear derailleur. Click the shifter one position toward the highest gear. The derailleur should move slightly outward (toward the smallest cog). If nothing moves, the cable is either broken, completely slack, or seized inside the housing.
To test for a seized cable, shift to the lowest gear, then loosen the cable pinch bolt on the derailleur with your 4mm hex key. Pull the cable by hand. It should slide freely. If it feels gritty or stuck, the housing is the problem. A common pattern is that the cable moves an inch or two and then locks up. That is internal corrosion, and the housing needs replacement.
Look at the housing run from the shifter to the derailleur. Check for:
- Crushed or kinked sections (often near the head tube or under the bottom bracket)
- Missing or damaged ferrules (the small metal or plastic caps at the housing ends)
- Frayed cable strands sticking out near the shifter or derailleur
- Rust spots on the cable where it enters the housing
If you see any of these, replacement is the only real fix. Housing compression and internal corrosion are not adjustable, and a frayed cable will fail on the next ride. A new cable and housing kit costs less than a single shop labor charge and typically lasts two to three years of regular riding.
Step 2: Check the H-Limit Screw (Highest Gear Limit)
The H-limit screw is the one that almost always solves the “bike won’t shift into the highest gear” problem when the cable is in good shape. The H stands for high, meaning the highest gear, which is the smallest cog on the rear cassette. The screw physically stops the derailleur from moving past that point, which prevents the chain from falling off the cassette into the spokes.
What the H-Limit Screw Does
When the screw is turned clockwise (looking at the derailleur from behind), it pulls the stop inward and the derailleur can travel farther outward. When turned counter-clockwise, it pushes the stop outward and limits the derailleur’s travel. Setting it correctly means the upper jockey wheel sits directly under the smallest cog with about 1mm of clearance. Too far in, and the chain won’t reach the top gear. Too far out, and the chain will try to fall off the cassette into the spokes.
How to Adjust the H-Limit Screw
Shift the chain to the smallest cog (highest gear). Turn the cranks so the wheel spins. Look down at the rear derailleur from behind the bike. You should see the upper jockey wheel aligned with the smallest cog.
If the chain sits on the second-smallest cog and won’t go further, the H-limit screw is turned in too far. Turn it clockwise (righty-tighty) by quarter-turns, clicking the shifter after each turn, until the chain moves onto the smallest cog.
If the chain reaches the smallest cog but makes a ticking or grinding sound, the H-limit screw is turned out too far. Turn it counter-clockwise (lefty-loosey) by quarter-turns until the noise stops. The chain should land cleanly on the smallest cog with no overshoot.
One warning: small adjustments make a big difference here. A quarter turn moves the derailleur several millimeters. If the chain won’t shift at all, start by turning the screw out (counter-clockwise) two full turns to give yourself room, then adjust inward until it lands correctly. I learned this the hard way on my first tune-up and over-tightened the H-limit so far that the chain couldn’t reach the top gear at all, then I made the opposite mistake and the chain fell off the cassette into the spokes on the test ride. Take it slow.
Step 3: Confirm the L-Limit Screw for Full Range
The L-limit screw is the partner of the H-limit, controlling how far the derailleur can move inward toward the largest cog. You don’t need to adjust it to fix the highest-gear problem, but checking it confirms the derailleur has its full range of motion. If the L-limit is misaligned, the derailleur may be sitting too far outward overall, which throws off the indexing for the highest gears.
Shift to the lowest gear (largest cog). Look from behind. The upper jockey wheel should align under the largest cog with no overshoot. If it does overshoot toward the spokes, the L-limit is set too far out. Turn it clockwise until the chain sits cleanly on the largest cog.
This step takes about 60 seconds and gives you a complete picture of the derailleur’s travel range. If both limit screws are properly set and the chain reaches both extremes, the indexing step that follows will be much more straightforward.
Step 4: Adjust the B-Gap for Proper Pulley Spacing
The B-gap is the distance between the upper jockey wheel and the bottom of the smallest cog. It only matters on bikes with 11-speed or 12-speed cassettes, where the cogs are packed tightly together. If the B-gap is too tight, the derailleur can’t shift onto the smallest cog because the jockey wheel is physically in the way. If it’s too loose, shifting becomes slow and noisy.
Many modern derailleurs have a B-gap adjustment screw on the back of the B-knuckle (the part that pivots). Shift to the smallest cog, then turn the B-gap screw until the gap between the upper jockey wheel and the smallest cog is about 5-6mm (or per the manufacturer’s spec, often printed on the derailleur body).
For older 8-speed and 9-speed drivetrains, the B-gap is fixed by the derailleur design. If you can’t find a B-gap screw, skip this step. The spacing is built into the parallelogram geometry of the derailleur, and you don’t need to think about it.
Step 5: Index the Gears Using the Barrel Adjuster
Indexing is the process of fine-tuning cable tension so each click of the shifter lines up perfectly with one cog. The barrel adjuster is the small knurled knob where the cable housing meets the derailleur. Turning it clockwise adds cable tension, turning it counter-clockwise reduces tension.
Starting Position
Shift to the smallest cog and turn the barrel adjuster all the way clockwise until it stops. Then back it out one full turn counter-clockwise. This gives you adjustment room in both directions and ensures you are not starting from a too-tight or too-loose position.
The Micro-Adjustment Technique
Click through the gears slowly, one shift at a time, pedaling lightly. Watch the chain as it moves from one cog to the next. If a shift is slow or hesitates, the cable needs more tension. Turn the barrel adjuster counter-clockwise by a quarter turn. If a shift is sharp and overshoots into the next larger cog, you have too much tension. Turn the barrel adjuster clockwise by a quarter turn.
Work your way up and down the cassette two or three times. Indexing is iterative. One small adjustment at one end of the cassette affects every other gear slightly, so expect to make 4-5 passes before everything is crisp. The gears closest to the smallest cog (highest gears) are the most sensitive to cable tension, so start there and work toward the middle of the cassette.
Common Indexing Errors to Avoid
Turning the barrel adjuster more than a half turn at once is the most common mistake. Cable tension is sensitive, and a full turn can throw off five gears at once. Make small adjustments.
Don’t index with the bike upside down. The derailleur spring behaves differently without the bike’s weight on the rear wheel, and adjustments made in this position won’t hold once you flip the bike back over. Always index with the bike upright and the rear wheel on the ground or in a stand.
Don’t skip the housing inspection. A frayed cable or a kinked housing will make indexing impossible. The gears will shift well at first, then drift back to sloppy as you keep riding. If your indexing won’t hold, the cable is the suspect.
When to Replace Parts Instead of Adjusting
Some problems can’t be fixed with a screwdriver. If the cable is frayed, the housing is crushed, or the derailleur hanger is bent, replacement is the only answer. A bent hanger is the one that’s easy to miss. Park Tool makes a hanger alignment tool, but a quick visual check works for obvious bends: stand behind the bike and look at the derailleur. It should hang straight down. If it points at an angle, the hanger is bent and needs replacement or straightening before any indexing will hold.
For a comprehensive rebuild, a new cable and housing kit costs less than a shop labor charge and lasts for years. If your bike is older and the cable has never been replaced, doing the full cable and housing swap along with the indexing takes about 45 minutes and transforms shifting performance. Pair this with a new chain if the old one has more than 1,500 miles on it, and your drivetrain will feel brand new.
Frequently Asked Questions
Why is my bike not shifting to higher gears?
The most common causes are loose cable tension and a misaligned H-limit screw. Cable stretch happens gradually over hundreds of miles, while a limit screw can be knocked out of alignment by a single bump or dropped chain. Start by checking cable tension with the barrel adjuster, then verify the H-limit screw setting.
What would cause a transmission not to shift into high gear?
Four problems account for most cases: (1) cable tension too loose, (2) H-limit screw turned in too far, (3) stuck or corroded cable inside the housing, and (4) a bent derailleur hanger. Diagnose in that order, starting with the cheapest and easiest fix.
Why won’t my bike go into top gear?
If the shifter clicks but the chain stays on the second-smallest cog, the H-limit screw is the most likely culprit. Turn it clockwise in quarter-turn increments while clicking the shifter, until the chain moves onto the smallest cog and stops with no overshoot.
Why is my rear derailleur not shifting to the largest cog?
This is a different problem from the highest gear issue. The L-limit screw controls inward travel to the largest cog. If the chain won’t reach the largest cog, turn the L-limit screw counter-clockwise in quarter-turns until the chain moves fully inward without overshooting toward the spokes.
How do I know if it’s the limit screw or cable tension causing the problem?
Run the manual test: loosen the cable pinch bolt and manually push the derailleur outward by hand. If it moves freely to the smallest cog, the derailleur and hanger are fine, and the problem is cable tension or the H-limit. If the derailleur feels stiff or stuck, the hanger may be bent or the spring is damaged.
Final Thoughts: Get Back to Riding
A bike that won’t shift into the highest gear is one of the most common drivetrain problems, and in most cases the fix takes 30 minutes and a single screwdriver. Run the quick diagnosis flowchart first, then walk through cable inspection, the H-limit screw, the B-gap check, and indexing with the barrel adjuster. If you’d like to sharpen your mountain bike handling skills once your gears are working perfectly, that guide pairs well with a freshly tuned drivetrain.
Once your highest gear is back, take a short test ride, shift through every gear under load, and make any final micro-adjustments. Drivetrains settle slightly after the first few shifts, so don’t be surprised if you need one more quarter-turn on the barrel adjuster after a 10-minute ride. Once everything holds, you are back in business.