
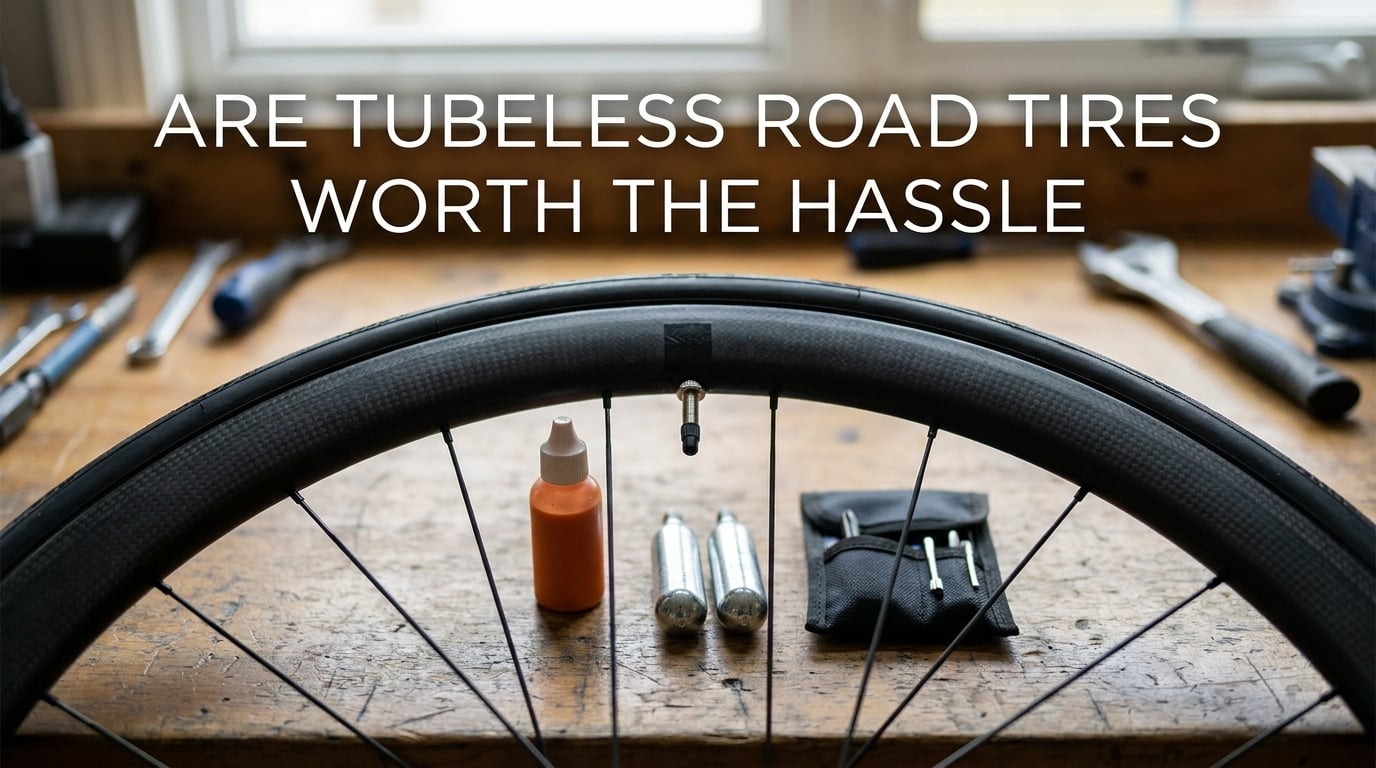
I remember standing on the shoulder of a county road at dusk, latex-stained fingers shivering, trying to seat a stubborn tubeless tire with a CO2 cartridge while trucks blew past at 60 mph. That was the night I started asking the same question thousands of cyclists ask every year: are tubeless road tires worth the hassle?
Tubeless road tires are worth the hassle for riders who prioritize puncture protection, lower rolling resistance, and the ability to run lower pressures, but they are not worth it for casual riders who hate maintenance, want a simple flat fix, or ride only occasionally. The honest answer depends on what kind of riding you do and how much tinkering you can tolerate.
Below I will walk through what I have learned from several seasons of running tubeless on road, gravel, and bikepacking setups, what the actual maintenance looks like, and how to decide if it fits your riding. If you want the practical side of dealing with flats far from home, our guide on tubeless tire repair skills covers the field techniques that pair well with this article.
Table of Contents
Quick Verdict: Are Tubeless Road Tires Worth the Hassle?
For most committed road cyclists who ride several times a week, tubeless road tires are worth the hassle. The combination of self-sealing punctures, lower rolling resistance, and pinch-flat elimination pays off over thousands of miles. The trade-off is real: you accept messy installation, sealant refreshes every two to three months, and a higher up-front investment in tires, valves, sealant, and a plug kit.
If you ride fewer than two or three times a week, dislike getting your hands dirty, or only do short casual rides on clean roads, a quality clincher with a latex or TPU tube delivers most of the performance with none of the upkeep. Tubeless rewards riders who put in enough miles to amortize the setup hassle.
How Tubeless Road Tires Actually Work
A tubeless road tire seals directly against the rim without an inner tube. The tire bead locks into a hooked (or hookless) rim, the rim bed is taped airtight, and a presta valve with a removable core threads through. Liquid sealant sloshes inside and quickly fills small punctures as they happen, often without the rider ever stopping.
The phrase “tubeless-ready” gets thrown around loosely, and it matters. A tubeless-ready wheel has been designed with a sealed rim bed and bead-lock profile, while a tubeless-compatible tire may seat on a tubeless rim but is not always tested or warranted for it. Sticking with tubeless-ready tires and wheels from reputable brands avoids the worst installation headaches.
Compared to a traditional clincher with a butyl tube, the system removes the tube, removes the friction between tube and tire, and lets the sealant handle small punctures automatically. The same logic is why gravel and mountain riders adopted tubeless years ago, and why many bikepackers consider it essential for multi-day routes. If you want to understand that use case, our piece on tubeless benefits for bikepacking goes deeper.
Pros of Tubeless Road Tires
Puncture protection that actually self-seals
This is the single biggest reason riders switch. Small punctures from glass, wire, thorns, and flint get sealed by the liquid sealant in seconds, often without you ever noticing until you spot a dried blob on the tire after the ride. Riders on long rural routes with chip-seal and debris frequently report going entire seasons without a flat.
Lower rolling resistance at the same pressure
Independent lab tests from places like Bicycle Rolling Resistance consistently show quality tubeless road tires measuring lower rolling resistance than the same tires run with butyl tubes. Removing the tube eliminates internal friction, and the difference can be in the range of one to three watts per tire. That is meaningful for committed riders chasing speed.
Run lower tire pressure for comfort and grip
Without an inner tube to pinch, you can drop tire pressure five to fifteen psi without risking pinch flats. Lower pressure widens the contact patch, smooths out rough chip-seal, and improves cornering grip on imperfect pavement. Many riders find the ride quality improvement alone justifies the switch.
Pinch flats are essentially eliminated
A pinch flat, sometimes called a snakebite, happens when an inner tube gets caught between the rim and an obstacle. Tubeless setups have no tube to pinch, so hitting a pothole or train track that would flat a clincher often results in nothing more than a moment of panic and a sigh of relief.
Cons of Tubeless Road Tires
Messy, fiddly installation
The first time you mount a tubeless road tire can be an exercise in frustration. Tight tire beads, slippery sealant, and the challenge of getting the bead to seat without a compressor all conspire against you. Road tires, with their narrow profile and high pressure, are notably harder to seat than mountain or gravel tires.
Many riders end up buying an air compressor or a high-volume booster pump just to seat stubborn tires. Some tire and rim combinations are notoriously tight, and forums are full of “demon tire” stories. Once you have done it a few times it becomes routine, but the learning curve is real.
Sealant dries out and needs regular refreshing
Sealant does not last forever. Depending on climate, sealant type, and mileage, it dries out in roughly two to three months. Hot, dry storage accelerates the process. If you forget, you end up riding on dried latex chunks that do nothing to seal a puncture, defeating the whole purpose of the system.
That means tubeless is not a set-and-forget setup. You will be removing the tire, cleaning out the dried sealant, and reinstalling fresh several times per year. Some riders find this meditative; others find it tedious.
Higher ongoing cost
The first season is the most expensive. Beyond the tires themselves, you are buying tubeless valves, sealant, rim tape (if not pre-installed), a plug kit, a valve core tool, and usually a booster pump or compressor. Sealant refills become a recurring cost. None of this is prohibitive, but it adds up compared to a clincher and a handful of cheap butyl tubes.
Roadside repairs still require a backup plan
The promise of “never flat again” oversells reality. A large cut, a torn sidewall, or a bead that unseats will not be saved by sealant. That is why experienced tubeless road riders still carry a plug kit, a CO2 cartridge or two, and a spare tube as a last resort. For a thorough packing list, see our guide on what to carry for tubeless roadside repairs.
Tire and wheel compatibility headaches
Not every tire seats on every rim, and the rise of hookless rims has added a new layer of confusion. Hookless rims are lighter and simpler but require specific tire sizes and pressure limits. Mismatched combinations can be dangerous. You need to do your homework, read the ETRTO standards, and trust manufacturer compatibility charts.
Tubeless Road Tire Maintenance Schedule
Here is the maintenance rhythm I follow and recommend. Treat this as a baseline and adjust based on your mileage and climate.
Every two to three months, refresh the sealant. Pop one bead, scoop out the dried clumps, and pour in fresh sealant according to the manufacturer’s recommended amount for your tire volume. Riding in hot, dry conditions shortens this interval; cool, damp climates can stretch it slightly longer.
Every month or so, check the valve core. Tubeless presta valves can loosen over time, especially if you use a compressor chuck frequently. A loose core causes slow leaks that are maddening to diagnose. A two-dollar valve core tool pays for itself in one saved ride.
Before every ride, give each tire a quick squeeze or check with a gauge. Tubeless tires can lose air slightly faster than butyl setups, and a soft tire increases the risk of unseating the bead on a hard hit. Top off to your target pressure and ride.
Seasonally, especially if you store a bike over winter, plan to strip the tires, clean out all the old sealant, and start fresh. Dried sealant left in a tire for months turns into a lump of latex that throws off wheel balance and does nothing for you. For the field-repair side of tubeless ownership, our article on tubeless tire repair skills covers the techniques you will actually use roadside.
The Middle Ground: Latex and TPU Tubes
If you are hesitant about full tubeless but still want better performance, latex and TPU tubes are a genuine middle ground. This is the option many of our cycling friends use, and several professional teams still run latex tubes in time trials and classics.
Latex inner tubes have lower rolling resistance than butyl because they are more supple, so they deform more easily at the contact patch. The performance gap between a latex tube and a tubeless setup is smaller than the marketing suggests. The trade-off is that latex loses air faster, so you pump before every ride, and latex tubes are still vulnerable to pinch flats.
TPU tubes, made from thermoplastic polyurethane, are the newer option. They are lighter than latex, hold air better, and resist punctures reasonably well. TPU tubes like those from Tubolito and Pirelli have become popular as a lightweight, low-hassle alternative that gives you some of the rolling-resistance benefit without the sealant mess.
For riders who do not want to commit to the maintenance of tubeless, a quality clincher with a latex or TPU tube is a legitimately good choice and not a compromise to feel guilty about.
Should YOU Go Tubeless? A Decision Framework
Instead of a single verdict, here is how I would decide based on rider type. Score yourself honestly on each and the answer will usually become obvious.
You are a strong candidate for tubeless road tires if you ride three or more times per week, frequently ride on rough chip-seal, gravel-adjacent roads, or debris-strewn urban pavement, do long distance or century rides where a flat is genuinely costly, value marginal rolling-resistance gains, and do not mind getting your hands dirty a few times a year. For this rider, the hassle pays back fast.
You are a weaker candidate for tubeless if you ride once or twice a week on mostly clean roads, transport your bike in a car to flat, scenic paths, want the simplest possible flat fix, or hate the idea of dealing with sealant at all. For this rider, a clincher with a latex or TPU tube delivers 80 percent of the benefits at 10 percent of the effort.
The middle case is the rider who does a bit of everything: occasional long rides, some rough roads, a desire for fewer flats, but real skepticism about maintenance. For this rider, I usually suggest trying tubeless on one bike, ideally a gravel or all-road setup where the installation is easier, and seeing whether the benefits resonate before committing your main road bike.
Bikepacking and multi-day touring tilt strongly in favor of tubeless because the cost of a flat is much higher when you are carrying gear and far from help. If that describes your riding, the switch is usually a clear win.
Frequently Asked Questions
Is road tubeless worth it?
Road tubeless is worth it for riders who put in regular miles on imperfect pavement and want fewer flats, lower rolling resistance, and the ability to run lower pressures. It is less worthwhile for casual riders who dislike maintenance.
What are the downsides to tubeless tires?
The main downsides are messy and sometimes difficult installation, sealant that needs refreshing every two to three months, higher up-front cost for valves, sealant, a plug kit, and often a compressor, and the fact that large cuts still require carrying a spare tube.
Do professionals use tubeless tires?
Yes. A growing number of professional WorldTour teams use tubeless tires, especially on classics and rough-road stages. Some teams still use latex tubes for time trials or specific conditions, but tubeless adoption in the pro peloton has increased steadily.
Is it worth going tubeless on a road bike?
It is worth going tubeless on a road bike if you ride several times per week, value puncture protection and lower rolling resistance, and can tolerate periodic sealant maintenance. Riders doing only short, casual rides on clean roads will see less benefit.
Can you put a tube in a tubeless tire?
Yes. You can install a standard inner tube inside a tubeless tire as a roadside or permanent fix. Most experienced tubeless riders carry a spare tube for exactly this situation, in case a cut is too large for sealant or a plug to handle.
The Final Call on Tubeless Road Tires
Are tubeless road tires worth the hassle? For committed riders who put in the miles, yes. The puncture protection, rolling-resistance advantage, and pinch-flat elimination genuinely pay off, and once you have the installation routine dialed, the upkeep is a manageable rhythm rather than an ordeal.
For everyone else, there is no shame in sticking with clinchers and quality latex or TPU tubes. The performance gap is smaller than the marketing implies, and the simplicity is its own reward. Use the decision framework above, score yourself honestly, and pick the setup that fits the riding you actually do, not the riding the ads imagine.