
If your disc brake rub comes and goes and you cannot figure out why, you are not alone. I have ridden bikes where the front wheel sounds clean one day and clicks on every rotation the next. Intermittent disc brake rub is one of the most frustrating noises a bike can make because it refuses to stay broken long enough for you to fix it.
This guide gives you a clear 5-step method for tracking down that rub. You will learn how to tell the difference between a misaligned caliper and a bent rotor, why your thru-axle torque matters more than you think, and when to stop adjusting and replace a part instead. By the end, you will have a diagnostic routine you can run in five minutes before any ride.
Table of Contents
Intermittent vs Constant Disc Brake Rub: What’s the Difference?
Intermittent disc brake rub happens at a specific point in every wheel rotation. You hear a tick, click, or scrape that comes around once per revolution and disappears between hits. Constant rub happens on every rotation, with the pads touching the rotor continuously as the wheel spins.
The distinction matters because the two have almost opposite causes. Constant rub usually points to a misaligned caliper or a piston that is not retracting evenly. Intermittent rub almost always means a bent rotor, a contaminated pad, or a thru-axle that is not holding the wheel in the same position every time you install it.
Here is the quick spin test I run before any adjustment. Lift the bike, spin the wheel, and listen. If the rub comes around like clockwork at one spot, you have an intermittent problem and probably a slightly warped rotor. If the rub is constant or present at every angle of rotation, suspect the caliper first.
Tools You’ll Need to Track Down Brake Rub
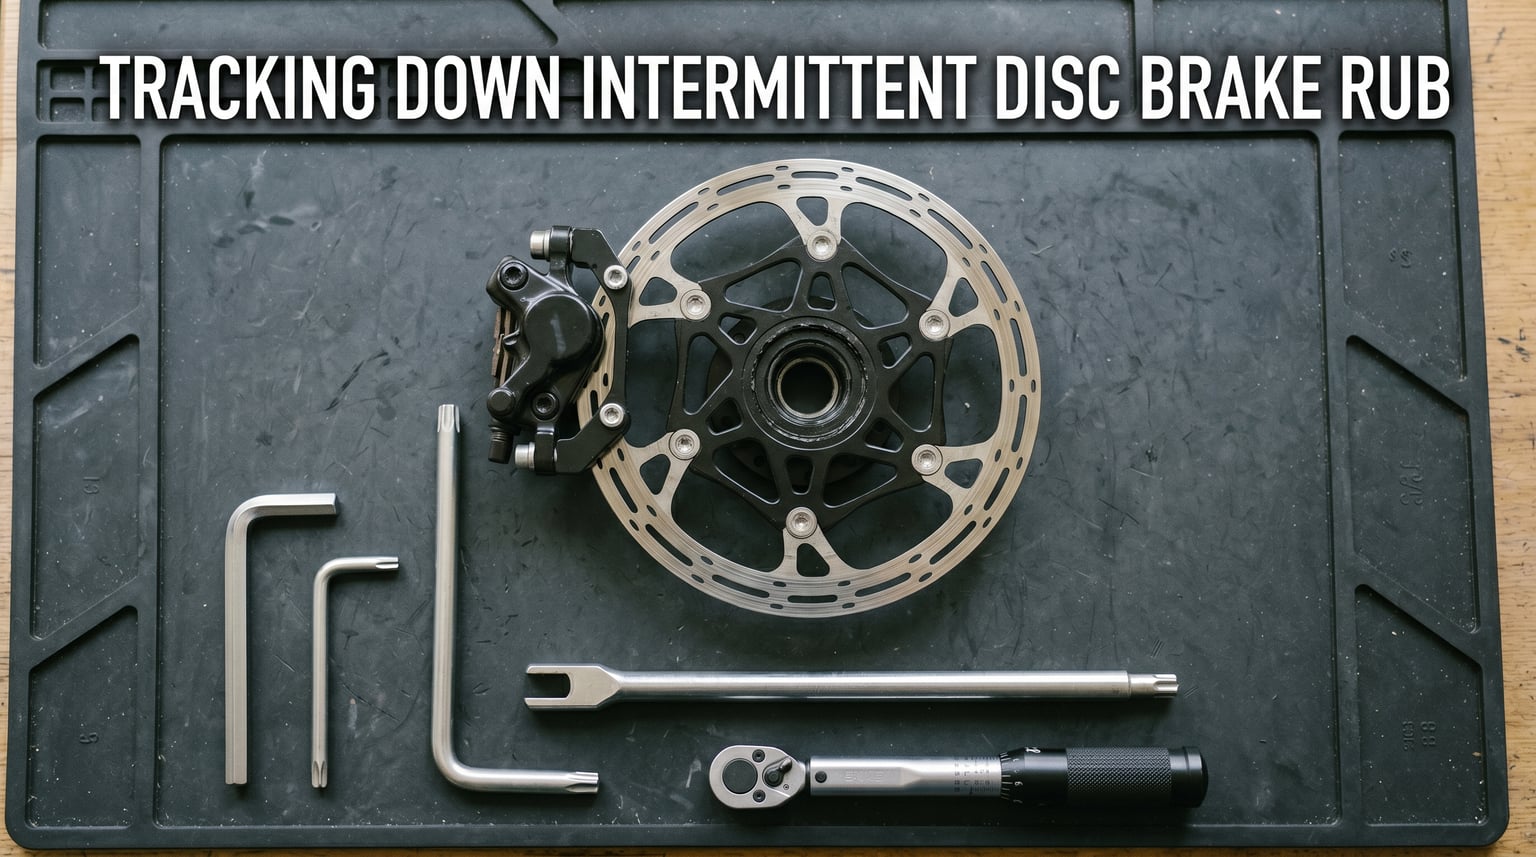
You do not need a full workshop to track down intermittent disc brake rub. A small kit covers almost every case I have seen.
- A 5mm hex wrench for caliper bolts on most modern brakes
- A T25 Torx for Shimano and some SRAM rotor bolts
- A rotor truing fork or a clean adjustable wrench
- Isopropyl alcohol and lint-free rags for cleaning rotors and pads
- A torque wrench capable of 4 to 8 Nm for thru-axles
Pack these in your saddlebag along with the basics. I keep them rolled in a roadside brake maintenance kit so I am never stuck mid-ride with a mystery rub.
Step 1: Diagnose Whether the Caliper or Rotor Is the Culprit
The first step in tracking down intermittent disc brake rub is figuring out which component is making the noise. Most riders guess wrong because they assume the rotor is always the problem. That is not true. Calipers cause a large share of intermittent rub, especially after a wheel change.
Start with a visual inspection. Look straight down at the caliper from above the handlebars. Both pads should sit at the same distance from the rotor. If one pad looks like it is kissing the rotor while the other sits back, the caliper is misaligned. That misalignment causes one side of the rotor to rub constantly, but if your rotor is also slightly bent, the rub becomes intermittent.
The marker test is the second diagnostic I trust. Use a Sharpie to draw a thin line across the rotor surface at the exact spot where you hear the rub. Spin the wheel a few times. If the marker transfers to the pad, you have confirmed the exact contact point. If it transfers evenly to both pads, the caliper is centered but the rotor is bent. If only one pad shows transfer, the caliper is off-center.
For hydraulic brakes, finish step 1 with a squeeze-and-release test. Squeeze the lever firmly, hold for three seconds, then release. Spin the wheel. Repeat five times. If the rub changes position or clears up briefly, a sticky piston is contributing. You have found a third potential cause, and we will address it in step 5.
Step 2: Center the Brake Caliper
If step 1 pointed at the caliper, here is how to center it. This procedure works on both hydraulic and mechanical disc brakes.
- Loosen the two caliper mounting bolts a quarter turn. The caliper should be loose enough to slide side to side but not flop freely.
- Pull the brake lever firmly. If the bike is on a stand, spin the wheel while you pull. If you are holding the bike, hold the lever and gently rock the caliper with your free hand.
- While still holding the lever, retighten the caliper bolts to the manufacturer’s torque spec, usually 6 to 8 Nm.
- Release the lever slowly and spin the wheel. Listen for rub.
If you still hear rub, repeat the process once more. Most calipers self-center on the second attempt because the first squeeze forces the pistons to retract to their natural position. For mechanical disc brakes like BB5 or BB7, you will also want to adjust the inner and outer pad spacing screws until the rotor spins freely between them.
The 70/30 rule applies here. If the rotor sits 70 percent of its width to the inboard pad and 30 percent to the outboard pad after centering, the alignment is correct. Most mechanics use this visual ratio to confirm centering without gauges.
Step 3: True a Bent Brake Rotor
If the spin test showed a single tick or scrape at one spot in the rotation, you have a bent rotor. This is the most common cause of intermittent disc brake rub that comes and goes. Rotors warp easily during transport, from heat, or from a hard impact with a rock or curb.
To true a rotor, you need a rotor truing fork or a clean adjustable wrench. I prefer a dedicated truing fork because it grips the rotor without scratching it. If you must use an adjustable wrench, wrap the jaws with electrical tape first.
- Spin the wheel and identify exactly where the rub happens. Stop the wheel with that spot at the bottom of the rotor, between the caliper and your work area.
- Insert the truing fork against the rotor at the rub spot. The bend is always in the opposite direction of where the rotor is rubbing.
- Apply gentle, steady pressure. Bends often look much worse than they really are. A 0.2 mm warp can sound like a hammer hitting the caliper, but it only takes a small bend to fix it.
- Spin the wheel and recheck. Repeat until the rub clears.
True slowly. You can always bend the rotor more, but you cannot easily bend it back if you overcorrect. I count to three on every bend and check the spin before doing another.
If the rotor is more than 0.3 mm out of true and refuses to stay straight after three attempts, replacement is the better option. Continued bending work-hardens the metal and creates weak spots that crack later under hard braking.
Step 4: Check Thru-Axle Torque Consistency
This is the cause that almost nobody talks about, and it is responsible for a huge share of intermittent disc brake rub that drives riders crazy. If your thru-axle is not torqued to the same value every time you install the wheel, the rotor sits in a slightly different lateral position each time. The pads are aligned to one position, but the rotor keeps arriving at a slightly different spot.
The fix is simple. Use a torque wrench on your thru-axle. Most road and gravel bikes want 12 to 15 Nm. Most mountain bikes want 15 to 20 Nm. Check your frame or fork manual for the exact figure, because the spec varies.
I torque every axle the same way. I insert the axle hand-tight, then click the torque wrench to spec. If the rub disappears after one wheel removal and reappears after another, you have just confirmed the thru-axle as your culprit. The disc brake rub was coming and going because your hand-tightening torque was inconsistent.
This single change has eliminated more intermittent rub in my own bikes than any other adjustment. It is the easiest step on this list and the one most riders skip.
Step 5: Inspect Pads, Pistons, and Debris
If steps 1 through 4 did not clear the rub, the next layer is pad and piston health. Contamination, stuck pistons, and small burrs on the rotor or pad surface all create intermittent noise that is hard to track down.
For pad contamination, look at the surface of each pad under bright light. A shiny, oily film means the pads have been contaminated by chain lube, degreaser, or sweat. Clean or replace them. Lightly sanding the pad surface with 120-grit sandpaper can restore lightly contaminated pads, but deeply contaminated ones need to be replaced.
For stuck pistons, remove the wheel and pads, then look into the caliper. Press the brake lever and watch the pistons extend. They should move at the same rate. If one sticks, gently push it back with a plastic tire lever or piston press. Never use a metal tool, because a scored piston will leak fluid.
For debris, run your finger carefully along the edge of the rotor (avoiding the braking surface itself). Feel for small burrs. Tiny aluminum slivers from brake pad material often stick to the rotor edge and contact the pad at one spot per rotation. Pick them off with a fingernail or a wooden toothpick.
Cleaning the rotor with isopropyl alcohol removes invisible contamination that causes intermittent squeal. Wipe both sides, let it dry for 60 seconds, then reinstall the wheel and test.
When Intermittent Rub Gets Worse on Long Descents
If your disc brake rub is barely noticeable on a short ride but loud and persistent on a long descent, heat is the culprit. Rotors and pads both expand as they heat up, and a rotor that is 0.2 mm out of true at room temperature can become 0.4 mm out of true after fifteen minutes of hard braking.
This is a specific kind of intermittent rub because it shows up only under thermal load. The fix depends on the cause. If the rotor is borderline, replace it with a thicker rotor rated for your riding style. Mountain bike riders doing alpine descents should use 1.8 mm or 2.0 mm rotors, not the 1.5 mm units found on many entry-level bikes.
Pad material also matters. Organic pads run quieter and handle heat differently than metallic pads. Switching pad compound can change how the rub behaves under load.
To test for heat-related rub, ride a long descent and then immediately check the rotor and pads. If you see a blue tint on the rotor, it has exceeded its operating temperature, and you should consider upgrading to a heavier rotor or a more heat-resistant pad. For more on how braking behaves under load on rough terrain, see our guide to disc brake performance and control on loose surfaces.
New Bike Break-In: When Rub Is Actually Normal
If your bike is brand new and the brakes rub a little, give it time. Manufacturers and mechanics agree on a 300 km break-in period for new disc brakes. Pads and rotors need to mate to each other through normal use. Light rub during this window is normal and usually disappears on its own.
Avoid the temptation to adjust aggressively during break-in. You can introduce new problems if you keep loosening bolts before the pads and rotors have seated. Run the 5-step diagnostic at the 300 km mark and again at 500 km. If rub persists, work through the steps.
Some bikes ship with rotors that are slightly bent from shipping. A quick true with the rotor truing fork handles this without any other changes.
When to Stop Adjusting and Replace Components
Knowing when to stop adjusting is part of the diagnostic process. Continuing to bend a rotor that is past its service limit creates safety problems down the road.
- Replace the rotor when it is worn below 1.5 mm thickness. Most rotors have a minimum thickness etched into the surface.
- Replace pads when the friction material is worn down to within 1 mm of the backing plate.
- Stop trueing if the rotor will not hold its shape after three or four attempts. Continued bending weakens the metal.
- Take the bike to a shop if the caliper mount on the frame or fork is visibly bent. This is not a field repair.
For hydraulic systems, any sign of fluid leaking around the caliper or lever means professional service. Air in the lines, a soft lever, or inconsistent piston movement all point inside the hydraulic system where home tools cannot reach.
FAQ’s
How to stop disk brake rub?
To stop disc brake rub, work through five steps: (1) spin the wheel to identify whether the rub is constant or at one point per rotation, (2) loosen the caliper bolts, squeeze the brake lever to recenter, then retighten to spec, (3) true the bent spot on the rotor using a rotor truing fork, (4) torque the thru-axle to manufacturer spec every time you install the wheel, and (5) clean the rotor with isopropyl alcohol and check pads for contamination.
What is the 70 30 brake rule?
The 70/30 brake rule means that when you look straight down at the caliper, the rotor should sit about 70 percent of its width to the inboard pad and 30 percent to the outboard pad. This visual ratio confirms proper caliper centering without gauges. Most mechanics use this rule to check caliper alignment after retightening the mounting bolts.
How much disc brake rub is acceptable?
A small amount of disc brake rub is acceptable, especially on a new bike during the first 300 km break-in period. Light, occasional rub that does not change braking performance is normal. Rub that is loud, rhythmic, getting worse, or accompanied by reduced braking power is not acceptable and should be diagnosed using the 5-step method.
How to tell if a caliper is misaligned?
Look straight down at the caliper from above the handlebars with the wheel installed. Both pads should sit at equal distance from the rotor. If one pad touches the rotor and the other has visible gap, the caliper is misaligned. You can confirm with the marker test: draw a line on the rotor, spin the wheel, and check which pad the line transfers to. Uneven transfer means misalignment.
How to stop MTB disc brakes from rubbing?
To stop mountain bike disc brakes from rubbing, follow the same 5-step diagnostic as road or gravel bikes. The most common cause on mountain bikes is rotor warp from impacts, so true the rotor with a truing fork. Pay special attention to thru-axle torque, because MTB wheels are removed more often for transport and tire changes, and inconsistent axle torque is a leading cause of intermittent rub.
Is it normal for new bike disc brakes to rub?
Yes, mild disc brake rub is normal on a new bike during the break-in period of roughly 300 km. Pads and rotors need to mate through normal use, and rotors sometimes arrive slightly bent from shipping. Aggressive adjustment during break-in can introduce new problems. Run the full 5-step diagnostic at 300 km if rub persists.
Conclusion
Tracking down intermittent disc brake rub that comes and goes is mostly a discipline of running the same five steps in the same order every time. Diagnose the type of rub, center the caliper, true the rotor, torque the thru-axle, then inspect pads and pistons. Most riders clear their rub within fifteen minutes once they follow the sequence.
The biggest habit change I can recommend is using a torque wrench on every thru-axle, every time. That single habit eliminates the most common source of intermittent rub on modern bikes. For everything else, work the steps and you will find the noise.