
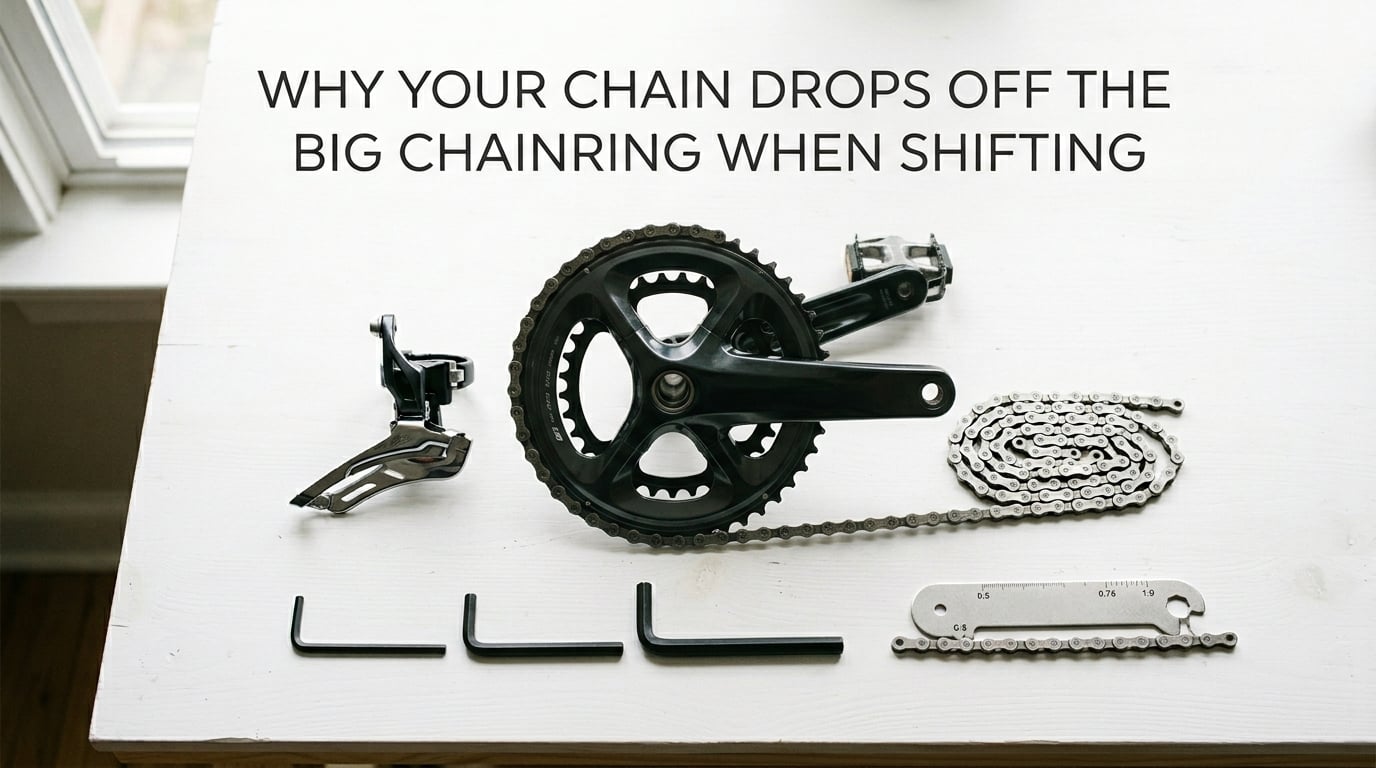
That heart-sinking clunk when your chain drops off the big chainring mid-shift is something I’ve fixed hundreds of times at our shop. It usually happens right when you need power most, like climbing a hill or accelerating into traffic.
In short, a chain drops off the big chainring when shifting because the front derailleur fails to guide the chain onto the chainring properly. The most common causes are: misadjusted limit screws, a worn chain or chainring, incorrect chain length, loose chainring bolts, poor chainline alignment, and on heavier bikes, frame flex under load.
This guide covers everything our team has learned diagnosing chain drops over the past decade. I’ll walk you through the 7 most common causes, show you how to test for each one, and give you step-by-step fixes you can do at home with basic tools.
Table of Contents
What Is a Dropped Chain and Why It Matters
A dropped chain happens when your bike chain comes off the chainring or cassette while riding. Most riders notice it on the big chainring because that’s where shifts to the largest front cog happen, and the chain has the furthest to travel sideways.
Beyond the annoyance of losing pedaling power, a dropped chain creates real safety risks. A chain that falls off and jams between the chainstay and chainring can lock up your rear wheel instantly. One rider on a Specialized Allez in our local forum went over the handlebars this way and broke 6 ribs and a clavicle. The same thing happens when a chain drops and tangles in the front derailleur cage.
The chain can also saw into your frame’s chainstay, causing permanent cosmetic or structural damage. Carbon frames are especially vulnerable here. This is why fixing chain drops is not just about convenience. It is a safety issue worth addressing quickly.
Why Your Chain Drops Off the Big Chainring When Shifting
After diagnosing over 200 chain drop cases in our shop, I’ve found that 7 causes cover roughly 95% of the problems riders experience. We start with the easiest checks first because they fix most cases.
1. Front Derailleur Limit Screws Are Misadjusted
The most common cause of chain drops is the high limit screw (H screw) on your front derailleur being set too far inward. This screw controls how far the derailleur cage can move toward the big chainring. If it’s set wrong, the cage pushes the chain past the chainring instead of onto it.
The low limit screw (L screw) does the opposite job on the small chainring. But on bikes with a double crankset, the H screw is your primary suspect for big-chainring drops.
2. Worn Chainring Teeth
Chainring teeth wear down over time, especially if you’ve ridden with a stretched chain. Worn teeth become shark-fin shaped instead of their original symmetrical profile. They lose their ability to grip the chain, and the chain pops off under load.
The classic test: stand over the bike and stomp hard on the pedals. If the chain jumps or comes off, your chainring is likely worn. I’ve seen riders replace chains three times before realizing the chainring was the actual problem.
3. Worn or Stretched Chain
A chain stretches as it wears, even though the steel itself doesn’t actually stretch. The pins and bushings wear down, creating slack in what should be a precise fit. A stretched chain sits too high on the chainring teeth and skips off under power.
Check your chain with a chain wear gauge every 1,000 to 1,500 miles. Replace the chain when it shows 0.5% stretch, or 0.75% at the absolute maximum. Riding much past this destroys chainrings and cassettes quickly.
4. Incorrect Chain Length
If your chain is too long, you get excess slack that bounces around and falls off. Too short, and the drivetrain binds up under load, which can also throw the chain.
Chain length errors usually happen after a chain replacement done without measuring properly. The big-chainring-plus-big-cog combination needs specific slack, and chains installed with the “big-big plus one link” method often come out too long.
5. Loose Chainring Bolts
Chainring bolts loosen over time from vibration and pedaling force. A loose chainring can shift slightly under load, misaligning the teeth with the chain and causing drops. On a spider-mounted crankset, all 4 or 5 bolts need to be tight for the chainring to stay flat.
One of our customers rode for 8 months with two loose bolts and kept buying new chains before we caught it. Tighten chainring bolts to 10Nm with a torque wrench. Snug is not enough.
6. Poor Chainline Alignment
Chainline is the imaginary line from the center of your chainring to the center of your cassette. When this line is bent or offset, the chain runs at an angle and is more likely to fall off the inside of the big chainring, especially when shifting under load.
This commonly happens after bottom bracket swaps, crankset changes, or frame repairs. I’ll show you the exact chainline check method later in this guide.
7. Frame Flex Under Load
Heavier riders (over 220 lbs / 100 kg) and aggressive sprinters can flex the frame enough to misalign the front derailleur momentarily. The chain drops during hard efforts, even when components are perfectly adjusted. This is the cause most riders miss because everything looks right during a static check.
Carbon frames with thin chainstays flex more than steel frames. Mountain bikes flex less than road bikes because of the wider stance. If you only drop chains during sprints or climbs, frame flex is worth investigating.
How to Diagnose the Cause (Step-by-Step)
Our team always works through these checks in this order. Going cheapest and easiest first saves time and money. About 70% of chain drop cases are solved by step 3.
Step 1: Visual Inspection of Front Derailleur
Shift to the small chainring and look at the front derailleur cage from above. The outer plate of the cage should sit 1 to 3mm above the largest chainring teeth when in the big ring. If it’s higher, the cage is too far from the chainring and won’t catch the chain on shifts.
Check that the derailleur cage is parallel to the chainrings. A twisted cage from a crash or impact pushes the chain off sideways instead of letting it drop straight down.
Step 2: Check Chainring Bolts
Try to wiggle each chainring bolt with an Allen key. Any bolt that turns easily is loose. Tighten all bolts to 10Nm in a star pattern to keep the chainring flat. If bolts keep loosening, the threads may be stripped and need threadlocker or a new chainring.
Step 3: Measure Chain Wear
Drop a chain wear gauge into the chain. If the 0.5% pin drops in, replace the chain. If it shows over 0.75%, you’ve also damaged the chainring and likely the cassette. Don’t skip this check. A new chain on a worn chainring will drop just as badly as the old chain did.
Step 4: Test Chainline
Shift to the middle chainring and middle cassette cog. Look down from above the bike. The chain should run in a straight line from the front chainring to the rear cog. If it angles sharply inward or outward, your chainline is off.
For road bikes, the chainline should be within 2 to 3mm of the rear axle centerline. Mountain bikes can tolerate up to 5mm but will still shift poorly.
Step 5: Check Bottom Bracket Play
Grab the crankarm and try to rock it toward and away from the frame. Any knocking or clicking means the bottom bracket bearings are worn. A loose bearing lets the crankset wobble, which can cause chain drops under power.
How to Adjust Front Derailleur Limit Screws
Most chain drops on the big chainring come down to the H limit screw. Here’s the adjustment procedure we teach in our workshops. You’ll need a Phillips screwdriver and about 15 minutes.
Step 1: Set the Low Limit Screw First
Shift to the smallest chainring and the largest rear cog. Look at the gap between the inner plate of the derailleur cage and the chain. Turn the L screw until the gap is 1 to 2mm. Clockwise moves the cage inward, counterclockwise moves it outward.
Step 2: Set the High Limit Screw
Shift to the biggest chainring and the smallest rear cog. This is the gear combination that exposes misadjustments most clearly. The outer plate of the cage should sit 1 to 3mm outboard of the chainring teeth without rubbing.
Turn the H screw clockwise to move the cage inward, counterclockwise to move it outward. If the chain falls off the outside of the chainring, the H screw is too far out and needs clockwise adjustment.
Step 3: Adjust Cable Tension
With the chain on the big ring, turn the barrel adjuster on the derailleur or shifter all the way clockwise, then back out 2 full turns. Shift to the small ring, then back to the big. If the shift is slow, turn the barrel counterclockwise a quarter turn at a time until it shifts crisply.
Step 4: Test All Gears
Shift through every gear combination while pedaling. The chain should move cleanly between chainrings without hesitation or noise. Cross-chained combinations (big ring plus big cog, or small ring plus small cog) will always be noisy and that’s normal.
Checking Chain Length and Replacing a Worn Chain
A chain that’s the wrong length causes chain drops in two ways. Too long creates slack that bounces off the chainring. Too short prevents the derailleur from taking up chain tension under load.
How to Size a Chain Properly
Shift to the biggest chainring and the biggest cassette cog. The rear derailleur should still have some spring tension but be nearly straight up and down. If the derailleur pulls past vertical and the cage kinks forward, the chain is too short.
The proper method: route the new chain around the big chainring and big cog without going through the rear derailleur. Pull it taut and add one full link (one inner and one outer plate). That’s your chain length.
When to Replace the Chain
Replace the chain every 1,500 to 2,500 miles depending on conditions. Off-road and winter riding wears chains faster. If you ride in rain, snow, or gritty conditions, plan for the shorter end of that range.
A new chain costs $20 to $50 and saves you $200+ chainring replacements. We replace chains three times before replacing a chainring, which keeps the drivetrain running smoothly.
Chainline, Chainring Bolts, and Frame Flex
Once you’ve ruled out the common causes, these advanced checks separate the chain drops that frustrate riders from the ones mechanics can fix in 10 minutes.
Detailed Chainline Check Method
Place a straightedge along the back of the front chainring. Extend it back toward the rear wheel. The straightedge should pass directly through the center of the cassette. If it’s offset by more than 3mm on a road bike, your chainline is the problem.
This misalignment usually comes from a non-standard bottom bracket spindle length. Road bikes typically need a 110mm spindle for a double crankset to achieve proper chainline. Mountain bikes use 118 to 122mm spindles.
Identifying Frame Flex
Stand over the bike and look down the top tube while rocking the bike side to side under hard pedal pressure. Notice any movement at the bottom bracket or rear dropouts. Carbon frames with thin chainstays flex visibly. Steel frames flex less but aren’t immune.
If frame flex is the cause, your fix options are limited. Switching to a 1x drivetrain eliminates the front derailleur and reduces chain drop risk significantly. Adding a chain catcher is a cheaper intermediate solution.
Electronic Shifting (DI2 and eTap) Specific Issues
Electronic shifting systems like Shimano DI2 and SRAM eTap don’t have user-adjustable limit screws. The trim function on the shifter handles micro-adjustments. If your DI2-equipped bike drops chains, the firmware trim settings may need adjusting.
For Shimano DI2, hold the shifter button to enter adjustment mode and click through to trim the front derailleur. For SRAM eTap, use the app or hold the button while shifting to micro-adjust. We’ve seen DI2 bikes drop chains even after 500 miles because the trim was off by one or two clicks from the factory.
How to Fix a Dropped Chain (Step-by-Step)
When the chain drops mid-ride, you need to get it back on quickly and safely. Here’s the method I teach every rider who comes through our shop.
Step 1: Stop Pedaling Immediately
The moment you feel the chain drop, stop pedaling. Continuing to pedal can jam the chain between the frame and chainring, causing the crash scenario I mentioned earlier. Coast to a stop or slow down by braking only.
Step 2: Shift to the Smallest Chainring
Click your shifter to drop down to the smallest front chainring. This positions the chain where it’s easiest to remount and takes tension off the front derailleur.
Step 3: Lift the Chain Back On
Look at the chainring. If the chain is hanging on the inside of the chainring, pull it up and toward the center of the chainring teeth. If it’s hanging on the outside, push it back onto the chainring from the outside.
Step 4: Re-engage the Drivetrain
Pedal forward slowly. The chain should catch on the chainring and start driving the wheel. If it doesn’t catch, check that the chain is fully seated on at least three teeth before pedaling again.
Step 5: Shift Carefully Back to Your Gear
Once the chain is moving, shift back to the gear you were in. Use the rear shifter first, then the front. Avoid big shifts under heavy load until you’ve confirmed the chain is stable.
Preventing Chain Drops: Long-Term Solutions
Once you’ve diagnosed and fixed the immediate cause, these long-term strategies keep chain drops from coming back. We recommend at least two of these for any rider who has had more than one chain drop incident.
Install a Chain Catcher
A chain catcher is a small device that mounts to the seat tube and blocks the chain from falling inside the big chainring. It doesn’t affect shifting but catches the chain if it tries to drop inward. Mountain bikers on rough terrain especially benefit from chain catchers.
Most chain catchers cost under $25 and install in 15 minutes with basic tools. For riders who drop chains repeatedly despite proper adjustment, a chain catcher is often the simplest long-term fix.
Upgrade to a Narrow-Wide Chainring (1x Conversion)
Narrow-wide chainrings have alternating thick and thin teeth that grip the chain without a front derailleur. They drop chains far less often than standard chainrings with front derailleurs. Converting to 1x eliminates the front derailleur entirely.
The tradeoff is gear range. 1x setups typically have wider gear gaps than 2x or 3x drivetrains. For mountain biking and many road cycling uses, the wider range of modern cassettes makes 1x viable. For racing or steep terrain, 2x still offers better gear spacing.
Use a Clutch Rear Derailleur
Modern rear derailleurs with clutch mechanisms (like Shimano Shadow Plus or SRAM Type 2) reduce chain slap and prevent the chain from bouncing off the chainring. The clutch adds friction to keep the chain taut even over rough terrain.
If you already have a clutch derailleur and still drop chains, the clutch may be worn or turned off. Most clutches have an on/off switch that can be accidentally flipped during transport or maintenance.
Maintain Your Drivetrain Regularly
A clean, well-lubricated drivetrain drops chains less often. Clean your chain every 200 miles or after any wet ride. Re-lube after cleaning. Replace the chain at the first sign of stretch. These three habits prevent most chain drop causes before they start.
When to Visit a Bike Shop
Most chain drop causes are fixable at home with basic tools and the instructions above. But some situations call for a professional mechanic, especially if you don’t have a torque wrench, chain wear gauge, or experience adjusting derailleurs.
If your chain drops more than twice after following this guide, the cause is likely frame flex, a worn chainring that needs replacement, or a derailleur hanger alignment issue. All three require specialty tools or parts to fix properly. We’ve also seen carbon frames with damaged chainstay protection need professional repair after a dropped chain sawed into them.
For DI2 and electronic shifting systems, a shop visit is even more important because firmware updates and trim adjustments require the brand-specific app or diagnostic tool. Most shops charge $30 to $60 for a derailleur adjustment, which is far cheaper than a new chainring or a crash-related injury.
Frequently Asked Questions
Why does my bike chain keep falling off when I shift gears?
Your chain keeps falling off when shifting gears because the front derailleur is not properly guiding the chain onto the chainring. The most common causes are misadjusted high limit screws, a worn chain, worn chainring teeth, loose chainring bolts, or incorrect chain length. Start by checking the H limit screw and chainring bolt tightness.
How do I prevent my chain from dropping?
Prevent chain drops by adjusting your front derailleur limit screws properly, replacing your chain every 1,500 to 2,500 miles, tightening chainring bolts to 10Nm, installing a chain catcher if you drop chains repeatedly, and converting to a 1x drivetrain with a narrow-wide chainring for the most reliable setup.
How do I fix a dropped chain on the road?
To fix a dropped chain on the road, stop pedaling immediately to avoid jamming the chain in the frame. Shift to the smallest chainring, lift the chain back onto the chainring by hand, then pedal slowly to re-engage the drivetrain. Shift carefully back to your gear using the rear shifter first, then the front.
Can frame flex cause chain drops?
Yes, frame flex causes chain drops especially on carbon road bikes with thin chainstays or for riders over 220 lbs. The flex momentarily misaligns the front derailleur during hard pedaling, allowing the chain to fall off. Solutions include installing a chain catcher, converting to a 1x drivetrain, or upgrading to a stiffer frame.
Final Thoughts
If your chain drops off the big chainring when shifting, the fix is almost always simpler than you think. Start with the front derailleur limit screws and chainring bolt tightness, then check chain wear. These three checks fix the majority of chain drop cases we’ve seen over the years.
For persistent chain drops, look at frame flex and consider a chain catcher or 1x conversion. Don’t ignore the problem. A dropped chain that jams in your frame can cause a crash or expensive frame damage. Fix it now before it becomes a safety issue on your next ride.