
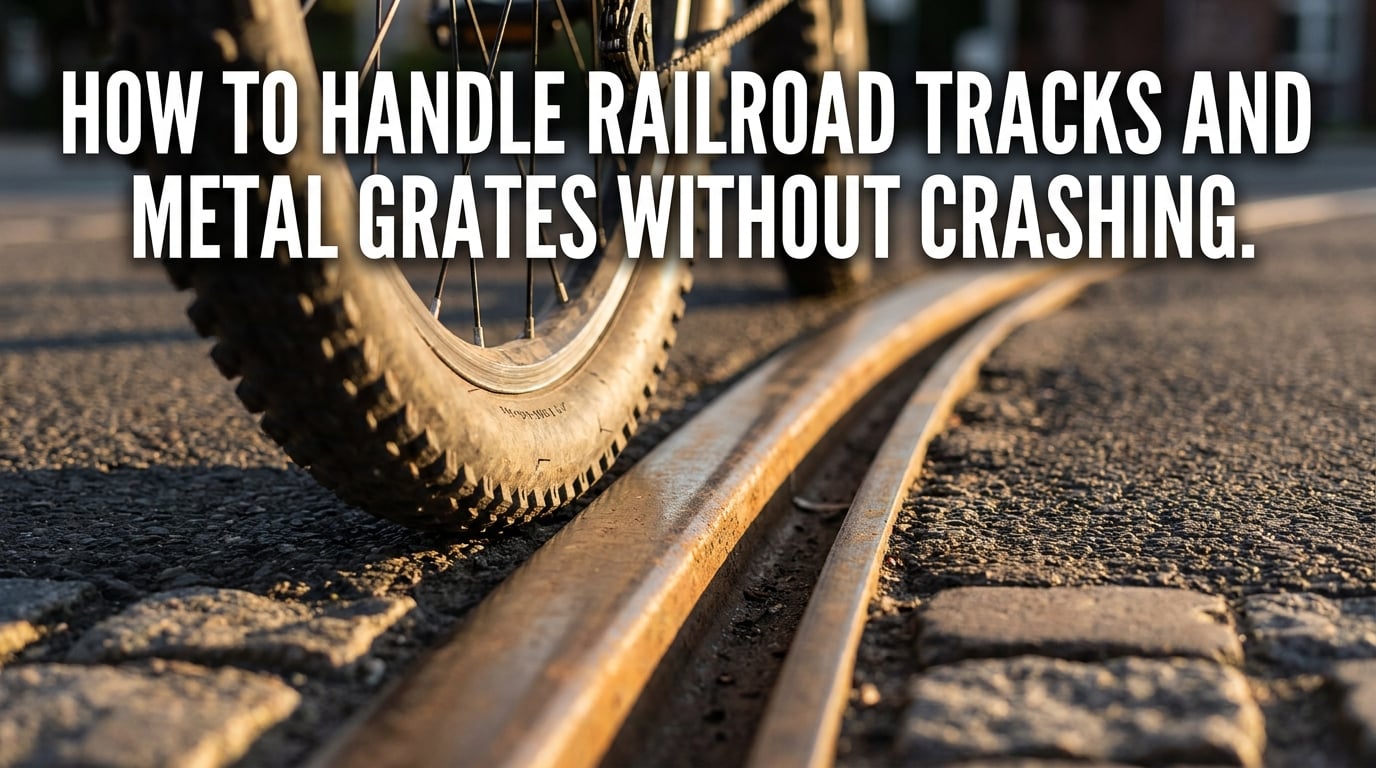
I still remember the first time my front wheel dropped into a rail groove at speed. One second I was cruising along a familiar commuter route, and the next I was sliding across asphalt with my bike skittering away from me. That crash taught me what every cyclist eventually learns the hard way: metal hazards on the road demand respect, technique, and preparation.
Learning how to handle railroad tracks and metal grates without crashing is one of the most important survival skills for any cyclist who rides in urban or suburban areas. Yet most safety guides barely scratch the surface. They tell you to cross at 90 degrees and leave it at that.
Our team has spent months digging through cyclist forums, analyzing crash reports, and consulting with riding coaches to build a complete picture of what actually works. What we found surprised us: nobody covers metal grates, manhole covers get zero attention, and the advice stops at the most basic level.
This guide changes that. We will cover railroad tracks in detail, but we will also dive deep into metal grates, wet conditions, diagonal crossings, and what to do after a fall. By the end, you will have a complete toolkit for handling every metal hazard the road throws at you.
Table of Contents
Why Railroad Tracks and Metal Grates Are Dangerous for Cyclists
The danger comes down to two simple physics problems: wheel entrapment and loss of traction. Both can put you on the ground before you even register what went wrong.
Railroad tracks use a standard gauge of 4 feet 8.5 inches between the rails. Each rail creates a long, narrow groove that runs parallel to your direction of travel. If your wheel enters that groove at the wrong angle, it gets trapped like a train on rails, literally. The wheel follows the groove instead of your steering input, and you go down almost instantly.
This is why narrow road tires are especially vulnerable. A 23mm or 25mm tire can slip right into a rail gap that wider tires roll over without issue. Cyclists on road bikes with skinny tires need to treat every rail crossing as a genuine hazard, not a minor inconvenience.
The second problem is traction. Steel rails are smooth metal surfaces with a significantly lower coefficient of friction than asphalt. When dry, they reduce grip noticeably. When wet, they become nearly as slippery as ice. The same applies to metal grates on bridges and drainage covers on city streets.
The cycling community has a name for the most common type of track crash: the elbow breaker. When your wheel catches a rail and the bike stops abruptly, momentum throws you forward and sideways simultaneously. Cyclists instinctively reach out with their hands to break the fall, and the resulting force on the elbow joint frequently causes fractures. Hips, shoulders, and collarbones take the hit too.
Forum data paints a sobering picture. On Reddit’s cycling communities, experienced riders routinely share stories of crashes at tracks despite years of riding experience. Complacency is a recurring theme. The tracks you cross every day on your commute are the ones most likely to catch you, because you stop respecting them.
How to Handle Railroad Tracks and Metal Grates Without Crashing: Core Technique
The core technique for crossing any metal hazard safely involves four elements working together: angle, speed, body position, and control inputs. Get all four right and even rough crossings become manageable. Get any one wrong and the others cannot save you.
The Perpendicular Crossing Rule (90 Degrees)
The single most important technique for crossing railroad tracks is approaching at a 90-degree angle, perpendicular to the rails. When your wheels cross the rail at a right angle, the contact patch spends the minimum possible time on the slippery metal surface and cannot drop into the groove alongside the rail.
When you cross at an angle, say 45 degrees, your wheel slides along the rail surface for several inches before clearing it. During that slide, the wheel can catch the inner edge of the groove and drop in. Once it drops, the groove steers your bike and you have almost no time to react.
For perpendicular crossings, simply line up straight and ride through. The challenge comes with diagonal tracks that cross the road at 30, 45, or 60 degrees. These require a deliberate steering correction to change your approach angle temporarily.
The S-Maneuver for Diagonal Tracks
When tracks cross the road diagonally, you need to steer a brief S-curve to cross them at something close to 90 degrees. Here is how it works:
First, check behind you for traffic and signal your intention to adjust your line. Begin a gentle turn away from the tracks to set up your approach angle. Then steer back across the tracks at as close to a perpendicular angle as you can manage. After clearing the rails, straighten out and resume your normal line.
This maneuver takes practice. The key is making the steering inputs smooth and deliberate, not sudden. Jerky corrections on or near the metal surface will break traction and put you down. Practice on quiet roads with no traffic until the S-curve feels natural.
Speed Reduction: Slow Down Below 7 MPH
Experienced coaches and forum consensus point to a specific speed target: cross railroad tracks at less than 7 miles per hour. At this speed, you have time to react if something goes wrong, and the impact forces are manageable if you do go down.
Slow down well before the tracks, not on them. Brake firmly during your approach, then release the brakes completely as you reach the rails. Coasting across with no braking or pedaling gives your wheels the best chance of maintaining traction and tracking straight.
One Reddit commuter put it bluntly after their first track crash: more important than the 90-degree angle is no braking, no accelerating, and no cornering while on the tracks. That advice echoes across forum discussions and expert recommendations alike.
Body Positioning and Pedal Setup
Your body position during a track crossing affects stability significantly. Here is the setup:
Level your pedals so both are at the 3 o’clock and 9 o’clock positions. This keeps your weight balanced side to side and prevents a pedal from striking the rail or ground on uneven crossings. Rise slightly off the saddle and bend your elbows and knees. This transforms your arms and legs into shock absorbers, letting the bike move underneath you over rough pavement around the tracks.
Keep your weight centered over the bottom bracket, not pitched forward over the handlebars. A centered, relaxed position lets the bike track straight and absorb bumps without deflecting your line. Grip the bars firmly but do not death-grip them; white-knuckling transmits every vibration straight into steering inputs.
Metal Grates: The Hazard Nobody Talks About
Here is where our guide diverges from every competitor we analyzed. Metal grates are everywhere on public roads, and they are genuinely dangerous for cyclists. Yet not a single major cycling safety resource covers them in any detail.
You will find metal grates on bridge decks, covering drainage culverts, protecting utility access points, and spanning cattle guards on rural roads. They come in several varieties, but two types cause the most problems for cyclists: parallel-bar grates and checker-plate surfaces.
Parallel-bar grates feature long metal bars running in one direction with gaps between them. These are the ones that eat bicycle wheels. If your tires are narrow enough to drop between the bars, the bike can swerve violently or stop dead. Even if your tires are wide enough to ride on top, the parallel bars create a tramline effect that tries to steer your wheel along their direction.
The technique for crossing parallel-bar grates depends entirely on their orientation. If the bars run perpendicular to your direction of travel, you can ride across them safely at normal speed. If the bars run parallel to your direction of travel, you need to cross them at an angle or find a way around them. Riding along parallel bars is asking to get tramlined into a crash.
Checker-plate and expanded-metal grates lack the wheel-trapping gaps but have their own problem: they are incredibly slick, especially when wet. The raised diamond pattern provides decent grip for car tires but offers little extra traction for narrow bike tires. Treat these surfaces like you would treat wet steel rails.
Bridges with open metal grates deserve special caution. Wind, vibration, and the slick surface combine to create genuinely treacherous conditions, particularly for road bikes with skinny tires. If a grated bridge is on your regular route, consider wider tires for that bike or find an alternate crossing.
Tire Width and Grate Safety
Tire width is your single best defense against metal grates. A 32mm tire will bridge most standard grate gaps without dropping through. A 28mm tire handles many grates but can still catch on wider-spaced bars. Anything 25mm or narrower is genuinely risky on unknown grates.
If you ride a road bike with narrow tires and encounter a grated surface you have never crossed before, dismount and walk. It takes 30 seconds and eliminates the risk entirely. No training ride or commute is worth a face-first fall onto a steel bridge deck.
Other Metal Hazards: Manhole Covers and Construction Plates
Railroad tracks and bridge grates are the dramatic hazards, but everyday metal obstacles cause plenty of crashes too. Manhole covers sit in the middle of bike lanes everywhere, and their rounded steel surfaces offer almost no grip, particularly in the rain.
Treat manhole covers like ice. Avoid them when you can by steering around them smoothly. If you must ride over one, keep your bike upright, avoid braking or turning on the cover, and pedal evenly across. A panicked grab of the brakes on a wet manhole cover is a common way to lose the front end.
Steel construction plates used to cover road excavations are equally slick and often span the entire width of a lane. Cross them straight, off the brakes, at a controlled speed. Watch for raised edges where the plate meets the asphalt; a lip of even half an inch can deflect a narrow tire if you hit it at an angle.
In cities with legacy trolley or streetcar networks, embedded rail tracks present a constant hazard. These tracks sit flush with the road surface but still have the same trapping grooves as freight rails. The diagonal tracks at intersections are the most dangerous because you often cannot avoid crossing at a bad angle. Slow down, pick your line carefully, and keep both wheels tracking straight through the crossing zone.
Wet and Slippery Conditions Change Everything
Dry metal is manageable. Wet metal is a completely different animal. The coefficient of friction between rubber and dry steel is already lower than rubber on asphalt. Add water and that friction drops dramatically. Light rain on a steel rail or metal grate creates conditions closer to black ice than dry road.
When surfaces are wet, all the standard techniques still apply but with far less margin for error. Reduce your speed even further, well below the 7 mph guideline. Make your steering corrections even gentler. And seriously consider whether you need to cross that particular hazard at all right now.
There is no shame in dismounting. Operation Lifesaver, the railroad safety organization, explicitly recommends walking your bike across tracks in poor conditions. The same applies to metal grates and bridge decks. Dismounting takes seconds. Recovering from a crash takes weeks.
Frost and freezing temperatures add another layer of danger. A thin layer of invisible frost on metal surfaces provides essentially zero traction. Early morning rides in fall and winter are prime conditions for this hazard, especially in shaded areas where frost lingers. If you cannot see the surface clearly, assume it is slick.
Common Mistakes Cyclists Make at Metal Hazards
Even experienced cyclists make predictable errors at tracks and grates. Here are the mistakes that cause the most crashes:
Braking on the tracks. This is probably the single most common cause of track crashes. A front-wheel skid on a steel rail drops the bike instantly. Brake during your approach, release completely before your wheels touch metal, and coast across.
Cornering while crossing. Turning and crossing a rail at the same time is asking the tire to maintain traction while simultaneously changing direction on a slick surface. It cannot do both. Get your line straight before the crossing and hold it until you are completely clear.
Complacency from familiarity. The tracks you cross every single day are the most likely to catch you. You stop thinking about them, stop slowing down, stop squaring up your approach. Then one day you hit them slightly off-angle or in wet conditions and go down. Treat every crossing with the same respect as the first time.
Group ride pressure. One Reddit rider described a group ride where cyclists barrel over two or three railroad crossings at 20 mph. The social pressure to maintain speed and hold your line in a group can override good judgment. Speak up. Suggest the group slow for crossings. If they will not, consider whether that group ride is worth the risk.
After a Crash: What to Check
If you do go down on tracks or grates, here is a quick checklist for what to do immediately after.
First, check yourself. Move off the road to a safe spot. Assess for pain, particularly in wrists, elbows, hips, and shoulders where elbow-breaker falls concentrate force. If anything feels fractured or you hit your head, seek medical attention before worrying about your bike. Adrenaline masks pain for several minutes, so do not assume you are fine just because nothing hurts yet.
Once you are medically clear, check your bike. Spin both wheels to check for trueness. Inspect the tire sidewalls and tread for cuts from the rail. Check that your handlebars are straight and your brake levers are not bent. Squeeze the brakes to confirm they still engage properly. If anything feels off, do not ride home at speed; call for a ride or walk to the nearest safe spot.
Finally, if the crossing where you crashed has hazardous conditions like raised rails, broken pavement, or poor visibility, report it. Contact your local transportation department or use a 311 service if your city has one. Dangerous crossings persist because nobody reports them.
FAQ’s
What is the 90-degree rule for railroad tracks?
The 90-degree rule means crossing railroad tracks at a perpendicular angle so your wheels pass over the rail rather than sliding along it. This minimizes the time your tire spends on the slippery metal surface and prevents the wheel from dropping into the groove alongside the rail. For diagonal tracks, use an S-curve steering maneuver to temporarily adjust your approach angle toward 90 degrees.
How fast should you cross railroad tracks on a bike?
Experienced cycling coaches and forum consensus recommend crossing railroad tracks at less than 7 miles per hour. Slow down during your approach, then release the brakes completely before your wheels reach the rails. Coast across without pedaling or braking until you are fully clear of the crossing.
Are metal grates dangerous for bikes?
Yes, metal grates can be very dangerous for cyclists, especially road bikes with narrow tires. Parallel-bar grates can trap narrow wheels between the bars, causing sudden stops or swerves. Checker-plate and expanded-metal grates become extremely slick, particularly when wet. Cyclists should cross grates at a perpendicular angle to the bars and dismount if tire width is narrower than the grate gaps.
Should you dismount at railroad tracks?
You should dismount at railroad tracks when conditions are wet or icy, when the tracks cross at a sharp diagonal that prevents a safe perpendicular approach, when you are riding narrow-tire road bikes on unfamiliar crossings, or when the crossing has damaged or uneven pavement. Walking your bike across takes seconds and eliminates the crash risk entirely. Operation Lifesaver recommends dismounting in poor conditions.
Why do bike wheels get stuck in train tracks?
Bike wheels get stuck in train tracks because the gap alongside each rail is wide enough to trap narrow tires. Standard railroad gauge is 4 feet 8.5 inches, and the groove beside each rail can swallow a 23mm or 25mm road tire. When you cross at an angle, the wheel slides along the rail and drops into the groove, which then steers the bike and causes an almost instantaneous crash.
What happens if you crash on railroad tracks?
If you crash on railroad tracks, you risk fractures to wrists, elbows, collarbones, and hips due to the common elbow-breaker fall pattern where the bike stops abruptly and momentum throws you forward. Move to safety immediately, check yourself for injuries before assessing your bike, and seek medical attention if anything is fractured or if you hit your head. Inspect your wheels, tires, handlebars, and brakes before riding again.
Conclusion
Handling railroad tracks and metal grates without crashing comes down to four fundamentals: cross at 90 degrees, slow to under 7 mph, release the brakes, and position your body to absorb bumps. Apply those principles to every metal hazard from freight rails to bridge grates to manhole covers, and you dramatically reduce your crash risk.
Start practicing these techniques on your next ride. Pick a crossing you know well and deliberately work through each step: approach angle, speed reduction, pedal leveling, and coasting across. Muscle memory built in calm conditions is what will save you when a wet, diagonal track catches you by surprise. Ride safe, and respect the metal under your wheels.