
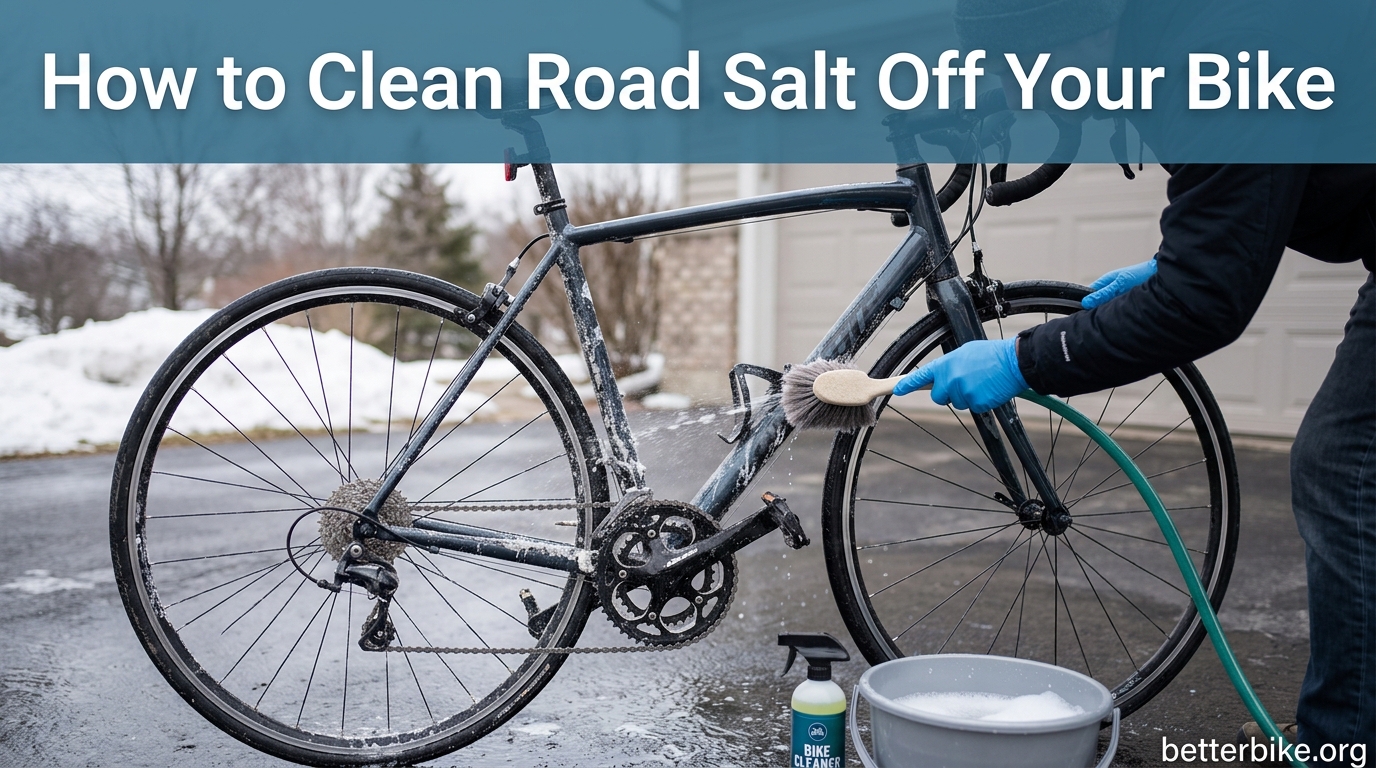
After every winter ride, I make a beeline for the garage with a bucket of hot water and a stiff brush. Learning how to get road salt and grime off your bike after a winter ride is the single most important habit for anyone who commutes or trains through the cold months. Skip it, and you will be replacing chains, cables, and bottom brackets far sooner than you planned.
Our team spent the past three winters testing different cleaning routines on a fleet of commuter and road bikes. What follows is the exact process we use, refined over hundreds of salty rides. It takes about 20 minutes from the time you walk in the door, and it will save you hundreds of dollars in component replacements.
Table of Contents
Why road salt is bad for your bike
Road salt is bad for your bike because it acts as an electrolyte that dramatically speeds up corrosion on metal surfaces. The sodium chloride (or calcium chloride used in colder climates) dissolves in the thin film of moisture that clings to your frame, chain, and brake components, creating an ionic solution that strips electrons from unprotected metal.
This electrochemical process is called galvanic corrosion, and it is especially aggressive where dissimilar metals meet. On your bike, that means the steel bolts threaded into your aluminum frame, the brass nipples in your aluminum rim, and the steel chain passing over aluminum chainrings. Salt water bridges these connections and accelerates the reaction at every junction.
The visible result is rust. The invisible result is pitting on chain links, seized derailleur pivots, and corroded cable housing that freezes up mid-shift. According to Gene Bell, owner of Belgen Cycles in Vermont, salt can chew through a chain in as little as three weeks of regular commuting without cleaning.
Left long enough, salt contamination migrates into sealed bearings at your bottom bracket, hubs, and headset. Once inside, it is nearly impossible to flush out, and the bearings fail. That is a repair bill of $150 to $400 depending on the component.
What to do in the first 10 minutes after a winter ride
The first 10 minutes after a winter ride matter more than the deep clean you do on Saturday. Salt crystals begin forming as soon as the brine evaporates, and once they bond to metal, they are much harder to dissolve. A quick rinse right when you get home prevents most of the damage.
Here is the immediate post-ride routine I follow:
- Brush off loose slush and salt before bringing the bike inside. A dry stiff brush or gloved hand knocks off the worst of it and keeps your garage floor clean.
- Rinse the entire bike with hot water (as hot as your wrist can stand). Hot water dissolves salt faster than cold because it keeps the salt in solution longer. Focus on the chainstays, seatstays, and any spot where salty slush has pooled.
- Pay extra attention to the drivetrain. The chain, cassette, and derailleur pulleys hold the most salt because they sit low and get splashed constantly.
- Shake off excess water and hang the bike or lean it against a wall with a towel underneath.
If it is too cold to work outside, bring the bike into a bathtub or shower. I have done this dozens of times. Lay down an old towel to protect the tub, rinse with hot water, and you can do the full clean indoors when the temperature drops below freezing.
For hitch rack users, there is one more step. The salt spray from the road coats your rack and the underside of your frame during the drive home. Before unloading, rinse the rack itself, then pull the bike off and rinse the dropouts, rear triangle, and anything else that was facing the road.
The full bike cleaning process, step by step
The full bike cleaning process takes about 15 minutes and should happen at least once a week during active winter riding. Daily commuters should aim for twice a week. The goal is to remove every trace of salt before it has time to do its work.
You will need a bucket, mild bike wash or dish soap (Dawn works fine), two microfiber cloths, a soft-bristled brush, an old toothbrush, a chain degreaser, and a hose or shower with hot water.
- Pre-rinse the whole bike with hot water to remove loose salt and grit. Skip this step and you will grind salt into the finish while washing.
- Mix your soap solution in the bucket. A few drops of dish soap in warm water is all you need. Bike-specific wash is fine but not required.
- Wash the frame from top down with a soft brush or microfiber cloth. Start at the saddle and handlebars, work down to the top tube, then the down tube. The salt migrates downward, so cleaning top-down keeps you from recontaminating clean areas.
- Scrub the chainstays and seatstays with the soft brush. These are the saltiest parts of the frame because they sit closest to the road and catch everything kicked up by the front wheel.
- Detail the brake calipers and rotor areas with the toothbrush. Salt packs into the nooks around brake mounts and can pit the finish in a single season if ignored.
- Rinse thoroughly with hot water. Any soap residue left on the frame will attract dirt on your next ride, undoing your work.
- Dry the bike completely with a clean microfiber towel. Water left on the frame will leave mineral spots and can pool in tube junctions, where it will sit against bare metal.
Cleaning the chain and drivetrain
The chain and drivetrain need more attention than the frame because they have moving parts with small tolerances. Salt packed between chain links acts like grinding paste, wearing down rollers and pins with every pedal stroke. This is where most winter damage happens.
Start by applying chain degreaser to the entire length of the chain while turning the pedals backward. Let it soak for 60 seconds. Then hold a rag around the chain and turn the pedals to pull the chain through the rag. The rag will come out black with old lube and embedded salt.
Repeat this process until the rag comes out mostly clean. For a winter bike that has been ridden hard for a week, expect to use three or four passes with fresh sections of the rag.
Next, clean the cassette. Use the toothbrush and a little degreaser to scrub between each cog. Salt packs into the gaps between cogs and creates sharp burrs that shred your new chain once reinstalled. Work the brush in both directions to get all sides of each cog.
The derailleur pulleys deserve attention too. These small wheels spin fast and get coated in salt and old lube. A quick scrub with the toothbrush removes most of the buildup. If the pulleys are seized (you can tell if they do not spin freely by hand), pull them off, clean the bearings, and reinstall.
Do not forget the chainrings. Salt collects on the inside face where the chain does not contact, often hidden from view. A quick scrub with the toothbrush prevents corrosion that would otherwise spread to the chainring teeth.
Lubricating your chain after cleaning
After cleaning, the chain is bare metal and will start rusting within hours. Lubrication is not optional. It is the protective layer that keeps salt and water away from the steel underneath.
For winter riding, use a wet lube. Dry lubes wash off too quickly in slush and rain, and wax lubes require a hot melt process that is not practical for daily commuters. A quality wet lube like Finish Line Wet, Pedro’s Chainj, or Park Tool PolyLube will stick to the chain and repel water through multiple wet rides.
Apply lube to the top of the chain while slowly turning the pedals backward. One full drop per link is plenty. After applying the entire chain, shift through all gears to distribute the lube, then wipe the chain down with a clean rag. The chain should look shiny, not dripping. Excess lube is a magnet for road grit and will turn into grinding paste within a few miles.
Forum regulars on r/bikewrench and r/cycling caution against over-lubing. More lube does not mean more protection. It means more dirt sticking to your chain, faster wear on your cassette and chainrings, and more black gunk on your rear derailleur.
Prevention tips to reduce salt damage
The best way to clean salt off your bike is to keep it from getting on there in the first place. A few small changes to your setup and routine cut your cleaning time in half and extend component life significantly.
- Install full-coverage fenders (also called mudguards). Even 10mm wider than your tires makes a noticeable difference in how much salt reaches the frame and drivetrain.
- Apply Frame Saver or a similar frame protectant to the inside of your frame tubes at the start of winter. This waxy coating sits on bare metal where paint chips cannot reach.
- Store the bike indoors or at least under cover. An unheated garage or shed is fine, but avoid leaving the bike outside where temperature swings cause condensation inside the frame.
- Keep a dedicated cleaning kit by the door. A bucket, brush, and microfiber towel staged in the garage remove the friction of getting started and make post-ride cleaning actually happen.
For commuters, our team found that bikes with fenders needed cleaning about 40% less often than the same bikes without fenders. That alone is worth the install.
Frequently asked questions
How often should I clean my bike in winter?
Clean your bike after every winter ride, or at minimum once a week. Daily commuters should do a quick hot water rinse after each ride and a full wash with chain degreaser at least twice a week. Skipping a single week during active salt use can shorten chain life by 50% or more.
What dissolves road salt on bikes?
Hot water is the most effective salt dissolver for bikes. The heat keeps sodium chloride in solution longer, giving you time to rinse it away before it recrystallizes on metal surfaces. A mild soap or bike wash helps break the surface tension so water penetrates salt deposits on the frame and drivetrain.
Can I use Dawn dish soap to wash my bike?
Yes, Dawn dish soap works well for bike cleaning. It cuts grime without stripping existing chain lube as aggressively as strong degreasers. Use a few drops per gallon of warm water, and follow up with a proper chain lube after drying the drivetrain.
Is road salt bad for bicycle tires and rims?
Road salt does not damage rubber tires, but it aggressively corrodes the metal rims, especially at the spoke holes and rim seams. Salt also attacks the brass spoke nipples, which can seize and make truing the wheel difficult. Clean the rim surface and around each spoke nipple during your weekly wash.
Does WD-40 work to protect a bike chain from salt?
WD-40 is a water displacement product, not a long-term chain lubricant. It will displace moisture and offer short-term rust protection, but it evaporates within a day and leaves the chain dry and unprotected. Use a dedicated wet chain lube for winter riding. WD-40 is fine for a quick post-ride wipe-down if no proper lube is available.
Can I use a pressure washer on my bike?
Avoid pressure washers on bicycles whenever possible. High-pressure water forces past the seals in bottom brackets, hubs, and headsets, carrying salt and grit into the bearings. If you must use one, keep the pressure under 1,000 PSI, use a wide fan nozzle, and never spray directly at bearing seals or frame junctions.
Final thoughts on winter bike care
Knowing how to get road salt and grime off your bike after a winter ride is the difference between a bike that lasts decades and one that falls apart in three seasons. Our team has tested enough winter cleaning routines to know that consistency beats perfection. A quick 5-minute rinse after each ride and a 15-minute full clean once a week will keep your drivetrain and frame in shape through the worst conditions.
For more on preventing rust on your bike, our guide on long-term outdoor storage covers the additional steps that go beyond post-ride cleaning. Stay dry out there, and keep that chain lubed.