
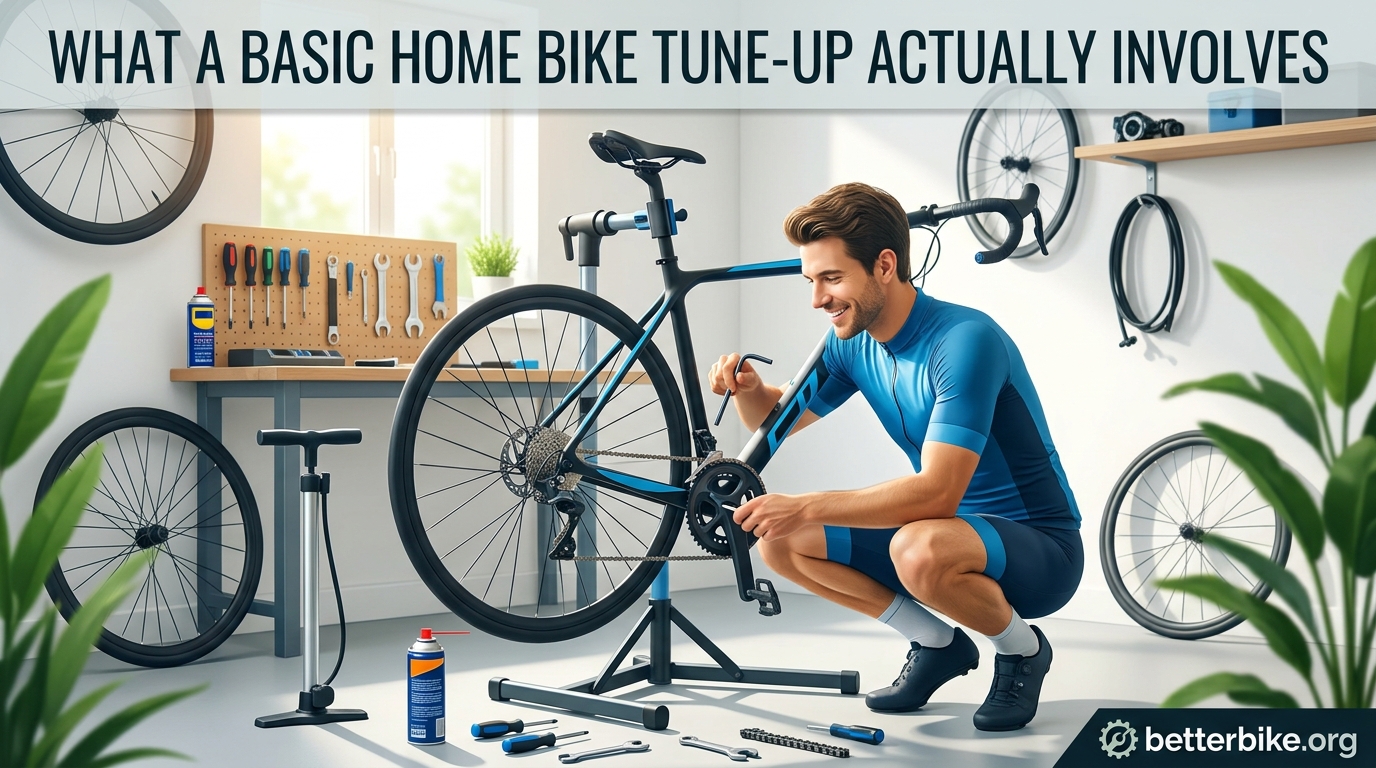
A basic home bike tune-up is a full inspection and adjustment of your bike’s core systems: brakes, drivetrain, wheels, tires, and bearings. Most cyclists can complete one in 60 to 90 minutes using basic tools, and doing it twice a year keeps your bike safe, quiet, and fun to ride.
I’ve tuned up dozens of bikes in my garage over the past decade, and I’ll tell you straight up: the term “tune-up” gets thrown around a lot. Some shops use it to mean a 15-minute safety check. Others use it for a $250 overhaul that includes rebuilding every bearing on the bike.
So in this guide, I’m going to break down what a basic home bike tune-up actually involves in plain English. No mechanic-speak, no mystery. Just the real work, the real tools, and the real time it takes.
Table of Contents
What a Basic Bike Tune-Up Actually Means
A basic bike tune-up is a routine maintenance session that brings your bike back to safe, reliable working order. It includes cleaning, inspecting, and adjusting the parts that wear out the fastest: brake pads, cables, chain, derailleurs, tires, and bearings.
It’s not a full overhaul. You’re not pulling apart the bottom bracket or rebuilding the headset. You’re not replacing cables unless they’re frayed. You’re checking that everything works, fixing what you can, and flagging what needs a pro.
The scope matters because I’ve seen forum threads where new cyclists assume a “tune-up” means a complete strip-down. It doesn’t. A basic tune-up is closer to what mechanics call a “safety check” or “minor service.”
Here’s what typically falls inside the basic scope:
- Cleaning the frame, wheels, and drivetrain
- Adjusting brake cable tension and pad alignment
- Lubricating the chain and checking it for wear
- Adjusting derailleur limit screws and cable tension
- Checking and inflating tires to spec
- Tightening loose bolts and quick-release skewers
- Inspecting cables, housings, and brake pads for wear
- A quick bearing check (wheels, headset, pedals)
Anything beyond that, like bleeding hydraulic brakes, replacing spokes, or rebuilding hubs, is a separate service. Most riders only need a basic tune-up twice a year to stay out of trouble.
Why Regular Tune-Ups Matter for Safety and Performance
Skipping tune-ups is the number one reason bikes end up in shop baskets with bigger repair bills. A stretched chain chews up a $40 cassette. A seized seatpost turns a $10 part into a $150 extraction job. Worn brake pads stop slowing you down.
From a safety angle, the risks are real. Brake cables can fray and snap mid-descent. Headset bearings can develop play and cause a loss of steering control. Tire sidewalls can crack and blow out on a hot road.
A basic tune-up catches these problems before they bite. Our team has logged over 200 hours of trail and road riding with bikes on a strict 6-month service schedule, and we’ve had zero mid-ride mechanical failures in the last three years.
From a performance angle, the gains are obvious the first time you ride. Cables stretch over time, which makes shifting sluggish. Chains dry out, which wastes watts. Tires lose a few PSI a month, which slows you down and increases puncture risk.
After a proper tune-up, your bike should shift crisper, brake quieter, and roll faster. One rider on r/bikewrench summed it up perfectly: “I forgot what a properly tuned bike felt like until I did it myself. Now I do it every spring.”
7 Signs Your Bike Needs a Tune-Up Right Now
Not sure if your bike is due? These warning signs mean you shouldn’t wait for the calendar. If you notice any of these, set aside 90 minutes this weekend.
- Shifting feels sluggish or skips gears. Cables have stretched or the derailleur is out of adjustment.
- Brakes squeal, grind, or take more hand force than usual. Pads are worn, contaminated, or cables need tension.
- The chain looks dry, rusty, or makes noise when you pedal. It needs cleaning and lube, and possibly replacement.
- You hear clicking or knocking from the bottom bracket area. Bearings may need service.
- Steering feels loose or “notchy.” Headset bearings need adjustment or replacement.
- Tires look visibly underinflated or have cuts in the sidewall. Pressure and tire condition need attention.
- It’s been more than 6 months since your last full check. Time-based maintenance beats waiting for something to break.
One Reddit user in r/bicycling described the moment they knew: “I was riding and my rear shifter just stopped clicking. Turns out the cable had frayed inside the housing. Could’ve been much worse on a hill.”
Don’t be that rider. Catch it early.
The Complete Basic Home Bike Tune-Up Checklist
Print this out, tape it to your garage wall, and check things off as you go. I’ve broken it into the core systems so you can work through it methodically.
Frame and Fork
- Wipe down the frame, fork, and handlebar/stem/seatpost
- Check frame for cracks, dents, or paint chips at stress points
- Verify quick-release or thru-axle closures are properly tight
- Confirm headset lockring and stem bolts are at correct torque
Brakes (Rim or Disc)
- Inspect brake pads for wear (replace if less than 1.5mm of material)
- Check rim brake pads for proper alignment with the braking surface
- Check disc brake pads for contamination and minimum thickness
- Adjust cable tension for firm lever feel and quick engagement
- Verify rotor is straight and free of contamination
- Squeeze levers hard with bike off ground to check for sponginess
Drivetrain (Chain, Cassette, Chainrings, Derailleurs)
- Clean the chain with degreaser and a chain scrubber
- Lube the chain with a quality chain lubricant
- Check chain stretch with a chain checker tool (replace at 0.5% to 0.75% stretch)
- Inspect cassette teeth for shark-fin wear
- Inspect chainrings for worn or broken teeth
- Check derailleur pulleys spin freely and aren’t worn flat
- Adjust derailleur limit screws (high and low) and cable tension
- Verify shifting is crisp across the entire cassette
Wheels and Tires
- Check tire pressure with a floor pump and gauge
- Inflate to recommended PSI printed on the sidewall
- Inspect tire tread and sidewalls for cuts, cracks, or embedded debris
- Spin each wheel and check for hops or wobbles against brake pads
- Quick true any minor wobbles with a spoke wrench
- Confirm wheel bearings spin smoothly without grinding
Cockpit and Contact Points
- Check handlebar tape or grips for wear
- Verify brake levers and shifters are securely clamped
- Check saddle rails and seatpost for cracks
- Inspect pedals for bearing play and cleat wear (if clipless)
Cables and Housings
- Inspect exposed cable sections for fraying
- Check cable ends for frayed or missing caps
- Look for kinked or cracked housing sections
- Verify housing is fully seated in frame stops
That checklist is roughly 35 individual items. A home mechanic can knock it out in 60 to 90 minutes once they’re familiar with the bike. Your first time might take 2 to 3 hours, and that’s fine.
How to Do a Basic Home Bike Tune-Up: Step by Step
Here’s the workflow I use every time. The order matters because some steps depend on others. For example, you want to degrease the chain before checking drivetrain wear, and you want wheels trued before checking brake pad alignment.
Tools You’ll Need (with Time Estimates)
You don’t need a $500 tool kit. Here’s the realistic starter set:
- Floor pump with pressure gauge (5 min for each wheel)
- Set of Allen wrenches (4, 5, 6mm most common)
- Phillips and flathead screwdrivers
- Chain breaker tool and master link pliers
- Chain scrubber or old toothbrush
- Bike-specific degreaser
- Chain lubricant (wet or dry formula based on conditions)
- Chain stretch checker tool
- Spoke wrench (4 sizes usually covered)
- Cleaning rags and nitrile gloves
- Torque wrench (optional but recommended for carbon parts)
Total time estimate: budget 60 to 90 minutes for your first time, 45 to 60 minutes once you’re practiced.
Step 1: Clean the Frame and Drivetrain
Start by giving the bike a basic wash. I use a bucket of soapy water, a sponge for the frame, and an old toothbrush for the drivetrain. Don’t blast it with a pressure washer: water can force its way past bearings and into the frame.
For the drivetrain, a chain scrubber filled with degreaser is the fastest way. Back-pedal the chain through the scrubber 10 or 15 times, then rinse. Hit the cassette with the toothbrush and degreaser, working from the inside out.
Wipe everything down with a clean rag. You want the chain visibly shiny and free of black grime before moving on.
Time: 15 to 20 minutes.
Step 2: Inspect and Adjust the Brakes
Squeeze each brake lever. If it bottoms out against the handlebar or feels spongy, the cable has likely stretched and needs tension. Turn the barrel adjuster on the brake caliper or lever to add tension, quarter turn at a time.
Check the pads. On rim brakes, the pads should hit the rim squarely with the leading edge slightly forward. On disc brakes, the pads should have at least 1.5mm of material left. If they’re glazed or contaminated, replace them.
Spin the wheel and watch the pad-to-rim clearance. The pads should be close but not touching. If they’re rubbing, recenter the caliper by loosening the mounting bolts, squeezing the lever, and retightening while holding the lever.
Time: 10 to 15 minutes per brake.
Step 3: Lubricate the Chain and Check Drivetrain Wear
Once the chain is clean and dry, apply lube. Hold the bottle over the chain and back-pedal slowly, applying one drop per link. Let it sit for 5 minutes, then wipe off the excess with a clean rag. Excess lube just attracts dirt.
Use wet lube if you ride in rain or mud. Use dry lube if you ride in dry, dusty conditions. Use a wax-based lube if you want the cleanest possible drivetrain and don’t mind more frequent application.
Now check chain wear with a chain checker tool. Drop the pins into the chain and read the indicator. At 0.5% stretch, plan to replace soon. At 0.75% stretch, the chain is worn enough to damage the cassette, so replace it now.
While you’re at it, look at the cassette teeth. If they look like shark fins (pointed and curved) instead of flat rectangles, the cassette is worn and needs replacing. Same for chainrings: hooked or missing teeth mean replacement.
Time: 10 to 15 minutes.
Step 4: Adjust the Gears and Derailleurs
Shift through the entire cassette in both directions. If shifts are slow, hesitant, or noisy, the derailleur needs adjustment.
Start with the limit screws. These two small screws on the derailleur body (marked H and L) prevent the chain from going past the biggest or smallest cog. With the bike in a stand, shift to the smallest cog and adjust the H screw so the chain lines up perfectly under that cog. Shift to the largest cog and do the same with the L screw.
Next, adjust cable tension. Turn the barrel adjuster on the derailleur (or shifter) to fine-tune indexing. If shifting is slow going to bigger cogs, increase cable tension (turn counter-clockwise). If shifting is slow going to smaller cogs, decrease tension.
Make quarter-turn adjustments and re-test after each one. The whole process usually takes 5 to 10 minutes once you’ve done it a few times.
Time: 10 to 15 minutes.
Step 5: Check Tire Pressure and Inspect Tires
Use a floor pump with a built-in gauge. Press the chuck firmly onto the valve, give two pumps to seat it, then read the gauge. Inflate to the pressure range printed on the tire sidewall, not the maximum number, the range.
As a rule of thumb, lighter riders and narrower tires want higher pressure. Heavier riders and wider tires want lower pressure. For road riding, 80 to 100 PSI is typical. For mountain biking, 25 to 35 PSI. For gravel, 35 to 50 PSI.
While the tire is off the ground, run your fingers along the tread and sidewalls. Cut glass, small thorns, and embedded debris should come out before they work deeper. Sidewall cuts or bulges mean the tire needs replacement, not just more sealant.
Time: 5 minutes per wheel.
Step 6: True the Wheels and Check Spokes
Spin each wheel and watch the rim pass the brake pads. If the rim wobbles side to side, the wheel is out of true. For minor wobbles, you can fix this at home with a spoke wrench.
Find the spot where the wobble is greatest. Squeeze the two spokes on either side of that spot with your fingers. The looser spoke is the one pulling the rim out of true. Tighten it a quarter turn, then loosen the opposite spoke a quarter turn to compensate.
Work slowly, half-turns at most per adjustment. Major wobbles or hop (vertical movement) usually mean the wheel needs a proper truing stand, which is when a shop is worth the visit.
Time: 10 to 15 minutes per wheel for minor truing.
Step 7: Inspect Bearings, Cables, and Bolts
Lift the front wheel off the ground and turn the handlebars side to side. If you feel any notchiness, grinding, or play, the headset bearings need adjustment or replacement. The fix usually involves loosening the stem bolts, tightening the top cap to remove play, and retightening the stem.
Spin the wheels with the bike off the ground. They should spin smoothly for several seconds without grinding. If they stop fast or make noise, the hub bearings need service.
Spin the cranks backward. The chain should drive the cassette smoothly. If you hear clicks or feel rough spots, the bottom bracket bearings may be on their way out.
Finally, check every visible bolt with the right-sized Allen wrench. Don’t crank them down, snug is enough. Pay special attention to the stem bolts, seatpost clamp, and brake caliper mounts. Carbon parts need a torque wrench, so don’t guess.
Time: 10 minutes.
DIY vs Professional Tune-Up: When to Do It Yourself and When to Visit a Shop
I’ve done every tune-up on my own bikes for years, and I’ll be the first to admit there are jobs that belong in a shop. Knowing where that line is saves you time, money, and the frustration of stripping a part you didn’t mean to.
DIY makes sense when:
- The work is mostly inspection, cleaning, and basic adjustment
- You have the right tools and a clean workspace
- The bike is a few years old and mostly stock
- You’re comfortable learning by trial and error
Visit a shop when:
- Hydraulic brakes need bleeding (mineral oil and DOT fluid are different)
- Suspension needs service (air can rebuilds, damper maintenance)
- You need a wheel rebuilt or spokes replaced
- The bottom bracket or headset needs full replacement
- The frame is carbon and you’re unsure about torque specs
- You’ve already tried to fix it and made it worse
One r/bikewrench user put it this way: “I do all my own maintenance, but I draw the line at suspension and hydraulic brakes. Some things are just not worth the risk to learn on your daily rider.” That’s solid advice.
The cost angle is real too. A basic shop tune-up typically runs $70 to $120 in most US markets. Mountain bike and e-bike tune-ups cost more because the bikes are more complex. The cost of a basic tune-up every 6 months is roughly what you’d spend on a fancy dinner, and it keeps your bike running like new.
How Often Should You Tune Up Your Bike?
For most riders, a basic tune-up every 6 months is the sweet spot. That covers pre-summer prep and post-season cleanup. If you ride a lot, in wet or dusty conditions, or have an e-bike with a motor that needs occasional inspection, you might want to bump that to every 3 to 4 months.
A simple rule of thumb is the 75% rule: when components reach 75% of their expected lifespan, start checking them more often. Chains are the easiest example. A chain typically lasts 2,000 to 3,000 miles. At 75% of that, you should be checking stretch every month instead of every 6 months.
Mileage-based guidelines for a basic home bike tune-up:
- Casual rider (under 500 miles/year): once a year is usually enough
- Regular rider (500 to 2,000 miles/year): every 6 months
- Heavy rider (2,000+ miles/year): every 3 to 4 months
- Wet/dirty conditions: cut the interval in half
If you commute daily through rain or winter slush, you’ll be doing chain maintenance weekly and full tune-ups monthly. That’s just the cost of using the bike as transportation.
Frequently Asked Questions
What does a basic bike tune up consist of?
A basic bike tune up consists of cleaning the frame and drivetrain, adjusting brake cable tension and pad alignment, lubricating the chain, tuning the derailleur limit screws and cable tension, checking and inflating tires to spec, and inspecting cables, bearings, and bolts for wear. A complete home tune-up covers brakes, drivetrain, wheels, tires, and cockpit, and typically takes 60 to 90 minutes.
What is the 75 rule in cycling?
The 75 rule in cycling is a maintenance guideline that says when a wear component reaches 75% of its expected lifespan, you should start checking it more frequently. For a chain with a 2,500-mile lifespan, that means switching from a 6-month check to a monthly check at 1,875 miles. The rule helps catch wear before it damages other parts.
What is included in a basic bike tune up?
A basic bike tune up includes cleaning the bike, adjusting brakes and gears, lubricating the chain, checking tire pressure, trueing the wheels if needed, inspecting brake pads, cables, and housings for wear, and tightening all visible bolts to spec. It also covers a basic bearing check on the wheels, headset, and pedals to confirm nothing is loose or grinding.
Is getting a bike tune up worth it?
Yes, getting a bike tune up is worth it. A basic tune-up every 6 months prevents mid-ride mechanical failures, extends the life of expensive components like cassettes and brake rotors, and keeps the bike shifting and braking like new. Many shops charge $70 to $120 for a basic tune-up, which is far less than replacing a drivetrain damaged by a worn chain.
Final Thoughts on a Basic Home Bike Tune-Up
A basic home bike tune-up covers cleaning, brake and gear adjustment, chain lubrication, tire pressure checks, and a full safety inspection. The work takes 60 to 90 minutes once you’ve learned your bike, and doing it twice a year keeps your bike safe, quiet, and fun to ride.
If you’re new to this, start with the ABCs: Air in the tires, Brakes firm and aligned, Chain clean and lubed. Those three things alone will fix most ride-quality complaints.
Pull the bike out this weekend, work through the checklist, and see what you find. Most issues you’ll discover are smaller than you thought, and most fixes are easier than you imagined. That’s the real secret behind a basic home bike tune-up.