
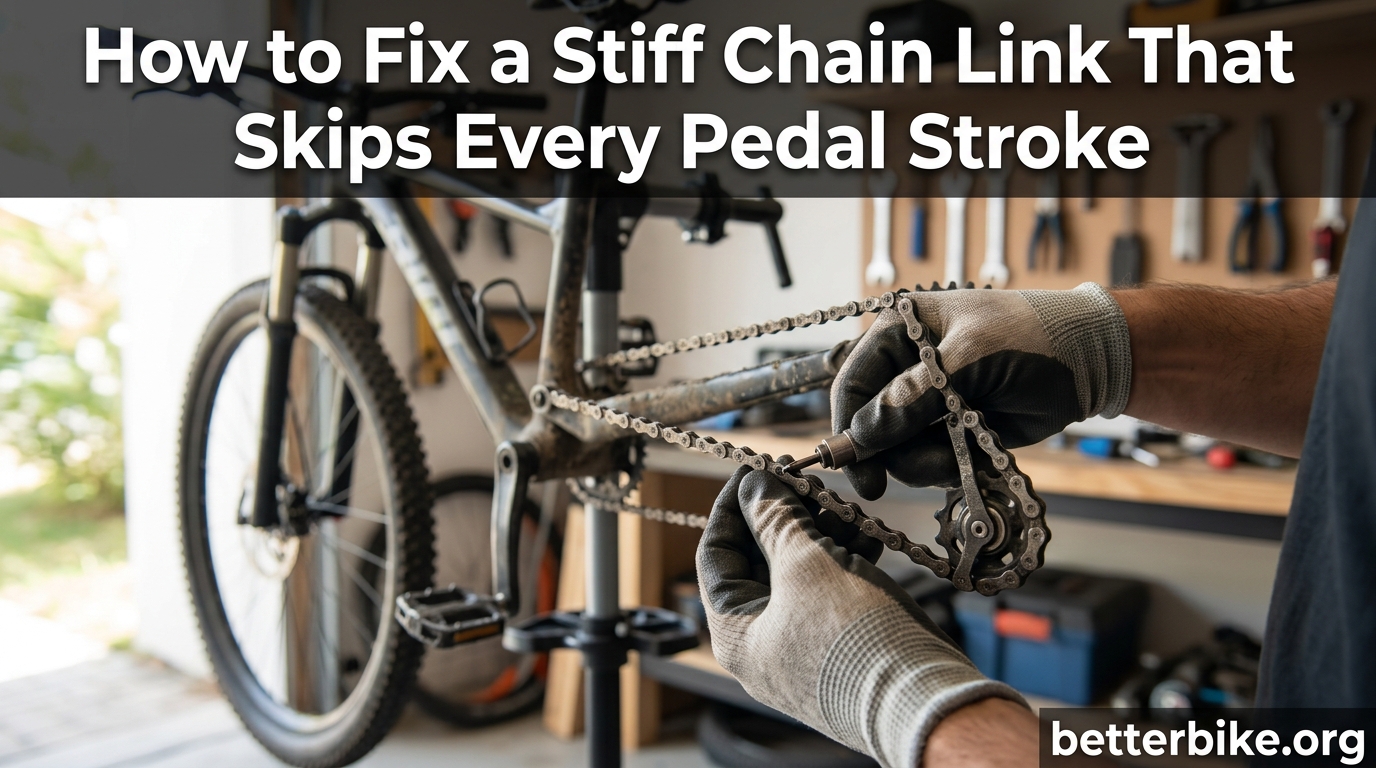
That exact rhythm of a stiff chain link causing a skip every pedal stroke is one of the most common cycling frustrations I get asked about. I have ridden with this issue on three different bikes, and I have watched plenty of riders blame their derailleur, cassette, or chainring when the actual culprit was a single binding link in the chain. This guide walks you through what a stiff chain link is, how to confirm it is the cause, and the two methods I use to fix it both at home and on the road.
By the end, you will know how to diagnose a stiff chain link in under a minute, free it using a chain tool, or free it without any tools at all. You will also know when the chain is too far gone and needs replacement.
Table of Contents
What Is a Stiff Chain Link and Why It Skips Every Pedal Stroke
A stiff chain link is a single link in your chain where the inner and outer sideplates have been pressed too tightly together. The plates cannot pivot freely around the pin, so the chain cannot flex smoothly as it bends around the cassette sprockets and chainring. When the same stiff link comes around the drivetrain once per revolution, the chain momentarily releases tension and catches on the gear teeth. That is the loud click or skip you feel on every pedal stroke.
The “every pedal stroke” symptom is the giveaway. A worn cassette usually skips only under hard pedaling in a specific gear. Poor derailleur indexing produces skipping that comes and goes with shifting. But a single stiff link produces a regular, predictable tick or jump at the same point in every rotation. If your chain feels rhythmic and almost like a metronome, suspect a stiff link before anything else.
Stiff links most often appear right after a new chain is installed, after a chain has been reconnected with a pin, or after a chain has been stored wet and started to corrode inside the rollers. Mechanical parts inside the link do not need much debris or compression to bind, which is why even a brand-new chain can arrive from a shop with a stiff link.
How to Diagnose a Stiff Chain Link
Diagnosis takes about 60 seconds if you know where to look. Here is the checklist I run through on every skip complaint.
Step 1: Slow-pedal visual check. Shift into a middle gear so the chain sits relatively straight on the cassette. Flip the bike upside down or have a friend hold the rear wheel off the ground. Slowly turn the cranks by hand and watch the chain as it moves through the rear derailleur pulleys. A stiff link will visibly kink or hesitate exactly once per revolution, on the same link.
Step 2: Hand-flex test. Stop pedaling with the suspected link sitting on the top run of chain between the chainring and the rear derailleur. Hold the chain with both hands and try to flex the link sideways, then forward and back. A healthy link flexes easily. A stiff link feels rigid, like a small metal bar instead of a hinged joint.
Step 3: Differentiate from worn drivetrain. Stiff links usually produce the same tick regardless of gear. Worn cassettes and chainrings typically only skip under load, in the smaller cogs or larger chainring. If the skip happens most aggressively in your hardest gear (smallest cog) but disappears in easy gears, you may have a wear problem. If the skip happens in every gear at the same point in the rotation, you almost certainly have a stiff link.
Step 4: Rule out indexing. Poorly indexed derailleurs produce skipping that changes with shift adjustments. A stiff link is independent of cable tension. Try the barrel adjuster to dial in shifting. If the skip rhythm does not change, it is mechanical, not cable-related.
Tools You’ll Need for the Job
For the chain tool method, you need a chain breaker tool (also called a chain tool). Multi-tools sold for cycling usually include one. You also want a clean rag and your normal chain lube. For the no-tool method, you need nothing but your hands and the bike itself.
If you want a more complete repair kit, see our guide to the essential repair kit for chain issues before any longer ride. A chain tool, a spare quick link, and a small bottle of lube weigh almost nothing and can save a ride.
How to Fix a Stiff Chain Link With a Chain Tool
The chain tool method is the safe, repeatable way I fix stiff links in my workshop. It uses a chain breaker to slightly back out the pin that has been pressed too far into the link, restoring normal pivot between the sideplates.
Step 1: Shift to a middle gear. This relaxes the chain so you can remove the rear wheel or work with the chain still on the bike. If you plan to take the chain off, shifting to the smallest cog gives the most slack.
Step 2: Position the chain tool on the stiff link pin. Place the chain in the chain tool’s cradle and align the driving pin with the pin of the stiff link. The pin you want to free is the one at the center of the rigid link, on the side that feels compressed.
Step 3: Turn the handle just a fraction. Slowly advance the driving pin until it touches the chain pin, then turn only about an eighth of a turn. You are not trying to push the pin out of the chain. You are just nudging it back the way it came from.
Step 4: Flex the link. Remove the chain from the tool and flex the link by hand. It should now move freely. If it is still stiff, repeat on the same pin with another eighth turn.
Step 5: Address the opposite end if needed. Sometimes one side of the link frees up but the other side remains tight. In that case, repeat the same gentle nudge on the pin at the opposite end of the link. Do not push either pin out of the chain. You only want to back it up enough to free the pivot.
Step 6: Test ride and lube. Pedal the bike slowly through the gears and confirm the skip is gone. Apply a drop of chain lube to the freed link and let it soak in. Wipe off excess and ride.
Warning: Never push a pin all the way out of a regular chain unless you plan to install a new pin or use a quick link. Once a pin is pushed out, you cannot simply push it back in without weakening the link. If you accidentally push a pin too far, the safest move is to remove that section of chain and reconnect with a quick link.
How to Free a Stiff Chain Link Without Any Tools
On the road, mid-ride, you often do not have a chain tool. The hand method works on most modern chains, especially those with a quick link already installed. It is the technique I lean on for roadside fixes and during long rides in remote areas. For more in-depth roadside repair advice, see our guide to emergency chain repair tips.
Step 1: Shift into an extreme gear. Shift into your hardest gear (smallest cog in back) or your easiest gear (largest cog in back). The goal is to put a long straight run of chain between the derailleur and the chainring. This lets you grip the chain with both hands away from any moving parts.
Step 2: Find the stiff link on the top run. Pedal forward until the stiff link sits on the top run of chain, between the chainring and the rear derailleur.
Step 3: Flex the link forcefully. Grab the chain on both sides of the stiff link. Push the chain sideways, then forward and back, alternating directions. Use real force, more than a gentle wiggle. As one rider on the bikewrench subreddit put it, “you need to do more than wiggle from side to side.” A stubborn link often gives with a single firm twist.
Step 4: Use a lever if your hands slip. A stick, a tire lever, or even a flat part of a multi-tool can give you better grip on the chain sideplates. Slide the lever between the sideplates of the stiff link and twist to spread the plates a tiny amount.
Step 5: Test and lube. Pedal forward and listen. The skip should be gone. If not, repeat the flex with more force. Carry a small bottle of lube so you can drop a little on the freed link to keep it moving smoothly.
The hand method has limits. If a link is severely rusted, crimped, or has been damaged inside, no amount of flexing will free it. In that case, your best option is to install a quick link and bypass the bad link entirely, or replace the chain when you get home.
Special Case: Dealing With Rusted or Frozen Chain Links
Rusted links are the stiff links that will not respond to gentle techniques. They feel genuinely stuck rather than just tight. The strategy changes: you need to dissolve the corrosion before you can free the pivot.
Start by soaking the offending link with a penetrating oil or even a light spray lube. Let it sit for at least five minutes. Reapply and work the link by hand every couple of minutes. Most rusted links free up after two or three soak cycles.
If the link still will not flex after soaking, inspect the sideplates closely. One mechanic on the bikewrench forum reported having to file down a gouge in an inner plate that was scraping against the rollers. If the plate is visibly damaged, the safest move is to remove the link with a chain tool and reconnect the chain with a quick link.
Be cautious using the chain tool on heavily corroded chains. The driving pin can shear a rusted pin inside the tool, which leaves you stranded. If the chain shows heavy rust across multiple links, replacement is usually faster and cheaper than chasing frozen links one by one.
How to Prevent Stiff Chain Links in the Future
Most stiff links come from one of three causes: a freshly installed chain where the shop pushed a pin too far, a chain stored wet that started to corrode inside, or a chain that has been reconnected after a repair. Prevention is mostly about habit.
Always flex a new chain by hand before installing it. Run your fingers along every link. Any link that does not move freely should be freed with the chain tool method before the chain ever goes on the bike. This single habit catches the majority of stiff links that come from the factory or the shop.
Keep your chain clean and lightly lubricated. Wipe off old lube and grit every few rides, then apply a fresh drop of chain lube to the top run while pedaling backward. A clean chain resists corrosion inside the rollers, which is what causes frozen links in the first place.
Carry a spare quick link in your repair kit. If a stiff link refuses to free, you can remove it and bridge the gap with a quick link in about five minutes. Cyclists on long-distance forums repeatedly recommend carrying at least two quick links, matched to your chain speed, on every ride.
When a Stiff Link Means You Should Replace the Chain
Sometimes fixing the stiff link is the wrong move because the chain itself is past its service life. A chain checker tool tells you this quickly. For 11-speed and 12-speed chains, replace the chain at 0.5% wear. For 9-speed and 10-speed chains, the limit is 0.75%.
If you find multiple stiff links spaced along the chain, the chain is corroded or stretched internally, and replacement will save you time. If a stiff link sits on a visibly stretched section, the link is the symptom, not the disease. Replace the chain and inspect the cassette and chainring for wear at the same time.
For new chains that develop a stiff link within the first few rides, take it back to the shop or free the link yourself with the chain tool method. That kind of stiff link is almost always a manufacturing or installation issue, not wear.
FAQ’s
Why does my chain skip when I pedal hard?
A chain that skips under hard pedaling is usually caused by one of three things: a stiff link that cannot flex around the gears, a worn cassette where the teeth have become shark-fin shaped, or poor derailleur indexing. Stiff links produce a regular skip at the same point in every pedal stroke. Worn cassettes skip most often in the harder, smaller cogs. Indexing problems skip irregularly and often change when you turn the barrel adjuster.
How to fix a stiff chain link?
The safest method is to use a chain tool. Shift into a middle gear, place the stiff link in the chain tool cradle, and turn the handle about an eighth of a turn to nudge the pin back the way it came from. Remove the chain and flex the link by hand. Repeat on the opposite end of the link if needed. Do not push the pin out of the chain. Apply chain lube to the freed link when done.
How to fix a bike chain that keeps skipping?
First, identify the cause. Shift slowly through the gears and watch for a visible kink in the chain that happens once per revolution. If you find one, free it with a chain tool or by hand using the techniques above. If the skip changes with gear or load, check cassette and chainring wear with a chain checker tool. If the skip comes and goes with shifting, adjust the rear derailleur indexing using the barrel adjuster.
Is a stiff chain link dangerous?
A stiff link is uncomfortable and inefficient, but it is not usually dangerous on its own. It can become a problem if you ignore it. The repeated binding stresses the chain pin and sideplates, and the chain may eventually break under load. It can also cause sudden shifts that surprise you in traffic. Fixing a stiff link takes only a few minutes and removes the risk.
Final Thoughts on Fixing a Stiff Chain Link That Skips Every Pedal Stroke
A stiff chain link that skips every pedal stroke is almost always fixable in under five minutes once you know what to look for. Diagnose by slow-pedaling and watching for a kink at the same point in every revolution. Free the link with a chain tool if you have one, or use the hand-flex method if you do not. Lube the link after you free it, and carry a spare quick link on every longer ride for the stubborn cases.
Most riders who deal with this once never deal with it the same way again. Flex new chains before installation, keep them clean and lightly lubed, and the issue stays away. If your chain is past its wear limit, replace it instead of fighting stiff link after stiff link. Updated for 2026, this is one of the simplest drivetrain fixes you can add to your skill set, and it pays off on every ride.