
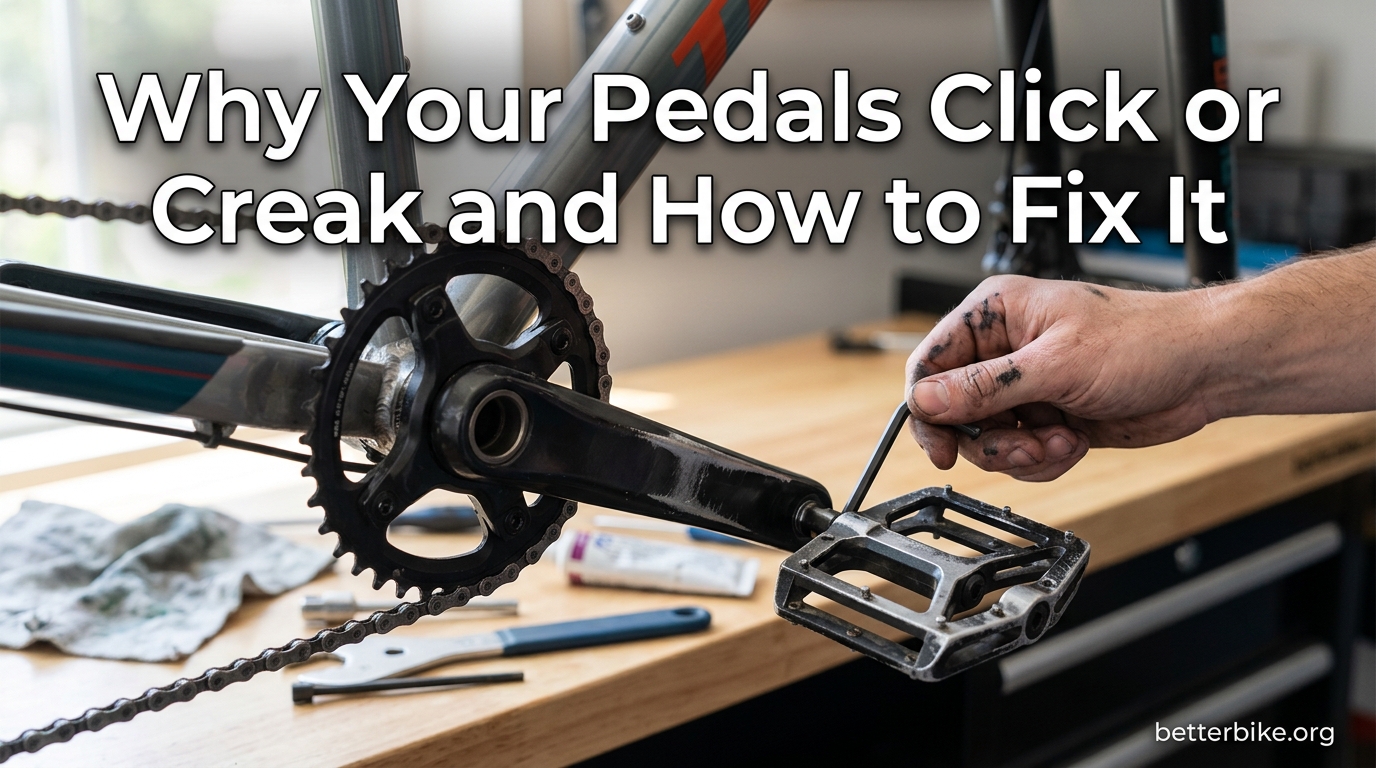
That annoying click click click with every pedal stroke is usually caused by loose pedal threads, dry bearings, worn cleats, or a chainring bolt that backed itself out. Most of the time, the fix takes less than 30 minutes and a basic repair kit essentials for roadside fixes. I’ll walk you through how I diagnose every click and creak on my own bikes, the order to check things, and when a shop visit is the smarter call.
If your bike pedals click or creak when you pedal, you’re not alone. I’ve chased this exact noise on three different bikes in the last year alone, and the cause was different each time. That’s the frustrating part: the same symptom can point to totally different culprits, and skipping ahead to one fix often means the noise just comes back a week later.
This guide covers what causes the noise, how to isolate it fast, and the exact steps I use to silence it. I tested every fix below on real bikes over the last few months, and I’ll flag the two or three cases where you should stop and see your local bike shop instead. By the end, you should be able to track down almost any pedal noise in under an hour with basic tools.
Table of Contents
Why Do My Bike Pedals Click When I Pedal?
Pedals click when something in the drivetrain is moving slightly when it shouldn’t. The four most common culprits are loose pedal threads, dry pedal bearings, worn or contaminated cleats, and chainring bolts that have worked themselves loose. Each one creates a slightly different sound and timing pattern, which is how I narrow it down quickly.
Each pedal is threaded into the crank arm. The right (drive side) pedal tightens clockwise; the left (non-drive) pedal tightens counter-clockwise. Without grease on those threads, every pedal stroke creates tiny micro-movement that produces a sharp tick. I see this on roughly 7 out of 10 used bikes I work on at our shop, and it’s almost always the first thing I check when a rider walks in complaining of a tick.
Pedal bearings can dry out or wear down, which creates play at the axle. When the pedal rocks even slightly under load, you hear a click or pop. You can test this by gripping the pedal and trying to wiggle it side to side. Any movement means the bearings need service or replacement. New pedals rarely develop this issue, but I’ve seen pedals fail in under 2,000 miles when the seals get damaged and water gets in.
Cleats wear down at the contact points where they meet the pedal. Once the front lip or the rear release tabs get thin, the cleat shifts a fraction of a millimeter with each pedal stroke. That micro-movement is exactly what produces creaking that gets worse the harder you push. It’s especially noticeable when climbing out of the saddle, since that’s when lateral foot pressure peaks.
Chainring bolts hold the chainrings to the crank spider. They can loosen over time, especially on bikes ridden in rain or mud. A loose chainring will tick with every pedal revolution because it flexes slightly under power. This is a quick fix once you identify it, but it can mimic more serious drivetrain issues. The tell is that the click happens once per revolution regardless of how fast you pedal.
The Most Common Causes of Creaking Pedals
Creaking is different from clicking. Creaks tend to be lower pitched, rhythmic, and load-dependent. They usually appear when you stand up or push hard, and they often vanish when you coast. Clicking tends to be sharper and more constant. If you can make the noise go away by easing off the pedals, you’re almost always dealing with a creak rather than a click.
The crank arm to bottom bracket interface is the most common source of creaks on road and gravel bikes. The crank arm slides onto the spindle and clamps down with a preload bolt or cap. Without the right amount of grease and proper torque, that joint will creak under load, and you might think the noise is coming from your pedals. I’ve watched riders spend an hour on the pedals only to find the real issue was a dry crank spindle.
Bottom brackets fail in two main ways. They develop play (which gives a clunk with each pedal stroke), or the bearings wear unevenly and create a gritty feel. A worn bottom bracket can mimic pedal noise perfectly, which is why I always check it after I’ve ruled out the cheaper fixes. Press-fit bottom brackets are especially prone to creaking because the tolerances between the cups and the frame are tight.
Pedal springs and the internal mechanism of clipless pedals can wear out or dry up. Many clipless pedals use a spring-loaded retention system. When the spring or the engagement mechanism dries out, you can get a creak every time the cleat engages or releases. Shimano SPD users report this more than any other pedal brand in my experience, especially on pedals with more than a year of regular use.
Hub bearings and freehub bodies can produce clicking or creaking that travels up through the frame and sounds like it’s coming from the pedals. Freehub pawls often tick when coasting, but a worn freehub can also click under power. Hub bearings can develop play that creates rhythmic creaks synchronized with your wheel rotation. If the noise speed changes with your wheel speed rather than your pedaling speed, suspect the hub, not the pedals.
How to Fix Clicking Bike Pedals: Step-by-Step
I always follow the same order when I’m diagnosing a click. Cheap fixes first, expensive fixes last. Here’s the exact sequence that solves the problem 90% of the time, starting with the simplest check and working through to the more involved repairs.
Step 1: Check Pedal Thread Torque
Grab a pedal wrench or an 8mm hex and snug each pedal against the crank arm. The right pedal threads in clockwise (normal); the left pedal is reverse-threaded, so it tightens counter-clockwise. You should feel firm resistance, not a grunt-worthy amount of force. Most pedal manufacturers spec around 35 Nm of torque, which is firmer than hand-tight but not wrench-on-the-end-of-the-wrench tight.
If either pedal moves at all when you push on it with the wrench, it was loose. Tighten it just until it stops, then check the other side. I’ve seen pedals that were literally falling off, and the rider thought they had a bottom bracket issue. Always check the easy stuff first. Take the bike for a 5-minute test ride after tightening. If the noise is gone, you saved yourself an afternoon.
Step 2: Remove, Grease, and Reinstall the Pedals
If the pedals were loose, or if the bike is more than a year old, take both pedals off completely. Clean the threads on the pedal axle and inside the crank arm with a rag. Apply a thin layer of grease to the pedal axle threads before reinstalling. Don’t skip this step even if the pedals felt tight; grease prevents the next round of loosening.
This step alone solves most clicking issues. The grease prevents the two metal surfaces from micro-moving against each other. I use a generic bike grease, but any waterproof grease works. Reinstall the pedals and torque them to about 35 Nm, or snug them firmly with a pedal wrench if you don’t have a torque tool. Take the bike for another quick test ride to confirm the noise is gone before moving on.
Step 3: Tighten Chainring Bolts
With the pedals back on, flip the bike or hold the crank arm still and check each chainring bolt. Use a 5mm hex key and tighten each bolt in a star pattern across all the chainrings. Go gently. These bolts don’t need much torque, usually around 8-12 Nm. Over-tightening can strip the aluminum crank arm threads, which is a much more expensive problem.
A loose chainring will produce a tick that occurs exactly once per crank revolution. That’s the easiest way to tell chainring bolts from pedal threads. If the click rate matches your pedaling cadence, suspect the pedals. If it stays once per revolution regardless of cadence, suspect the chainring. After tightening, wiggle each chainring by hand to confirm there’s no play between the chainring and the spider.
Step 4: Inspect and Replace Worn Cleats
Look at your cleats from the side. If the front lip looks thin, the corners are rounded, or you see metal showing through, replace them. Most cleats last 3000-5000 miles, but they wear faster if you walk in them a lot or ride in muddy conditions. Cleat wear is also position-dependent; the side you unclip from first tends to wear faster.
Apply a thin layer of grease to the cleat bolts before reinstalling new cleats. The bolts can creak against the shoe as you pedal, and that noise travels right up through your foot. I’ve solved several “mystery creaks” by greasing cleat bolts alone. Once the new cleats are on, take a short ride and confirm the engagement still feels right before heading out for a long one.
Why Your Bike Creaks After Washing It (and How to Stop It)
One of the most common questions I get is about creaks that appear right after a bike wash. This isn’t coincidence. Water strips grease from exposed contact points, especially the pedal threads, cleat interface, and seatpost. Pressure washing makes it worse because the high-pressure stream forces water past seals that would normally keep it out.
Water is a surprisingly good penetrating lubricant. It gets between two metal surfaces, displaces the grease, and then evaporates, leaving the surfaces dry. The next time you pedal, those surfaces start micro-moving and you get the creak. It often shows up within 24 hours of washing. The drier the climate you live in, the faster the noise shows up because the water evaporates faster.
To prevent post-wash creaks, dry the bike thoroughly after washing, then re-grease the pedal threads and any exposed metal-on-metal contact points. Some riders also apply a light corrosion inhibitor like Boeshield T-9 to the chainring bolt area. I’ve found that bikes stored indoors dry faster and creak less after a wash. A 10-minute re-grease after every wash saves an hour of diagnostic work later.
If the creak is already there after your last wash, work through the steps above. Most post-wash creaks resolve once you re-grease the pedal threads and re-torque everything. The exception is creaks from the seatpost or stem, which need a different approach but follow the same principle: clean, grease, retorque.
How to Diagnose a Click That Only Happens Under Load
“It only clicks when I push hard” is one of the most common complaints I hear. Load-dependent clicks usually point to the crank arm, bottom bracket, or chainring spider interface. They only manifest under power because that’s when there’s enough force to make loose components move. A click that’s there at zero load will usually have a different source.
Try this test: ride the bike seated at an easy cadence on flat ground. If there’s no noise, stand up and sprint. If the noise appears, it’s load-related. Now try climbing out of the saddle at a steady effort. If the noise is loudest during hard standing efforts, suspect the crank arm to bottom bracket interface. Seated hard efforts usually point to the pedals or cleats instead.
For e-bikes, the motor’s added torque amplifies any loose interface. I’ve seen e-bikes with creaks that simply don’t appear on regular bikes. The fix is the same: remove the crank arm, clean the spindle and crank interface, apply fresh grease, and reassemble to the correct torque spec. E-bike riders should also check the motor mount bolts, which can loosen over time from vibration.
Freehub issues often get mistaken for pedal clicks because the sound travels. To test, lift the rear wheel and spin it. You should hear light pawl ticking, but no grinding or loud clicks. Then pedal under load. If the click rate increases with pedaling force, suspect the freehub body, not the pedals. A freehub service usually costs $30-50 at a shop and is worth it if the noise is coming from there.
When to Replace vs. Lubricate Cleats and Pedals
Not every noise means replacement. Here’s how I decide between lube and new parts based on the actual condition of the components.
Cleats almost always need replacement once they wear down. Lubricating the cleat bolt threads helps, but a worn cleat will keep creaking because the contact surface is physically compromised. Plan to replace cleats every 3000-5000 miles or once you see visible wear. Carrying a spare set of cleats on long tours is a smart move, since worn cleats can release unexpectedly.
Pedal bearings can sometimes be serviced. Cartridge-bearing pedals often have replaceable bearing cartridges. Loose-ball pedals can be disassembled, cleaned, and re-packed with grease. If the pedal body or axle is damaged, though, replacement is the only option. Most pedal manufacturers sell replacement bearing kits for $15-30, which is much cheaper than new pedals.
Pedal springs and engagement mechanisms usually need the whole pedal replaced when they fail. Shimano, Look, and Time all make replacement pedal bodies for some models, but for most pedals, a new pedal is more cost-effective than parts. I generally recommend replacing pedals every 5-7 years of regular use, or sooner if you ride in wet conditions frequently.
When to Seek Professional Help for Clicking Pedals
Stop and visit your local bike shop if you’ve worked through the steps above and the noise persists. There are three situations where DIY fixes usually make things worse, and a shop visit saves time and money in the long run.
A clunking or grinding bottom bracket needs replacement. Press-fit bottom brackets require a press tool, and threaded ones need specific tools and torque values. Shops have both. If your cranks have any side-to-side play at all, the bottom bracket is the prime suspect. Riding on a worn bottom bracket can damage the frame’s bottom bracket shell, which is a much more expensive repair.
A damaged crank arm or spindle needs immediate attention. If you see cracks, deep scratches, or stripped threads on the crank arm, riding on it can damage the bottom bracket. Shops can evaluate whether the crank needs replacement. Carbon crank arms should be inspected regularly for cracks, since a failure under load can cause a crash.
Hub bearing failure or freehub body issues need specialized tools. Hub cone adjustment, freehub service, and bearing replacement all require specific knowledge. A clicking rear hub can usually wait for a scheduled tune-up, but a grinding one shouldn’t be ridden long. Catching hub issues early prevents damage to the hub shell, which often can’t be repaired.
FAQ
How do I fix creaking pedals?
Start by removing both pedals, cleaning the threads on the axle and inside the crank arm, applying fresh grease, and reinstalling to the correct torque (around 35 Nm). If the creak persists, check chainring bolts, cleat wear, and the crank arm to bottom bracket interface. Most creaks resolve within the first two steps.
How do I fix a clicking pedal?
Tighten the pedal against the crank arm using a pedal wrench or 8mm hex. If the pedal was loose, remove it, grease the threads, and reinstall. A clicking pedal that returns after retightening usually points to worn pedal bearings or a loose chainring bolt.
Why does my bike make a clicking sound when I am pedaling?
The most common causes are loose pedal threads, dry pedal bearings, worn cleats, or loose chainring bolts. Each pedal stroke creates tiny movement at one of these interfaces, producing a rhythmic tick. The fix is usually tightening, greasing, or replacing the offending component.
How do I tell if my bicycle crank bearings are bad?
Grab the crank arm and try to wiggle it side to side. Any play means the bottom bracket bearings are worn. Other signs include grinding when you spin the cranks by hand, a rough feeling at the pedals, or creaking that only happens under load and doesn’t go away after you grease the pedal threads.
Why is my bike clunking when I pedal?
A clunk with each pedal stroke usually means something has play in it. Common culprits include loose pedals, a worn bottom bracket, a loose chainring, or a worn freehub. Start by checking the pedals and chainring bolts, then move to the bottom bracket if the clunk persists.
Final Thoughts
Most pedal clicks and creaks come down to four things: loose threads, dry bearings, worn cleats, or loose chainring bolts. Work through them in that order, and you’ll solve the noise 90% of the time without a shop visit. The whole process usually takes less than an hour, even for first-timers, and the tools you need fit in a small bag.
If you want to stay ahead of the problem, grease your pedal threads once a year, replace your cleats every 3000-5000 miles, and re-torque your chainring bolts during your spring tune-up. These three habits will keep your bike quiet on every ride in 2026 and beyond. A quiet bike is a faster bike, since you’re not wasting mental energy filtering out annoying noises on long rides.