
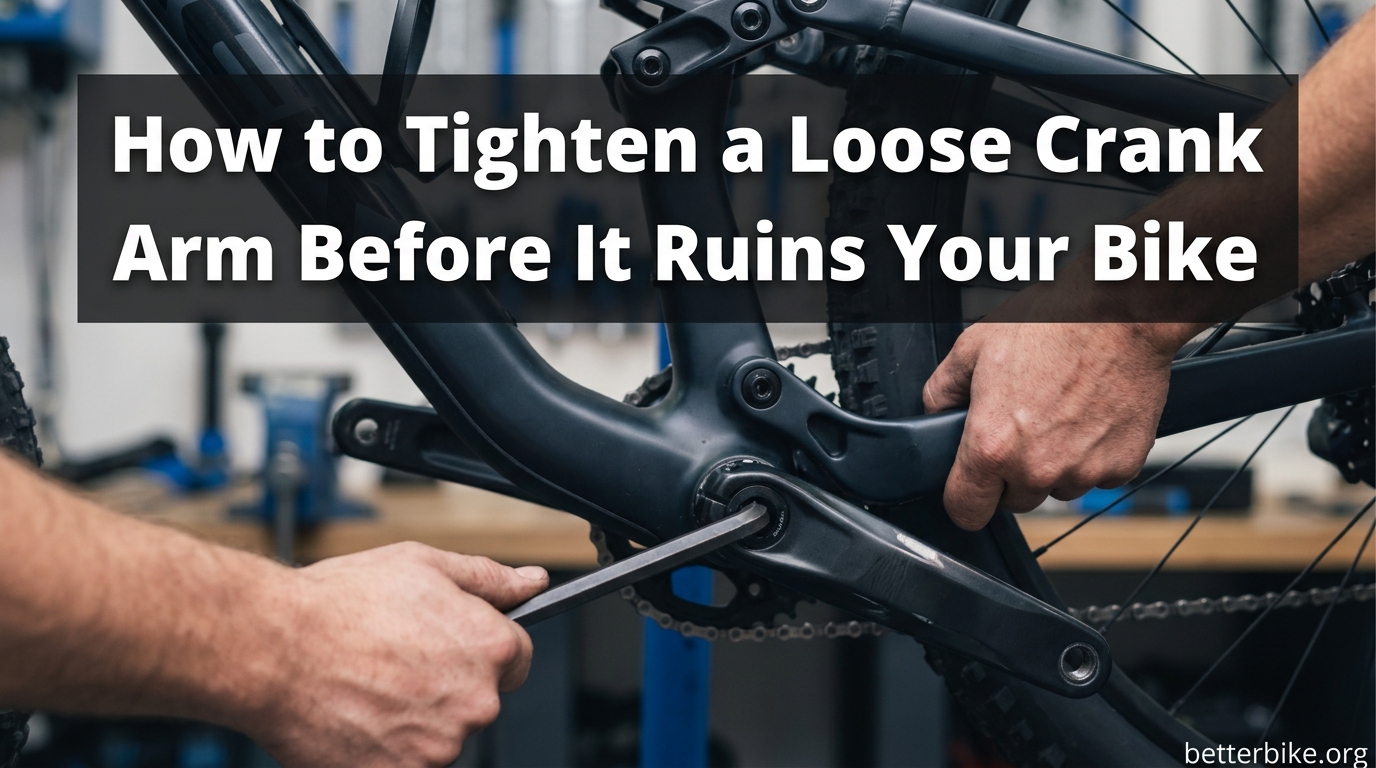
I learned the hard way that a loose crank arm is not something to ignore. On a Saturday ride last spring, I felt a faint click every time my pedal came over the top. I told myself it was nothing. By the following Tuesday, the crank arm had wallowed out the aluminum taper so badly that the bolt would not hold it no matter how hard I tightened it. I had to replace the whole crank. If I had known how to tighten a loose crank arm properly the first time, I would have saved myself a trip to the bike shop and a week off the road.
This guide is everything I wish I had known back then. You will learn how to tell if your crank arm is loose, how to figure out what type of crankset you have, how to tighten a loose crank arm by type, and the critical signs that mean you have a bigger problem on your hands. If you only have ten minutes, jump to the step-by-step section. If you want to make sure you do not ruin your bike, read the safety section first.
Table of Contents
How to Tell If Your Crank Arm Is Loose (and Why It Matters)
A loose crank arm almost always announces itself with wobble. Stand on the non-drive side of the bike, grab the crank arm near the pedal, and try to rock it toward and away from the bike frame. If you feel any play, clicks, or movement, the crank is loose.
Other telltale signs include a creaking sound on every pedal stroke, a pedal that feels like it is shifting under your foot, or a crank arm that visibly moves sideways at the bottom of the pedal stroke. The left (non-drive side) arm is the most common offender because it is held on by a single bolt that does all the work.
Why does it matter? A loose crank arm does not stay loose for long. Every pedal stroke drives the steel spindle into the aluminum crank arm taper like a wedge. Within a few rides, that soft aluminum gets deformed, and the bolt can no longer pull the arm tight. Mechanics call this “wallowed out” or “gnarled” taper. Once that happens, no amount of torque will hold the arm. You have to replace the crank. Catching it early is the difference between a 10-minute repair and a 100-dollar parts bill.
Identify Your Crank Type: Square Taper vs Hollowtech vs Splined
Before you touch a single bolt, you need to know what kind of crank you have. There are three common types on bikes made in the last 30 years, and each one tightens differently. Look at the center of the crank arm where it meets the bike frame.
Square Taper Cranks
Square taper is the oldest system still in common use. The crank arm has a square hole that slides onto a square spindle. The crank is held on by a single bolt in the center of the arm. You will see one bolt head (usually an 8 mm Allen or a 14 mm nut) and no other visible hardware. Most bikes made before about 2000 use square taper, and many budget bikes, commuters, and vintage steel bikes still use it today. Shimano, Suntour, and Sugino all made square taper cranks.
Hollowtech II Cranks (Shimano External Bearing)
Hollowtech II is Shimano’s modern system found on most road and mountain bikes from the last 15 years. The bearings sit outside the frame, and the crank arm clamps onto the spindle using two small pinch bolts (typically 5 mm Allen) plus a central preload bolt hidden under a plastic dust cap. If you see two tiny bolts on the back of the crank arm right where it meets the frame, it is Hollowtech.
Splined Cranks (Octalink and ISIS)
Splined systems are a middle ground. The crank arm has a splined hole that slides onto a matching splined spindle. You will see a single large bolt in the center of the arm, like square taper, but the spindle shape is different. Shimano Octalink and the open ISIS standard are the two main variants. Most higher-end bikes from about 2000 to 2008 used Octalink. Many BMX, mountain, and commuter bikes still use ISIS.
If you are still not sure, look up your crankset model number. It is usually stamped on the back of the arm or printed near the pedal hole. Searching the model number will tell you the type in seconds.
Tools You Need to Tighten a Loose Crank Arm
The tools you need depend on your crank type, but here is the short list.
- For square taper: 8 mm Allen key (or 14 mm socket/spanner for older nutted cranks), torque wrench, grease, clean rag.
- For Hollowtech II: 5 mm Allen key, 8 mm Allen key for the preload cap, Shimano TL-FC10 or TL-FC36 spanner wrench (or a 17 mm cone wrench in a pinch), torque wrench, grease.
- For Octalink/ISIS: 8 mm Allen key, crank puller (Shimano TL-FC20 for Octalink, standard puller for ISIS), torque wrench, grease.
A torque wrench is not optional if you want this fix to last. Crank bolts need to be tightened to a specific value, and over- or under-tightening is what causes the problem in the first place.
Step-by-Step: How to Tighten a Loose Crank Arm by Type
Now for the actual fix. Pick the section that matches your crank type and follow it in order.
Step 1: Tightening a Square Taper Crank Arm
Square taper is the easiest system to work on. You do not need to remove the crank to tighten it.
- Clean the area around the crank bolt with a rag. You do not want grit falling into the bearing.
- Locate the bolt at the center of the crank arm. On most square taper cranks, this is an 8 mm Allen bolt.
- Apply a small amount of grease to the bolt threads and the underside of the bolt head. This prevents seizing and gives accurate torque readings.
- Insert your 8 mm Allen key and tighten the bolt to 35 to 50 Nm (Newton-meters). If you do not have a torque wrench, tighten firmly until the arm stops moving, then a small additional nudge. Do not force it past the stop.
- Recheck the crank for play. The arm should feel completely solid with no wobble or creaking.
If the crank still has play after tightening, the taper is likely damaged. Skip ahead to the taper damage section.
Step 2: Tightening a Hollowtech II Crank Arm
Hollowtech is a different process. The crank arm clamps onto the spindle with two pinch bolts, and the whole system is held in place by a preload bolt under the dust cap on the non-drive side arm.
- Remove the plastic dust cap from the non-drive side crank arm. Pry it off gently with a small flathead screwdriver wrapped in tape to avoid scratching.
- Insert an 8 mm Allen key into the preload bolt and loosen it by turning it counterclockwise two full turns. This releases tension on the spindle.
- Locate the two pinch bolts on the back of the crank arm where it meets the spindle. They are usually 5 mm Allen heads.
- Loosen both pinch bolts completely. The crank arm should now slide off the spindle. If it is stuck, do not pry it. A sharp pull toward you while supporting the spindle usually frees it. Some mechanics tap it gently with a rubber mallet on the back of the arm.
- Inspect the spindle and the inside of the arm for damage. Look for scuffing, ovaling, or aluminum shavings.
- Apply a thin layer of grease to the spindle and the inside of the arm taper. Do not get grease on the pinch bolt threads or the splines.
- Slide the crank arm back onto the spindle until it stops. Make sure it is fully seated.
- Tighten the two pinch bolts to 12 to 15 Nm, alternating between them a little at a time so the arm pulls on evenly. Tighten the first bolt a few turns, then the second, then back to the first. Do not fully torque one before starting the other.
- Reinstall the preload bolt and tighten it to 0.7 to 1.5 Nm. You are not trying to clamp the arm here. You are just removing the side-to-side play from the bearings. Turn the bolt until it just contacts the spindle, then a small additional nudge.
- Check the crank for play. There should be no wobble, and the arm should spin freely on the spindle without binding.
- Press the dust cap back into place.
If the pinch bolts do not hold the arm, the splines on the spindle or the inside of the arm are stripped. The crank arm needs to be replaced.
Step 3: Tightening a Splined (Octalink) Crank Arm
Octalink and ISIS cranks use a crank puller to remove the arm. You cannot just pull them off by hand.
- Remove the dust cap and the crank bolt using an 8 mm Allen key.
- Thread a crank puller into the threads exposed after removing the bolt. For Shimano Octalink, use the TL-FC20 puller. For ISIS, use a standard ISIS-compatible puller.
- Turn the puller handle clockwise. The tip of the puller pushes against the spindle and pulls the crank arm off.
- Once the arm is off, clean the spindle and the inside of the arm. Inspect for damage.
- Apply a thin layer of grease to the spindle splines.
- Slide the arm back onto the spindle by hand as far as it will go.
- Apply thread-locking compound (medium strength, like Loctite 243) to the crank bolt threads if this crank has come loose before. Otherwise, just grease the threads.
- Tighten the crank bolt to 35 to 50 Nm.
- Check for play. The arm should be completely solid.
Do not skip the crank puller. Trying to pry or hammer the arm off almost always damages the threads in the crank arm.
How to Check for Taper Damage (The Point of No Return)
Pull the crank arm off and look inside the taper hole. Hold it up to a light and inspect the cone-shaped surface carefully. You are looking for three things.
First, shiny wear marks where the steel spindle has been rubbing. Some scuffing is normal, but deep grooves or gouges are not.
Second, an oval or egg-shaped opening. A healthy taper is a perfect cone. If the round opening looks more like a teardrop, the aluminum has deformed.
Third, aluminum shavings or paste around the inside of the taper. This is a sure sign the parts are grinding against each other.
You can also try the “press test.” Put the arm back on without grease and hand-tighten the bolt. If the bolt pulls the arm tight and the arm has no play, the taper is good. If the bolt bottoms out before the arm is tight, the taper is shot.
If the taper is damaged, the crank arm must be replaced. There is no permanent field fix for a wallowed aluminum taper. Shims and epoxy can buy you a few rides, but the arm will come loose again.
Emergency Field Fixes: What Works and What Doesn’t
Sometimes you are miles from home and the crank arm will not stay tight. Here is what the cycling community actually does in the field, and what is just wishful thinking.
What works temporarily: A thin shim made from a soda can or aluminum foil wrapped around the spindle can take up slack in a slightly worn taper. Combined with thread-locking compound on the bolt, this can get you home. Blue Loctite 243 on the bolt threads also helps prevent the bolt from backing out under vibration.
What does not work: Two-part epoxy on the taper surfaces is a popular suggestion online, but it fails quickly under load. The epoxy cracks, the arm wobbles again, and you may have made the taper even more difficult to repair. Avoid this unless you are truly stranded and have no other option. Hammering the crank back on with a block of wood and a hammer can reseat a slightly loose square taper arm, but if the taper is already damaged, hammering just makes it worse.
None of these are permanent fixes. If you use one, order a replacement crank arm as soon as you get home.
Safety Warnings: When NOT to Ride
A loose crank arm is not just an inconvenience. It is a safety issue. Stop riding immediately if any of the following are true.
The crank arm has visible side-to-side movement at the bottom of the pedal stroke. You have lost clamping force, and the taper is being destroyed with every rotation.
You hear or feel clicking, popping, or grinding from the bottom bracket area. The spindle is moving inside the crank, and you are wallowing out the metal.
The crank arm has shifted position on the spindle. If the arm now sits at a different angle than before, the bolt has lost its grip and the arm is one hard pedal stroke from falling off completely.
Continuing to ride with a loose crank arm can destroy the spindle as well as the crank. On mid-drive e-bikes, a loose crank can also damage the motor. A crank arm falling off at speed can cause a crash. This is not a “get home” situation. Walk the bike or call for a ride.
Prevent a Loose Crank Arm: Maintenance Tips
Most loose crank arms are preventable. After any crank installation, recheck the bolt torque after about 50 miles of riding. New parts can settle, and a retorque catches small movement before it becomes a problem.
Check your crank bolts once a month as part of a basic bike inspection. Grab each arm and try to rock it. If you feel any play, address it immediately. A 30-second check each month is the difference between a tightening job and a replacement job.
Avoid over-tightening. It is just as bad as under-tightening. A crank bolt torqued past spec can stretch the bolt, crack the arm, or strip the spindle threads. Use a torque wrench, follow the values in this guide, and stop when you reach the spec.
Finally, do not ignore creaks. A creak from the bottom bracket area under pedaling load almost always means something is starting to move. Tighten it now, before the taper damage makes replacement the only option.
FAQ’s
How tight should a crank arm be?
Tighten a square taper or splined crank bolt to 35 to 50 Nm. For Hollowtech II, tighten the two pinch bolts to 12 to 15 Nm and the preload cap to 0.7 to 1.5 Nm. Using a torque wrench is strongly recommended.
Why does my bike crank keep coming loose?
The most common reason is a worn or damaged taper on the inside of the crank arm. Once the aluminum is deformed, the bolt can no longer clamp the arm tight. Other causes include an under-torqued bolt, missing grease on the spindle, or a stripped bolt thread.
Can I ride with a loose crank arm?
No. A loose crank arm will damage the taper surfaces and can fail completely at speed, which can cause a crash. Walk the bike or get a ride home and fix the problem before riding again.
How do I tighten a crank arm without special tools?
For a square taper crank, you can use an 8 mm Allen key and tighten the bolt firmly, but a torque wrench gives much better and longer-lasting results. For Hollowtech cranks, you absolutely need a 5 mm Allen key, an 8 mm Allen key, and a Shimano spanner wrench to adjust the preload correctly. Without these tools, the crank will not be set up right and will loosen again quickly.
Final Thoughts on Fixing a Loose Crank Arm
Knowing how to tighten a loose crank arm is one of the most useful bike repair skills you can have. The fix itself is straightforward once you know your crank type: identify the system, follow the right torque spec, and check for taper damage before you put everything back together. The real key is catching it early. A loose crank caught this week is a 10-minute job with a torque wrench. A loose crank ignored for a month is a replacement part and a trip to the shop. Do the wiggle test today, and your bike will thank you for the rest of the season.