
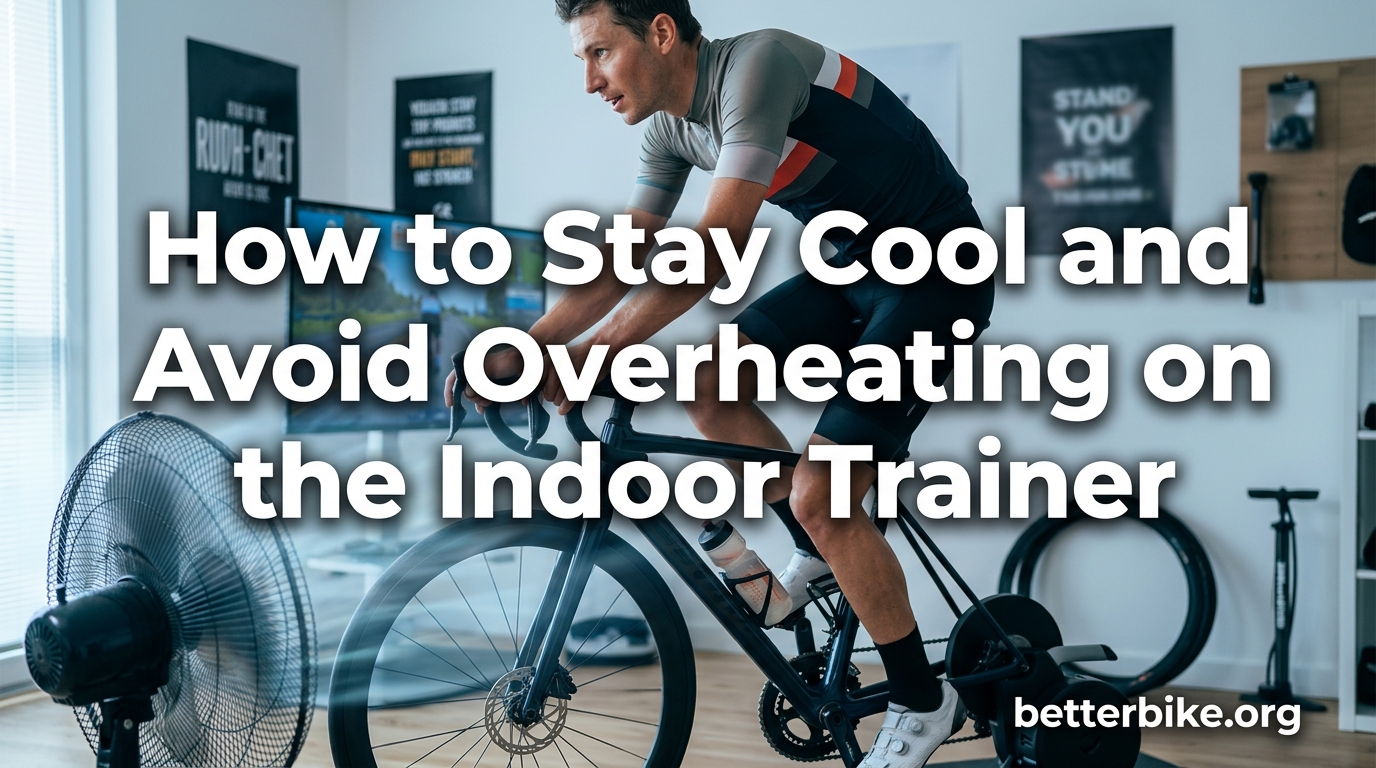
Staying cool on the indoor trainer comes down to three things: airflow, hydration, and what you wear. Without wind moving across your skin like it does outside, your body has to rely almost entirely on sweating to dump heat, which is why even a 45-minute Zwift session can leave you dripping. In this guide I’ll walk through exactly how to stay cool and avoid overheating on the indoor trainer, covering fan setups, clothing, cold-fluid hydration, sweat management, and pre-cooling tricks that most riders overlook.
I’ve spent hundreds of hours on a smart trainer over the past few winters, and I’ve learned the hard way that ignoring heat management will wreck a session faster than any training plan will. The good news is that small changes, like where you point a single fan, can drop your perceived effort by a noticeable margin within minutes.
Table of Contents
Why You Overheat on the Indoor Trainer
The core problem is simple physics. When you pedal, around 75% of the energy your muscles produce is released as heat, not forward motion. Out on the road, that heat gets stripped away by the breeze you create just by moving. Indoors, you’re stationary, so that breeze drops to zero unless you make it yourself.
Without airflow, the warm air around your body just sits there, forming what cyclists call a “thermal blanket.” Your sweat still evaporates, but far less efficiently, so your core temperature keeps climbing. The result is the overheated, suffocating feeling that hits about 20 minutes into a hard interval set.
Room temperature matters too. A 20°C (68°F) room can feel fine when you walk in, but once you’re putting out 200 watts, the effective heat load is closer to sitting in a 28°C space with no fan. That gap between ambient comfort and riding comfort is what catches most riders off guard.
Humidity is the second villain. As you sweat, the moisture enters the air and raises relative humidity around you, which further slows evaporation. Cyclists training in small, closed rooms often hit a humidity ceiling where sweat simply stops cooling them. A dehumidifier can help here as much as a fan.
Cardiac Drift and Thermal Drift Explained
Cardiac drift is the slow rise in heart rate you see during a steady indoor ride, even when your power output stays flat. It happens because as your body heats up, more blood gets sent to your skin to release heat, leaving less blood available for working muscles. Your heart then has to beat faster to deliver the same oxygen, so the number on your HR monitor creeps upward.
Thermal drift is the underlying cause: your core body temperature is climbing because heat is entering faster than it’s leaving. The two drifts go hand in hand, and they explain why a “Zone 2” ride indoors can feel as hard as a threshold effort outdoors.
Try this experiment: ride 20 minutes at a fixed wattage with no fan. Note your heart rate at minute 5 and minute 20. Then repeat the same ride with a strong fan aimed at your chest and head. Most riders see a 10 to 15 bpm difference by minute 20. That gap is cardiac drift, and it’s almost entirely preventable with better cooling.
This is also why indoor races on Zwift feel brutal. Racers push high watts in a hot room with weak airflow, drift compounds over 60 to 90 minutes, and perceived effort spirals. Cooling isn’t comfort, it’s performance.
Fan Setup and Ventilation Strategies
If you only change one thing after reading this, make it your fan setup. A good fan does more for indoor training comfort than any clothing or nutrition tweak combined. Here’s how to set one up properly.
Step 1: Pick the Right Fan Type
Not all fans are equal for trainer use. Here’s a quick breakdown of what works:
Drone-style head fans (like the Wahoo Headwind or similar) are designed specifically for indoor cycling. They mount high, blow at your face and upper body, and pair with some trainers to auto-adjust based on speed or heart rate. They are expensive but effective.
Pedestal or high-velocity floor fans are the budget-friendly workhorse. A 16- to 20-inch industrial pedestal fan aimed slightly upward from in front of the bike will move serious air for a fraction of the cost.
Wall-mounted fans save floor space and let you aim airflow precisely. If your training room is permanent, two or three small wall fans angled at your torso and head can replicate a wind tunnel effect.
Avoid small desk fans. They look tidy but can’t move enough air to keep up with the heat a working cyclist generates.
Step 2: Position for Maximum Skin Coverage
Where you point the fan matters as much as which fan you buy. Aim it at your head, neck, and chest, where you have the most skin surface area and where overheating hits hardest. A fan pointed only at your legs will leave you gasping on intervals.
The sweet spot is usually about 1 to 1.5 metres in front of the bike, slightly below handlebar height, tilted upward at around 30 degrees. This creates a column of air that hits your face, runs down your torso, and exits past your back.
Step 3: Use a Second Fan for Cross-Ventilation
One fan handles the front. A second, smaller fan placed to the side creates cross-ventilation that pulls humid air away from your body. Long-term trainer users on cycling forums consistently report that a two-fan setup is the single biggest upgrade they made.
For race efforts, some riders add a third fan pointing from behind. More airflow equals better cooling equals more sustained power, plain and simple.
Step 4: Open a Door or Window
Fans only move air around; they don’t replace it. If you can crack a door or window, even a few centimetres, you give hot, humid air somewhere to escape. This matters more in small rooms and during longer sessions.
In winter, the trick is balancing fresh air with staying warm enough. Cracking a window behind the bike, rather than in front of it, lets stale air leave without blowing cold air onto your face.
Step 5: Consider a Dehumidifier
If your training room is naturally humid, a dehumidifier running before and during your session keeps relative humidity in the 40 to 50% range where sweat evaporates efficiently. Several forum riders swear this combination, fan plus dehumidifier, beats air conditioning alone.
Clothing Choices for Indoor Training
What you wear indoors should look nothing like what you wear outdoors. The goal is maximum skin exposure and maximum moisture transfer, not insulation or aerodynamics.
Start with a mesh or open-knit base layer. These are designed to hold a thin layer of sweat against the skin so it can evaporate quickly. A standard compression base layer will trap heat; a mesh one will dump it.
On top, a lightweight mesh cycling jersey, or even a running singlet, beats a thick race jersey. If your room is warm enough, many riders just wear the base layer alone for hard sessions.
For the bottom half, bib shorts are fine but skip any undershorts or thermal layers. Some riders switch to a lighter chamois-only setup indoors because thicker pads trap heat in sensitive areas.
Socks matter more than people think. Thin, breathable socks help your feet stay cool, since feet are a major sweat zone that’s often trapped inside a stiff cycling shoe. Loosening the top strap of your shoes can also reduce that “swollen foot” feeling on long trainer rides.
Gloves indoors are optional, but fingerless cycling gloves do two useful things: they absorb sweat before it drips onto your handlebars, and they keep your hands from slipping on rubber hoods when you’re sweating hard.
Hydration Strategies with Cold Fluids
Hydration does double duty indoors. It replaces fluid you’re losing through heavy sweat, and if the fluid is cold, it acts as an internal heat sink that lowers your core temperature from the inside.
The bottle-per-hour rule is a good starting point for sessions over an hour. For race efforts or very hot rooms, you may need 1.2 to 1.5 bottles per hour. Sip steadily rather than gulping, since your gut absorbs fluid faster at a consistent rate.
Freeze Your Bottles the Night Before
Fill your bottles two-thirds full and lay them on their side in the freezer overnight. Top them up with fresh fluid before your ride, and you’ll have icy-cold hydration that stays cold for the first 30 to 45 minutes of your session, exactly when you need it most.
A useful trick from forum riders: freeze one bottle plain and top up with electrolyte mix on the bike, so you control the strength as the ice melts.
Use Electrolytes, Not Just Water
Sweat isn’t just water; it’s sodium, potassium, and other electrolytes. Drinking plain water for an hour or more can leave you hyponatremic, which tanks performance just as much as dehydration does.
A general guide is 300 to 700 mg of sodium per hour for indoor rides, scaled up for heavier sweaters and longer sessions. Most electrolyte tablets hit the lower end of that range, so check the label.
Add Ice for Hot Sessions
If your room is genuinely hot and your frozen bottle has melted by minute 30, add ice cubes from the freezer at your mid-ride bottle swap. The colder the fluid going in, the more heat your body sheds trying to warm it back up to core temperature.
One thing to avoid: ice-cold fluids can cause stomach cramps if you gulp them during very hard efforts. Sip steadily and let your gut adjust.
Sweat Management and Bike Protection
Sweat isn’t just uncomfortable; it’s corrosive. Over months of indoor training, salty sweat will eat through headset bearings, frame bolts, and even the finish on some components. A few simple habits protect your bike and floor.
Sweat net or sweat catcher: a mesh net that drapes over your top tube and headset catches most drips before they reach bearings. They cost very little and add years to your headset’s life.
Towel on the bars: draping a small towel over the handlebars absorbs forehead and hand sweat and keeps your hoods from getting slippery. Swap it out halfway through long rides.
Floor mat: a dedicated trainer mat, or even a yoga mat, protects your floor from sweat pools and dampens vibration noise. Bonus: a mat also catches any chain lube or grease that flies off during hard efforts.
Post-ride wipe-down: a quick wipe of your frame with a damp cloth and a light spray of bike-specific corrosion inhibitor after each session prevents salt buildup on bolts and bearings. Five minutes of cleaning saves you a yearly headset rebuild.
If you train in a garage or unheated space, also keep an eye on condensation. Warm sweat on a cold frame can cause rust in spots you won’t notice until it’s too late.
Pre-Cooling and Advanced Strategies
Most guides focus on what to do during the ride. The riders who really beat the heat start before they clip in. Pre-cooling lowers your core temperature so you start the ride with more thermal headroom.
Take a Cool Shower Before You Ride
A 5-minute cool, not freezing, shower before you warm up drops your skin temperature and gives you a buffer of heat capacity. It sounds small, but it can add 10 to 15 minutes before you start feeling the heat on a hard session.
Try a Cooling Vest
Cooling vests, originally designed for athletes competing in extreme heat, hold frozen gel packs against your torso. Wear one for 10 to 15 minutes before your session and your starting core temperature will be measurably lower. They are also useful between intervals during very long trainer rides.
Set Your Air Conditioning Low
If you have AC, run it for 20 minutes before you start and drop the room to around 18°C (64°F). Pre-cooling the room is much easier than cooling it once you’re already cooking. Just don’t point the cold stream directly at yourself during the ride, since that can cause chill and drafts that some riders blame for post-ride colds.
Use Heat Training Strategically
There is a flip side to all this cooling. Done in controlled blocks, heat training (riding indoors in a hot room with less cooling) can boost your plasma volume and improve performance in both hot and temperate conditions. The protocol usually involves 10 to 14 days of monitored sessions with core temperature tracking.
If you want to dabble without going full heat camp, try post-ride hot baths. Sitting in a 40°C bath for 15 minutes immediately after your trainer session, two or three times a week, has been shown to deliver similar plasma volume adaptations over time.
Be careful with heat training if you’re already fatigued or sick. It stresses the body in ways that compound with normal training load, so ease in and track how you feel the next day.
Quick Cooling Setup Checklist
Here is a fast checklist you can run through before every session to make sure your cooling is dialled in:
- One fan aimed at your head and chest, 1 to 1.5 metres in front of the bike
- Second fan for cross-ventilation, aimed from the side
- Bottle frozen the night before, topped up with fresh fluid before riding
- Electrolyte tablet in your second bottle
- Mesh base layer and lightweight jersey (or just the base layer)
- Sweat net draped over the top tube
- Door or window cracked for fresh air exchange
- Floor mat down to catch sweat
- Towel on the bars for hand and forehead sweat
- AC or dehumidifier running for 20 minutes before you clip in
How do I protect my indoor bike from sweat?
Use a sweat net draped over the top tube and headset, place a towel on the handlebars to absorb forehead and hand sweat, and wipe down the frame with a damp cloth after each session. A floor mat protects your floor and catches any corrosive drips before they reach components.
How do I stay on the indoor trainer for longer?
Cooling is the biggest factor, so set up one or two fans aimed at your head and chest. Use a frozen bottle for cold hydration, wear a mesh base layer, and break the session into segments with a clear plan or entertainment like Zwift or a playlist. Building duration gradually also helps your body adapt to the heat load.
What is the 75 rule in cycling?
In the context of indoor training, the 75% rule refers to the fact that roughly 75% of the energy your muscles produce while riding is released as heat rather than forward motion. This is why cooling matters so much when you are stationary and there is no natural airflow to carry that heat away.
How do I not get bored on an indoor trainer?
Use virtual platforms like Zwift or Rouvy to add a gamified world and group rides. Break long sessions into structured intervals, queue up a podcast or playlist you only allow yourself indoors, and set a clear workout plan so each segment has a purpose. Many riders find that having cooling dialled in also reduces the mental drag of long sessions.
Wrapping Up: How to Stay Cool on the Indoor Trainer
Once you understand the science, the answer to how to stay cool and avoid overheating on the indoor trainer is straightforward: move air across your body, drink cold fluids, wear less, and protect your bike from the resulting sweat. The cardiac drift you feel climbing during long sessions is not a fitness problem, it is a cooling problem, and almost all of it is fixable.
Start with one good fan pointed at your chest and head. Add a second for cross-ventilation when you can. Freeze a bottle the night before. Throw on a mesh base layer and skip the heavy jersey. From there, dial in pre-cooling, electrolytes, and sweat management to push your comfort and sustained power even further.
The riders who get the most out of indoor training are the ones who treat their training room like a wind tunnel, not a closet. Set up your cooling, run through the checklist before each ride, and your indoor sessions will finally feel like the training tool they are supposed to be.