
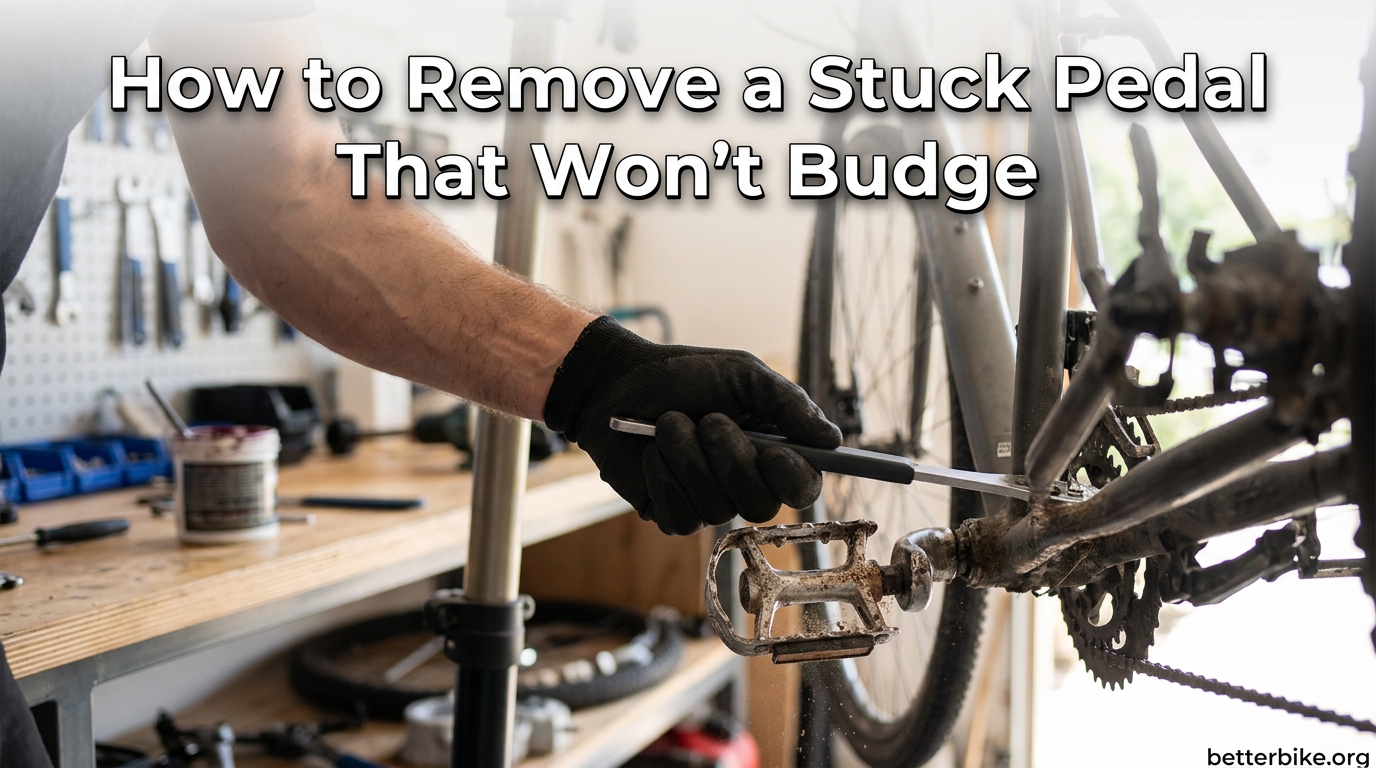
Right pedals loosen counterclockwise and left pedals loosen clockwise. That single rule solves most stuck pedal problems before you even pick up a tool. I learned this the hard way on a vintage steel road bike, and once I understood why pedals get stuck in the first place, every removal became easier.
If you’re staring at a pedal that simply refuses to move, this guide will walk you through exactly how to remove a stuck pedal that won’t budge. We’ll start with the basic technique, then escalate to heat, penetrating oil, and a bench vise method for truly frozen pedals.
Table of Contents
Why Bike Pedals Get Stuck in the First Place
Pedals get stuck for three main reasons, and understanding them helps you decide which removal method to try first.
Self-tightening force: Every time you pedal forward, the rotation tries to screw the pedal into the crank arm. This is by design. The left pedal uses a left-hand (reverse) thread so the pedaling force tightens it instead of loosening it. Over thousands of revolutions, pedals essentially weld themselves onto the spindle.
Corrosion: Moisture, road salt, and sweat collect at the pedal spindle joint. Once corrosion starts, the metal surfaces bond together through oxidation. This is especially common on bikes stored outdoors or ridden through winter.
Galling and fretting: When two metal surfaces rub against each other under high pressure, microscopic welds form between them. Mechanics call this galling. Pedal threads experience both rotational force and tiny vibrations, which makes them prime candidates for this kind of damage.
The good news? Each of these problems has a solution, and most stuck pedals come off with the right technique and a little patience.
Tools You’ll Need Before You Start
Gathering the right tools first saves you from walking back and forth to the toolbox mid-job. Here’s what I keep on hand for stuck pedal removal.
- 15mm pedal wrench – The classic choice, with a long handle for leverage
- 8mm or 6mm hex key – Required for pedals with internal hex fittings (most Shimano pedals)
- Breaker bar – For extra leverage when the pedal won’t budge
- Work gloves – Protect your knuckles from the chainring
- Penetrating oil – PB Blaster, Liquid Wrench, or similar
- Heat gun or hair dryer – For the thermal expansion method
- Rubber mallet – Helpful for tapping stuck pedals loose
If you don’t own a pedal wrench, an adjustable wrench can work in a pinch, but it risks rounding the flats. A dedicated 15mm pedal wrench costs little and lasts forever.
Right vs Left Pedal Thread Direction: The Back Off Mnemonic
Before you put any force on the wrench, you need to know which way to turn. Getting this wrong is the number one reason people strip their pedal threads.
Here’s the rule: Right pedals loosen counterclockwise and tighten clockwise. Left pedals loosen clockwise and tighten counterclockwise.
The easiest way I remember this is the “Back Off” mnemonic. Imagine yourself sitting on the bike and pedaling backward to remove a pedal. Your foot’s natural motion on each side tells you the loosening direction.
- Right pedal: Turn counterclockwise (to the left) to loosen
- Left pedal: Turn clockwise (to the right) to loosen
The left pedal uses a reverse thread because forward pedaling force would otherwise unscrew it. Manufacturers designed it this way so both pedals tighten as you ride.
How to Remove a Stuck Pedal That Won’t Budge: Step-by-Step
Follow these steps in order. Most stuck pedals come off by step 4. If yours is truly frozen, keep going through the advanced methods below.
Step 1: Secure the bike. Place the bike in a repair stand or flip it upside down on the saddle and handlebars. Make sure it’s stable before applying force.
Step 2: Protect your hands. Put on work gloves. The chainring teeth are sharp and your knuckles will get close to them when the pedal finally breaks free.
Step 3: Position the wrench correctly. For a 15mm pedal wrench, slide it onto the pedal axle flats with the handle pointing backward (toward the rear of the bike). For a hex key, insert it fully into the back of the spindle.
Step 4: Apply force in the correct direction. Remember the Back Off rule. Push down on the wrench handle with steady, increasing pressure. Don’t jerk it. A sudden snap can round the flats or strip the hex.
Step 5: Break the initial seal. The first 10-15 degrees of rotation is the hardest. Once the pedal breaks free, it usually unscrews easily by hand the rest of the way.
Step 6: Finish by hand. Once loose, unscrew the pedal the rest of the way by hand to avoid dropping it.
If the pedal doesn’t move at all, move on to the next method.
Using Penetrating Oil When the Pedal Won’t Budge
Penetrating oil works by seeping into the microscopic gaps between the pedal spindle and crank arm. It dissolves rust and reduces friction.
Apply penetrating oil at the joint where the pedal spindle enters the crank arm. Let it sit for at least 10-15 minutes before trying again. For really stubborn pedals, apply oil in the evening and try again the next morning.
A common question is whether WD-40 works. WD-40 is primarily a water displacer and light lubricant. It can help free stuck parts, but it’s not a long-term lubricant. For pedal threads, use a dedicated penetrating oil like PB Blaster for stuck removal, then apply grease before reinstalling.
The Heat Method for Frozen or Seized Pedals
When penetrating oil isn’t enough, heat is your next weapon. The science behind this is thermal expansion: aluminum crank arms expand faster than steel pedal spindles when heated. Expanding the crank creates a tiny gap that breaks the corrosion bond.
Here’s how to do it safely:
- Heat the crank arm, not the pedal itself
- Use a heat gun or hair dryer on the area where the spindle enters the crank
- Heat for 1-2 minutes until the crank is too hot to comfortably touch
- Immediately try to loosen the pedal while the crank is still hot
If you don’t have a heat gun, boiling water poured over the crank works as a safer alternative. The temperature difference between boiling water and room-temperature steel is enough to create the expansion gap.
Never use an open flame near grease, paint, or carbon fiber components. Carbon cranks can delaminate from heat damage.
Bench Vise and Crank Removal for Extreme Cases
Sometimes a pedal is so corroded or galled that even heat won’t free it. In these cases, removing the crank from the bottom bracket gives you access to clamp the crank in a bench vise. This gives you enormous leverage without risking damage to the bike frame.
Remove the crank using your bottom bracket manufacturer’s procedure (usually an 8mm hex bolt hidden under a dust cap). Once the crank is off, clamp it horizontally in a bench vise with the pedal facing out.
Apply penetrating oil, heat the crank with a torch or heat gun, then use a long breaker bar with the appropriate wrench to break the pedal free. Users on bike forums report success with 24-inch breaker bars in this configuration.
If this still doesn’t work, take the crank to a professional bike shop. They have hydraulic presses and can remove pedals that simply won’t budge at home.
How to Prevent Pedals From Getting Stuck Next Time
Prevention takes 30 seconds during pedal installation and saves hours of frustration later.
Apply a thin layer of grease or anti-seize compound to the pedal threads before installation. Marine-grade anti-seize is the best choice if you ride in wet conditions. This single step prevents corrosion and galling from ever starting.
Don’t over-tighten pedals. The correct torque for most pedals is around 30-35 Nm, but a snug fit plus a quarter turn past hand-tight is plenty. Over-tightening deforms the threads and makes future removal nearly impossible.
Re-apply grease every year or after any extended wet riding. If you store your bike for winter, consider removing the pedals and storing them separately.
For more on carrying tools that handle breakdowns mid-ride, check out our guide to emergency bike repair kit essentials.
FAQ’s
What do I do if my pedal is stuck?
Position the bike securely, identify whether it’s the right or left pedal, and remember that right pedals loosen counterclockwise while left pedals loosen clockwise. Use a 15mm pedal wrench or the correct hex key, apply penetrating oil if needed, and use steady downward pressure rather than jerking motions.
Why aren’t my bike pedals coming off?
Pedals get stuck due to self-tightening force from forward pedaling, corrosion from moisture and road salt, and galling where metal surfaces bond under pressure. The left pedal uses a reverse thread for the same reason. Corrosion and galling are the most common causes of pedals that refuse to budge.
How do I free a stuck pedal?
Apply penetrating oil at the spindle joint and wait 10-15 minutes. If that fails, heat the crank arm with a heat gun or hair dryer to expand the aluminum faster than the steel spindle. For extremely stuck pedals, remove the crank and clamp it in a bench vise for maximum leverage.
Can I use WD-40 to grease bike pedals?
WD-40 can help free a stuck pedal as a short-term penetrating oil, but it’s not a proper long-term lubricant. Use PB Blaster or a similar penetrating oil for stuck removal, then apply grease or anti-seize compound to the threads before reinstalling the pedal.
Why do bike pedals get stuck?
Bike pedals get stuck because they are designed to self-tighten as you pedal forward. The left pedal uses a reverse thread for this reason. Over time, moisture, corrosion, and galling bond the pedal spindle to the crank arm, making removal difficult without proper technique and tools.
Final Tips for Stuck Pedal Removal
Now you know how to remove a stuck pedal that won’t budge using methods ranging from a simple wrench to a bench vise and heat. The key takeaway is the Back Off rule: right pedals loosen counterclockwise, left pedals loosen clockwise.
Apply grease to pedal threads every time you install a pedal, and you’ll rarely face this problem again. If your pedal still won’t move after trying every technique in this guide, your local bike shop has the tools to handle even the most stubborn cases.