
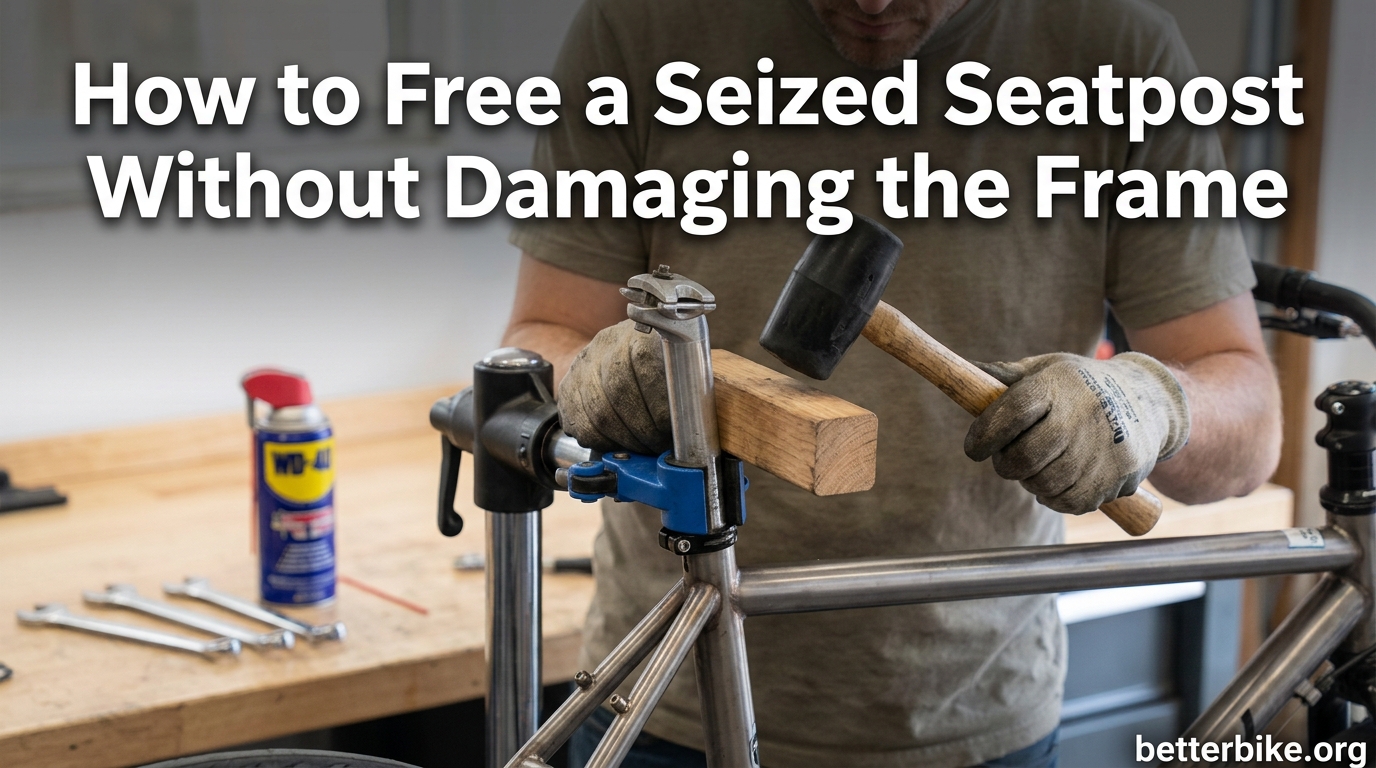
Learning how to free a seized seatpost without damaging the frame is one of those repair skills that separates casual riders from confident home mechanics. I have dealt with stuck seatposts on vintage steel road bikes, modern aluminum hardtails, and even a carbon race frame that had been left to corrode over a wet winter. The good news is that most stuck seatposts will eventually come out if you work patiently and use the right method for your frame material. The bad news is that a wrong move, like applying a torch to a carbon frame or forcing a corroded aluminum post out with a slide hammer, can turn a $30 repair into a $1,500 frame replacement.
In this guide, I will walk you through how to diagnose why the post is stuck, the safest sequence of removal methods from easiest to most extreme, and the specific rules that apply when your frame is steel, aluminum, or carbon. You will also get clear safety warnings for the chemical and thermal methods, and a practical checklist for knowing when it is time to stop and take the bike to a shop. Whether you bought a used bike with a frozen post or simply neglected to grease your own for too long, the same principles apply.
Table of Contents
How to Diagnose Why Your Seatpost Is Seized
Before you grab a wrench or a can of penetrating oil, take five minutes to figure out what is actually holding the post in place. There are two main categories of seatpost seizure, and the diagnosis determines which removal technique will work.
Mechanical seizure happens when a seatpost was forced into a frame with too little insertion depth, when an oversized post was hammered in, or when the saddle clamp bolt was over-torqued and pulled the post into a slight oval shape. In this case, the post physically deforms the seat tube or itself, and you will feel binding when you try to twist it.
Chemical seizure is the more common cause on bikes that have spent time outside. It happens when water infiltrates the seat tube, the dissimilar metals between the post and frame react, and corrosion welds them together. On steel frames, you will see reddish brown rust. On aluminum frames, the bond is aluminum oxide, a white powdery substance that is actually harder than the base metal. On carbon frames, the bond is often electrolytic in nature, which is why carbon posts in metal frames and metal posts in carbon frames both corrode faster than matching materials.
To assess severity, try to rotate the post by hand with the saddle off. If it moves even a fraction of a degree, the bond is likely chemical and you have a good chance with penetrating oil and time. If it is rock solid with zero movement and the frame shows no obvious bulge, you are probably dealing with heavy corrosion. If the seat tube is visibly bulged or cracked, stop and consult a frame builder or a new frame, because no amount of persuasion will save that tube.
How to Prevent a Seatpost From Seizing in the First Place
Prevention is easier, cheaper, and far less stressful than removal. If you are reading this before a problem starts, here is what to do the next time you adjust your saddle height.
First, remove the seatpost, clean the inside of the seat tube with a rag, and clean the post itself with a degreaser. Second, apply a thin layer of grease to the portion of the post that lives inside the frame. For steel posts in steel frames, any general-purpose grease works. For aluminum posts in aluminum frames, use a thicker marine-grade grease. For mixed combinations (carbon post in metal frame, or metal post in carbon frame), use an anti-seize compound that contains copper or nickel particles, which prevents galvanic corrosion as well as mechanical binding.
Third, reinsert the post, set your saddle height, and torque the seat clamp to the manufacturer specification. Over-torquing the clamp is one of the leading causes of seizure because it deforms the top of the seat tube. Finally, repeat the cleaning and greasing process once a year, especially if you store the bike outside, ride in wet conditions, or sweat heavily. A five-minute annual service beats a five-hour extraction job every time.
Basic Methods: Twist and Pull With Penetrating Oil
This is the starting point for almost every stuck seatpost, and the method that resolves the majority of cases if you have patience. You will need penetrating oil, a rag, and ideally an assistant to hold the bike steady.
Step 1. Remove the saddle or at least the saddle clamp so you have a clean post to grip. If the post has a built-in head, you can use the head itself for leverage. Step 2. Apply penetrating oil liberally around the seatpost where it enters the frame, then drip more oil down the seat tube by lifting the rear of the bike so the oil runs toward the bottom bracket. PB Blaster, Liquid Wrench, and 3-IN-ONE oil all work better than WD-40 for this job, because WD-40 is a water-displacer first and a lubricant second. Step 3. Wait. This is the part most people skip. Penetrating oil needs 24 to 72 hours to work its way into the corrosion bond, and many forum users report success only after soaking for a full week with daily reapplication.
Step 4. After the soak period, try the twist and pull technique. Hold the bike firmly on the ground, grip the post high with both hands, and apply steady rotational force left and right while pulling upward. The idea is to use the rotational force to break the corrosion bond before the upward force tries to slide the post out. A sudden CRACK is normal and usually means you have broken free of the worst of the bond. If you feel nothing after 30 seconds of effort, reapply oil and wait another day.
Leverage Methods: Getting More Pulling Power Safely
When twist and pull is not enough, the next step is to multiply your force with simple leverage. The two methods I have used successfully are the saddle-grip method and the canoe-strap method.
The saddle-grip method works when you have left the saddle on the post. Loosen the seatpost clamp, then have your assistant hold the bike frame steady while you sit on the saddle and use your body weight to twist and lift. This converts a 50-pound arm pull into a 200-pound leg-and-core pull, which is often enough to break the bond.
The canoe-strap method, popular on bike forums and in Drew Devereux’s blog, is even more effective. Loop a ratchet strap or a long canoe strap around the saddle rails, just under the nose of the saddle. Run the other end of the strap down to a 2×4 stud braced against the floor, with the post of the 2×4 pressing against the bottom bracket or a strong point on the frame. Crank the strap tight and the mechanical advantage does the work. This method freed a 30-year-old steel post for me in about 15 minutes after a week of penetrating oil soak.
For posts that still resist, a proper bearing puller clamped to the post and twisted against the seat tube can deliver several hundred pounds of force. Be aware that with this kind of force, the failure mode shifts from the bond between metals to the frame itself, so stop immediately if you hear any creaking from the seat tube.
Thermal Methods: Using Heat and Cold to Break the Bond
Heat and cold work because different metals expand and contract at different rates, and a temperature differential of even 50 degrees can break a corrosion bond. The two main approaches are heating the seatpost while keeping the frame cool, or cooling the seatpost while keeping the frame warm.
For heat expansion on a steel or aluminum frame, wrap the seat tube in a wet rag to keep it cool, then aim a heat gun at the exposed post just above the frame. Run the heat gun on medium for two to three minutes. The post will expand more than the frame, and the gap will allow penetrating oil to flow deeper. Wedge the post loose with a twist, then immediately back off the heat. A propane torch works on steel frames in experienced hands, but it is overkill for most cases and risky for beginners.
For cold contraction, soak rags in hot water and wrap them around the seat tube to keep the frame warm, then pack crushed ice, dry ice, or in extreme cases liquid nitrogen around the exposed post. The post shrinks faster than the frame, and the bond breaks. Dry ice is widely available and reasonably safe with leather gloves. Liquid nitrogen is effective but requires special handling, and most home mechanics should not need to go that far.
Never apply heat to a carbon fiber frame or a carbon fiber seatpost. Carbon can delaminate at temperatures well below what a heat gun produces, and the resulting damage is invisible until the frame fails under load. Carbon frames are covered in detail in the next section.
Chemical Methods: Caustic Soda and Ammonia for Tough Cases
When mechanical and thermal methods have failed, chemical dissolution of the corrosion bond is the next option. These methods work, but they are genuinely dangerous and require full personal protective equipment.
Ammonia works well on aluminum-to-aluminum seizures. Remove the seatpost clamp, seal the top of the seat tube with putty or a rubber plug, then fill the seat tube from the bottom bracket opening with household ammonia. Let it sit for 24 to 48 hours, reapply, then try the twist and pull. Ammonia attacks aluminum oxide more aggressively than it attacks the base metal, so it can dissolve the bond without damaging the post or frame. Wear chemical-resistant gloves, safety glasses, and work in a ventilated area. Ammonia fumes will irritate your lungs at high concentration.
Caustic soda, also called sodium hydroxide or lye, is the heavy artillery. Sold as drain cleaner (Drano is a common brand), caustic soda will actually dissolve aluminum itself, which is why this method is recommended only for steel posts in steel frames. The process involves sealing the seat tube, filling it with a strong caustic solution, and waiting several days. This is the method described in detail on Sheldon Brown’s website, and it works, but I consider it a last resort before cutting. Wear chemical splash goggles, a face shield, rubber gloves rated for caustics, and old clothes you do not care about. Caustic soda causes chemical burns that may not be immediately painful but will damage skin permanently.
Whichever chemical method you use, neutralize the residue before reassembly. Flush the seat tube thoroughly with water, then dry it, then grease and reassemble. Do not let chemical residue sit in the frame long-term.
Carbon Fiber Specific Guidance: Different Rules Apply
Carbon fiber requires a completely different mindset than metal. Most of the standard tricks will damage a carbon frame, and the price of error is much higher because carbon does not bend before it breaks. It simply fails, often without warning, sometimes at speed.
Rule 1. No heat. Carbon fiber laminates begin to delaminate at temperatures as low as 150 degrees Celsius, and a heat gun at close range can easily exceed that. A propane torch will destroy a carbon frame in seconds. If the bond will not break with penetrating oil and time alone, you cannot use thermal escalation on a carbon frame.
Rule 2. No caustic chemicals. Sodium hydroxide will attack the epoxy that holds the carbon fibers together. Ammonia is gentler but still not recommended by most frame manufacturers. Stick with penetrating oil that is safe for paint and composites, and reapply for a full week before escalating.
Rule 3. Use the canoe strap method for leverage. Strap-based pulling is the safest way to apply force because the force is distributed and there is no risk of impact damage. If the post does not move, the strap is far less likely to crack the frame than a hammer or a slide hammer.
Rule 4. Watch for electrolytic corrosion. If you have a metal post in a carbon frame, the post itself is the sacrificial element. Many riders find that the post shears off at the frame boundary during removal, leaving the bonded stub inside the carbon tube. At that point, the only safe option is to take the frame to a carbon repair specialist who can machine out the remaining stub. Carbon frame replacement costs far more than the specialist fee, so do not try to drill or chisel the stub out yourself.
Last Resort Methods: Cutting and Drilling the Seatpost
If every other method has failed, you can cut the seatpost and remove it in pieces. This is destructive to the post but, done carefully, will not damage the frame. The classic technique is the hacksaw slit method.
Remove the saddle, then use a hacksaw to cut a vertical slit down the side of the seatpost for its entire length, taking care to cut only the post and not the seat tube. The slit relieves the outward pressure that is keeping the post locked in the frame, and you can then collapse the post inward with a large screwdriver and pull the pieces out.
Another option is to use a long drill bit to drill out the post from the inside, then use a pick to remove the swarf. This is slow and tedious but very effective on steel posts. With a metal cutting bit, you can drill through a steel seatpost in 30 to 60 minutes. With an aluminum seatpost, drilling is faster but the swarf tends to gall into the frame, so use plenty of cutting fluid and clean the frame thoroughly afterward.
Both of these methods are destructive to the post and slow. They are useful when the alternative is frame replacement, which is the only outcome worse than a ruined seatpost. Work slowly, wear safety glasses, and accept that you are buying a new seatpost at the end of the process.
When to Stop and Seek Professional Help
There is no shame in taking a stuck seatpost to a bike shop. Mechanics see this problem every week and have tools you probably do not own, including proper post extractors, industrial heat guns, and frame vises. The cost of professional removal is usually far less than the cost of replacing a damaged frame.
Stop and seek help if the seat tube is visibly bulged or cracked, if you smell burning resin from a carbon frame, if the post shears off at the frame boundary leaving a stub inside, or if you have spent more than a weekend on the project with no movement. A good shop will quote you a fixed price for the extraction and let you decide whether to proceed.
For vintage steel frames and high-end carbon frames, the shop is almost always the right first call. For common aluminum hardtails where the post and frame are both replaceable, DIY is more cost-effective. Use your judgment based on the value of the frame and the time you have available.
Frequently Asked Questions
How do I get a seized seatpost out of a frame?
Start by applying penetrating oil like PB Blaster around the post where it enters the frame, then soak for 24 to 72 hours. After the soak, use the twist and pull technique by gripping the post with both hands, twisting left and right while pulling straight up. If that does not work, escalate to a canoe strap around the saddle rails for leverage, then heat expansion on metal frames only. Carbon frames require only penetrating oil and strap-based pulling because heat and caustic chemicals will damage the carbon.
How do I shift a bike seat pole if it is seized?
Loosen the seat clamp, remove the saddle if possible, and apply penetrating oil liberally around the post. After a 24 hour soak, grip the post high and apply steady left-right rotational force while pulling upward. The rotational force breaks the corrosion bond and the upward force slides the post out. A sudden CRACK sound usually means the bond has broken and the post is about to move.
How should I lubricate a seatpost to prevent seizing?
Remove the seatpost and clean both the post and the inside of the seat tube with a degreaser and a rag. Apply a thin layer of grease to the portion of the post that sits inside the frame. For steel-on-steel use general grease, for aluminum-on-aluminum use marine grade grease, and for any carbon-to-metal combination use an anti-seize compound with copper or nickel particles. Reinstall the post, set your saddle height, and repeat the cleaning and greasing once a year.
Why will my seatpost not go down?
A seatpost that will not go down is almost always seized by corrosion between the post and seat tube, especially on bikes that have been ridden or stored in wet conditions. The most common cause is water infiltrating the seat tube and the dissimilar metals reacting over time. Less common causes include an over-torqued seat clamp deforming the top of the seat tube, or a post that was forced into a frame with the wrong diameter. Diagnose by trying to rotate the post by hand. If it moves at all, chemical seizure is likely and penetrating oil will probably work. If it is completely frozen, the bond is heavy and you may need thermal or chemical methods.
Final Thoughts on Freeing a Seized Seatpost
Learning how to free a seized seatpost without damaging the frame is part patience, part diagnosis, and part matching the method to the material. Start with penetrating oil and twist-and-pull, escalate to strap-based leverage, then thermal methods on metal frames, then chemical methods if you have the safety gear and the experience. On carbon frames, stay conservative and use only penetrating oil and strap pulling, and accept that a carbon specialist is your best friend if the post refuses to move. Above all, prevent the next seizure by greasing the post annually and never over-torquing the seat clamp. A few minutes of maintenance is worth hours of extraction work, and it keeps the frame safe for many more years of riding in 2026 and beyond.