
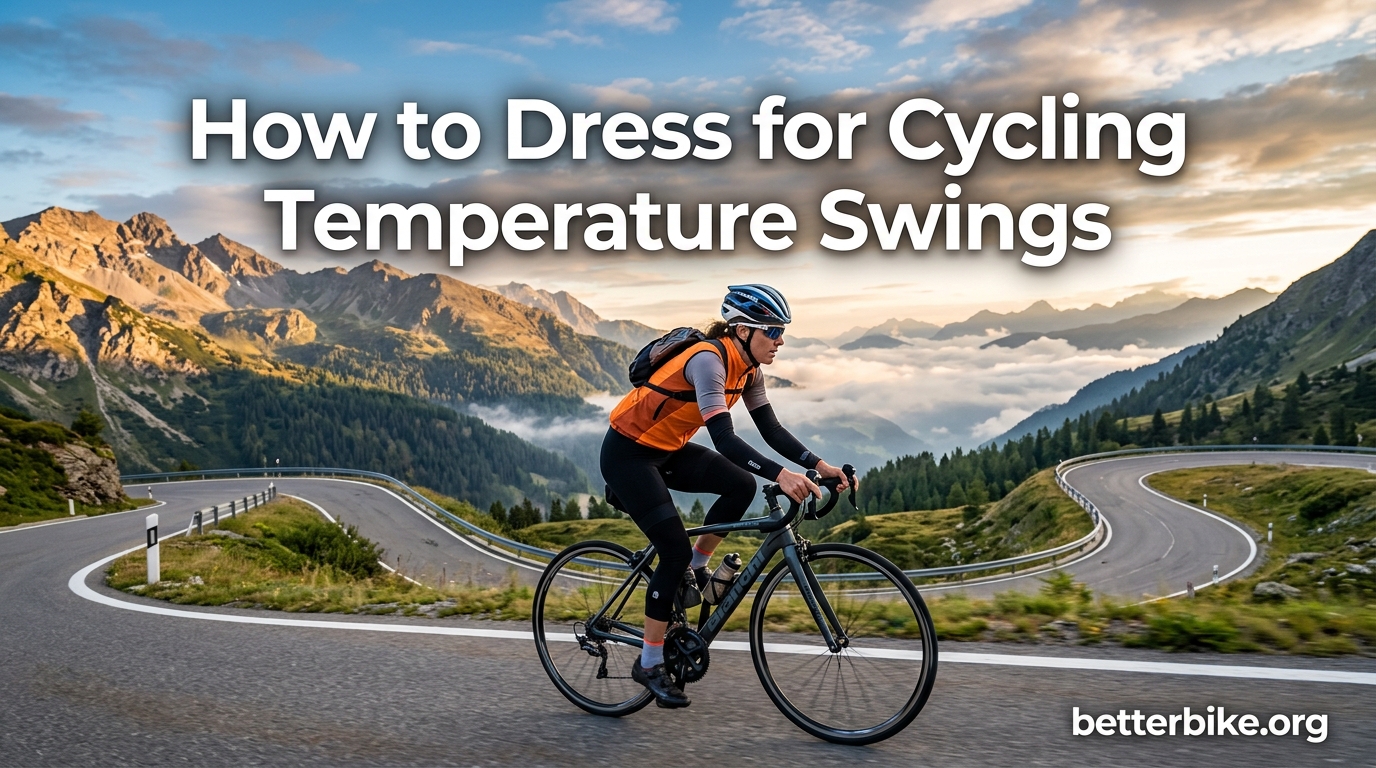
You leave the house in long sleeves and tights. By lunchtime, you’re overheating on a climb with nowhere to stash your warmers. If that scenario sounds familiar, you’re not alone.
Learning how to dress for a ride when the temperature swings during the day is one of the most practical skills a cyclist can build. Spring and fall rides routinely span 25 to 40 degrees Fahrenheit between sunrise and sunset. I’ve personally ridden routes that started at 38F and ended at 78F, and the only reason I stayed comfortable the whole way was a modular layering system I could adjust on the fly.
In this guide, our team walks through the exact strategy that works for road cyclists, commuters, and gravel riders. You’ll learn the golden rule, the gear that matters most, and how to handle the specific 25-30 degree swings that catch most riders off guard.
Table of Contents
Why Temperature Swings Are a Unique Cycling Challenge
Cycling creates a heat engine inside your body. Working muscles produce 15-20 times more heat than resting ones, and wind chill from forward motion strips that heat away fast. When you stop at a red light or grab a coffee, everything changes within seconds.
That constant state of flux is what makes a 30-degree temperature swing harder to dress for than a steady 50-degree day. You can’t just pick a kit and go. You need pieces you can add and remove without stopping, plus a place to put them when you do.
The most common pain point we hear from riders is this: the morning feels freezing, so they overdress. By mile 15, they’re soaked in sweat with no relief in sight. Sound familiar? The fix is simpler than you think.
The Golden Rule: Dress for the First 20 Minutes
Here’s the rule that fixes 90% of temperature-swing misery: dress for the first 20 minutes of your ride, not for the warmest part of the day.
Those first 20 minutes are the coldest. Your body is warming up, blood is moving to your muscles, and the chill from cool air and wind hits hardest. If you’re slightly cold at the start, you’ll be perfectly comfortable by mile three. If you overdress for the predicted afternoon high, you’ll be cooking before you hit the first climb.
I tested this on a 60-mile ride last October that started at 42F and reached 71F by 2pm. I wore arm warmers, knee warmers, a base layer, and a short-sleeve jersey. I felt a little brisk leaving the driveway. By 20 minutes in, I was dialed in. At mile 35, I rolled the arm warmers down and tucked them in my jersey pocket. At mile 50, the knee warmers came off. I never overheated and never had to stop to change.
The first 20 minutes rule works because it aligns your clothing with your body’s natural warming curve. Your core temperature rises gradually as you ride, so starting cool lets you arrive at equilibrium right when the air and your body are matched.
Quick Temperature-to-Gear Reference
Use this as a starting point, then adjust for your local conditions, wind, and personal comfort.
Below 30F: Thermal base layer, long-sleeve jersey, winter jacket or heavy vest, full-finger gloves, toe covers or shoe covers, skull cap under helmet, thermal tights or bib tights.
30 to 40F: Midweight base layer, long-sleeve jersey, wind vest, full-finger gloves, knee or leg warmers, light skull cap or headband.
40 to 50F: Lightweight or midweight base layer, long-sleeve jersey or short-sleeve jersey with arm warmers, vest, full-finger gloves, knee warmers.
50 to 60F: Short-sleeve base layer, short-sleeve jersey, arm warmers, light vest optional, fingerless or light full-finger gloves.
60 to 70F: Short-sleeve jersey, optional light base layer, no warmers, fingerless gloves.
Above 70F: Short-sleeve jersey, no base layer (or ultra-light mesh), fingerless gloves, plenty of water.
Remember, these are starting points. Dew point, sun exposure, and wind can each shift your needs by 10 degrees or more.
Base Layer: Your Foundation for Comfort
The base layer is the single most important piece of your layering system. It sits against your skin and manages moisture, the silent killer of comfort on a long ride.
A wet base layer conducts heat away from your body 25 times faster than a dry one. That means even on a mild 60F day, a sweaty cotton t-shirt under your jersey will leave you shivering on the first descent. Moisture wicking fabric moves sweat away from your skin so it can evaporate, keeping you dry and temperature-stable.
For temperature swing rides, two materials dominate: merino wool and synthetic. Merino wool is my top pick for variable conditions because it regulates temperature in both directions, keeping you warm when it’s cool and breathable when you heat up. It also resists odor, which matters on multi-day or long rides where you sweat hard in the morning and want to stay comfortable in the afternoon. The downside is price and slightly slower drying.
Synthetic base layers (polyester or polypropylene blends) dry faster and cost less. They wick moisture well but can hold odor and feel clammy once soaked. For short, high-intensity rides in shoulder seasons, synthetics are a solid choice.
For 40 to 60F temperature swing days, I use a midweight merino base layer. It handles the morning chill and breathes well when the sun hits at noon. For warmer days with smaller swings, a lightweight mesh base layer is plenty. Save heavyweight merino for genuinely cold weather below 40F.
Arm and Leg Warmers: Your Secret Weapons
If I could only own one piece of cycling kit for variable conditions, it would be a pair of arm warmers. They’re the heart of any good layering system because they’re easy to add, easy to remove, and small enough to fit in a jersey pocket when not in use.
Arm warmers come in a range of fabrics and weights. Lightweight thermal fabrics work for 50 to 65F mornings. Midweight options with a brushed inside handle 40 to 55F. For below 40F, look for thicker fleece-backed versions or those with windproof fronts.
The trick to removing them mid-ride is rolling them down to your wrist, then stuffing them in your jersey pocket. Some riders prefer to pull them off completely and tuck them away, but rolling is faster and you can keep riding without taking a hand off the bars.
Leg warmers work the same way for your lower body, but they extend from ankle to thigh. Knee warmers are a shorter alternative that stops just below the knee. For most temperature swing days, knee warmers give you the best of both worlds: warmth for the morning, easy removal once your quads warm up.
One tip from the forums: don’t size your warmers too tight. A slightly looser fit makes them easier to roll down quickly. Compression-style warmers look sleeker but can be a hassle to remove mid-ride.
Vests and Gilets: Core Warmth Without Bulk
A cycling vest (also called a gilet) is the most underrated piece of kit for transitional riding. It warms your core, where your vital organs live, without adding weight or insulation to your arms.
Your core temperature drives your overall comfort. If your chest and back are warm, your body can redirect blood flow to your extremities without feeling cold. A vest protects exactly the right zone while leaving your arms free to move and breathe.
For temperature swing days, look for a windproof vest. A simple wind vest blocks the chill on early morning descents and adds almost no insulation. When the sun hits and the air warms, you can roll it up and stuff it in a back pocket. Total pack size: about the size of a fist.
Thermal vests add insulation on top of wind protection, which is great for the coldest mornings. A double-zipper vest lets you unzip from the top or bottom, giving you ventilation flexibility when you’re climbing hard but your core still wants warmth.
On a typical 45 to 70F spring day, I start with a long-sleeve jersey and a light wind vest. By 10am, the vest comes off. By noon, the jersey gets unzipped. By 2pm, I’ve got the jersey sleeves pushed up. That gradual reduction is exactly what good layering is designed to do.
Protecting Your Extremities: Hands, Feet, and Head
Your body prioritizes keeping your core warm. That means hands, feet, and head get less blood flow and feel cold first. On a temperature swing day, protecting your extremities is non-negotiable.
For hands, full-finger gloves are the baseline for anything below 60F. Look for gloves with windproof backs and breathable palms. Lobster-claw gloves (where two fingers share a slot) offer more warmth without sacrificing shifting ability. For below 35F, mittens are the warmest option, and many serious cold-weather riders swear by them.
A common forum trick for very cold hands: chemical hand warmers tucked inside your gloves. They last 4-6 hours and can make a 25F ride tolerable. Some riders keep a spare pair in a jacket pocket for the descent home when temperatures drop again.
For feet, the challenge is airflow. Even with warm socks, cool air entering through vents can freeze your toes. Toe covers slip over the front of your cycling shoes and block that airflow. They’re tiny, packable, and effective down to about 35F.
Below 30F, switch to full shoe covers. These wrap your entire foot and ankle in insulated, windproof fabric. They’re bulkier but make a huge difference. For the truly cold, some riders add chemical toe warmers inside their shoes for extra heat.
One forum user shared a clever trick: stuff newspaper inside your shoes as improvised insulation. It sounds weird, but newspaper traps air, and a few sheets can warm up cold feet in a pinch. A paper towel inside your gloves works the same way.
For your head, you lose a surprising amount of heat through your scalp. A skull cap under your helmet keeps your head warm without compromising fit. A cycling cap under your helmet adds a brim that blocks sun and shields your eyes from rain.
Buffs and neck gaiters are multipurpose. Pull one up over your ears on cold descents, down around your neck when you warm up, or off entirely when the day heats up. They pack smaller than a fist and are one of the best values in cycling kit.
Packability and Pocket Management
All this modular layering is useless if you have nowhere to put the pieces you remove. Jersey pockets are the classic storage spot, but they have limits.
A standard cycling jersey has three back pockets. You can fit arm warmers in one pocket, knee warmers in another, and a vest in the third. Beyond that, you’re overloading. A stuffed jersey pulls at the shoulders and bounces when you ride.
For longer rides with more gear, a handlebar bag or small frame bag is the answer. These attach to your bike and give you room for a packable jacket, extra food, and any layers you shed mid-ride. Some riders use a small saddle bag for emergency layers.
When packing removed layers, fold them tightly. The tighter the fold, the more you can fit. Some vests come with their own stuff sack, which is a small but useful feature.
Pro tip from the forums: stash a small plastic bag in your jersey pocket. If you need to remove a soaked base layer, the plastic bag keeps your other items dry. It also works as emergency rain protection in a pinch.
Adjusting for Wind, Sun, and Dew Point
Temperature is only one variable. Wind, sun, and humidity can each shift how cold or hot you feel by 10 degrees or more.
Wind is the biggest multiplier. A 50F day with 20mph headwinds feels like 35F on bare skin. That’s why windproof layers, even thin ones, make such a big difference. A wind vest or wind shell on a breezy day can replace a much thicker insulating layer.
Sun exposure adds heat, but only to the parts it touches. A sunny climb in 55F air can feel like 70F on your back. Shaded descents in the same air feel much colder. This is where convertible layers shine: you can adjust for each microclimate as the road turns.
Dew point is the underrated factor. Dew point measures moisture in the air, and high dew points (above 60F) make it harder for sweat to evaporate. That means your body can’t cool itself efficiently, and you feel hotter and more sluggish. On high-dew-point days, prioritize breathability and airflow over insulation.
Low dew points (below 40F) have the opposite effect. Sweat evaporates almost instantly, which can leave you chilled, especially on descents. On dry, low-humidity days, lean toward slightly warmer layers even if the air temperature seems mild.
Commuter vs Road vs Gravel: Different Needs
The layering principles stay the same, but the priorities shift depending on how and where you ride.
Commuters need visibility and practicality above all. Reflective strips, bright colors, and lights are mandatory. Layering for a commute is usually simpler because the ride is shorter and stops are predictable. A packable jacket that stuffs into a bag or pannier works well. Avoid loose layers that can catch in your chain.
Road cyclists prioritize aerodynamics and low weight. Form-fitting layers reduce drag, and packable kit is essential because you carry everything on your body. Jersey pockets are the storage system. A wind vest and arm warmers are the bread and butter for road riders dealing with temperature swings.
Gravel riders face the most variable conditions. Gravel routes often run from sun-exposed fire roads into cool, shaded forest. Dust, mud, and changing terrain demand layers that can handle a wide range. Knee and arm warmers plus a vest are typical. Many gravel riders add a packable rain jacket just in case.
Real-World Layering Examples for Three Scenarios
Let’s walk through three common temperature swing days and the kit that works for each.
Scenario 1: 40F morning, 70F afternoon. Start with a midweight merino base layer, short-sleeve jersey, arm warmers, knee warmers, wind vest, and full-finger gloves. At 55F air temp (around mile 10), remove the vest. At 62F (around mile 25), roll the arm warmers down and stash them. At 68F (mile 40), pull the knee warmers off. Finish in short sleeves and fingerless gloves if it’s warm enough.
Scenario 2: 50F morning, 80F afternoon. Start with a lightweight base layer, short-sleeve jersey, light arm warmers, and light full-finger gloves. No vest needed at 50F once you’re moving. By 65F (mile 8), remove the gloves or switch to fingerless. By 72F (mile 15), roll down and remove the arm warmers. By 78F (mile 30), remove the base layer if you can.
Scenario 3: 60F morning, 90F afternoon. Start with a short-sleeve jersey and ultralight base layer. No warmers or gloves needed. Carry a water bottle with ice. Focus on sun protection: sunscreen, a cycling cap, and UV sleeves if you’re shade-sensitive. Drink 16-20oz of water per hour. Consider starting earlier to finish before peak heat.
Common Mistakes to Avoid
Dressing for the warmest part of the day is the number one error. It feels logical, but it backfires. You’ll overheat, sweat through your base layer, and then freeze when you stop or descend. Always dress for the first 20 minutes.
Wearing cotton is the second biggest mistake. Cotton absorbs sweat, dries slowly, and conducts heat away from your body when wet. A cotton t-shirt under your jersey is the fastest way to feel clammy and cold. Stick with merino wool or synthetic moisture-wicking fabrics.
Forgetting your extremities is the third. You can have a perfect torso setup and still freeze if your hands, feet, or head are exposed. Pack gloves, toe covers, and a skull cap or buff for anything below 60F. The forum consensus is clear: extremities first, core second.
Not packing layers is the fourth. Even if you think it’ll be warm, bring arm warmers. Stashing them in a jersey pocket takes zero effort, and you’ll thank yourself at mile 30 when the wind picks up. The best rides are the ones where you brought too much and didn’t need it.
Ignoring wind is the fifth. A 60F day with 25mph winds feels like 45F on a climb. Check the forecast for wind speed, not just temperature, and add a windproof layer if winds are above 15mph.
Frequently Asked Questions
Is 40 degrees too cold to ride a bike?
No, 40F is a comfortable cycling temperature for most riders with the right kit. Wear a midweight base layer, long-sleeve jersey or arm warmers, knee warmers or tights, full-finger gloves, and a wind vest. The first 10 minutes will feel brisk, but you’ll warm up quickly once you’re pedaling.
What is the 75 rule in cycling?
The 75 rule is a starting guideline suggesting that if the air temperature is below 75F, add a layer for the first 20 minutes of your ride. Below 60F, you’ll want arm and leg warmers. Below 50F, add a vest or jacket. Above 75F, prioritize moisture wicking and sun protection over insulation.
What to wear cycling by temperature?
For 30-40F, wear thermal tights, a long-sleeve jersey, jacket, full gloves, and a skull cap. For 40-50F, add knee warmers and a vest. For 50-60F, switch to arm warmers and a light base layer. For 60-70F, a short-sleeve jersey alone is usually enough. Above 70F, focus on sun protection and hydration.
Is 90 degrees too hot for a bike ride?
Ninety degrees is hot but rideable with proper precautions. Start before 8am, drink 16-20oz of water per hour, wear a light-colored moisture-wicking jersey, apply sunscreen, and consider ice in your water bottles. Reduce intensity, take breaks in shade, and watch for signs of heat exhaustion like dizziness or cramping.
Final Thoughts
Learning how to dress for a ride when the temperature swings during the day comes down to three habits: dress for the first 20 minutes, prioritize modular layers you can add and remove, and protect your hands, feet, and head as carefully as your core.
Start with the temperature-to-gear reference above, then experiment. Every rider’s comfort range is different, and the only way to dial in your kit is to ride in it. The first 20 minutes rule is your foundation, the warmers and vest are your tools, and pocket management is the glue that holds the system together.
Our team has used this approach on hundreds of variable-condition rides, and the result is the same: fewer stops, no overheating, and a much more enjoyable day on the bike. Here’s to many comfortable miles ahead in 2026.