
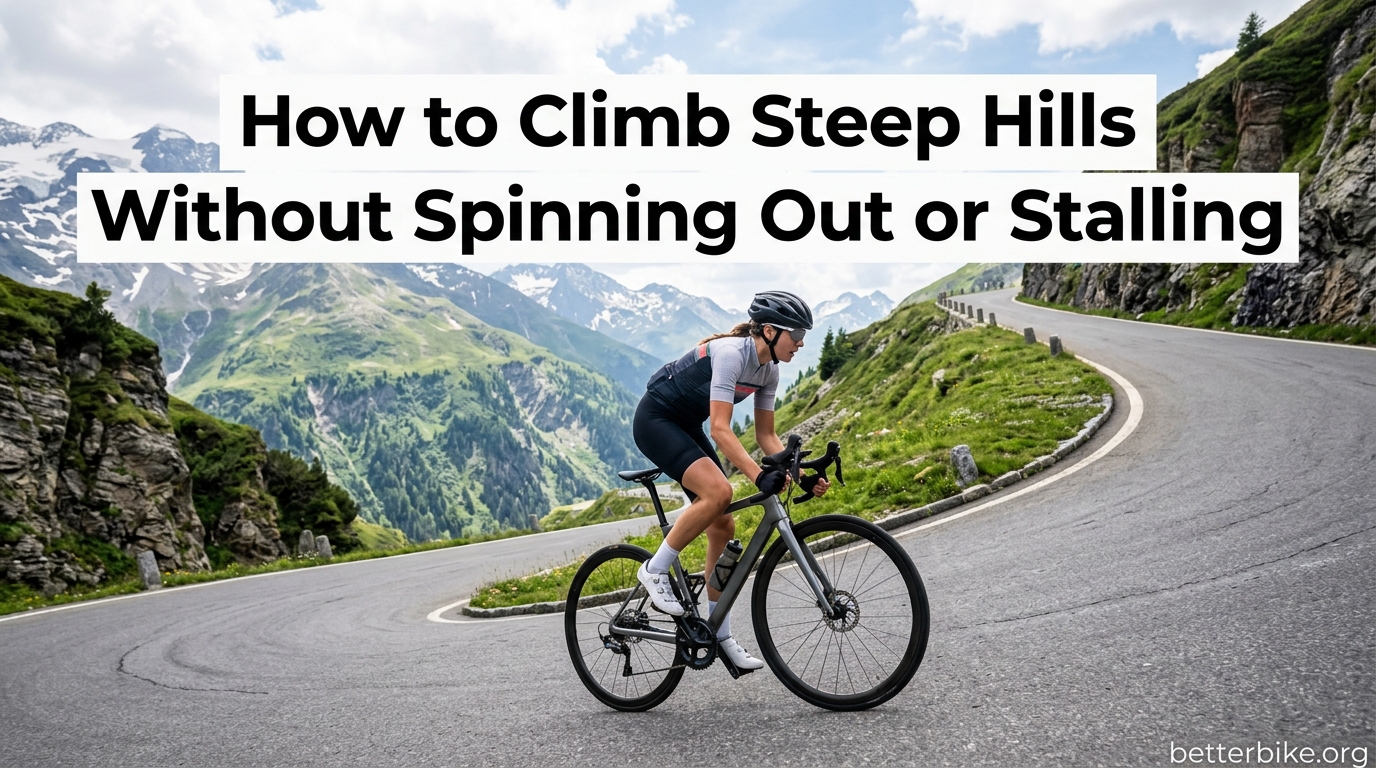
I still remember the first time a steep hill beat me. I was on a road bike, two blocks from home, and I had run out of gears. My cadence collapsed, my rear wheel started sliding, and I tipped over sideways with cars rolling past. That was the day I started learning how to climb steep hills without spinning out or stalling, and the lessons I picked up since then changed how I ride forever.
Steep climbs expose every weakness in your technique. The good news is that almost every rider who struggles with hills can fix the problem with the same handful of adjustments. In this guide I will walk you through gear selection, cadence, body position, traction management, and the training habits that turn scary climbs into something you look forward to. Whether you ride a road bike, a gravel bike, or a mountain bike, the fundamentals are the same.
Table of Contents
Quick Answer: How to Climb Steep Hills Without Spinning Out or Stalling
Shift into an easier gear before the climb starts, keep your cadence between 70 and 90 RPM, sit down with your weight centered over the bottom bracket, and pedal in smooth circles. Stand up only for short bursts on the steepest sections. This combination keeps both wheels planted, prevents the rear tire from slipping, and stops the bike from stalling out.
Why Are Steep Hills So Hard to Climb on a Bike?
Climbing a steep hill fights you on three fronts at once: gravity, your physiology, and your equipment. Every percent of gradient adds resistance that your legs have to overcome, and small changes in steepness produce surprisingly large jumps in effort required.
On a 5 percent grade your power demand roughly doubles compared to flat riding. Push that to 10 percent and you are looking at three to four times the effort. A 15 percent grade can feel impossible if your gearing, cadence, and body position are off, even for fit riders.
Physiologically, hill climbing is limited by your sustainable power output and your lactate threshold. The harder you push above that threshold, the faster you blow up. Smart pacing and cadence management keep you in an aerobic zone where your muscles can clear lactate as fast as they produce it.
Equipment matters too. A low gear you can spin comfortably in is the difference between grinding to a halt and floating up the climb. Tire pressure, traction, and body position all combine to keep your wheels on the ground. When any one of these breaks down, the result is the same: a stalled bike or a slipping rear wheel.
How to Choose the Right Gear Before the Climb Starts
The single most common mistake I see on climbs is shifting too late. Riders wait until they are already struggling, force one giant shift across the cassette, lose momentum, and stall. The fix is simple: shift into your climbing gear before the gradient ramps up.
A good rule of thumb is to start dropping to easier gears 5 to 10 pedal strokes before the road tilts up. By the time the climb is at its steepest, you should already be in a gear that lets you maintain your normal cadence without pushing hard.
Here is a quick reference for gear selection based on hill steepness. These recommendations assume a standard road or gravel drivetrain. Mountain bikes typically have even lower gears, which makes climbing easier.
Gear Setup by Hill Steepness
- 3 to 5 percent (gentle rollers): Middle of the cassette, chainring in the big ring. You should be able to maintain 85 to 95 RPM comfortably.
- 6 to 9 percent (moderate climbs): Mid to upper portion of the cassette. Cadence target 75 to 85 RPM.
- 10 to 14 percent (steep climbs): Top half of the cassette, drop to the small chainring if you have one. Cadence 70 to 80 RPM.
- 15 percent and above (very steep): Smallest chainring, largest two or three cogs on the cassette. Cadence 60 to 75 RPM.
If you find yourself at the bottom of your gear range and still cannot turn the pedals over, two upgrades will help: a compact crankset (50/34 chainrings instead of 53/39) or a wider-range cassette with a 32 tooth or 34 tooth lowest cog. Either of these can turn a hill you walk up into one you can ride.
What Cadence Should You Use on Steep Hills?
Cadence is the number of pedal revolutions you make per minute, and it is one of the most powerful tools you have for climbing hills. Most experienced coaches recommend 70 to 90 RPM as a sweet spot, with the lower end for very steep climbs and the higher end for moderate gradients.
The reason this range works comes down to muscle fiber recruitment. Slow cadences below 60 RPM rely on your strongest type II muscle fibers, which produce high force but tire quickly. Higher cadences spread the load across more muscle groups, delay fatigue, and let your cardiovascular system catch up with your muscles.
On a typical climb, I aim for around 80 RPM in the early miles, then let it drop naturally toward 70 RPM as the gradient increases. If I drop below 65 RPM and feel like I am mashing the pedals, that is my cue to either shift easier or stand up briefly to reset.
A cadence sensor on a bike computer is a worthwhile investment if you want to dial this in. Without one, you can approximate by counting one full pedal revolution per second, which equals 60 RPM. Two revolutions per second is 120 RPM, which is too fast for climbing. The right speed feels like a brisk, controlled march rather than a frantic spin or a heavy grind.
Smooth pedaling matters as much as the number. Focus on making full circles rather than just pushing down. Pulling up on the back half of the stroke and pushing across the top adds power without extra effort and keeps the rear wheel from jerking, which is a major cause of spin-out on loose or wet surfaces.
Body Position and Weight Distribution for Steep Climbs
Your body is the suspension system of the bike, and where you put your weight determines how much traction each wheel has. The general rule for climbing is to keep your center of mass over the bottom bracket, with a slight rearward bias on steep sections.
When you sit on the saddle, your weight naturally sits between the two wheels. This is the most stable position and the one you should use for the majority of climbing. Lean forward slightly with your hands on the hoods or tops of the bars to open your hips and engage your glutes, but avoid sliding so far forward that the front wheel becomes light.
For very steep climbs, especially on mountain bikes, you may need to shift your weight slightly back. This unloads the front wheel and presses the rear tire harder into the ground, which is exactly what you need to prevent the rear wheel from sliding. On a road bike this might mean sitting further back on the saddle. On a mountain bike it can mean hovering just behind the saddle while staying low.
Keep your upper body quiet. Bouncing around in the saddle or rocking side to side wastes energy and breaks rear wheel traction. Engage your core, keep your elbows soft, and let your lower body do the work. A stable torso and quiet hips translate into consistent pedal pressure, which translates into consistent forward motion.
Hand position matters too. On the hoods, you have access to the brakes and can use your arms as stabilizers. On the drops, you get better leverage on the bars for pulling against hard pedaling forces. On the tops, you sit most upright and breathe most easily. For long seated climbs, the hoods or tops are usually the most sustainable.
How to Stop Spinning Out on Steep Climbs
Spinning out is what happens when you try to push more power through the rear wheel than the tire can transmit to the ground. The tire breaks traction, the wheel slips, and you either stall or slide. It is more common on loose gravel, wet roots, or soft dirt, but it can happen on clean pavement when you are pushing your hardest.
The most effective fix is to keep your weight back, which I mentioned in the body position section. By moving your hips slightly behind the saddle, you press the rear wheel harder into the ground and increase the available traction. Combine this with smooth, even pedaling and you will dramatically reduce spin-out.
Tire pressure plays a bigger role than most riders realize. Higher pressures feel fast on the road, but they reduce the contact patch between tire and ground. Lowering pressure by 5 to 10 PSI lets the tire deform slightly over imperfections, which increases grip. On a mountain bike, dropping to 22 to 25 PSI front and 25 to 28 PSI rear often transforms a slippery climb into a confident one.
If you ride a mountain bike, lean back further and let the bike move beneath you rather than trying to muscle it up. The mantra among experienced mountain bikers is “let the bike dance.” Trying to stay perfectly still actually makes the rear wheel bounce and lose traction. Light, active weight shifts help the wheels track the terrain.
When all else fails and you feel the rear wheel start to slide, do not panic. Stop pedaling for a half-rotation, let the wheel regain traction, then resume pedaling smoothly. Slamming on the brakes or stamping on the pedals makes the slide worse. A quick pause and a smooth restart is the professional response.
Tire choice matters too. If you ride a lot of loose or wet climbs, switch to a tire with more aggressive side knobs or a softer rubber compound. Many tire manufacturers offer climbing-specific or all-conditions tires that grip significantly better on technical terrain.
Seated vs Standing Climbing: When to Use Each
The seated versus standing debate is one of the oldest in cycling, and the honest answer is that both have their place. Most of your climbing should be done seated, with standing reserved for specific moments when it gives you a real advantage.
Seated climbing is more efficient for sustained effort. You use roughly 30 percent less oxygen at the same power output compared to standing. Your weight stays centered, traction stays consistent, and you can hold a steady pace for a long time. For climbs that last more than a minute or two, seated is the way to go.
Standing climbing generates more raw power because you can use your body weight to push the pedals down. This is useful for short, steep bursts where you need to surge past a difficult section, change your position to relieve muscle fatigue, or briefly unload the saddle to give your sit bones a rest. Most riders can only sustain standing efforts for 30 to 90 seconds before fatigue sets in.
A popular technique from experienced climbers is alternating. Pedal seated for 10 strokes, stand for 10 strokes, sit again, and so on. Counting strokes keeps you honest and ensures you switch positions regularly. This approach lets you use the strengths of both positions while delaying the fatigue that comes from spending too long in either one.
On technical mountain bike climbs, standing is often the only realistic option because the terrain demands frequent weight shifts. The key is to keep the bike centered beneath you rather than swaying side to side. Bouncing up and down wastes energy and can break rear wheel traction on loose surfaces.
There is a clear sign that you should sit down: if your cadence is falling, your breathing is ragged, and you are bouncing in the saddle, you are working too hard standing up. Drop back to the saddle, settle into an easier gear, and let the climb come to you.
Common Mistakes That Cause Spinning Out and Stalling
Most hill climbing problems come from the same handful of mistakes. The good news is that they are all easy to fix once you know what to look for.
Shifting too late. Waiting until the climb is already steep to drop into an easier gear is the number one cause of stalling. Shift before the gradient changes.
Grinding a gear that is too hard. If your cadence is below 60 RPM and you feel like you are mashing the pedals, you are in too hard a gear. Shift easier, even if it feels counterintuitive.
Sitting too far forward. Sliding to the nose of the saddle puts your weight over the front wheel and unloads the rear tire. Sit back slightly to keep traction on the rear wheel.
Standing for too long. Standing for more than a minute burns matches you cannot afford. Save it for short bursts and use the saddle for sustained climbing.
Leaning the bike instead of the body. Some riders tip the bike from side to side to swing the back wheel around. On a road bike this wastes energy. On a mountain bike it is sometimes necessary on switchbacks, but a clean line is faster and more efficient.
Starting too fast. Hammering the first 30 seconds of a climb feels great until you blow up halfway up. Start at a sustainable pace and let it build.
Ignoring tire pressure. Too much pressure in your tires reduces grip. A few PSI less can transform a sketchy climb into a secure one, especially off-road.
How to Train for Steep Hill Climbing
Technique gets you a long way, but climbing is also a fitness challenge. The good news is that you do not need to live in a gym to get stronger. Specific training, mostly done on the bike, will transform your climbing in a matter of weeks.
Hill repeats are the single most effective climbing workout. Find a hill that takes 2 to 5 minutes to climb at a hard but sustainable effort. Ride up at threshold pace, spin back down to recover, and repeat. Start with three to four repeats and build to six to eight as your fitness improves. Two sessions per week is plenty.
For really steep climbs, short repeats of 30 to 90 seconds at maximum sustainable effort are useful. These build the muscular endurance you need to push a hard gear up a short, steep wall without standing or spinning out. Combine these with longer threshold repeats for a balanced climbing program.
Strength training helps too. Squats, lunges, deadlifts, and core work all transfer directly to climbing. Two short sessions per week during the off-season can add 10 to 15 percent to your sustainable power output, which translates into faster climbs and easier breathing.
Mental training is often overlooked. Climbing is a battle against the urge to give up, and riders who have a plan for the tough moments perform better. Try breaking a long climb into segments. Focus on getting to the next tree, the next bend, the next kilometer. Small goals make a big climb feel manageable.
Pacing is part of training. Practice starting climbs at a controlled effort and holding that effort all the way to the top. Many riders go out too hard and end up walking the last quarter. Train your pacing on familiar hills, and you will learn exactly how hard you can push from the first stroke.
Step-by-Step Progression Plan for Beginners
If you are new to climbing, the best approach is to build gradually. Trying to tackle the steepest hill in your area on day one is a recipe for walking, frustration, and possibly crashing. Here is a simple plan that builds real skill over a few weeks.
Week 1 to 2: Find a gentle slope. Pick a climb of 3 to 5 percent that takes a few minutes. Practice shifting before the climb, maintaining 80 RPM, and staying seated. Repeat the same climb three times a week.
Week 3 to 4: Add a moderate climb. Pick a hill of 6 to 8 percent. Focus on smooth pedaling and body position. Try alternating seated and standing for 10 strokes each.
Week 5 to 6: Tackle a steep climb. Find a hill of 10 percent or more. Practice the spinning-out prevention techniques I covered: weight back, smooth circles, lower tire pressure if off-road.
Week 7 onward: Mix it up. Combine hills of different lengths and steepness. Add hill repeats once a week. Ride with faster climbers and learn from their pacing.
Throughout this progression, keep a simple log of your times or perceived effort on the same climbs. You will see real improvement within a month, and that progress is what builds long-term confidence. The hill that beat you in May will feel routine by August.
Frequently Asked Questions
How to get up a really steep hill?
Shift into an easier gear before the climb starts, keep your cadence between 70 and 80 RPM, sit down with your weight slightly back, and pedal in smooth circles. Stand up only for short bursts. On a mountain bike, lower your tire pressure 5 to 10 PSI to increase rear wheel traction.
What is the 75% rule in cycling?
The 75 percent rule suggests climbing at about 75 percent of your maximum sustainable power output, which keeps you aerobic and delays lactate buildup. For most riders this means starting climbs at a controlled effort and resisting the urge to surge.
How to ride uphill without getting tired?
Pace yourself from the bottom, stay seated for the majority of the climb, maintain a cadence of 70 to 90 RPM, breathe rhythmically, and break the climb into small mental segments. Save energy by avoiding unnecessary upper body movement.
How steep is a 6% hill?
A 6 percent grade means the road rises 6 vertical feet for every 100 horizontal feet. On a road bike this feels like a moderate climb, requiring roughly double the power of flat riding. On a mountain bike the same grade is gentle and easily handled in a moderate gear.
Final Thoughts on Climbing Steep Hills With Confidence
Learning how to climb steep hills without spinning out or stalling comes down to a few repeatable habits. Shift before the climb starts. Spin at 70 to 90 RPM. Keep your weight centered or slightly back. Pedal in circles, not stomps. Lower your tire pressure if you are off-road. Train with hill repeats and you will see fast improvement.
The hill that scares you today will be the one you enjoy next month. Get out, ride, and trust the process. Subscribe to our newsletter for more cycling technique guides delivered straight to your inbox.