
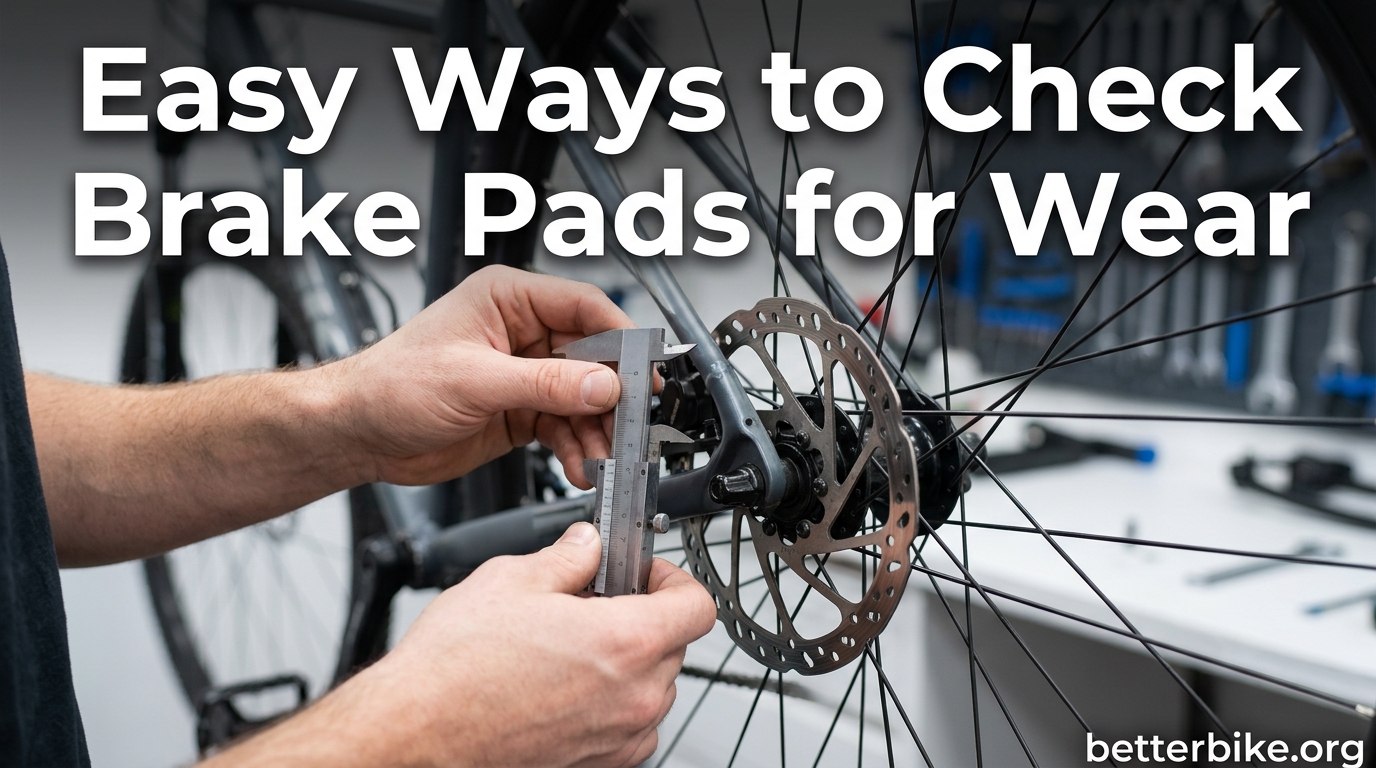
You can check brake pads for wear in three simple ways: look at them through the caliper without removing the wheel, take the pads out and measure the friction material, or pay attention to warning signs while you ride. I have been riding and wrenching on bikes for over a decade, and the most important number to remember is 2mm. That is the minimum safe pad thickness on any bike I work on, whether it is a road bike, mountain bike, commuter, or e-bike. In this guide I will walk you through the exact process I use, plus the 70/30 brake rule and how often you should actually be checking.
Table of Contents
What Brake Pad Wear Actually Looks Like (And Why It Matters)
Brake pad wear is the gradual loss of friction material from the pad surface as it presses against the rotor or rim. Every time you pull the brake lever, a tiny amount of material is sacrificed to slow you down. Over thousands of stops, that material gets thin.
When pads get too thin, three things go wrong. First, stopping distance increases. Second, the metal backing plate can start grinding into your rotor, which damages the rotor and costs far more to replace than a set of pads. Third, brake feel gets spongy or harsh, and you lose the modulation that makes descending technical terrain safe.
The good news is that pad wear is visible. Most disc brake pads have a wear indicator groove cut into the friction material. When the groove disappears, the pad is at its minimum safe thickness. Rim brake pads have a similar line or groove on the top surface.
3 Easy Ways to Check Brake Pads for Wear
These three methods are ordered from quickest to most thorough. I use the first one before every ride on my own bikes, the second one every few months, and the third one whenever something feels off.
Way 1: Look at the Pads Through the Caliper (Disc Brakes)
You do not need to remove the wheel for a basic check. Stand on the non-drive side of the bike and look straight down past the caliper body at the rotor. You will see the edge of the pads on either side of the rotor.
- Position the bike so you can see the caliper from above with good light.
- Look at the pad material on both sides of the rotor. New pads are about 3 to 4mm thick.
- Compare what you see to the wear indicator groove. If the groove is still visible, you are good for now.
- Check the front and rear pads separately. They wear at different rates.
I do this before any ride longer than an hour, and I have caught two pad issues this way before they became a problem. It takes 30 seconds and requires no tools.
Way 2: Remove the Wheel and Measure Pad Thickness
For a precise check, take the wheel out and pull the pads. This is the only way to confirm you have at least 2mm of friction material left.
- Remove the wheel and lay the bike on a clean surface or put it in a work stand.
- Take a photo of how the pads sit in the caliper, then remove them. Most pads have a retaining pin or clip that pulls straight out.
- Measure the total pad thickness with calipers if you have them, or use a 2mm allen key as a go/no-go gauge.
- If the pad is at or below 2mm, replace both pads on that wheel at the same time.
Pro tip from experience: if one pad is significantly more worn than the other, your caliper may need to be re-centered. A sticking piston can wear pads unevenly and shorten overall life.
Way 3: Listen and Feel for Warning Signs While Riding
Your bike will tell you when pads are getting thin. You just have to know what to listen for.
- Squealing under normal braking, especially in dry conditions. Glazed pads squeal; thin pads squeal because the indicator is contacting the rotor.
- Grinding or metallic scraping. Stop riding immediately. The backing plate is touching the rotor.
- Reduced lever feel or longer lever pull. The pistons have to travel further to engage thin pads.
- Visibly longer stopping distance on familiar terrain. If a corner that used to feel safe now feels sketchy, your pads are probably part of the problem.
I learned this the hard way on a long descent in Wellington. By the bottom of the hill, my rear brake had nothing left. I now check pads before any ride with significant elevation change.
How to Check Rim Brake Pads (Different Process)
Rim brakes use pads that press directly against the wheel rim, not a rotor. The inspection process is similar, but the signs of wear look a little different.
Squeeze the brake lever to see how the pads contact the rim. Then look at the pad surface from the side. You should see a flat, even surface that sits below the top of the rim edge. If the surface is concave, angled, or has worn flush with the holder, replace the pads.
Many rim brake pads have a wear line or groove on the top. When the pad material wears down to that line, it is time to replace. Always replace both pads at the same time so braking stays balanced front to rear.
The 70/30 Brake Rule (and the 30/30/30 Rule)
The 70/30 brake rule is simple: your front brake should do 70% of the work, and your rear brake should do 30%. This is because your weight shifts forward under braking, putting more load on the front tire. Modern bikes with properly set up brakes can stop much harder using mostly the front brake.
The 30/30/30 rule is a maintenance rhythm some mechanics recommend: inspect your pads at 30 miles of new pad life, then every 30 days, and replace when pads reach 30% of their original thickness. I personally use the km-based intervals below, but the 30/30/30 rule is a good fallback if you do not track distance.
How Often to Check Your Bike’s Brake Pads
For most riders, the right cadence is a first check at 250km, then every 50km after that. Disc brake pads in typical road or commuting use last around 2,000 to 3,000km. Mountain bike pads in aggressive use can be done in 500 to 1,000km.
Cargo bikes and e-bikes are a different story. Cargo bike pads often last only 500 to 1,000km because of the extra weight being hauled and stopped. E-bike pads wear roughly 3x faster than regular bike pads, which is one of the surprises of going electric. A rider on the bike forums I follow logged 10,000 miles on an e-bike and reported pad wear about triple what they were used to on an acoustic road bike.
If you ride in hilly terrain with 4 to 9 percent grades, expect pad life on the lower end of these ranges. Steep descents create sustained heavy braking, which is the fastest way to wear pads out.
When to Replace Brake Pads: 5 Clear Signs
Use this quick list whenever you are unsure. If any of these are true, swap the pads.
- Pad thickness is at or below 2mm of friction material.
- The wear indicator groove has disappeared from the pad surface.
- The metal backing plate is visible or touching the rotor.
- You hear squealing under normal braking that does not go away after cleaning.
- Stopping distance has noticeably increased on a familiar descent.
Always replace pads in pairs on the same wheel. Mixing a new pad with a worn pad creates uneven braking and can confuse the wear pattern on your rotor.
Choosing the Right Replacement Pads
Most pad manufacturers make pads in three compounds: organic, semi-metallic, and metallic. Organic pads are quiet and have good initial bite but wear fastest. Metallic pads last the longest and work best in wet conditions, but can be noisy. Semi-metallic splits the difference.
For commuters and e-bike riders, semi-metallic is usually the best value. For mountain bikers, metallic pads handle sustained heavy braking on long descents. Always match the pad shape to your specific brake model. Shimano, SRAM, Magura, and Tektro all use different pad designs even within similar caliper types.
For rim brakes, look for pads that match your rim material. Alloy rims work with standard rubber compound pads. Carbon rims need specific carbon-compatible pads to avoid destroying the rim surface.
Frequently Asked Questions
How to tell if brake pads need replacing on a bike?
What does it mean when it says check brake pad wear?
What is the 70 30 brake rule?
How often should brake pads be replaced on a bike?
How to tell if bicycle brake pads are worn?
Why do e-bike brake pads wear out so fast?
Final Thoughts: Make Pad Checks Part of Your Routine
Learning how to check brake pads for wear is one of the highest-value bike maintenance skills you can build. Three quick checks, done regularly, will keep you safe and save you from expensive rotor replacements. Remember the 2mm minimum, the 250km first check, and the 70/30 rule. Grab a light, look through your caliper, and take a few seconds before your next ride. Your future self, bombing down a hill with confidence, will thank you.