
I still remember the first time I tried to silence a rubbing disc brake. I had just replaced my pads, squeezed the lever, and immediately heard that awful metallic scrape on every rotation.
No bike shop, no alignment tool, no problem. I have spent years fixing disc brakes in my garage using nothing but a 4mm hex key, a piece of white paper, and a flashlight. This guide shows you exactly how to center a disc brake caliper without special tools, using methods that work on both mechanical and hydraulic systems.
If you have just installed new pads, swapped a rotor, or noticed your wheel scraping as it spins, this is the guide for you. No need to buy a $25 alignment tool. You can get a perfect, rub-free brake using items already in your kitchen drawer.
Table of Contents
What You’ll Need (and What You Don’t)
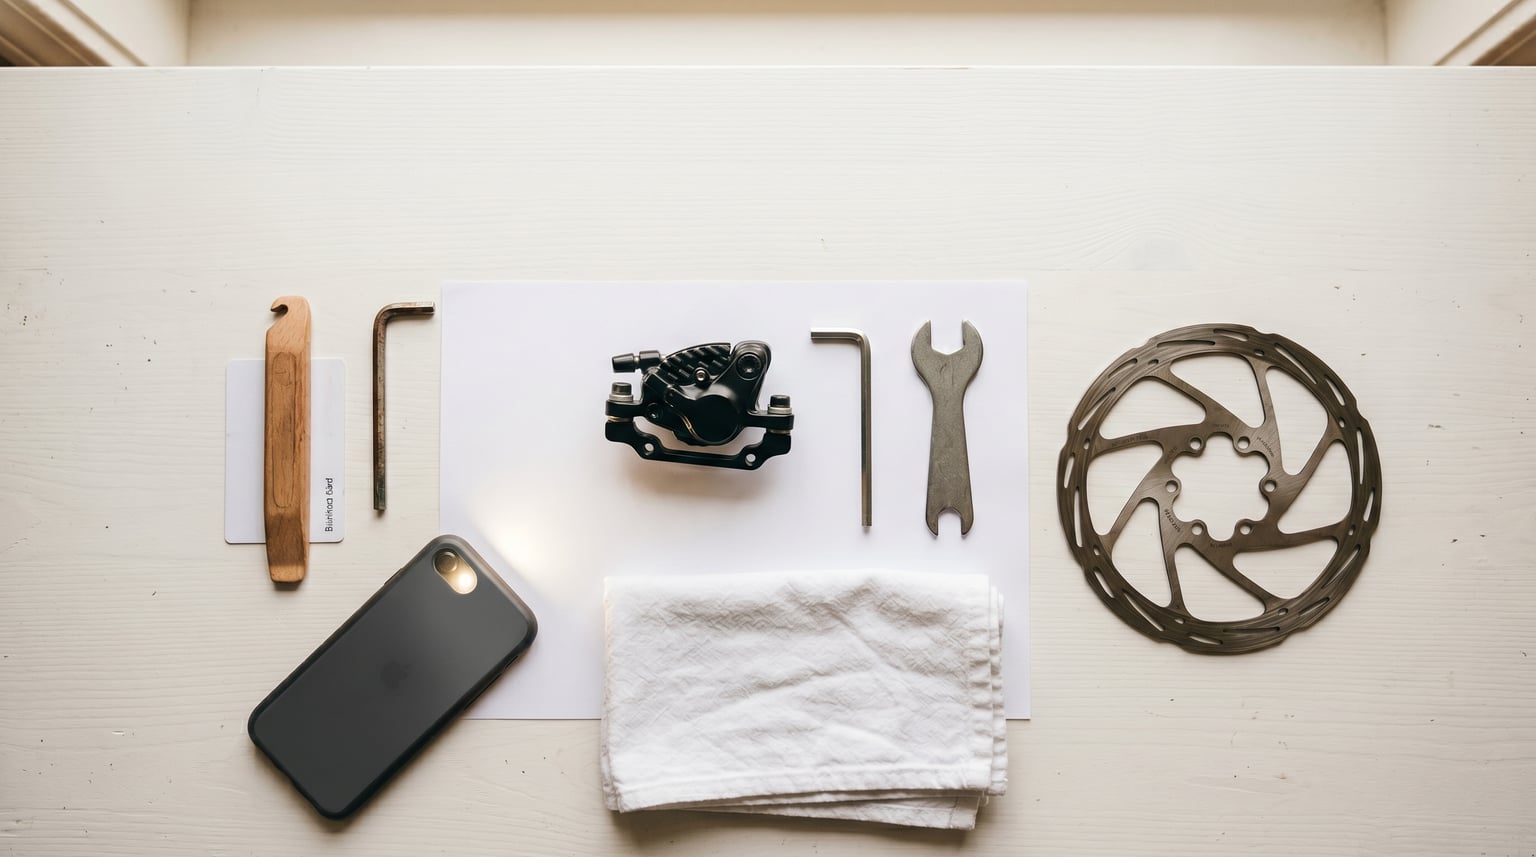
The good news: you can center a disc brake caliper with almost nothing. Here is the complete list of tools required, plus household item alternatives that work just as well.
- 4mm, 5mm, and 6mm hex keys (Allen wrenches) – the only true must-haves. Most bikes use 4mm or 5mm for caliper bolts.
- A bright light source – a phone flashlight, headlamp, or a window with sunlight works perfectly.
- A white piece of paper or light-colored card – the secret weapon. This is your “alignment tool.”
- Clean rags and isopropyl alcohol – for cleaning the rotor before starting.
What you do NOT need: a commercial brake alignment tool, a rotor truing gauge, or a caliper spreader. The “no special tools” method is the original method, and it is still the most reliable one I use.
Pro tip: If you do not own a full hex key set, a multi-tool with Allen bits works in a pinch. Borrow one from a neighbor before buying a tool just for this job.
Preparing Your Bike for Caliper Centering
Before you touch a single bolt, take five minutes to set up properly. Most centering frustrations I have seen on forums come from skipping these prep steps.
Position the Bike So You Can See the Caliper
Flip your bike upside down, or clamp it in a workstand. The key is getting your eyes level with the caliper slot. You should be able to look directly at the gap between the rotor and pads.
Without a stand, hang the bike from a hook or lay it on a flat surface with the wheel facing you. Crouching on the ground works, but it kills your back after 10 minutes.
Clean the Rotor and Inspect for Damage
Spray the rotor with isopropyl alcohol and wipe it down with a clean rag. Even a thin layer of oil or brake dust will cause rub and throw off your judgment.
Look closely at the rotor surface. If you see deep gouges, a visible bend, or a blue heat-discolored ring, your rotor may be the real problem, not the caliper alignment.
Spin the Wheel and Listen
Give the wheel a slow spin. Listen for where the rub happens. If the rotor scrapes at one specific spot for 360 degrees of rotation, the caliper is misaligned. If it scrapes only at one point on the rotor, the rotor is bent.
This single test tells you which problem you are solving. I cannot tell you how many times I have seen riders try to “fix” alignment when their rotor was actually the issue.
Depress the Pistons (For New Pads Only)
If you just installed new pads, the pistons may be pushed out from the old pad thickness. Push them back into the caliper body using a clean plastic tire lever or the flat side of an old pad. Never use a metal screwdriver, which can scratch the piston seal.
For hydraulic brakes, remove the wheel, then gently push the pistons back. A small C-clamp works, but a clean tire lever and steady hand works without it.
How to Center a Disc Brake Caliper Without Special Tools: Step-by-Step
This is the core process. Follow it in order. I have used this exact sequence on dozens of bikes ranging from cheap mechanical discs to Shimano Deore hydraulic systems.
Step 1: Loosen the Caliper Mounting Bolts
Find the two bolts that hold the caliper to the frame or fork. They sit on either side of the caliper body, threading into the mounts on your frame (Post Mount, IS Mount, or Flat Mount).
Loosen both bolts by about one full turn. The caliper should now slide freely side-to-side. If it does not move at all, the bolts are too tight or the caliper is seized on the mounts.
Important: Do NOT remove the bolts completely. You want the caliper loose, not detached.
Step 2: Squeeze and Hold the Brake Lever
With the caliper bolts loose, squeeze the brake lever firmly and hold it. This engages the pads against the rotor, which physically pulls the caliper into the center of the slot.
You will feel the caliper shift slightly as the pads clamp. The rotor itself is now doing the alignment work, pushing each pad an equal distance away from itself.
While still squeezing the lever, keep the bike steady. The next step happens fast.
Step 3: Tighten the Caliper Bolts (Lever Still Squeezed)
With the brake lever still pulled in, tighten the two mounting bolts to the manufacturer’s torque specification. For most calipers, this is 6 to 8 Newton-meters.
If you do not have a torque wrench, tighten until snug, then add a quarter turn. This is the “snug plus a bit” method. It is not perfect, but it works for most riders.
Release the lever. The caliper should now be centered, with equal clearance on both sides of the rotor.
Step 4: Spin the Wheel and Check for Rub
Give the wheel a spin. Listen and watch. The rotor should glide through the caliper with no contact, or just a faint kiss of the pads at one or two points.
Some light rub on the first try is normal. The next section covers the visual fine-tuning that gets you the last 1mm of perfect alignment.
Step 5: Repeat if Necessary
If the rub is severe, repeat steps 1 through 4. Centering a stubborn caliper sometimes takes two or three attempts. This is normal, especially on hydraulic systems where the pistons can be sticky.
A small amount of blue thread-locker on the bolt threads also helps prevent the caliper from “walking” back out of alignment as you ride.
Fine-Tuning Visual Alignment with the Backdrop Trick
The “squeeze and tighten” method gets you 90% of the way. The backdrop trick gets you the last 10%, and it is how professional mechanics verify their work in the shop.
Place a white piece of paper, a light-colored t-shirt, or a sheet behind the caliper. The idea is to create a bright, uniform background that makes the rotor slot pop visually.
Loosen the caliper bolts again. Look at the slot in the caliper where the rotor passes through. The gap between the rotor and each brake pad should look symmetrical on both sides.
Use your free hand to nudge the caliper left or right until the gap is perfectly even. Hold it there with one hand, then tighten the bolts with the other.
This visual method does not require squeezing the lever. It is sometimes easier to control than the lever-squeeze method, especially for riders with shaky hands.
Why the white backdrop works: Dark caliper bodies blend into a dark workshop. Against white paper, every millimeter of misalignment becomes obvious. This is a trick I learned from a Park Tool video years ago, and it is still my go-to verification step.
Troubleshooting Common Centering Problems
Sometimes the basic method does not work on the first try. These are the most common issues I have seen on forums and in my own shop.
Problem: The Caliper Keeps Sliding Back to One Side
If your caliper consistently favors one side of the slot, the mounting holes on your frame or fork may be misaligned. This is called “mount facing” and it is a manufacturing defect in some cheaper frames.
Try this: tighten the caliper bolts evenly and progressively. Snug the first bolt until it just contacts, then snug the second, then alternate tightening in quarter-turns. This prevents the caliper from being pulled to one side by uneven torque.
If the issue persists, your frame may need professional facing. A bike shop with a mill can correct this in about 15 minutes.
Problem: Stuck Pistons Won’t Retract
On hydraulic brakes, pistons can seize in the extended position. This causes one pad to drag no matter how well you center the caliper.
Try this fix: remove the wheel and pads. Press the pistons back gently with a clean tire lever. If they do not move easily, the seals may be corroded. A few drops of mineral oil on the seal edges (not on the pad surface) can free them up.
If the pistons still will not retract, your caliper needs a rebuild. This is a job for a professional mechanic with the right hydraulic bleed kit.
Problem: The Rotor is Bent (Not the Caliper)
A bent rotor will scrape at one specific spot as the wheel rotates. No amount of caliper centering will fix this.
To true a bent rotor without special tools, use a clean adjustable wrench or a pair of smooth-jaw pliers. Place the wrench on the bent section and apply gentle pressure in the opposite direction of the bend. Work in small increments. Check by spinning the wheel after each adjustment.
A rotor truing gauge makes this easier, but the wrench method works fine for small bends under 1mm.
Problem: Pad Rub Returns After a Few Rides
If your brake is perfectly centered, then starts rubbing again after a ride, the caliper bolts are loosening. This is common on bikes with aluminum calipers and steel frame mounts. The thermal cycling of braking slowly backs the bolts out.
Remove the bolts, clean the threads, apply a small drop of blue thread-locker, and reinstall. Red thread-locker is too strong for caliper bolts and can damage threads during future service.
When to Give Up and See a Professional
I am a firm believer in DIY bike maintenance, but there are limits. Take your bike to a shop if:
- The hydraulic brake lever feels spongy after centering
- The pistons will not retract with gentle pressure
- Your frame has visible damage to the caliper mount
- The rotor is severely bent or worn below 1.5mm thickness
- You have tried three full centering cycles and the rub persists
None of these are DIY fixes. A mechanic with hydraulic tools, a rotor truing stand, and a frame-facing mill can resolve issues that are impossible at home.
Quick reference: The 30-30-30 rule – some mechanics recommend torquing caliper bolts to 30% of spec, then 30% again, then 30% again in three progressive passes. This evens out the clamp load and reduces caliper walking. It is not a hard rule, but it is a useful habit for consistent results.
FAQ’s
What can I use if I don’t have a caliper tool?
You do not need a special caliper tool. A 4mm or 5mm hex key, a bright flashlight, and a piece of white paper for a backdrop will center any disc brake caliper. The white backdrop creates contrast that makes the rotor slot alignment visible. Squeeze the brake lever with the caliper bolts loose, then tighten the bolts while holding the lever. The rotor itself self-centers the pads.
How to compress a brake caliper without a special tool?
Use a clean plastic tire lever or the flat edge of an old brake pad to gently push the pistons back into the caliper body. For hydraulic brakes, remove the wheel first to give yourself room. Apply steady, even pressure. Never use a metal screwdriver, which can scratch the piston seal. If the pistons will not retract easily, a few drops of mineral oil around the seal edge can free them up.
What is the 30 30 30 rule for brakes?
The 30 30 30 rule is a torquing technique where you tighten bolts to 30% of full torque, then 30% more, then the final 30% in three progressive passes. For disc brake caliper bolts, this means snug, snug plus a quarter turn, then final torque. The idea is to spread the clamp load evenly across both bolts so the caliper does not get pulled to one side as you tighten.
Why does my disc brake keep rubbing after centering?
The three most common causes are loose caliper bolts, a slightly bent rotor, or sticky pistons. First, check that the caliper mounting bolts are torqued to spec. Next, spin the wheel and identify exactly where the rub happens. If it is consistent through 360 degrees, re-center the caliper. If it is at one spot on the rotor, true the rotor with a wrench. If only one pad drags, the pistons may be stuck.
Final Thoughts
Learning how to center a disc brake caliper without special tools saves money, builds confidence, and works on virtually any bike you own. The combination of the lever-squeeze method and the white backdrop trick covers 95% of disc brake rub problems you will encounter.
Start by cleaning the rotor, loosening the bolts, squeezing the lever, and tightening. Verify with the backdrop. If the rub persists, work through the troubleshooting steps. And remember: a clean rotor, snug bolts, and steady hands beat a $50 alignment tool every time.
For more bike maintenance guides, explore the rest of our repair resources here at betterbike.org.