
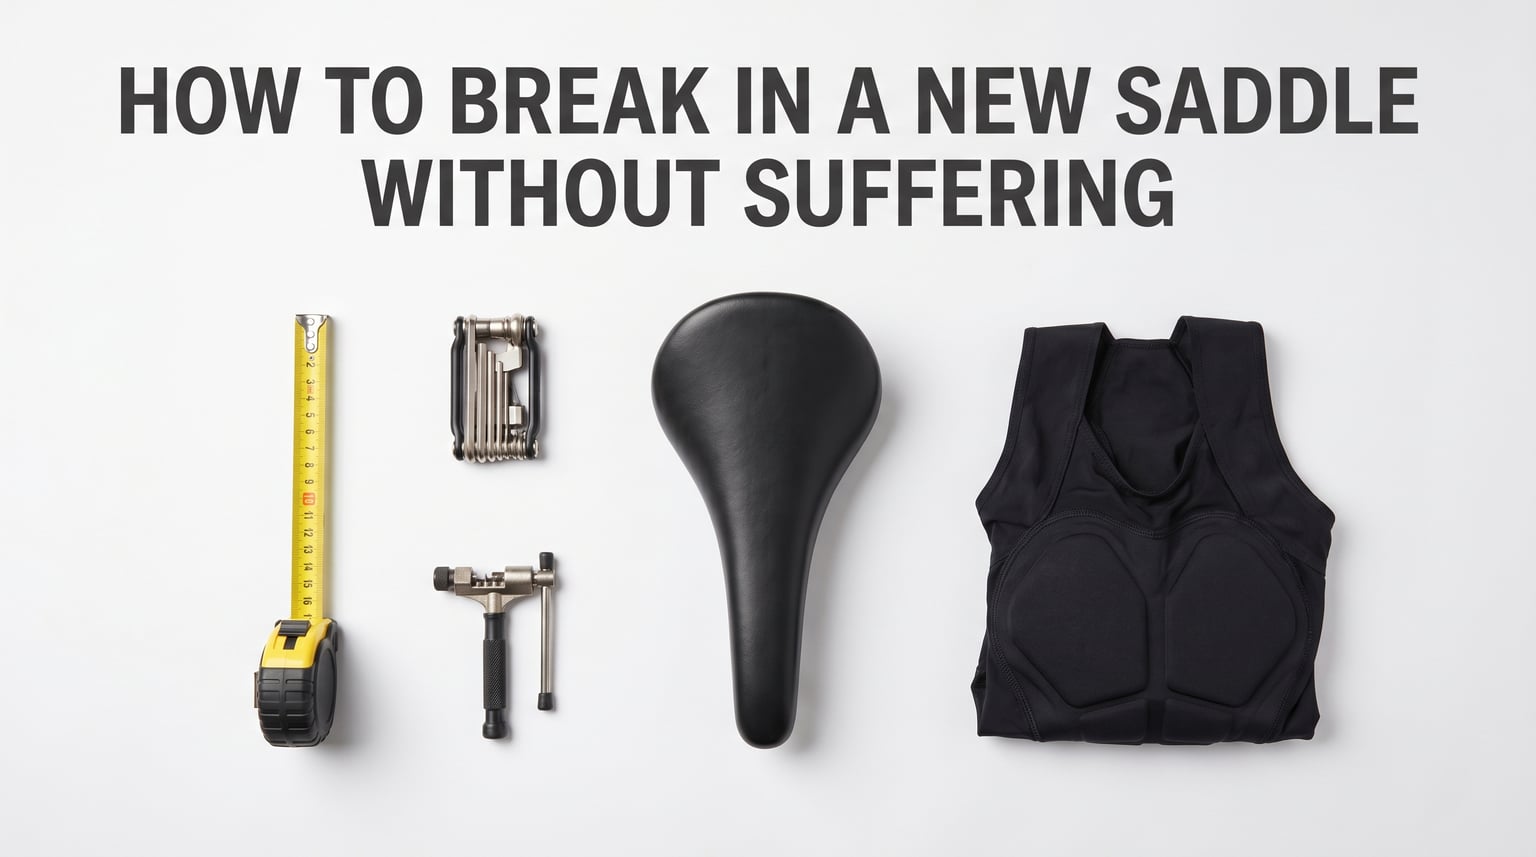
I still remember my first ride on a new saddle. Twenty minutes in, I was convinced I had made a terrible mistake. My sit bones were screaming, and I still had 40 minutes to get home. That was the day I learned that knowing how to break in a new saddle without suffering is a skill every cyclist needs.
To break in a new bike saddle without suffering, follow these five steps: 1) Perfect your bike fit before riding, 2) Start with 60-minute rides on smooth terrain, 3) Gradually increase duration over 3 to 4 weeks, 4) Make micro-adjustments to saddle position between rides, and 5) Use quality cycling shorts and stand regularly during rides.
The truth is, breaking in a saddle is really about breaking in your body. Modern saddles rarely soften much. Instead, your sit bones, skin, and soft tissues adapt to new pressure points. Understanding this changes everything about how you approach those first painful weeks.
Table of Contents
What Breaking In a Saddle Really Means
Here is the biggest myth in cycling: you need to break in your saddle by making it softer. For most modern saddles, this is simply not true. The real break-in happens to your body, not the saddle itself.
Modern foam and gel saddles are designed to be comfortable from the start. They use materials that already have the right density and shape. What needs adapting is your body. Your sit bones need to toughen up. Your skin needs to adjust to new friction points. Your muscles need to learn new support patterns.
The one exception is leather saddles like the Brooks brand. These genuinely do break in and mold to your body over hundreds of miles. Leather saddles start stiff and gradually conform to your unique anatomy. Riders on Reddit’s cycling forums confirm this distinction regularly: “Only Brooks type leather saddles require breaking in. Once broken in, they are the most comfortable saddles you can own.”
So when we talk about breaking in a new bike saddle, we are really talking about letting your body adapt. This typically takes 2 to 4 weeks of consistent riding. The good news? Once your body adapts, you can ride in comfort for hours.
Why New Saddles Cause Discomfort
Understanding why your new saddle hurts helps you fix the problem faster. Think about snowshoes. When you stand on snow in regular boots, your weight concentrates in a small area and you sink. Snowshoes spread that same weight across a larger surface, keeping you on top.
A bike saddle works the same way. Your entire upper body weight rests on a relatively small surface area. All of that weight concentrates on your sit bones, which are the bony points at the bottom of your pelvis. These bones are scientifically called the ischial tuberosities.
When you switch to a new saddle, the pressure points shift slightly. Even a few millimeters of difference changes which parts of your sit bones and soft tissues bear the load. This is why even a well-fitting new saddle causes initial discomfort. Your body was adapted to your old saddle’s specific pressure pattern.
Road bike saddles are deliberately narrow and firm. This design reduces chafing during pedaling and minimizes weight. It also means less padding between your bones and the saddle surface. While this sounds uncomfortable, firmer saddles actually prevent long-term problems because they support your sit bones properly rather than compressing unevenly.
Step 1: Perfect Your Bike Fit First
Before you ride a single mile on your new saddle, make sure your bike fit is dialed in. Riding a poorly positioned saddle will cause pain no matter how long you break it in. Start here and save yourself weeks of unnecessary suffering.
Saddle Height
Your saddle height affects both comfort and pedaling efficiency. A saddle that is too high forces you to rock side to side, causing friction and chafing. One that is too low puts excessive pressure on your knees and sit bones.
Two common methods help you set height correctly. The 109% method measures your inseam and multiplies it by 1.09 to get the distance from your pedal axle to the top of your saddle. The 0.883 rule, popularized by professional bike fitters, sets saddle height at 88.3% of your inseam measured from the center of the bottom bracket to the top of the saddle.
For a quick check: at the bottom of your pedal stroke, your leg should be almost fully extended with a slight bend in your knee. Your hips should remain level without rocking.
Fore/Aft Position and the KOPS Method
Fore and aft position refers to how far forward or backward your saddle sits on the rails. The KOPS method, which stands for Knee Over Pedal Spindle, is the standard starting point. With your pedals level, drop a plumb line from the front of your forward knee. It should pass directly through the pedal axle.
This position optimizes power output and reduces knee strain. If your saddle is too far forward, you put more weight on your hands and the nose of the saddle. Too far back, and you increase pressure on your sit bones and lower back.
Tilt Adjustment
Saddle tilt is the most overlooked comfort adjustment. Start with your saddle perfectly level using a bubble level or a smartphone app. A level saddle distributes your weight evenly between your sit bones and hands.
If you experience perineal pressure or numbness after a few rides, tilt the nose down by 1 to 2 degrees. Never tilt more than 3 degrees down, as this causes you to slide forward and creates arm fatigue from constantly pushing yourself back.
The 3 Finger Rule for Saddle Width
Saddle width must match your sit bone width. The 3 finger rule is a simple home test. Sit on a piece of corrugated cardboard on a hard surface, lean forward slightly, and measure the distance between the two deepest impressions. Add 2 to 3 centimeters to your sit bone measurement to find your ideal saddle width.
Most bike shops offer sit bone measurement devices that give you a precise number. If your saddle is too narrow, you will feel pressure on soft tissues. Too wide, and you will experience chafing on your inner thighs during every pedal stroke.
Step 2: Follow the Gradual Break-In Protocol
Once your fit is set, follow a structured break-in schedule. This is where most cyclists go wrong. They jump on their new saddle and ride 40 miles on day one, then blame the saddle for the pain that follows. A gradual approach lets your body adapt without injury.
Week 1: Short and Smooth
Ride 45 to 60 minutes per session, three to four times during the first week. Choose flat, smooth roads or paved paths. Avoid rough gravel, potholes, and steep climbs. The goal is low-intensity time on the saddle, not fitness building.
Keep your heart rate in zone 1 or 2. If you can hold a conversation comfortably, you are in the right range. This is also where the 75 rule in cycling applies: keep 75% of your training easy and conversational while your body adapts to new equipment.
Week 2: Build Duration
In week 2, increase your ride length to 75 to 90 minutes. You can add gentle rolling terrain. Ride three to four times during the week. Your sit bones may still feel tender after rides, which is normal at this stage.
Pay attention to where you feel discomfort. Sit bone soreness that fades within a few hours of riding is expected. This means your bones are adapting to the new pressure pattern.
Week 3: Push the Distance
Week 3 is when you start testing the saddle on real rides. Aim for 90 to 120 minute rides. Introduce some moderate climbs. By the end of this week, most of your sit bone tenderness should be diminishing.
If discomfort is increasing rather than decreasing by week 3, your saddle position likely needs adjustment. Refer back to the micro-adjustment section below.
Week 4: Full Distance Rides
By week 4, you should be able to handle your normal ride distances. If you typically ride centuries or long endurance events, start working toward those distances now. Most riders feel fully adapted to a new saddle by the end of week 4.
For leather saddles like Brooks, expect the full break-in to take 300 to 500 miles rather than 4 weeks. Leather saddles genuinely change shape over time, conforming to your body. This is a different process from the body adaptation that happens with modern foam saddles.
Indoor Trainer Break-In Option
If weather or schedule makes outdoor riding difficult, you can break in a saddle on an indoor trainer or smart trainer. The advantage is a controlled environment with no coasting, which means more consistent saddle time per minute of exercise. Keep sessions shorter on the trainer since there is no standing coasting break.
Step 3: Make Smart Micro-Adjustments
Your saddle position rarely needs dramatic changes. The key word is micro. Small adjustments of 1 to 2 millimeters at a time can eliminate pain that larger changes would worsen.
Follow one rule above all: change only one thing at a time. If you adjust height and tilt simultaneously and your pain disappears, you will never know which change fixed it. Worse, one change might be helping while the other is causing a new problem.
Keep a simple log. Note what you changed, the date, and how the next ride felt. This takes 30 seconds and saves you from going in circles. Common adjustment sequences look like this: if you feel perineal pressure, tilt the nose down 1 degree. If you feel hand pressure or numbness, raise the nose 1 degree or lower the height 2 millimeters. If you feel sit bone pain that does not improve after two weeks, try moving the saddle 2 millimeters forward or backward.
After making any adjustment, ride at least twice before changing anything else. Your body needs a couple of rides to settle into a new position.
Step 4: Gear Up for Comfort
The right gear makes an enormous difference during the break-in period. You do not need to spend a fortune, but you do need the essentials.
Quality Bib Shorts with Chamois
A good pair of bib shorts is the single best investment for saddle comfort. The chamois pad inside cycling shorts is engineered to wick moisture, reduce friction, and provide targeted cushioning. Bib shorts stay in place better than regular shorts because the shoulder straps prevent the pad from shifting.
Never wear underwear under your cycling shorts. This is the most common beginner mistake. Underwear creates seams and folds right where you need smooth fabric. The chamois is designed to be worn directly against your skin.
Anti-Chafing Cream
Chamois cream reduces friction between your skin and the shorts pad. Apply a thin layer to your sit bone area and any spots where you typically experience chafing. Some riders apply it directly to the chamois pad itself.
Chamois cream helps manage friction during break-in, but it will not fix a saddle that is fundamentally wrong for your body. As one experienced rider on the cycling forums put it: “Chamois cream helps but it is not a fix for the wrong saddle.”
Cutout Saddles and Pressure Relief
Many modern saddles feature a center cutout or groove. This design reduces perineal pressure, which is the soft tissue area between your sit bones. Cutout saddles are particularly beneficial for riders who experience numbness or tingling during rides.
If you are shopping for a new saddle, consider one with a cutout. For breaking in your current saddle, a cutout does not change the process but may reduce your discomfort during the adaptation period.
Step 5: Ride Technique That Reduces Pain
How you ride during the break-in period matters as much as your gear and fit. Small technique changes dramatically reduce saddle pressure.
Stand up every 10 to 15 minutes for 30 to 60 seconds. You do not need to be sprinting. Just unclip or lift off the saddle briefly to restore blood flow. This single habit prevents numbness and reduces sit bone fatigue significantly.
Shift more of your weight onto your pedals and handlebars rather than sitting passively. Think of your arms and legs as suspension. When you actively support some of your body weight through your limbs, the saddle carries less load.
Rotate your pelvis slightly forward to engage your glutes and take pressure off your perineal area. This position also improves pedaling efficiency. Avoid slouching or rounding your lower back, which dumps weight onto the wrong part of the saddle.
Warning Signs: Normal Discomfort vs Real Problems
Knowing the difference between normal break-in discomfort and warning signs of a real problem is critical. Pushing through pain that signals a genuine issue can lead to injuries that take months to heal.
Normal Break-In Discomfort
The following sensations are expected during the first 2 to 3 weeks with a new saddle: deep soreness in your sit bones that feels like muscle ache after a workout, mild tenderness when you sit on a hard chair the day after a ride, and skin sensitivity that fades within 24 hours.
This type of discomfort peaks after your first few rides and gradually diminishes. By week 3, it should be noticeably better. By week 4, most riders feel comfortable.
Warning Signs That Require Immediate Action
Some symptoms are never normal and require immediate changes. As one Reddit cyclist bluntly stated: “If your dick is numb, you need a new saddle yesterday. Numbness is never okay.”
Stop riding and adjust your setup if you experience any of the following: numbness or tingling in your groin, genitals, or perineal area. Sharp, shooting pain rather than dull ache. Pain that worsens with each ride instead of improving. Saddle sores, which are painful pimples or boils caused by infected hair follicles. Loss of sensation that persists after you dismount.
Perineal numbness is particularly dangerous because it indicates restricted blood flow. Prolonged pressure on the perineal area can cause nerve damage and sexual dysfunction in both men and women. If you experience this, tilt your saddle nose down immediately or get a cutout saddle.
When to Seek a Professional Bike Fit
If you have tried micro-adjustments for 3 to 4 weeks and still experience persistent pain, consider a professional bike fit. A professional fitter uses motion capture technology and pressure mapping to analyze your exact saddle pressure distribution.
Forum cyclists who have gone through multiple saddles without success consistently recommend this step. Persistent numbness after trying several different saddles strongly suggests a fit issue that self-adjustment cannot solve. A professional fit typically costs between $150 and $400, but it can save you hundreds in saddles you never ride.
When to Abandon a Saddle
Not every saddle works for every body. After 4 weeks of gradual break-in with proper fit adjustments, if you still cannot ride comfortably for 90 minutes, the saddle is likely wrong for your anatomy.
Sit bone width varies significantly between individuals. If your saddle is too narrow or too wide for your specific pelvic structure, no amount of break-in time will fix it. This is not a failure on your part. It simply means you need a different saddle shape or width.
Many bike shops offer saddle demo programs where you can test saddles for a week before buying. Take advantage of these programs to avoid wasting money on saddles that do not fit your body.
FAQ’s
How long does it take to break in a new bike saddle?
Most riders adapt to a new saddle within 2 to 4 weeks of consistent riding. Foam and gel saddles require body adaptation rather than saddle softening, so the timeline depends on how often you ride. Leather saddles like Brooks take 300 to 500 miles to fully conform to your body.
Does bike saddle pain go away?
Yes, normal break-in soreness in your sit bones typically fades within 2 to 3 weeks as your body adapts. However, numbness, tingling, or sharp pain are warning signs that your saddle position is wrong and will not go away without adjustment. Persistent numbness requires immediate saddle changes.
Is breaking in a new saddle actually necessary?
For modern foam and gel saddles, breaking in the saddle itself is not really necessary because the materials do not soften much. What actually happens is your body adapts to new pressure points over 2 to 4 weeks. Only leather saddles like Brooks genuinely break in and change shape over hundreds of miles.
What is the 3 finger rule for saddle fit?
The 3 finger rule is a simple method to check saddle width. Sit on corrugated cardboard on a hard surface, lean forward slightly, and measure the distance between the two deepest impressions from your sit bones. Add 2 to 3 centimeters to your measurement to find your ideal saddle width.
How do you soften a new saddle?
Modern foam and gel saddles should not be softened because they are designed at the correct density for support. Leather saddles can be treated with leather conditioner like Proofide to help the break-in process. Trying to artificially soften a foam saddle by soaking or heating it will damage the materials.
What is the 75 rule in cycling?
The 75 rule in cycling means keeping approximately 75% of your training rides at an easy, conversational intensity. This is especially important during a saddle break-in period because low-intensity riding lets your body adapt to new pressure points without adding fatigue from hard efforts.
Wrapping Up: Your Saddle Break-In Game Plan
Learning how to break in a new saddle without suffering comes down to patience and smart preparation. Start with a dialed bike fit, follow a gradual 3 to 4 week progression, make micro-adjustments one at a time, invest in quality bib shorts, and use proper riding technique.
Remember that your body is doing the real adapting. Modern saddles will not soften dramatically. Your sit bones, skin, and soft tissues are building tolerance to new pressure patterns, and that process takes time. Respect it.
Most importantly, listen to warning signs. Sit bone soreness that fades after a few hours is normal. Numbness, tingling, and sharp pain are never normal. If you are 4 weeks in and still hurting despite proper adjustments, the saddle is likely wrong for your anatomy. Try a demo program or book a professional bike fit.
Every cyclist has been through this process. The first few rides on any new saddle are uncomfortable, but the payoff is worth it. Once your body adapts, you can ride for hours in comfort and focus on what actually matters: enjoying the road ahead.