
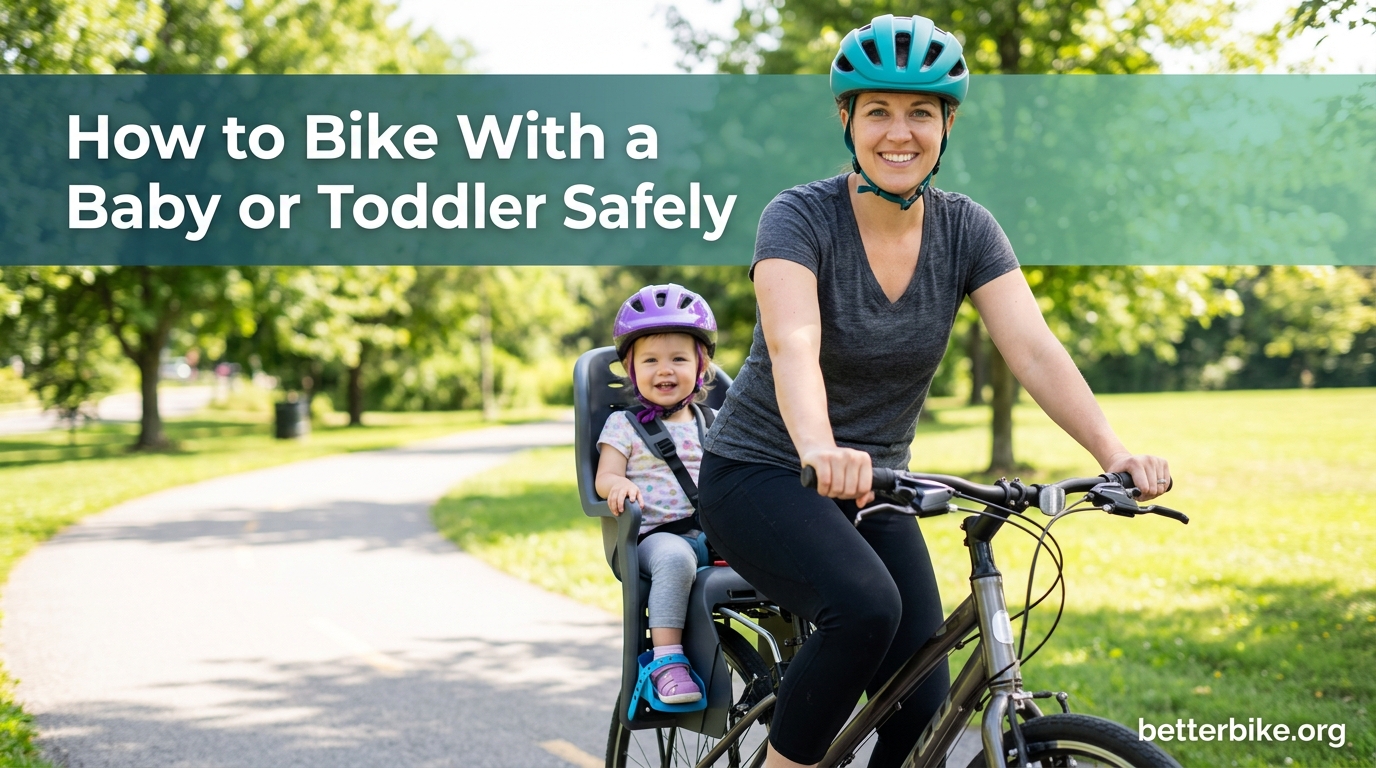
Learning how to bike with a baby or toddler safely starts with one clear rule: most pediatricians recommend waiting until your child is at least 12 months old before riding in a standard bike seat. Below 12 months, a bike trailer or cargo bike with proper head and neck support is the safer option. The rest of this guide walks through the milestones, gear, helmets, and habits that make family cycling a daily joy rather than a daily worry.
Our team has logged more than 4,000 miles of family rides over the past three years. We’ve made nearly every mistake possible. This article exists so you do not have to. We will cover age readiness, the four main gear options, helmet standards, a pre-ride safety checklist, and a step-by-step first-ride plan that builds confidence for both you and your child.
Table of Contents
When Can Babies Ride in a Bike Seat?
The American Academy of Pediatrics (AAP) recommends that children be at least 12 months old before riding in a bike seat. This is not an arbitrary number. It reflects the developmental milestone of adequate neck and head control needed to handle the bumps, vibrations, and sudden stops of cycling.
Before 12 months, a child’s neck muscles cannot reliably support their head against the forces generated by a moving bike. Even on smooth pavement, small vibrations and the occasional pothole create whiplash-like movement. A baby under 12 months in a standard bike seat is at real risk of head and neck injury in a minor crash.
The 12-Month Readiness Rule Explained
Twelve months is the floor, not the ceiling. Some toddlers are ready at 12 months. Others are not ready until 14 or 15 months. The rule exists because most babies develop the neck strength, head control, and core stability needed to sit upright in a moving seat somewhere around their first birthday.
To check readiness, sit your child on the floor and gently tip them sideways. If they catch themselves with one hand and keep their head stable, they have the right muscle control. If their head lags or they topple, wait another month and test again.
Developmental Milestones That Matter
Age is a proxy for development. The real question is whether your child has the physical skills to ride safely. Look for these milestones before you clip them into a seat:
- Strong, sustained head control (no head lag when pulled to sitting)
- Ability to sit upright unsupported for at least 10 minutes
- Comfort wearing a properly fitted helmet for short periods
- Interest in the bike and the world around them
- No signs of discomfort or crying in a stationary seat test
If you can check all five boxes, your child is developmentally ready for a bike seat. If not, give it more time. There is no prize for starting early.
Choosing the Right Gear: Trailers, Seats, and Cargo Bikes
The four most common ways to bike with a baby or toddler safely are bike trailers, front-mounted seats, rear-mounted seats, and cargo bikes. Each has tradeoffs. Your choice depends on your child’s age, your bike, your routes, and your budget.
Think of this as a stage-based system. Most families start with a trailer for the under-12-month phase, then move to a rear-mounted seat for the toddler years, and finally graduate to a cargo bike if they become a multi-child family. Some families skip straight to a cargo bike. There is no single right answer.
Bike Trailers: Best for Infants and Newborns
Bike trailers are the safest option for babies under 12 months, and they remain excellent for toddlers. A quality trailer sits low to the ground, has a five-point harness, includes a roll cage or structural frame, and offers weather protection. The low center of gravity also makes the bike more stable to ride.
Most trailers are rated for children from 3 to 6 months up to around 6 years old, depending on the model. Look for one with a proper infant insert that supports the head and neck. Many parents in our community use a car seat strapped inside the trailer for babies under 6 months. That works, but it adds weight and complexity. A dedicated infant insert is usually easier.
For newborns (under 3 months), most pediatricians recommend against any kind of cycling transport. The vibration and movement are simply too much for such a young spine. If you must transport a newborn by bike, consult your pediatrician first and use a cargo bike with full suspension if possible.
Front-Mounted Bike Seats for Older Babies
Front-mounted seats attach to the handlebar stem or top tube and place your child between your arms. They are best for babies 12 months and older who have full head and neck control. The main advantage is interaction: your child can see you, you can see them, and conversations are easy.
The main disadvantage is weight distribution. A front seat shifts roughly 25 to 35 pounds of weight forward of your front wheel, which can make steering heavier and braking less effective. It also limits the maximum age and size of child. Most front seats max out around 40 pounds or 4 years old, whichever comes first.
Front seats are ideal for short neighborhood rides, errands, and shorter commutes where you want eye contact with your child. They are less suitable for long distances, fast descents, or technical terrain.
Rear-Mounted Bike Seats for Toddlers
Rear-mounted seats attach to the seatpost or rear rack and place your child behind you. They are the workhorse of family cycling. Most are rated from 12 months up to around 48 pounds or 6 years old. A good rear seat has a five-point harness, side protection, a high back, and adjustable footrests.
The main advantage is capacity. Older toddlers and bigger children fit in rear seats when they have outgrown front seats. The weight sits over the rear wheel, which actually improves bike stability. The main disadvantage is that you cannot see your child easily. You need to check in verbally or with a quick shoulder glance.
Look for rear seats with a double-sided kickstand. A standard single kickstand cannot hold a loaded bike upright. The double-sided version is essential. This is one of the most common setup mistakes we see, and it is the difference between a stable mount and a tip-over.
Cargo Bikes: The Family Cycling Solution
Cargo bikes, also known as bakfiets in Dutch, place your child in a box between the rider and the front wheel. They are the dominant family cycling solution in cities like Amsterdam, Copenhagen, and Portland. Modern cargo bikes can carry two or even three children, plus groceries.
The advantages are significant. Your child sits in a protected compartment with a five-point harness. You can see them at all times. The bike handles predictably even when fully loaded. The disadvantages are cost (most new cargo bikes start around $3,000), storage (they are large), and learning curve (they handle differently than a regular bike).
Cargo bikes are the best option for families who plan to bike commute regularly, who have more than one young child, or who simply want the safest, most stable platform possible. They are not the right choice for everyone, but if your routes are flat and your storage is good, a cargo bike changes daily life.
Helmet Safety for Babies and Toddlers
Every rider, no matter the age, needs a properly fitted helmet. This includes the adult riding the bike. Children learn helmet habits from watching you. If you do not wear one, neither will they.
Look for helmets that meet CPSC standards in the United States, or equivalent standards in your country (CE EN 1078 in Europe, AS/NZS 2063 in Australia). These certifications mean the helmet has passed impact tests designed to reduce the risk of skull fracture and brain injury.
How to Fit a Baby or Toddler Helmet
A proper helmet fit follows the Two-V-One rule. Two fingers above the eyebrows, a V-shape around each ear, and one finger under the chin strap. The helmet should be level on the head, not tilted back. If it tilts forward, the forehead is exposed. If it tilts back, the back of the head is exposed.
For babies 12 months and older, use a helmet specifically designed for infants and toddlers. Adult helmets are too heavy and too large. Infant helmets are lighter, have more padding, and include a sizing dial for a snug fit. Replace any helmet that has been involved in a crash, even if no damage is visible. The foam inside compresses on impact and loses its protective ability.
If your child resists the helmet, practice at home in short sessions. Start with 30 seconds. Reward the helmet, not the removal of the helmet. A child who learns to associate the helmet with fun and parental approval will wear it willingly on the bike.
Pre-Ride Safety Checklist
Run this checklist before every ride with a child. It takes 90 seconds and prevents the vast majority of incidents. We use a printed version taped inside the garage door. It works.
- Helmet on and fitted correctly, both for you and your child
- Harness snug, with no slack at the shoulders or hips
- Footrests adjusted so legs cannot reach the spokes
- Tire pressure checked and at the recommended PSI
- Brakes tested, both front and rear, with full stopping power
- Chain lubed and free of debris
- Quick releases or thru-axles tight, especially the front wheel
- Double-sided kickstand or support for loading and unloading
- Lights charged and reflectors clean, even for daytime rides
- Phone charged, ID and emergency contact info with you
This list looks long, but each item takes 5 to 10 seconds. After a few weeks, it becomes automatic. Treat it like a pilot’s pre-flight check. Boring routines prevent bad days.
Your First Ride With Baby: Step-by-Step
The first ride sets the tone for months or years of family cycling. Take it slow. We tell every new parent the same thing: the first ride is for your child, not for you. If your child ends the ride smiling, you have won. Distance does not matter.
Step 1: Test the Gear at Home
Put your child in the seat, trailer, or cargo box in your living room or driveway. Do up the harness. Let them sit for 5 to 10 minutes. Put their helmet on. If they cry, take them out, calm them down, and try again tomorrow. Repeat until the gear feels normal to them.
Step 2: Walk the Bike, Do Not Ride It
Push the bike around the block with your child loaded. They need to experience the bike moving, the sounds, and the slight sway before you add speed. This step catches about 80% of the issues. If your child is happy walking pace, they are likely to be happy at riding pace.
Step 3: Pick a Quiet, Flat Route
Choose a smooth, flat path with no traffic for the first real ride. A paved bike path, an empty parking lot, or a quiet residential loop all work. Avoid hills, busy intersections, and rough surfaces. Save those for later. The first ride is about positive association.
Step 4: Keep It Under 20 Minutes
Even if everything is going great, end the ride in 15 to 20 minutes. Young children have a limited tolerance for being strapped into a seat. They get bored, hungry, or tired. Leaving while they are still happy builds anticipation for the next ride. Ending while they are crying creates dread.
Step 5: Debrief and Celebrate
Talk about the ride on the way home. Name the things you saw, the sounds you heard, the fun parts. Reward the helmet, the seat time, the cooperation. Children who feel celebrated will ask to go again. Children who feel ignored or scolded will not.
How to Bike With a Baby or Toddler Safely: Common Pitfalls to Avoid
Most family cycling mistakes fall into the same few categories. Knowing them in advance saves a lot of frustration. We have made all of these ourselves, more than once.
- Starting before 12 months without proper head and neck support
- Using a single kickstand that cannot hold the loaded bike
- Loose harness straps that allow the child to slump or lean
- Footrests set too high, letting feet slip into the spokes
- Overloading the rear rack beyond its weight rating
- Skipping the helmet because it is “just a short ride”
- Riding at dusk or night without lights and reflectors
- Choosing busy streets when a quiet route exists
If you can avoid these eight pitfalls, you are ahead of most families starting out. They are not exotic problems. They are common, predictable, and completely preventable with a small amount of preparation.
E-Bike Safety With Children
E-bikes add speed and weight to the family cycling equation. Both matter. A typical e-bike weighs 45 to 65 pounds. Add a 30-pound child and a 20-pound seat, and you have 100-plus pounds of moving mass. Braking distances roughly double compared to a regular bike.
If you ride an e-bike with a child, lower your assistance level for the first few months. Build muscle memory for the heavier, faster bike before relying on motor power. Choose routes with fewer and gentler hills. Avoid crowded bike paths where unexpected braking is common. And always test your brakes at full speed in a safe area before carrying a passenger.
Many e-bike makers now offer child seat-compatible models with reinforced racks and integrated lights. If you are buying a new e-bike for family use, look for one rated for child transport. The frame, brakes, and tires are designed for the extra load.
Weather, Routes, and Multi-Child Tips
Family cycling does not stop at the first rain cloud or the first snow. With a small amount of preparation, you can ride safely in most conditions. The trick is matching your gear to the weather and choosing routes that match the conditions.
Riding in Rain and Cold
A good trailer rain cover keeps a child dry and visible. A windbreaker on the adult and layered clothing on the child handle most cold-weather riding. The bigger concern in rain is visibility and braking. Reflective gear, bright lights, and longer following distances all matter more in wet conditions.
Brake pads wear faster in wet conditions. Check them more often. Tires lose grip on painted lines, metal grates, and fallen leaves. Slow down on these surfaces, especially with a child on board.
Riding in Heat and Sun
Heat is more dangerous than cold for young children. They do not regulate body temperature as well as adults. Avoid riding in the heat of the day during summer. Choose early morning or evening hours. Use a trailer or seat with a sunshade. Bring water for both of you, and take breaks in the shade.
If the pavement is too hot for your hand, it is too hot for a baby’s skin. This is a useful rule. Bare legs and feet on hot metal or plastic are a real burn risk.
Multi-Child Configurations
Two or more children changes the equation. A trailer with two harnesses handles twins or close-in-age siblings up to about 6 years old. A cargo bike with a double bench works for two or three kids. A rear seat plus a trail-a-bike (a single-wheel attachment that lets an older child pedal along) handles a toddler and a school-age child.
The key is weight distribution. Loading all the weight behind you on a regular bike makes the front end light and the steering twitchy. Loading it all in front makes steering heavy. A cargo bike solves this with its long wheelbase and central load area. A trailer solves it with its own wheels and low center of gravity.
Route Selection
Quiet, separated bike paths are the gold standard. Protected lanes are next. Quiet residential streets with traffic-calmed intersections work for short trips. Busy arterials with no shoulder are the worst option and should be avoided with young children whenever possible.
Many city and county planning departments publish family-friendly bike route maps. These usually highlight low-stress connections between parks, schools, and neighborhoods. They are a great starting point. Apps like Ride with GPS and Komoot also let you filter for bike paths and low-traffic streets.
Managing Parent Anxiety
Every parent we know has felt the weight of cycling with a small child. The worry is real, and it is healthy. The trick is to convert worry into preparation. Run the checklist, fit the helmet, choose the quiet route, and trust the gear.
If you find yourself constantly anxious, start with a cargo bike. The enclosed box, the stable platform, and the visible child all reduce the mental load. Many anxious parents find that after a few months of cargo bike commuting, they feel ready to try a trailer or seat. That is a perfectly good progression.
Criticism from others is part of family cycling. People will tell you that you are being reckless. They will tell you that cars are dangerous. They will tell you that your child is too young. Most of them mean well. Smile, thank them, and continue. The research on family cycling safety is clear: with proper gear, helmets, and route selection, it is a safe and healthy activity for both adults and children.
FAQ: How to Bike With a Baby or Toddler Safely
What is the safest way to bike with a toddler?
The safest way to bike with a toddler is to use a quality bike trailer or rear-mounted bike seat with a five-point harness, ensure your child wears a properly fitted CPSC-certified helmet, and ride on quiet, separated bike paths. A double-sided kickstand is essential for stable loading and unloading. Choose smooth, flat routes and keep first rides under 20 minutes.
Is there a safe way to ride a bike with a baby?
Yes, but only with the right equipment. For babies under 12 months, use a bike trailer or cargo bike with a proper infant insert that supports the head and neck. The AAP recommends waiting until 12 months for a standard bike seat. For newborns under 3 months, most pediatricians recommend avoiding cycling transport entirely.
What age can a baby go in a bike trailer?
Most bike trailers are rated for babies from 3 to 6 months old, depending on the model. For babies under 3 months, the risk of vibration-related injury is too high. A proper infant insert with head and neck support is required until your baby has full head control, usually around 6 months or older.
Do babies need helmets on bikes?
Yes, every rider needs a helmet, including babies and toddlers. Use an infant or toddler-specific helmet that meets CPSC standards (or CE EN 1078 in Europe). A proper fit follows the Two-V-One rule: two fingers above the eyebrows, a V-shape around each ear, and one finger of slack under the chin strap.
Is a bike trailer safer than a bike seat?
For babies under 12 months, a bike trailer with a proper infant insert is generally considered the safer option because of its low center of gravity, full enclosure, and reduced vibration transfer. For toddlers over 12 months with strong head and neck control, both high-quality trailers and rear-mounted seats are safe when used correctly with a properly fitted helmet and five-point harness.
Final Thoughts on Family Cycling
Learning how to bike with a baby or toddler safely is mostly about preparation and patience. The gear matters, the route matters, and the helmet matters, but the routine matters most. A family that runs a pre-ride checklist, fits the helmet every time, and chooses quiet routes builds a habit that lasts for years.
Start at 12 months unless your pediatrician advises otherwise. Use a trailer for the youngest riders, a seat for the toddler years, and a cargo bike if your family grows. Wear your own helmet, model the habits you want your child to learn, and end each ride while your child still wants more.
Family cycling is one of the best ways to stay active, reduce your driving, and build a healthy relationship with movement for your child. Done right, it becomes the default way you get around. Done with care, it is also one of the safest activities you can share.
Pick a quiet route this weekend. Run the checklist. Take a 15-minute ride. End on a high note. Tomorrow, take a 20-minute ride. In a month, you will wonder how you ever drove to the playground. That is how family cycling becomes a habit, one safe ride at a time.