
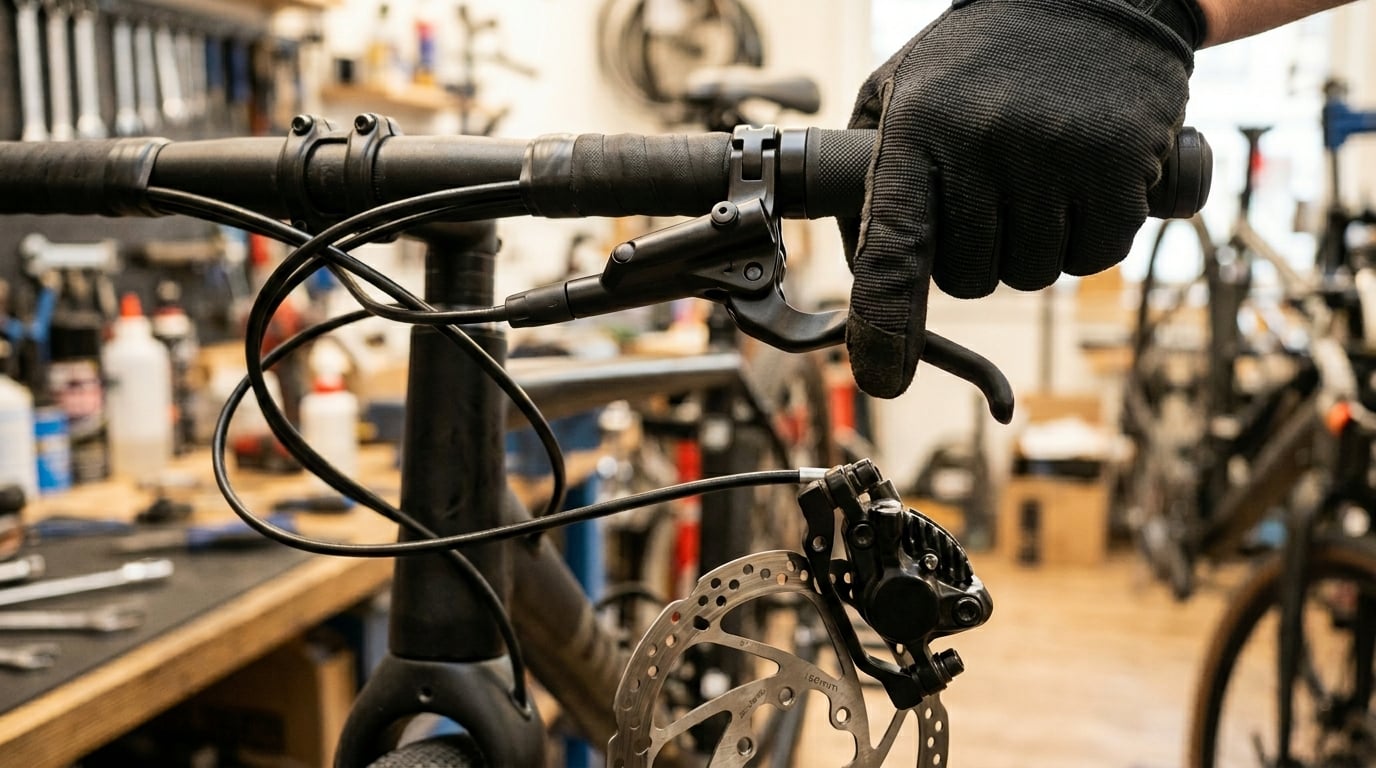
You’re halfway down a trail, you squeeze the brake lever, and something feels off. The lever travels further than it should, the bite point is mushy, and the bike takes longer to slow down than you’re used to. That soft, vague feeling is what riders call “spongy brakes,” and on a hydraulic disc brake system, it’s almost always a symptom of the same underlying problem: air has found its way into the brake line.
I’ve worked on dozens of bikes in our shop and at home, and spongy brakes are one of the most common complaints I hear. The good news is that diagnosing it doesn’t require a mechanics license. By the end of this guide, you’ll know exactly what spongy brakes feel like, why air causes the problem, how to run a five-minute test to confirm air is in the line, and when bleeding is and isn’t the right fix.
Table of Contents
What Spongy Brakes Actually Feel Like
A spongy brake lever feels soft, vague, and inconsistent. Instead of a firm wall meeting your finger, the lever pulls in further, and the bite point seems to wander depending on how hard you grip. You might also notice the lever traveling almost all the way to the handlebar before the bike begins to slow.
The Lever Travel Problem
Lever travel is the distance the lever moves from its resting position to the point where the pads actually contact the rotor. On a healthy hydraulic disc brake, that travel should be short and predictable. When air is in the line, the lever has to compress that air before the fluid can transmit force to the caliper, so the lever travels further and the bite point feels uncertain.
Comparing Good vs Spongy Feel
A firm lever stops with confidence. The pads grab right away, and you can modulate braking pressure with tiny finger movements. A spongy lever feels like there’s a spring of air between you and the rotor. If you’ve ever pumped a bicycle tire, you already understand exactly what’s happening inside the brake line.
The Science: Why Air Causes Spongy Brakes
Hydraulic brakes work because brake fluid is incompressible. When you push the lever, the piston in the master cylinder displaces a fixed volume of fluid, and that fluid pushes the caliper piston with equal force. There’s no give, no flex, no delay. The result is a firm lever and instant response.
Why Brake Fluid Is Normally Incompressible
Brake fluid is specifically engineered to resist compression. Whether you use DOT 5.1, DOT 4, or mineral oil, the molecules are tightly packed and resist volume change under pressure. That’s why a properly bled system feels like a solid linkage between your finger and the rotor.
How Air Bubbles Disrupt Pressure Transfer
Air, on the other hand, is highly compressible. Even a tiny bubble acts like a tiny shock absorber in the line. When you squeeze the lever, the first thing that happens is the bubble squishes smaller, delaying the moment when fluid pressure reaches the caliper. The more air that’s in the system, the longer the delay, and the spongier the lever feels.
Worse, heat and pressure can cause dissolved air in brake fluid to come out of solution, creating micro-bubbles that grow over time. That’s why brakes that felt fine yesterday can start to feel soft after a long descent or a hard day of riding.
How Air Gets Into Bicycle Brake Lines
Air can enter a sealed hydraulic system in several ways. Some are obvious, some are easy to miss. The most common entry points fall into two broad categories.
Service-Related Entry Points
Every time you open the hydraulic system, you risk introducing air. The most common culprits include:
- Changing brake pads without resetting pistons properly
- Bleeding the brakes without filling the reservoir fully
- Loosening the caliper bolts to center the rotor and forgetting to top off fluid
- Cutting and reattaching brake hoses when adjusting cockpit setup
- Removing the lever clamp or master cylinder cover for any reason
Wear-and-Tear Entry Points
You don’t have to touch the system for air to find its way in. Common wear-related causes include:
- Leaking seal at the master cylinder or caliper piston
- Loose or damaged hose barb fittings
- Cracked or pinched brake hose
- Damaged rubber diaphragm in the reservoir cap
- Heat-induced boiling that releases trapped air or vapor
Even a brand-new bike can arrive from the factory with air in the line, which is why many mechanics bleed a new bike’s brakes during the build process.
The Vertical Bike Squeeze Test: Diagnosing Air in the Line
This is the diagnostic test I run first on every bike that comes into the shop with a soft lever. It’s a trick I learned from a World Cup mechanic, and it works because of how air behaves in a vertical column of fluid.
How to Perform the Vertical Squeeze Test
- Position the bike vertically with the caliper pointing down and the lever up. Hanging the bike from a hook or a friend’s shoulder works perfectly.
- Make sure the brake reservoir is level and topped off to the recommended line.
- Squeeze the brake lever firmly and hold it for three to five seconds.
- Release the lever, then squeeze it again right away.
- Compare the feel of the first squeeze to the second squeeze.
Reading the Results Correctly
Here’s the key: if air is trapped in the caliper or the lower portion of the hose, gravity will pull it upward over time. With the bike vertical, any bubbles that were stuck in the caliper will start to migrate toward the reservoir at the lever.
If the second squeeze feels noticeably firmer than the first, you’ve just moved trapped air out of the high-pressure zone and into a less critical area. That confirms air was the problem. If the lever feels the same on both squeezes, the issue is probably not air, and you should move on to other diagnoses like pad wear or contamination.
For a more thorough diagnosis, leave the bike hanging vertically for 24 to 48 hours, then repeat the test. Many forum users have reported dramatic improvement after the air has time to work its way up to the reservoir.
Is It Air or Something Else? A Decision Tree for Spongy Brakes
Before you spend an hour bleeding your brakes, work through this decision tree. Air is the most common cause of spongy brakes, but it’s far from the only one.
Step 1: Check the Pads First
Worn pads feel spongy because the pistons have to travel further to contact the rotor. Visually inspect both pads through the caliper window. If the friction material is less than 1.5mm thick, replace the pads. Push the pistons back into the caliper first, and top off the reservoir because the pistons displacing will push fluid backward and may overflow.
Step 2: Inspect the Hose and Fittings
Look for fluid residue around the hose barbs at the lever and caliper. Touch the hose to feel for moisture. A slow external leak is a more common cause of soft brakes than people realize, and it’s often mistaken for air in the line.
Step 3: Rule Out Contamination and Heat Damage
If you’ve recently sprayed chain lube or degreaser near the rotor, the pads may have absorbed oil. Contaminated pads feel spongy and weak even when the system is fully bled. The only fix is replacing the pads and cleaning the rotor with isopropyl alcohol.
Heat damage is another possibility. After a long descent, the fluid can overheat and form vapor bubbles in the system. This is called “brake fade” and it feels spongy until the fluid cools. If your brakes firm up after a few minutes of rest, heat is the likely culprit.
When Bleeding Is (and Isn’t) the Right Fix
Bleeding should be the solution, not the first thing you try. I’ve seen riders spend an entire weekend bleeding and re-bleeding their brakes when the actual problem was a five-minute pad swap or a contaminated rotor.
When Bleeding Solves the Problem
Bleeding is the right fix when you’ve confirmed air is in the system. The vertical squeeze test result, a recent service that opened the system, or visible bubbles rising in the reservoir are all clear signals. It’s also the right fix if your brakes go soft after sitting overnight, then firm up after a few pumps, since this indicates small amounts of air migrating around the caliper.
When Bleeding Won’t Help
If your pads are worn, the lever will still feel soft even after a perfect bleed. If your system is contaminated with the wrong fluid (mixing DOT and mineral oil), the seals may be damaged and a bleed will only provide temporary relief. If the master cylinder bore is scored or the caliper piston is sticky, no amount of bleeding will restore a firm lever. In those cases, the affected parts need rebuilding or replacement.
A Basic Overview of the Bleeding Process
A proper brake bleed involves removing all the air from the system and replacing it with fresh, clean fluid. While the exact procedure varies by manufacturer, the general phases are the same.
Tools You’ll Need
- Manufacturer-specific bleed kit (Shimano, SRAM, Tektro all use different fittings)
- Correct brake fluid (DOT 4, DOT 5.1, or mineral oil depending on the system)
- Syringes, hoses, and a bleed block or old rotor to set pad spacing
- Clean rags and isopropyl alcohol for spills
- A bleed funnel or upgraded reservoir for the lever-side fluid
The Three Phases of a Proper Bleed
Phase one is preparation. Remove the wheel, install a bleed block, and clean the area around the master cylinder and caliper bleed port.
Phase two is the actual bleed. Fresh fluid is pushed from the lever reservoir down through the system and out the caliper bleed port. The caliper-side syringe is used to pull fluid and bubbles up from the caliper. This step is repeated until no more bubbles emerge.
Phase three is the lever-side bleed. The reservoir is filled with fresh fluid, and any remaining bubbles are purged by squeezing the lever while the bleed port is open. The system is then sealed, the lever is pumped several times, and the lever feel is checked with the bleed block still in place.
If you don’t have a kit, the syringe-only “pull bleed” is the next best option. It works well for most modern systems, though it’s slower than a full pressure bleed.
DOT vs Mineral Oil: How Fluid Choice Affects Spongy Brake Symptoms
The fluid your brakes use affects how often you’ll deal with spongy levers. DOT fluid is hygroscopic, meaning it absorbs water from the atmosphere over time. Water in the fluid lowers its boiling point, and once the fluid boils under hard braking, the resulting vapor bubbles make the lever feel exactly like air in the line. Most manufacturers recommend a DOT fluid bleed every one to two years for this reason.
Mineral oil doesn’t absorb water, so it doesn’t have the same boiling risk. However, mineral oil systems can still get air in the line from leaks or service work, and once air is in, it stays in until you bleed. Shimano, Tektro, and Magura all use mineral oil formulations, while SRAM, Hayes, and Formula use DOT fluid.
Never mix the two. If you don’t know what’s in your system, check the manufacturer documentation or the markings on your lever reservoir cap. Putting DOT fluid into a mineral oil system will damage the seals and create a much bigger problem than the spongy lever you started with.
Frequently Asked Questions About Spongy Bike Brakes
How can I tell if there is air in my brake lines?
The fastest way is the vertical bike squeeze test. Hang the bike with the caliper down, squeeze the lever a few times, and see if the lever firms up. If the second squeeze feels better than the first, air is likely in the line. Lever travel that grows after the bike sits overnight is another strong sign.
Why are my brakes still spongy after bleeding?
The most common cause is air that was missed during the bleed, especially in the caliper-side port. Other possibilities include worn pads, contaminated rotors, a leaking seal, or heat damage from a long descent. Run the vertical squeeze test again and inspect the pads and rotor before re-bleeding.
Is it dangerous to ride with spongy brakes?
Yes, especially on steep terrain or in traffic. A spongy lever means longer stopping distances and reduced control during emergency braking. The first time you really need the brakes, you may find the lever bottoms out against the handlebar with very little stopping force.
How often should I bleed my bicycle disc brakes?
For DOT fluid systems, every one to two years is a good baseline. For mineral oil systems, bleed only when symptoms appear or after service work. Replace the fluid any time the brakes feel spongy after heat exposure, since this usually means the fluid has absorbed moisture.
Can worn brake pads make my brakes feel spongy?
Yes. Worn pads require the caliper pistons to travel further before they contact the rotor, which feels identical to air in the line. Always inspect pad thickness before assuming the system needs a bleed, and reset the pistons carefully to avoid pushing fluid out of the reservoir.
Final Thoughts on Diagnosing Spongy Bicycle Brakes
Spongy brakes are one of the most common complaints on hydraulic disc brake bikes, and the good news is that air in the line is almost always the underlying cause. Run the vertical squeeze test, work through the decision tree to rule out worn pads and contamination, and then decide whether a bleed is the right fix for your spongy brakes. With the right diagnostic approach, you’ll spend less time bleeding and more time riding with confidence.