
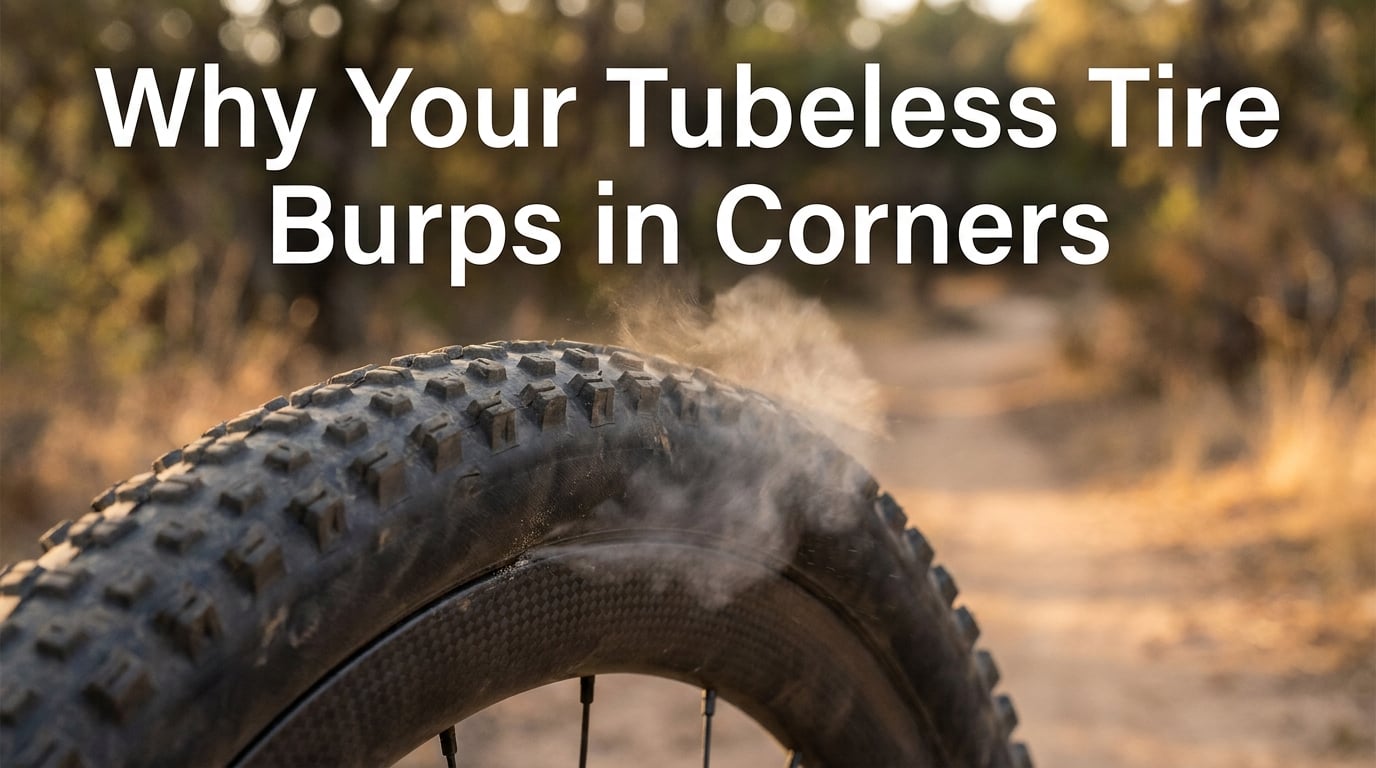
You leaned into a corner, heard a sharp “psst” or pop, and felt the bike go squirmy underneath you. A tubeless tire burped air in a corner is one of the most common — and most startling — problems riders face after switching from tubes. The good news: it is preventable once you understand the mechanics behind it. In this guide, I will walk you through exactly what burping is, why it happens, and the steps our team uses to keep tires sealed on the trail, gravel, and tarmac.
Table of Contents
What Is Tire Burping?
Tire burping is what happens when the bead of a tubeless tire momentarily separates from the rim during a high lateral load, releasing a sudden burst of air before the bead reseats itself. The bead is the reinforced edge of the tire that hooks onto the rim wall and forms the airtight seal your sealant depends on. When cornering forces exceed the pressure holding that bead against the rim, the bead lifts, air rushes out through the gap, and you hear the signature “burp.”
I have heard riders describe the sound as everything from a loud “fart” to a gunshot-like pop. On a mountain bike, the burst is unmistakable. On a road or gravel bike, it often sounds more like a sharp hiss followed by an immediate reseat. Either way, the result is the same: a noticeable loss of pressure that can leave you rolling on a half-flat within seconds.
Burping is different from a slow leak. A slow leak usually points to dried-out sealant, a small puncture, or a porous rim tape job. Burping is mechanical — the bead physically unhooks under load. That distinction matters because the fix is also mechanical, not just a top-up of sealant.
The Bead and Rim Hook: How the Seal Works
Most modern tubeless rims feature a small “hook” or shelf on the inner wall. The tire bead is pressed against this hook by internal air pressure, and the resulting friction plus mechanical catch creates the seal. Sealant pools at the bottom of the tire and fills any micro-gaps, but the actual air seal is a mechanical connection between bead and rim. The moment that connection breaks, air escapes — no matter how fresh your sealant is.
Why Your Tubeless Tire Burped Air in a Corner
Five things have to go right for the bead to stay seated under cornering load. When any one of them fails, the bead lifts and air escapes. Let me break down each cause based on what our team has seen across hundreds of test rides.
1. Low Tire Pressure
Running very low tire pressure is the number one reason a tubeless tire burped air in a corner. Lower pressures improve comfort and grip, but they also reduce the force holding the tire bead against the rim. With less pressure pushing the bead outward, lateral cornering forces can more easily unseat it.
Riders chasing that magic “plushy” feel on a 2.4-inch tire sometimes drop into the high teens or low 20s PSI. On a tubeless-ready rim, that is usually fine for a straight line. The moment you load the tire through a hard corner, the casing deforms, the bead wants to move toward the rim center, and you get a burp.
I learned this the hard way on a rocky descent in Colorado. I was running 18 PSI front and rear on 2.35-inch tires through a fast, off-camber turn. The front tire burped audibly and dropped pressure in a single corner. I finished the descent on a barely inflated front tire and a much humbler attitude toward pressure gauges.
2. Loose Bead Fit
The tire bead needs to fit the rim tightly. If the bead diameter is too large for the rim, or the rim shape does not match the tire profile, the bead will sit loosely in the rim well. Loose beads let the tire shift under braking and cornering loads, eventually unseating under hard turns.
Loose bead fit is a common issue on older rims, hand-built wheels, or mismatched tire and rim combinations. Newer tires often ship with the bead slightly undersized to help installation, but they stretch into place once inflated. If the tire never seats firmly, the fit is wrong for your rim.
3. Insufficient Sealant
Sealant is not what holds air in a tubeless tire — pressure is. But sealant is what fills micro-gaps between the bead and rim wall, and what reseals small holes the moment they form. If your sealant is dried out, low, or old, even a perfect bead-to-rim interface can lose air during a corner.
Most sealants last 2 to 6 months depending on climate and riding style. Hot, dry conditions dry sealant out faster. Cool, wet conditions preserve it longer. If you cannot remember the last time you topped up, that is likely part of the problem.
4. Wide Rims and Narrow Tires
Wider rims are better in most ways — they improve tire profile, reduce sidewall roll, and increase air volume at the same pressure. But a very wide rim paired with a narrow tire can change the bead geometry. The tire may struggle to seat fully on a rim that is wider than the tire manufacturer recommends, especially if you run the tire at the lower end of its pressure range.
Most tire makers publish a recommended rim internal width range. A 2.2-inch tire usually fits well on rims from 25mm to 35mm internal width. Push that tire onto a 40mm internal rim, and you are in mismatch territory. The bead has to stretch further to reach the rim hook, and the seal becomes less reliable.
5. Aggressive Cornering Forces
Hard cornering at speed generates huge lateral loads on the tire. The faster you enter a turn, the heavier you lean, and the more off-camber the terrain, the more the tire deforms. At some point, that deformation overcomes the pressure keeping the bead on the rim, and the bead lifts. This is a pure physics problem, not a setup problem — but the threshold for that lift depends heavily on the factors above.
Off-camber corners are the worst. The lateral force works against gravity and the tire casing at the same time. Cyclocross riders know this from low-pressure run-ups on grass. Mountain bikers know it from rock gardens with off-camber exits. The forces are real, and they expose any weakness in your setup.
How to Prevent Tubeless Tire Burping
Once you understand the cause, prevention is mostly about addressing the weak points above. Here is the step-by-step process our team follows on every bike we set up.
Step 1: Set the Right Pressure for Your Tire Width
Pressure is the single biggest lever. Higher pressure means more force on the bead, which means more resistance to burping. The trade-off is harsher ride and less grip. Here is a starting point based on rider weight and tire width for cross-country and trail riding:
- 2.0-inch tire, 150 lb rider: 24 to 26 PSI front, 26 to 28 PSI rear
- 2.0-inch tire, 180 lb rider: 26 to 28 PSI front, 28 to 30 PSI rear
- 2.2-inch tire, 150 lb rider: 22 to 24 PSI front, 24 to 26 PSI rear
- 2.2-inch tire, 180 lb rider: 24 to 26 PSI front, 26 to 28 PSI rear
- 2.4-inch tire, 150 lb rider: 20 to 22 PSI front, 22 to 24 PSI rear
- 2.4-inch tire, 180 lb rider: 22 to 24 PSI front, 24 to 26 PSI rear
These are starting points, not gospel. If you are heavier, run more pressure. If you race enduro and prioritize grip, drop 1 to 2 PSI and add a tire insert. The point is to start with a number that does not let the bead unseat in normal cornering.
Step 2: Check Your Bead Fit
Deflate the tire and push the bead away from the rim wall. If the bead moves easily and feels loose in the rim well, the fit is wrong. A properly seated tubeless bead should require firm hand pressure to dislodge, and it should sit evenly around the entire rim circumference.
Look for these signs of a loose bead fit:
- The tire shifts visibly under hard braking
- The bead does not snap into place when you inflate
- You hear ticking or popping sounds under load, not just in corners
- The tire was easy to install without soap or tools (too loose)
- Air pressure drops within minutes of seating, even with fresh sealant
If you see any of these, the tire and rim combination is the problem. You may need a different tire model or a rim with a different bead profile.
Step 3: Refresh Your Sealant
Top off sealant every 2 to 3 months if you ride regularly. In hot, dry climates, check monthly. In cool, damp climates, every 4 months is usually fine. Shake the wheel gently before adding sealant to dislodge any dried plugs from the inside of the tire.
Use the amount recommended by the sealant maker — usually 2 to 4 ounces per tire for mountain bike sizes. Road and gravel tires need less, often 1.5 to 2 ounces. Too much sealant adds rotational weight and can cause sloshing. Too little leaves gaps where the bead needs sealing most.
Step 4: Match Tire Width to Rim Width
Check the tire manufacturer’s recommended rim internal width range. Most modern tires print this on the sidewall or the packaging. If your rim is outside that range, the bead cannot seat properly, and you will burp no matter what pressure you run.
For most cross-country and trail tires in the 2.2 to 2.4-inch range, a 25mm to 30mm internal rim width is the sweet spot. For plus-size tires (2.8 to 3.0 inches), look for 35mm to 45mm internal rims. For road and gravel, internal widths between 19mm and 25mm are typical.
Step 5: Consider Tire Inserts for Aggressive Riding
If you ride aggressively, run an e-bike, or simply cannot seem to stop burping no matter what you try, a tire insert is the next step. Inserts are foam or rubber rings that sit between the tire and rim, filling the cavity and supporting the sidewall.
The most popular options are CushCore and Vittoria’s Universal Tubeless Insert. Both fill the air volume between tire and rim, support the sidewall during impacts, and prevent the bead from moving toward the rim center. Our team has logged hundreds of hours on CushCore-equipped bikes, and burping has effectively disappeared on setups that previously burped on every ride.
Inserts add some weight (around 100 to 200 grams per wheel) and cost around $80 to $100 per wheel, but for aggressive riders, e-bike owners, and anyone who has battled chronic burping, they are the single most effective upgrade available.
E-Bike Tubeless Burping: What Changes
E-bikes are heavier than acoustic bikes — often by 20 to 30 pounds — and that extra weight magnifies every force on the tire. The lateral loads during cornering are higher, the impacts are harder, and the threshold for bead unseating is lower. If your tubeless tire burped air in a corner on an acoustic bike at 22 PSI, the same setup on an e-bike will burp at the same pressure because the bike weighs more.
For e-bike setups, I recommend running 2 to 3 PSI higher than the equivalent acoustic bike and seriously considering a tire insert. The weight of an e-bike also means a single burp can drop pressure faster, so the consequences of a burp are more severe. A tire insert on an e-bike is closer to “necessary” than “optional” if you ride trails.
Tubeless Maintenance Schedule
Burping prevention is mostly maintenance. Here is the simple schedule our team follows:
- Before every ride: Check pressure with a quality gauge. Add air as needed.
- Every 2 to 3 months: Top off sealant. Shake the wheel first to break up dried plugs.
- Every 6 months: Inspect rim tape for gaps, tears, or shifting. Replace if damaged.
- Every 12 months: Consider a full tire refresh — new tire, new rim tape, fresh sealant.
Skip these and burping becomes more likely, along with the slow leaks, dry rot, and other issues that come with neglected tubeless setups. A well-maintained tubeless system will hold air for months between top-ups and resist burping through hard cornering.
What Does a Tubeless Tire Burp Sound Like?
Readers have asked us this directly, and the answer is: it depends on the volume of air released. A small burp from a 2.4-inch tire at 20 PSI sounds like a sharp, short hiss — almost a “tsss” lasting half a second. A larger burp from a 2.0-inch tire at 30 PSI under hard cornering sounds like a loud “pop” or even a small gunshot, with a noticeable pressure drop immediately after.
Either way, you will feel the bike go soft underneath you within a second or two. The tire usually reseats on its own, but the pressure is gone. You will need to add air before the next hard corner or risk a pinch flat or worse.
FAQ’s
What is burping a tire?
Burping a tire is when the bead of a tubeless tire momentarily separates from the rim under high lateral load, releasing a burst of air before the bead reseats itself. The result is a sudden loss of pressure, often with a loud hiss or pop.
How do you stop a tubeless tire from burping?
Run higher pressure within your tire’s recommended range, ensure the bead fits the rim tightly, keep sealant fresh every 2 to 3 months, match the tire width to the rim width, and consider a tire insert like CushCore for aggressive riding or e-bikes.
Can tubeless tires be pumped up?
Yes. Tubeless tires can be topped up with a standard floor pump or hand pump just like a regular tire. Many riders carry a small pump or CO2 inflator on every ride in case of a burp-induced pressure loss.
How long should a tubeless tire hold air?
A well-maintained tubeless tire with fresh sealant should hold its pressure for several weeks between top-ups. Significant pressure loss within hours or days points to dried sealant, a loose bead, or rim tape issues that need attention.
Why do tubeless tyres burst?
Tubeless tires burst when the bead unseats under high lateral load — typically during hard cornering at low pressure — and releases a large volume of air in a short time. The bead usually reseats immediately, but the pressure drop is significant.
What causes tubeless tire bubbles to remain hard?
Bubbles in tubeless tires that stay firm after burping are usually trapped air pockets under the tire casing, often near the sidewall. They do not affect performance and typically work themselves out within a day of riding. Persistent bubbles may indicate a casing issue worth inspecting.
Final Thoughts on Tubeless Tire Burping
A tubeless tire burped air in a corner is annoying, but it is a fixable problem. Most burping comes down to running pressure that is too low for your weight, tire width, and riding style. Bump the pressure by 2 to 3 PSI, refresh your sealant, and check that the bead is seating properly on the rim. For aggressive riders and e-bike owners, a tire insert is the most reliable cure we have found.
Start with the basics — pressure, sealant, and bead fit — before spending on inserts. Most burping issues disappear with those three fixes alone. If you have tried everything and still lose pressure in every corner, your tire and rim combination is likely the issue, and it may be time to swap one or both.