
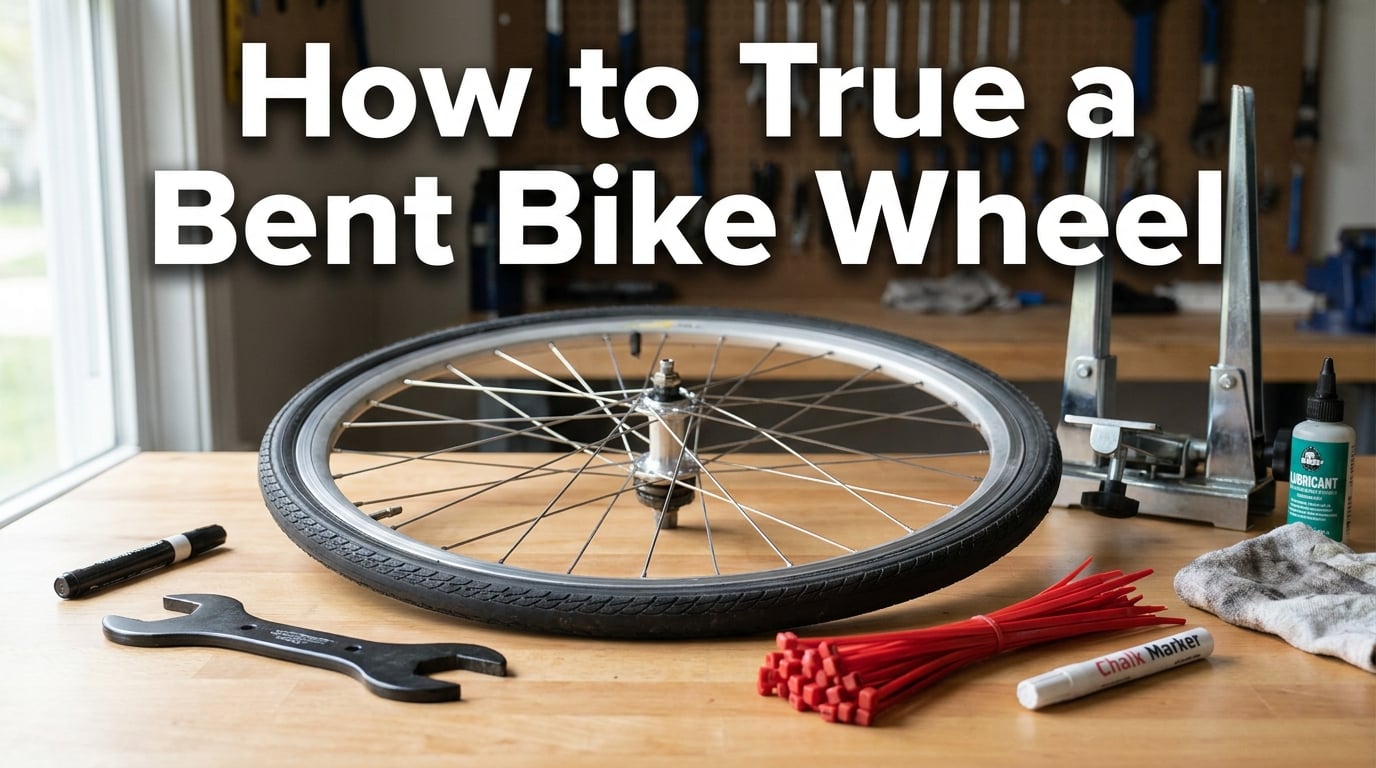
If your bike wheel wobbles side to side or rubs against the brake pads, you can learn how to true a slightly bent bike wheel at home with basic tools. I have fixed dozens of wobbly wheels over the past decade, and most minor bends take less than 30 minutes to correct.
A bent wheel affects more than just ride quality. It causes uneven brake pad wear, puts extra stress on spokes, and can lead to a dangerous collapse if ignored. The good news is that most “slightly bent” wheels respond well to a home true. You only need a spoke wrench, a reference point (your frame or brake pads work fine), and patience.
In this guide, I will walk you through assessing your wheel, gathering the right tools, and making precise adjustments. I will also cover common beginner mistakes and tell you when it is time to visit a shop instead.
Table of Contents
Can You Fix a Slightly Bent Bike Wheel Yourself?
Yes, you can fix a slightly bent bike wheel yourself in most cases. A small wobble under 5mm is well within DIY territory. The repair costs nothing beyond a $5-10 spoke wrench, and the process takes 15-45 minutes depending on the severity.
Here is a quick assessment to help you decide:
- DIY-friendly: Minor side-to-side wobble under 5mm, no broken spokes, rim not visibly dented or cracked, brake pads rub only at certain spots.
- Need a shop: Visible rim cracks, broken or bent spokes, “taco” shape (rim folded over), severe wobble over 10mm, or carbon fiber damage.
- Replace the wheel: Deep dents, multiple broken spokes, or rim wear indicators showing through.
According to community discussions on r/bikewrench, most home mechanics successfully true their own wheels without professional help. The key is starting with small adjustments and checking your progress frequently.
Tools You Need to True a Bike Wheel at Home
You only need three things to true a bike wheel at home. I keep all of these in a small drawer in my garage for quick fixes.
Essential Tools
- Spoke wrench: A $5-10 tool that fits your spoke nipples. Most wheels use 3.2mm or 3.4mm nipples, but check yours. Some wrenches include multiple sizes.
- Reference point: Your bike frame, brake pads, or a zip tie attached to the frame works as a truing stand substitute.
- Clean workspace: Flip your bike upside down or mount it in a repair stand so the wheel spins freely.
Nice-to-Have Additions
- Truing stand: A dedicated stand makes the job easier, but it is not required. Park Tool and Feedback Sports make quality options.
- Marker or chalk: Helps you mark the high spot on the rim for reference.
- Bright flashlight: Makes wobble detection easier by casting a shadow.
- Tension meter: A Park Tool TM-1 helps check even spoke tension, but beginners can do without it.
If you want to learn more about maintaining your bike for long rides, our cycling maintenance guides cover other essential skills.
How to Tell If Your Wheel Needs Truing
A wobbly bike wheel shows clear signs. Before you start adjusting, confirm that truing is actually what you need.
Spin the wheel slowly and watch for these symptoms:
- The rim rubs against the brake pads in one spot but not others.
- Looking down at the wheel from above, you can see it dipping left or right as it spins.
- The wheel makes a “thwop-thwop” sound at certain rotations.
- You feel a side-to-side wiggle when riding, especially at higher speeds.
The 105% rule says a rim should be no more than 1.5mm out of true laterally for road bikes, and 2-3mm for mountain bikes. Anything within that range is normal. If your wobble exceeds those numbers, it is time to true.
How to True a Slightly Bent Bike Wheel: Step-by-Step
Follow these steps to true a slightly bent bike wheel at home. The whole process typically takes 20-30 minutes for a first attempt.
Step 1: Set Up Your Reference Point
Flip your bike upside down so it rests on the handlebars and saddle. Spin the wheel and watch the gap between the rim and one of the brake pads. The brake pad acts as your “gauge” to find the high spot where the rim pulls toward it.
If you do not have rim brakes (disc brakes), attach a zip tie to the frame or fork. Position it so it almost touches the rim. The zip tie method works nearly as well as a truing stand.
Step 2: Find the High Spot
Spin the wheel slowly and watch where the rim comes closest to your reference point. That is your “high spot” – the place where the rim has shifted out of alignment. Mark it lightly with chalk or a small piece of tape.
Step 3: Identify Which Spokes to Adjust
Look at the spokes on both sides of the high spot. The spokes on the side where the rim has shifted are too loose, and the spokes on the opposite side may be too tight. You will tighten the loose spokes to pull the rim back to center.
On a standard wheel, you will see two sets of spokes crossing the hub at different angles. The ones that lead away from the high spot to the hub on the same side as the wobble are the ones you need to tighten.
Step 4: Make Small Adjustments
Place your spoke wrench on the nipple of the loose spoke. Remember the rule: righty-tighty, lefty-loosey. But spoke nipples on bikes reverse this, so turn the wrench counterclockwise to tighten (when looking at the nipple from outside the rim on most standard wheels).
Turn the spoke nipple a quarter turn at most. This is where most beginners go wrong. I have seen people crank spokes full turns and create worse problems. Quarter turns only.
Step 5: Check Your Progress
After each adjustment, spin the wheel again. The high spot should move or shrink. If it moved to an adjacent area, you are making progress. If it disappeared and a new high spot appeared elsewhere, you over-adjusted.
Recheck the gap between the rim and your reference point frequently. The goal is a consistent gap as the wheel spins.
Step 6: Repeat Until True
Continue tightening the appropriate spokes in quarter-turn increments, working your way around the wheel. Most slight bends need 3-6 adjustments total. Take breaks if you feel frustrated. Rushing leads to over-tightening.
Step 7: Final Tension Check
Once the wheel looks true, squeeze pairs of spokes with your fingers. They should feel similar in tension. If one feels much looser than the others, give it a small additional tightening.
For a deeper dive into wheel mechanics, mountain bike cornering techniques shows why true wheels matter for handling.
DIY Alternatives: Truing Without a Truing Stand
You do not need a truing stand to true a bike wheel. I have done it dozens of times using methods that cost nothing.
Brake Pad Method
Your existing rim brake pads serve as a perfect reference point. Spin the wheel and watch the gap between each pad and the rim. The rim should pass with even clearance on both sides. Adjust spokes to center the rim in the brake track.
Zip Tie Method
Cut a zip tie short and attach it to your frame or fork where it nearly touches the rim. The zip tie becomes a cheap gauge. If the rim hits the zip tie in one spot, that is your high spot to fix.
Frame Reference Method
On bikes without rim brakes, you can use the frame itself as a reference. Look at the gap between the rim and the seat tube or chainstay as the wheel spins. Even spacing means the wheel is true.
The Stomp Method (Minor Dents Only)
For a small dent in the rim itself (not a wobble), you can place the wheel flat on the ground, position your foot over the dent, and apply steady pressure. This can pop out minor dents. But this method only works for the rim itself, not for spoke tension issues.
For long-distance riding tips and field repairs, the zip tie method is the most portable option to carry on tours.
Common Mistakes to Avoid When Truing a Wheel
These are the mistakes I have made and seen others make. Avoiding them saves time and prevents damage.
Over-Tightening Spokes
The number one beginner mistake. A quarter turn is your maximum. Full turns can pull the rim out of true in a new direction or break a spoke. When in doubt, adjust less.
Turning the Wrong Spokes
Beginners often tighten spokes on both sides of the high spot. Only tighten the spokes on the same side as the wobble. The opposite side spokes should stay where they are unless you need to rebalance tension.
Forgetting Which Way to Turn
Spoke nipples tighten counterclockwise (when viewed from outside the rim) on most standard wheels. Some wheels are opposite. Check by turning and watching the spoke – if the spoke loosens, you are going the wrong way.
Ignoring Spoke Tension Balance
A perfectly true wheel with uneven spoke tension will go out of true quickly. Squeeze pairs of adjacent spokes. They should feel similar. Adjust loose spokes slightly to balance, then recheck the true.
Not Checking the Wheel in the Bike
Truing a wheel in the frame is different from truing it on a stand. Always do a final check with the wheel installed. Frame flex and fork angle affect how the wheel sits.
Continuing Past Your Skill Level
If you have made multiple adjustments and the wheel keeps getting worse, stop. A professional mechanic can fix what you cannot. No shame in knowing your limits.
Can You Ride a Bike With a Slightly Bent Rim?
You can ride a bike with a slightly bent rim, but you should not ignore it. A small wobble under 2mm is generally safe for short rides. Anything more creates problems.
An out-of-true wheel causes:
- Uneven brake pad wear (replacing pads costs $20-40 per wheel)
- Spoke fatigue from uneven tension (broken spokes mid-ride are dangerous)
- Reduced handling precision, especially in corners
- Premature rim wear at the high spots
If the wobble exceeds 5mm or the rim contacts the brake pads, do not ride the bike until you fix it or visit a shop.
Frequently Asked Questions About Wheel Truing
How do you true a slightly bent bike wheel at home?
To true a slightly bent bike wheel at home, flip the bike upside down, use the brake pads or a zip tie as a reference point, find the high spot where the rim pulls to one side, and tighten the loose spokes on that side in quarter-turn increments. Spin the wheel between adjustments to track your progress.
Can I true a bike wheel without a stand?
Yes, you can true a bike wheel without a stand. Your rim brake pads work as a built-in reference, and you can attach a zip tie to the frame as a homemade gauge. Most home mechanics successfully true wheels using the bike itself as a reference, especially for minor wobbles under 5mm.
How much does it cost to true a bike wheel at a shop?
Most bike shops charge $20-40 to true a wheel, depending on your location and the wheel type. Doing it yourself costs only the price of a spoke wrench ($5-10), which is a one-time purchase. The DIY route pays for itself after your first truing job.
What is the difference between lateral and radial truing?
Lateral truing fixes side-to-side wobble by adjusting spoke tension to center the rim between the hub flanges. Radial truing fixes up-and-down hop by adjusting spoke tension to center the rim relative to the hub. Most DIY fixes focus on lateral truing because it is more common and easier to assess.
How long does it take to true a bike wheel?
A first-time truing job takes 30-60 minutes. With practice, you can true a wheel in 10-15 minutes. The time depends on how out of true the wheel is and whether you are using a stand or the brake pad method.
Can you permanently damage a wheel by truing it?
Yes, you can damage a wheel by over-tightening spokes. Excessive force can strip spoke nipple threads, break spokes, or crack a rim. Stick to quarter-turn adjustments and check your progress frequently to avoid permanent damage.
Final Thoughts on DIY Wheel Truing
Learning how to true a slightly bent bike wheel at home saves money and keeps you riding. Most minor wobbles fix in under 30 minutes with a $5 spoke wrench and some patience. Start with small quarter-turn adjustments, check your progress frequently, and stop if the wheel gets worse instead of better.
If your wheel has visible cracks, broken spokes, or a severe bend, take it to a professional. Some damage is beyond DIY repair. But for the common case of a slightly wobbly wheel from hitting a pothole or curb, home truing is a skill every cyclist should have.