
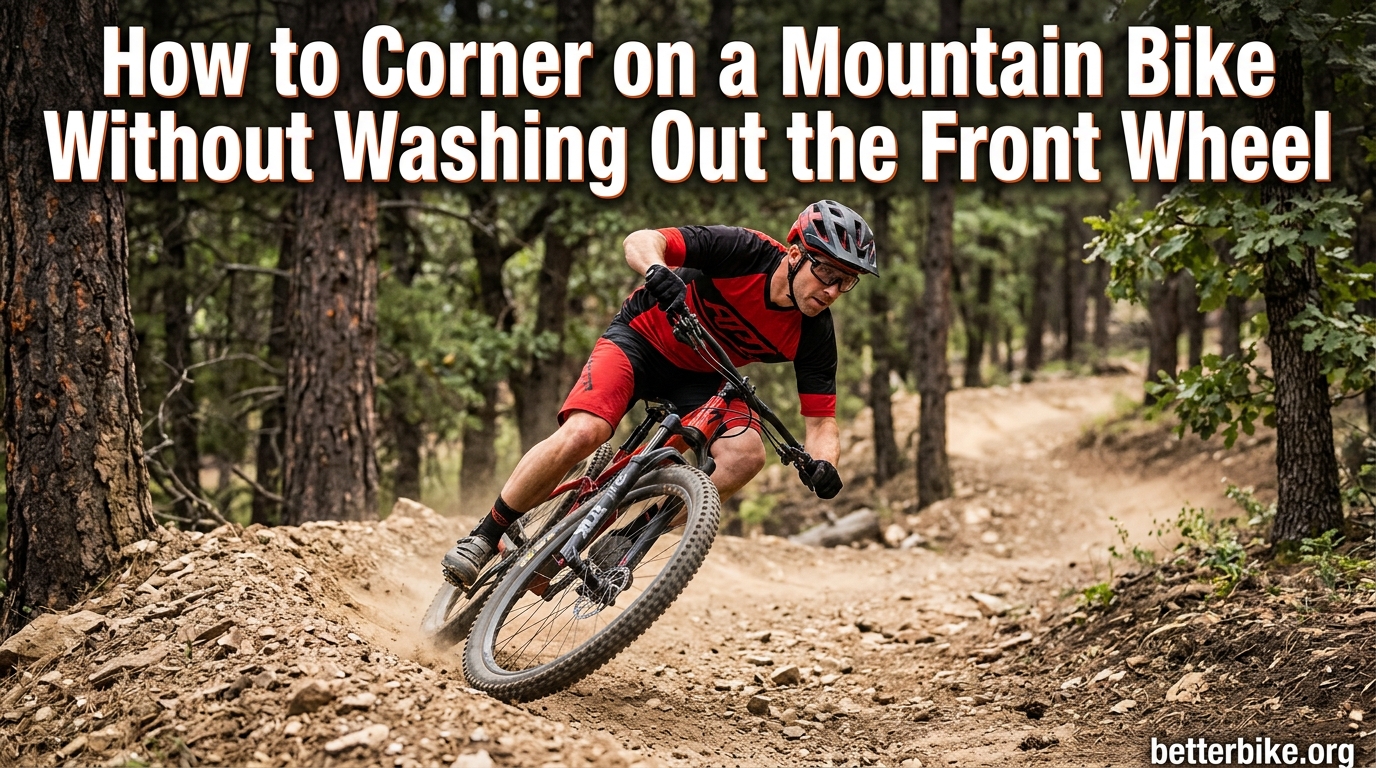
There is no sound on a mountain bike quite like the sudden silence of a front tire letting go mid-corner. One second you are committed to the turn, the next you are on the ground wondering what just happened. Front wheel wash-out is one of the most common — and least forgiving — crashes in mountain biking, because once the front tire slides, there is rarely time to save it.
The good news is that washing out the front wheel is almost never a tire problem or a luck problem. It is a technique problem. Once you understand the mechanics of why the front tire loses grip and how your body position controls that grip, you can corner with far more confidence on any trail. This guide breaks down exactly how to corner on a mountain bike without washing out the front wheel, step by step.
Whether you are struggling with loose flat corners, sketchy off-camber sections, or berms that still feel unpredictable, the same fundamentals apply. We will cover why wash-out happens, the body position that prevents it, the cornering process from entry to exit, common mistakes to fix, and drills you can actually practice.
Table of Contents
What Front Wheel Wash-Out Really Is (and Why It Happens)
Front wheel wash-out occurs when the front tire loses sideways traction during a corner and slides out from under the bike. The tire’s contact patch — the small section of rubber actually touching the ground — can only hold so much lateral force before it lets go. When the cornering load exceeds what the tire can handle, the front end slides and the rider goes down almost instantly.
Three things eat up that available traction faster than anything else: too much lean angle, braking while turning, and not enough weight pressing down on the front wheel. Lean angle matters because the more you tip the bike, the harder the side knobs of the tire have to work. Braking during the turn is worse than most riders realize — it asks the tire to slow the bike and hold the corner at the same time, which is a losing trade. And weight, or lack of it on the front tire, is the silent killer. An unweighted front tire simply cannot dig into the dirt.
Think of traction like a fixed budget. Every corner, your front tire has a certain amount of grip to spend. Lean angle spends some, braking spends some, acceleration in the wrong direction spends some. Spend more than the tire has, and the front end washes out. Spend less — by braking early, staying balanced, and keeping weight on the front — and the tire holds all the way through.
Understeer vs Wash-Out: Knowing the Difference
Not every front-end problem is a wash-out, and mixing them up will lead you to the wrong fix. Understeer is when the bike refuses to turn — you steer, but the front tire just pushes wide across the trail. The tire still has grip, but not enough angle or input to change direction. You can usually recover from understeer by slowing down and resetting your line.
A true wash-out is different. The front tire breaks traction completely and slides sideways, often with no warning. There is no pushing feeling, no time to correct — the front end is just gone. Riders on the r/MTB subreddit describe it as the front of the bike “dropping away” with a half-second of nothing before hitting the ground. If you are actually washing out rather than understeering, the fix is almost always about weight distribution and braking discipline, not steering input.
How to Corner on a Mountain Bike Without Washing Out the Front Wheel
The cornering process breaks down into six clear steps. Run through them in order on every corner and the front wheel will stay planted far more consistently.
Step 1: Read the corner and pick your line early. As soon as the corner comes into view, scan the entry, the apex, and the exit. Look for traction clues — loose dirt, wet roots, embedded rocks, off-camber sections. Decide your line before you commit speed. Riders who wash out often are usually reacting to the corner instead of planning for it.
Step 2: Brake before the corner, never in it. Get all your speed control done in a straight line, well before the turn starts. Once you tip the bike into the lean, the front brake should be off or barely trailed. Braking during a corner is the single fastest way to overload the front tire and cause a wash-out, especially on loose or off-camber terrain.
Step 3: Drop your outside foot and set your body position. As you enter the turn, push your outside pedal down so your outside leg is extended and your inside foot is up. This drops your weight through the outside pedal and lets you push the bike into the lean without falling into the inside of the turn. At the same time, get low, bend your elbows, and hinge forward at the hips.
Step 4: Push the bike into the lean and weight the front wheel. Steer the bike primarily by pushing the inside handlebar down toward the ground and driving your inside knee forward. This leans the bike underneath you while your body stays more upright. Crucially, push your weight forward through your hands so the front tire is loaded into the dirt. The front wheel needs pressure to grip — an unloaded front tire in a lean is a wash-out waiting to happen.
Step 5: Look through to the exit. Your eyes should already be on the exit of the corner by the time you are mid-turn. Where you look is where the bike goes. Staring at the inside of the corner or at the obstacle you are trying to avoid will pull your line wide and unbalance your weight — both of which unweight the front tire.
Step 6: Exit smooth, then accelerate. Only start pedaling or getting back on the gas once the bike is standing back up from the lean. Squirt the acceleration too early and the weight transfers rearward, unloading the front wheel right when it still needs grip to finish the turn.
Run these six steps on every corner you ride. Slow is smooth, smooth is fast — and smooth is also what keeps the front tire stuck to the trail.
Body Position Guide: How to Keep the Front Wheel Planted
If the six-step process is the recipe, body position is the ingredient that determines whether it works. Almost every rider who washes out regularly has a body position issue underneath the technique. Get these four pieces right and the rest of cornering gets dramatically easier.
Outside Foot Down: Why It Matters
Dropping your outside foot does two things at once. First, it pushes your body weight low and to the outside of the turn, which balances the bike against the lean. Second, it lets you push down hard through the outside pedal, driving the tires into the ground for more grip. Riders who corner with both feet level often cannot load the tires properly, and the front wheel floats through the turn instead of biting.
For bermed corners, you can sometimes keep your feet level because the berm itself supports the lean. For flat and off-camber corners, outside foot down is non-negotiable if you want the front tire to hold.
Inside Knee Forward: Steering with Your Hips
Driving your inside knee forward toward the front axle does more than most riders realize. It rotates your hips into the turn, which naturally steers the bike through your center of mass rather than just through the handlebars. It also drops your inside hip and helps the bike lean underneath you. This single cue — inside knee forward — fixes a huge percentage of front-end grip problems because it loads the front wheel through your whole body, not just your arms.
Push the Inside Handlebar Down
Combined with the outside foot down and the inside knee forward, pushing the inside handlebar down toward the ground is what actually leans the bike into the corner. You are not steering by turning the bars — you are steering by tipping the bike. Keep your elbows bent and your grip relaxed so the front wheel can track the terrain. A death grip on the bars fights the lean and unweights the front tire.
Weight Forward Without Going Over the Bars
This is the part that confuses the most riders. You want weight on the front wheel, but you do not want to be pitched over the bars. The answer is hinging forward at the hips with a low chest, not sliding your whole body forward on the saddle. Your chin should be roughly over the stem, elbows heavy, shoulders dropped. This loads the front tire through your hands while your feet stay balanced on the pedals. Done right, the front wheel feels glued to the trail.
Corner Types: Flat, Bermed, and Off-Camber
The fundamentals stay the same, but each corner type tweaks the recipe. Knowing how to adjust keeps the front tire holding across every kind of trail feature.
Flat Corners (Hardest for Front Grip)
Flat corners have no banked support, so the tire has to do all the work of holding the lean. These are where most riders wash out for the first time. On flat corners, drop your speed more than you think you need to, get your outside foot down hard, and weight the front wheel aggressively. Lean the bike more than your body — your body stays fairly tall while the bike tips underneath you. Flat corners on loose dirt are the highest-risk scenario for front-end wash-out, so brake early and commit fully.
Bermed Corners (Most Forgiving)
Berms support the lean, which means the tire is pushed into the ground by the wall of the berm rather than just by gravity. You can carry more speed, keep your feet level, and lean the bike and your body together. But berms still demand that you look through the exit and weight the front — a common mistake is sitting back and letting the berm do the work, which floats the front wheel and causes surprise wash-outs on steep or blown-out berms.
Off-Camber Corners (Trickiest Balance)
Off-camber corners slope away from the turn, so gravity is actively trying to slide the bike down the hill. Reduce speed more than on a flat corner, keep the bike more upright (less lean angle), and put extra emphasis on weighting the front tire. Body position is everything here — drop your inside shoulder, push your hips toward the front axle, and trust the side knobs of your front tire. If you hesitate and sit back, the front will slide.
Common Cornering Mistakes That Cause Front Wheel Wash-Out
Almost every recurring wash-out traces back to one of these mistakes. Identify yours and the fix usually falls into place.
- Braking in the corner. The number one cause. Get your braking done before the lean starts.
- Sitting back on the bike. Weight too far rear floats the front wheel. Hinge forward at the hips to load the tire.
- Both feet level in flat corners. Outside foot down is required for flat and off-camber turns.
- Steering with the handlebars only. Drive the inside knee forward and push the inside bar down to lean the bike.
- Looking at the inside of the corner. Eyes go to the exit, always. Target fixation pulls your line wide and kills your weight balance.
- Too much tire pressure. Over-inflated tires bounce and reduce the contact patch. Check your front tire pressure — many riders run it too high.
- Going too slow out of fear. Counterintuitively, washing out often happens at lower speeds because the bike never commits to the lean. Carrying the right speed actually helps the front tire bite.
Practice Drills to Build Front Wheel Confidence
Reading about technique only takes you so far. These drills translate the concepts into muscle memory so the front wheel stays planted when it counts.
Drill 1: The Slow-Speed Lean. Find a flat, grassy area. Ride slowly and practice leaning the bike back and forth while keeping your body upright. Focus on pushing the inside bar down and dropping the outside foot. This builds feel for how the bike leans without risk.
Drill 2: The Cone Corner. Set up a single cone on flat ground and ride a circle around it. Start wide and slow, then tighten the circle and add speed each lap. This teaches you to hold a consistent lean and feel the front tire’s limit before it lets go.
Drill 3: Brake-Then-Turn Reps. Mark an entry point and a corner entry point. Brake hard between them, then release the brakes fully before the turn and roll through with no braking. This trains the habit of finishing braking before the lean.
Drill 4: Eyes-on-Exit. Ride a familiar corner repeatedly and consciously force your eyes to the exit the moment you enter the turn. Notice how your body position naturally improves when your eyes lead the way.
Spend ten minutes on these drills before your next ride and you will feel the difference in your very first real corner.
How to properly corner on a mountain bike?
Proper mountain bike cornering follows six steps: read the corner and pick your line, finish braking before the turn, drop your outside foot and hinge forward, push the inside handlebar down and weight the front wheel, look through to the exit, and accelerate only after the bike stands back up. Outside foot down, inside knee forward, and eyes on exit are the three cues that fix most cornering problems.
What are common cornering mistakes?
The most common cornering mistakes are braking during the turn, sitting too far back on the bike (which unweights the front wheel), keeping both feet level in flat corners, steering only with the handlebars instead of leaning the bike, looking at the inside of the corner instead of the exit, and running front tire pressure too high. Each of these directly reduces front wheel grip.
How to make your bike feel more planted during cornering?
To make your mountain bike feel planted in corners, drop your outside foot and push down hard through it, drive your inside knee forward toward the front axle, hinge forward at the hips so your chin is over the stem, and push the bike into the lean while keeping your body more upright. Loading the front wheel through your hands and feet is what creates that planted feel.
What is a good cornering strategy to use?
A reliable cornering strategy is the four-step process used by pro riders: anticipate the corner early, slow down to your cornering speed before the turn starts, set up your body position at the entry, and let the bike roll through the corner with no braking. The phrase to remember is slow is smooth, smooth is fast — get your speed control done early and let the bike work through the turn.
Conclusion
Learning how to corner on a mountain bike without washing out the front wheel comes down to a handful of habits done consistently: brake before the turn, drop your outside foot, weight the front wheel, and look through to the exit. The technique is not complicated, but it takes repetition to trust it on loose dirt and fast corners. Spend a few sessions on the practice drills, fix whichever mistake on the list above sounds most like you, and the front tire will start holding through corners you used to dread. The trail is waiting — go ride it with more confidence.