
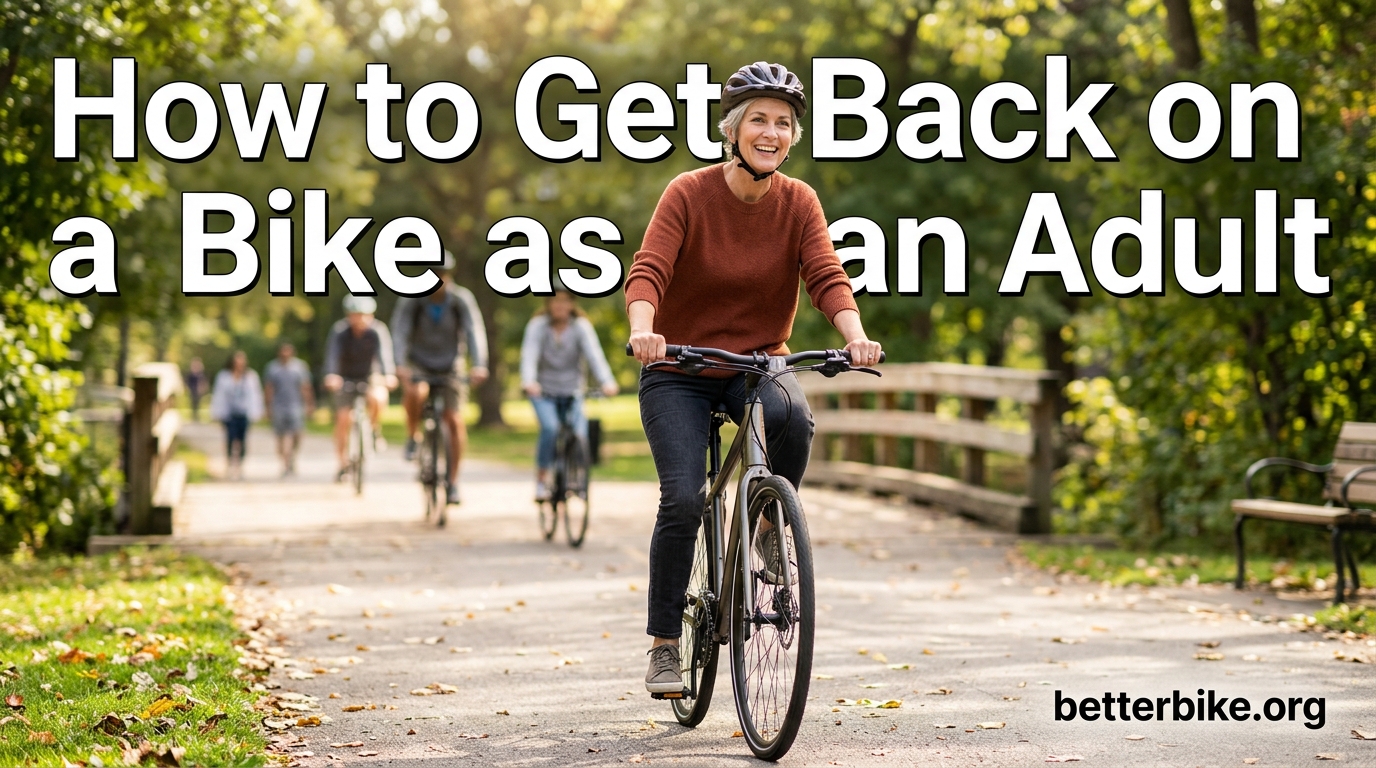
Getting back on a bike as an adult who hasn’t ridden in years comes down to two things: consistency and actually getting onto the bike. The most important step is the first one: short, frequent practice sessions on flat, low-traffic ground beat any heroic weekend ride. From there, you rebuild balance, fitness, and confidence in that order, and within a few weeks most returning riders feel like themselves on two wheels again.
I know how it feels. You learned to ride as a kid, life got in the way, and now the idea of swinging a leg over a saddle feels strange. Maybe it’s been 5 years. Maybe 25. Either way, the skills are still in your body. You just need a sensible plan to bring them back out.
This guide walks you through exactly how to get back on a bike as an adult who hasn’t ridden in years, with a step-by-step balance progression, a 30-day plan, and honest advice about the mental side of returning to cycling.
Table of Contents
Quick Summary: How to Get Back on a Bike in 6 Steps
Before we get into the details, here is the short version. If you only read one section of this guide, read this one.
- Get your bike checked (tires, brakes, chain) or rent one from a shop or bike share.
- Dial in your fit: feet flat on the ground when stopped, slight knee bend at the bottom of the pedal stroke.
- Start in a flat, empty space like a parking lot or trail.
- Walk through the 5-stage balance drill progression: seated push-offs, scooting, gliding, one-pedal pushes, full pedaling.
- Commit to short, frequent rides. 10 to 20 minutes, three times a week beats a single long ride.
- Add a helmet, lights, and a friend. Community and safety gear make returning easier.
That’s the entire framework. Now let’s go deeper into each step.
Start With Your Mindset: It’s Normal to Feel Rusty
Before you touch a pedal, the most important muscle to warm up is your brain. Every adult I have talked to who has come back to cycling after a long break has described the same feeling: a low hum of anxiety mixed with self-consciousness. You are not alone in this.
Forum threads about returning to cycling are full of adults who say things like “I feel like I have forgotten how to ride” or “I am embarrassed to be seen wobbling on a bike as a grown-up.” That emotional weight is often heavier than the actual physical challenge. Acknowledging it is the first step.
Why the Fear Is Real and Reasonable
You are not being dramatic. The body really does change when you stop riding for years. Your balance is slightly less automatic, your reaction time is slower, and your legs burn faster. Add in real concerns about cars and traffic, and it is no wonder that getting back on a bike can feel daunting.
But here is the good news. Cycling sits in a different category from most physical skills. Once learned, balance and steering on a bicycle are stored as procedural memory, the same kind that lets you type without looking at the keyboard or drive a familiar route. They do not disappear just because you have not used them for a while.
Reframing the Embarrassment
Every experienced cyclist you see on the road was once a beginner or a returning rider. Most will be delighted to see an adult relearning. Many local bike shops and clubs run dedicated “learn to ride” or “returning rider” sessions for exactly this reason.
One practical tip: pick a quiet time and a low-traffic place for your first sessions. You will feel less observed, and that alone takes a lot of pressure off. Empty school parking lots on Sunday mornings, dead-end residential streets, and paved rail trails are all great options.
Get Your Bike Ready: The Pre-Ride Safety Check
If your old bike has been sitting in a garage for a decade, do not just pump up the tires and go. A few minutes of checking can prevent a crash, a flat, or a walk home pushing a bike you should not have been riding in the first place.
This is also a common question in cycling forums: what to do to a bike that has been sitting for years. The short answer is inspect, inflate, lubricate, and ride gently. The long answer is below.
The 7-Point Pre-Ride Inspection
- Tires: Inflate to the pressure printed on the sidewall. Check for dry rot, cracks, or bald spots. Old tires often need replacing.
- Brakes: Squeeze each lever. The bike should not roll when you push it forward with the brakes applied. Pads should not be worn down to the metal.
- Chain: It should move freely and not be visibly rusty. If it squeaks, a drop of chain lube often solves it. If links are stiff or skip, replace it.
- Quick releases or axle bolts: Wheels should be firmly seated. Lift the front of the bike and hit the front tire with your palm; it should not wobble.
- Steering: Turn the handlebars fully left and right. The headset should move smoothly without clicking or grinding.
- Seat and seatpost: The saddle should be locked in position. If it slips when you sit on it, the seatpost clamp needs tightening.
- Test ride (no hands): Coast down a gentle slope and apply the brakes. If anything feels wrong, stop and inspect.
If your bike fails any of these checks, take it to a local bike shop for a basic tune-up. Most shops will do a safety check for free or a small fee, and a $60 to $100 tune-up is a lot cheaper than a crash or a torn ligament.
When to Skip the Old Bike Entirely
Sometimes the honest move is to start fresh. If your old bike is the wrong size, has rusted cables, or needs a complete overhaul, you may be better off renting a bike from a shop or trying a bike share program for your first sessions. Many cities have bike share options that let you try a few different styles at low cost.
There is no rule that says you have to ride the same bike you had as a kid. Comfort hybrids, step-through frames, and even e-bikes exist for a reason. We will get to bike choice in a moment.
Dial In Your Bike Fit Before Your First Ride
Fit is the single biggest reason adults quit cycling after a few rides. A bike that is too big, too small, or set up wrong will make you sore, scared, and frustrated. Get this right and everything else is easier.
Standover Height: The Most Important Measurement
Stand over the top tube of the bike with both feet flat on the ground. There should be one to two inches of clearance between the top tube and your crotch for a road or hybrid bike, and slightly more for a mountain bike. If you cannot put both feet flat on the ground, the bike is too big.
For many returning adults, a step-through frame solves this problem. With a low or absent top tube, mounting and dismounting becomes trivially easy. Step-through bikes are not just for women, despite the marketing. They are for anyone who wants a less awkward mount and dismount.
Seat Height: The “Heel Test”
Sit on the saddle with the ball of your foot on the pedal at the bottom of the stroke. Your knee should have a slight bend, around 25 to 30 degrees. A quick sanity check: with the pedal at the bottom, rest your heel on the pedal. Your leg should be fully straight. If your heel does not reach, the saddle is too high. If your knee is bent with the heel, the saddle is too low.
Reach and Handlebar Height
You should be able to reach the handlebars with a relaxed bend in your elbows. Your back should not be hunched, and your neck should not be craned. If you have any neck, shoulder, or back issues, consider a bike with upright handlebars and a comfort-oriented geometry.
If you have access to a local bike shop, ask for a basic fit consultation. Most shops will do a 15-minute fitting at no cost, and it is well worth your time.
Rebuild Balance and Confidence: 5-Stage Drill Progression
This is the section most other guides skip, and it is the one that will get you rolling fastest. The idea is to break “riding a bike” into five small, repeatable stages. You master each stage before moving to the next. Most returning adults can get through all five in two to four short sessions.
Practice in a flat, paved, traffic-free area. Empty parking lots, basketball courts with no hoops in use, or the paved end of a rail trail all work. Wear your helmet from stage one.
Stage 1: Seated Push-Offs
Sit on the saddle with both feet on the ground. Push off gently with one foot and glide a few feet. Put your foot down. Push off with the other foot. Glide. Repeat for 5 to 10 minutes, just getting used to the weight of the bike and the feel of the handlebars.
This stage is about familiarity, not speed or distance. If you can sit comfortably and roll a few feet, you are doing it right.
Stage 2: Scooting
Sit on the saddle, push off with one foot, and coast as long as possible on the bike, with your feet hovering just above the ground, ready to catch yourself. The goal is balance. You will not get far at first, and that is fine.
Keep practicing until you can coast 10 to 15 feet without putting a foot down. This is where your balance starts coming back online.
Stage 3: Gliding
Same as scooting, but with your feet actually off the ground, tucked slightly behind the pedals. Try to glide for one full bike length, then two, then three. The longer you can balance, the more your body remembers the feel of two wheels beneath you.
Stage 4: One-Pedal Push
Place the pedal at the two o’clock position (front pedal up, back pedal down). Push down on the front pedal as you push off with the foot that’s on the ground. The bike should roll forward as you complete a single half-rotation. Coast, then repeat.
This is the moment most adults have a small breakthrough. You are now propelling the bike rather than just balancing on it.
Stage 5: Full Pedaling
Now start pedaling in a full circle. Use the inside of your foot and the ball of your foot rather than pushing down hard. Light, fast, smooth circles beat slow, powerful pushes. Look ahead, not down at your front wheel.
Make a few loops of your practice area. Stop with the brakes. Start again. Practice turning gently. After 10 to 15 minutes, you will probably find that the wobble is mostly gone and you are starting to feel like a cyclist again.
Pick the Right Practice Spot and First Routes
Where you practice matters almost as much as how you practice. A good first location removes every variable you do not need to deal with yet: cars, dogs, children, traffic lights, and hills.
Best Places to Practice
- Empty parking lots: Schools, churches, and office parks on weekends are usually deserted and have a smooth, flat surface.
- Rail trails and greenways: Paved multi-use trails are perfect because cars are not allowed and the gradient is gentle.
- Dead-end residential streets: Low traffic, no through cars, and a soft place to fall if you need it.
- Closed-loop park paths: Short loops let you ride for 5 to 10 minutes without having to navigate intersections.
Better cycling infrastructure, including more protected lanes and quiet neighborhood streets, is something advocates have been pushing for years. You can learn more about that effort in this piece on urban cycling infrastructure and the work being done on complete streets policy.
What to Avoid at First
Stay away from busy arterials, intersections without bike lanes, and any route that requires merging with fast traffic. If you are unsure about what constitutes a safe route, you can read about the importance of safe cycling routes and why choosing the right roads matters for rider safety.
You can add complexity later, but for the first few weeks, the simpler the environment, the faster you will progress.
This is also where route planning tools help. Apps like Ride with GPS, Komoot, and Google Maps’ cycling layer can show you low-traffic, bike-friendly paths in your area.
Start Small: Your First Week of Riding
The most common mistake returning riders make is doing too much too soon. You go out on day one, ride 8 miles, get a sore saddle and a tight lower back, and conclude that you are out of shape forever. That is not what is happening. You just did too much, too fast.
A better approach: micro-goals, repeated often.
Day 1: Around the Block
Literally ride around one block. Maybe 5 minutes. Stop, lock up, drink some water, and feel good about yourself. You just went on a bike ride.
Day 2: Twice Around
Two laps of the same block. You are already 50% better than yesterday.
Day 3: Rest or Light Walk
Your legs will feel it. This is normal. Take the day off the bike.
Day 4: 10 Minutes of Continuous Riding
Pick a route that takes 10 minutes to ride at a slow, conversational pace. Stop when the timer goes off. Stretch your calves and hamstrings.
Day 5 and Beyond: Add 5 Minutes Per Ride
Each subsequent ride, add about 5 minutes to your duration. By the end of the second week, you should be riding 20 to 30 minutes comfortably.
This pattern of “ride, recover, ride, recover” is also recommended by experienced cyclists returning from long layoffs in forums. One common piece of advice from TrainerRoad users: do 2 to 3 weeks of easy riding when getting back on the bike after a month or more, just to bring basic cardio back to par.
Rebuild Fitness Progressively (Don’t Skip the Base)
Cycling uses your legs, your heart, and to a lesser extent your core and upper body. After years off, all three systems need reawakening. The mistake most adults make is assuming they are still as fit as they were in their 20s. The body adapts downward quickly, and it adapts back upward only with patience.
The First 2 to 3 Weeks: Easy Miles Only
Keep your effort conversational. If you cannot speak in full sentences, you are going too hard. Heart rate, if you have a monitor, should be in the “easy” or “Zone 2” range. For most adults that is around 60 to 70% of max heart rate, or roughly the rate you would walk at a brisk pace.
Distance does not matter at this stage. Time on the bike matters. Three 20-minute rides per week beats one 60-minute ride in the first month.
The 75% Rule (When You’re Ready)
Once you have a few weeks of base fitness back, you may hear about the “75% rule” in cycling. The idea is simple: about 75% of your riding should be at an easy effort, and only about 25% should be moderate to hard. This is more relevant for cyclists training for events, but it is a useful principle for returning riders too. The urge to push hard is strong. The recovery is what actually builds fitness.
Off-the-Bike Conditioning
You can support your return to cycling with two or three short strength sessions per week. The key muscles are quadriceps, hamstrings, glutes, and core. Bodyweight squats, lunges, planks, and glute bridges are all you need. Twenty minutes, twice a week, makes a noticeable difference in how steady you feel on the bike.
Safety Gear and Rules of the Road Refresher
Cycling has changed a lot in the last 20 years, both in terms of gear and in terms of how cars expect cyclists to behave. A quick refresher helps you feel confident and keeps you safe.
Helmet
Wear one. Every ride. Make sure it sits level on your head, two finger-widths above your eyebrows, with the straps forming a “V” under each ear and the chin strap snug (one finger’s width under the chin). Replace any helmet that has taken a significant impact, even if it looks fine. The foam inside is designed to crush once.
Lights and Visibility
Even if you plan to ride only during the day, a small front white light and a rear red light are smart additions. They make you visible in shade, in tunnels, and in poor weather. Reflective ankle bands and a brightly colored jacket also help. Assume you are invisible to drivers until proven otherwise.
Hand Signals
Review the three basic hand signals before you ride in traffic: left arm straight out for a left turn, left arm bent up at the elbow for a right turn, and left arm bent down at the elbow for stopping or slowing. Make your signals clearly, give drivers plenty of time to react, and make eye contact whenever possible.
Rules of the Road
Ride with traffic, not against it. Stop at stop signs and red lights. Take the lane when the lane is too narrow for a car to pass safely. Use bike lanes when they exist, but understand that you are allowed to leave them to avoid hazards or make turns. These habits are the same as they were when you learned to ride, but they bear repeating because they save lives.
Find Your Cycling Community
Cycling alone is fine. Cycling with others is faster, safer, and more fun. You do not have to join a club or wear Lycra. You just need one or two people to ride with, or a group that meets at your pace.
Local Bike Shops
Your local bike shop is the single best resource for a returning rider. They will know which group rides are beginner-friendly, which trails are well-maintained, and which products are worth your money. Stop in, introduce yourself, and ask. Most shop staff got into cycling because they love talking about it.
Beginner Group Rides
Many cities have weekly no-drop rides, meaning the group waits for the slowest rider. These rides are designed for exactly the situation you are in. Look for rides labeled “beginner,” “social,” “no-drop,” or “C” or “D” pace. The first one might be humbling. The fifth one will be habit.
Online Communities
Reddit’s r/cycling, Bike Forums, and local Facebook cycling groups are great places to ask beginner questions without judgment. You will find threads from other adults in the exact same situation, including a 58-year-old returning after a 25-year break and a 76-year-old who credits an e-bike with getting them back on two wheels.
Cycling advocacy groups can also point you to safer routes and community events. There are efforts in many cities to make streets friendlier for new riders, and you can read more about the push for cycling advocacy and infrastructure improvements.
E-Bikes: A Legitimate Bridge Back to Cycling
For many adults, an e-bike is the difference between cycling and not cycling. This is true at any age, not just for seniors. If you have not ridden in 20 years, an e-bike lets you ride with a friend who is fitter, climb hills that would otherwise end your ride, and recover from a long ride without being wiped out for two days.
Pedal-assist e-bikes only add power when you are pedaling. You still get exercise. You still balance. You still control the bike. The motor just gives you a boost, especially on hills and headwinds.
Common Objections
Some returning riders feel that an e-bike is “cheating.” It is not. It is transportation. The same way an automatic transmission is not cheating in a car, an e-bike is simply a tool that lets you ride more often, for longer, and with more enjoyment.
One forum user summarized it well after getting back on a bike following a serious crash: “Got an e-bike. Game changer.” That sentiment is repeated by returning riders of all ages.
Who E-Bikes Help Most
E-bikes are particularly useful if you have any of the following: knee or hip issues that limit leg power, a long or hilly commute, a partner who is a stronger rider, or anxiety about running out of energy mid-ride. They are also a great way to ease into a fitness routine if you are coming back from a long sedentary period.
What to Realistically Expect in Your First 30 Days
No other guide I have read for this topic includes a realistic timeline, so here is one based on the experiences of dozens of returning riders.
Week 1: The Awkward Phase
You will feel stiff, wobbly, and self-conscious. Your balance will return faster than you expect, often within two or three sessions. Soreness in your calves, hamstrings, and lower back is normal. Sore wrists and numb hands are a fit issue, not a fitness issue. Adjust your bike.
Week 2: The Breakthrough
Most returning riders report a small “click” moment in week two where the balance and pedaling finally feel natural. You will start to enjoy the rides rather than just surviving them. You will probably also start to notice how out of shape you are in terms of cardio, especially on any kind of hill.
Week 3: The Plateau
Progress feels slower this week. You may be tempted to push harder or to skip a ride. Do the opposite. Ride easy. Add one longer ride on the weekend. Trust the process.
Week 4: The New Normal
By the end of the first month, cycling should feel like a part of your routine rather than an event. You will have ridden somewhere between 6 and 12 hours total, depending on your schedule. You will feel stronger, more confident, and probably a bit addicted.
This is also the point where many returning riders start to think about upgrading their bike, joining a group ride, or planning a longer weekend outing. Follow that instinct. The hardest part is behind you.
Frequently Asked Questions
How do I get back into cycling after a long break?
The fastest way back to cycling is short, frequent, low-effort rides. Start with 10-20 minute sessions three times a week on flat, traffic-free ground. Focus first on rebuilding balance through seated push-offs, scooting, and gliding drills, then add pedaling. Skip the heroic weekend ride. Consistency beats intensity for the first month.
What is the 75% rule in cycling?
The 75% rule says roughly 75% of your riding time should be at an easy, conversational effort, and 25% at moderate to hard intensity. It is a training principle used to build aerobic base while reducing injury and burnout risk. For returning riders, a more conservative split (90/10 or 100/0) is appropriate for the first few months.
Is it normal to not be able to ride a bike as an adult?
Yes, it is completely normal. Many adults never learned as children, and many who did learn feel rusty after years away. Balance and pedaling are stored as procedural muscle memory, which fades slowly and returns quickly with practice. Most adults regain basic riding competence within 2-4 short practice sessions.
Should a 70 year old ride a bike?
In most cases, yes, with a doctor’s clearance. Cycling is low-impact, joint-friendly, and adjustable to nearly any fitness level. For older riders, an upright comfort bike, step-through frame, or e-bike makes riding easier and safer. Many cyclists ride well into their 80s and beyond, and e-bikes have opened cycling to people who could not manage it otherwise.
How long does it take to relearn how to ride a bike?
Returning riders typically regain basic balance and pedaling within 1-3 short practice sessions. Confidence usually returns within 2-4 weeks of consistent riding. Cardio and leg strength take longer, usually 1-3 months of regular riding to feel back to a baseline fitness level. The 75% rule and patience are key to rebuilding without injury.
How do I get into cycling after years off?
Start with a basic bike check (tires, brakes, chain) and a proper fit. Pick a flat, traffic-free practice area and walk through a 5-stage balance progression: seated push-offs, scooting, gliding, one-pedal pushes, and full pedaling. Commit to three short rides per week for the first month. Add a helmet, lights, and a friend for safety and motivation.
How long does it take to learn to ride a bike for adults?
Complete beginners typically need 3-5 practice sessions of 30-60 minutes to become comfortable on a bike. Returning riders, who already have procedural muscle memory from childhood, often regain competence in 1-3 sessions. The bigger barrier for most adults is fear and self-consciousness, not physical learning. Patience and a quiet practice spot solve most of it.
What to do to a bike that has been sitting for years?
Before riding a bike that has been stored for a long time, run through a 7-point check: tire pressure and condition, brake function, chain lubrication and flexibility, wheel security, headset smoothness, seatpost tightness, and a no-hands coast test. Inflate tires, lube the chain, and test the brakes. If anything feels off, take the bike to a local shop for a basic tune-up before riding in traffic.
The Bottom Line
Learning how to get back on a bike as an adult who hasn’t ridden in years is less about athletic ability and more about consistency, patience, and the willingness to start small. Your body remembers more than you think. The skills you built as a kid are still in there, waiting for a few short rides to bring them back.
Pick a quiet spot, walk through the 5-stage balance progression, ride around the block, and come back tomorrow. Do that for a few weeks and you will be a cyclist again, and probably a happier, healthier one for it.
Your next step: check the tires on whatever bike you have, grab a helmet, and pick a flat parking lot for this weekend. The hardest part is showing up. The rest is just turning the pedals.