
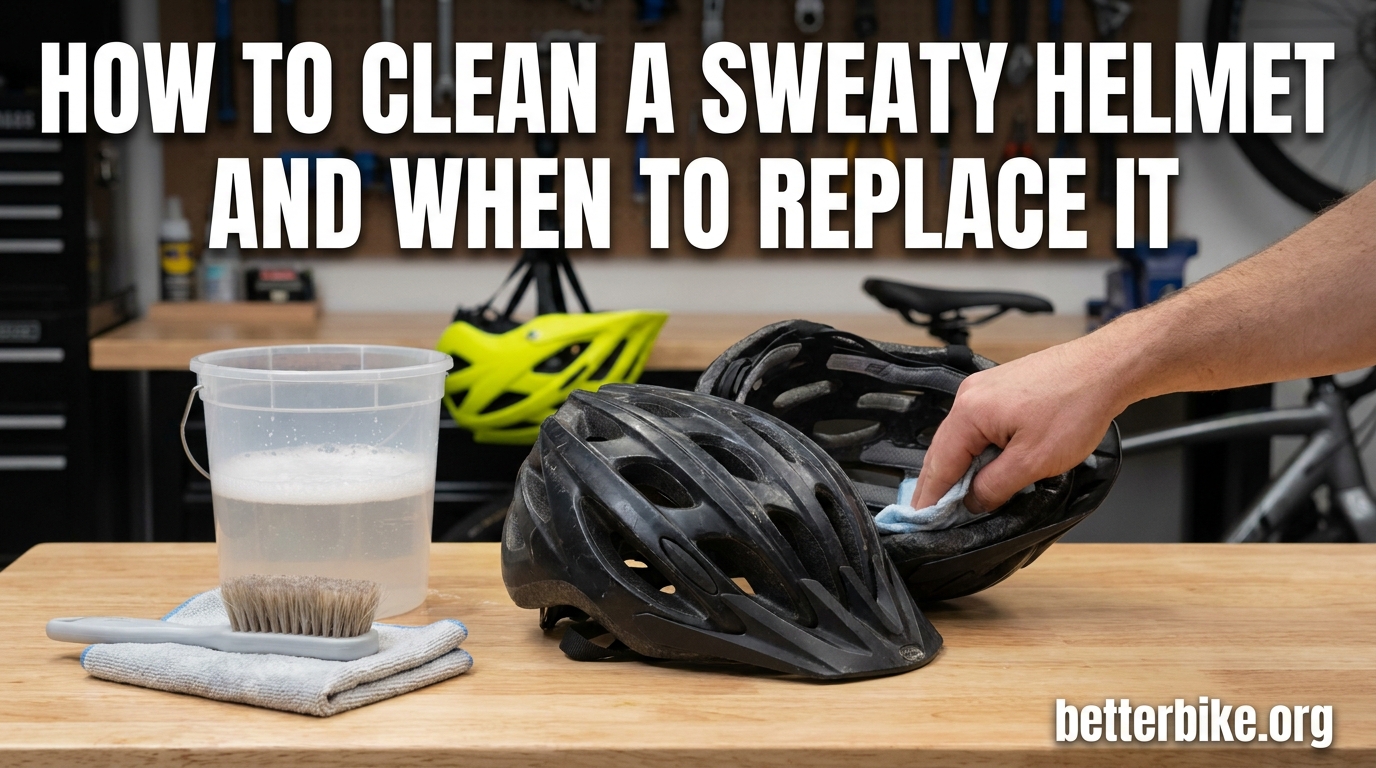
Learning how to clean a sweaty helmet the right way protects both your hygiene and your head. Sweat, salt, and body oils soak into foam pads, fabric straps, and the inside of the shell after every ride, and that buildup causes odor, bacteria growth, and even material breakdown over time.
I’ll walk you through the exact method I use on my own helmets, the cleaning products that are safe for EPS foam, and the clear rules for when a helmet should be retired. By the end, you’ll have a complete routine that takes about 20 minutes and keeps your protective gear in top shape.
Table of Contents
What NOT to Do When Cleaning a Sweaty Helmet
Before we get into the right method, let’s clear up the habits that quietly destroy helmets. These mistakes can reduce impact protection without you ever noticing.
- Never put your helmet in the washing machine. The agitation separates the EPS foam from the polycarbonate shell and weakens the adhesive bonds that hold everything together.
- Never run it through the dishwasher. The high heat warps the shell and the harsh detergent breaks down foam cells.
- Don’t use bleach, ammonia, or alcohol-based cleaners. These chemicals dissolve the glue that bonds the shell to the foam liner.
- Avoid direct heat sources like hair dryers or radiators. Heat degrades EPS foam and can delaminate the shell.
- Don’t soak the entire helmet in water. Water trapped inside the foam reduces its ability to absorb impact.
One forum user on r/cycling learned this the hard way. After one cycle in the washing machine, their helmet’s inner foam separated from the shell and had to be replaced. That kind of damage is invisible from the outside, which makes it especially dangerous.
What to Wash, Wipe, or Avoid: Quick Reference
Different parts of your helmet need different treatment. Here’s the quick-reference table I keep taped inside my gear closet.
| Helmet Part | Method | Safe Products |
|---|---|---|
| Removable pads | Hand wash | Mild soap, baby shampoo, Dawn dish soap |
| Helmet straps | Hand wash with soft brush | Mild detergent, gentle shampoo |
| Outer shell | Wipe with damp cloth | Water, mild soap solution |
| Inner foam (non-removable) | Wipe only, do not soak | Damp microfiber cloth |
| Fit dial and retention system | Wipe | Damp cloth, soft toothbrush |
| Vents | Wipe | Damp cloth or cotton swab |
| Smart helmet electronics | Avoid water | Dry microfiber cloth only |
Why Harsh Methods Damage Your Helmet (The EPS Foam Science)
Most of the helmets we wear rely on EPS foam, which stands for expanded polystyrene. This is the same material used in protective packaging, and for good reason. EPS foam is designed to compress on impact, absorbing energy that would otherwise hit your skull.
The problem is that EPS foam is also a one-time-use material. Once its cells compress, they don’t bounce back. Harsh chemicals accelerate this breakdown in three ways:
- Solvent attack – Bleach, alcohol, and many degreasers actually dissolve the polystyrene beads, weakening the structure.
- Heat damage – EPS starts losing integrity at temperatures above 160°F (71°C), which hot water and dryers easily reach.
- Adhesive failure – The glue bonding foam to shell weakens when soaked or exposed to harsh detergents, creating gaps that reduce protection.
When you understand this, the rule becomes simple. If a cleaner could damage styrofoam, it can damage your helmet. Stick with mild soap and cool water, and your foam will stay intact for the full life of the helmet.
How to Clean a Sweaty Helmet: Step-by-Step Process
Here’s the exact routine I run through every few weeks during riding season. It takes about 20 minutes from start to finish, and most of that is drying time.
Step 1: Remove the Pads and Liner
Most modern helmets have removable pads attached with Velcro or small plastic snaps. Gently peel each pad away and set it aside. If your pads aren’t removable, skip to the wipe-down method in step 4.
Step 2: Hand-Wash the Pads
Fill a sink or bucket with cool or lukewarm water. Add a small amount of mild soap, baby shampoo, or Dawn dish soap. Submerge the pads and let them soak for 5 to 10 minutes. Gently agitate with your fingers to release sweat and oils.
Step 3: Rinse Thoroughly
Drain the soapy water and rinse the pads under cool running water until the water runs clear. Any soap residue left behind will attract more sweat on your next ride, which defeats the purpose.
Step 4: Wipe the Helmet Shell
Dip a microfiber cloth in your mild soap solution, wring it out well, and wipe down the entire interior and exterior of the shell. Pay attention to the vents and the rim where the pads attach, since salt tends to crystallize in these areas.
Step 5: Clean the Straps and Retention System
Use the same mild soap solution with a soft toothbrush or cloth. Work the soap into the webbing of the straps to break up sweat crystals. Wipe down the fit dial and any adjustable hardware with a damp cloth.
Step 6: Air Dry Everything
Pat the pads with a clean towel to remove excess water, then lay them flat or hang them in a well-ventilated area. Let the helmet air dry with the pads removed so air can circulate inside. Avoid direct sunlight and heat sources.
For frequent riders, I recommend running this routine every 2 to 3 rides in hot weather. For occasional riders, once a month is usually enough. The moment your pads start to feel sticky or smell musty, it’s time.
How to Clean Helmet Straps
Straps collect the most sweat and are usually the hardest part to clean. Encrusted salt crystals build up where the webbing meets the buckle, and that grime is uncomfortable against your skin.
For routine cleaning, the same mild soap solution works well. Dip a soft toothbrush in the solution and scrub along the webbing in the direction of the weave. For stubborn buildup, make a paste of baking soda and water, apply it to the crystals, and let it sit for 10 minutes before scrubbing.
One trick I picked up from the r/motorcycles community: anti-bacterial liquid soap in warm water, then work the straps between your fingers like you’re washing a delicate fabric. It gets deep into the weave without damaging the fibers.
After scrubbing, rinse thoroughly and hang the straps to air dry. Never wring them out, since twisting can stretch the webbing and change the fit.
How to Remove Stubborn Odor From Your Helmet
Sometimes a regular wash isn’t enough, especially if the helmet has been stored damp or hasn’t been cleaned in months. The odor comes from bacteria feeding on sweat residue, and those colonies can survive a normal rinse.
For persistent smells, mix a solution of one part white vinegar to ten parts cool water. Submerge the pads in this mixture for 15 to 20 minutes, then rinse thoroughly with clean water. The vinegar kills bacteria and neutralizes odor without leaving a strong vinegar smell once the pads dry.
Another approach is the shampoo method popular with motorcycle riders. Squirt a small amount of baby shampoo directly into the helmet interior, add a cup of water, and work the solution around with your hand. Pour it out, rinse with clean water, and air dry.
If odor returns within a day of cleaning, the foam itself may be saturated. At that point, replacement is usually the safer choice.
Safety Inspection Checklist During Cleaning
Cleaning day is the perfect time to inspect your helmet for damage. Most riders skip this step, but it’s the one habit that catches problems before they become dangerous.
Run through this checklist every time you clean:
- Shell condition – Look for cracks, dents, deep scratches, or any area where the outer shell has separated from the foam.
- Foam integrity – Press the foam gently with your thumb. It should spring back. If it stays compressed or feels crumbly, the foam has failed.
- Strap webbing – Check for fraying, cuts, or stretched areas. Pull the straps firmly to test for elasticity.
- Buckle and hardware – Test the buckle several times. It should snap shut cleanly and release smoothly. Check the fit dial for smooth operation.
- Vents and channels – Make sure nothing is broken or missing. Cracked vent covers can become sharp edges in a crash.
If you find any of these issues, the helmet has done its job and needs to be replaced. More on that in a moment.
Drying and Storage Best Practices
How you dry and store your helmet matters as much as how you clean it. Moisture trapped inside the foam creates the perfect environment for bacteria, mold, and material breakdown.
Always air dry at room temperature. Place the helmet on a clean towel in a well-ventilated area, ideally with a small fan pointing at the opening. Drying time depends on humidity, but plan for at least 4 to 6 hours before the next ride.
For storage, keep your helmet in a cool, dry place away from direct sunlight. UV rays degrade both the polycarbonate shell and the EPS foam over time. A helmet bag or shelf in a closet works well. Avoid leaving it in a hot car, where temperatures inside the vehicle can exceed 130°F (54°C) on a summer day.
If you commute with your helmet, a helmet bag also protects it from scratches and keeps sweat from transferring to other gear in your bag.
When to Replace Your Helmet
Even the best-maintained helmet has a finite life. Three rules tell you when it’s time to retire a helmet, and I treat all three as non-negotiable.
The Crash Rule: Replace After Any Impact
If your helmet takes a hit, even a minor one, replace it. EPS foam is designed to absorb a single impact by crushing its cells. Once those cells compress, they don’t recover. The damage is invisible from the outside, which is why the rule is simple: any crash means a new helmet.
I learned this from a friend who dropped his helmet off his car roof at low speed. He wore it for another year before a real crash. The second impact should have been survivable, but the helmet’s compromised foam meant a much more serious injury.
The 5-Year Rule: Replace Every 3 to 5 Years
Most helmet manufacturers and safety organizations recommend replacing helmets every 3 to 5 years, even if they look fine. The 5-year rule exists because sweat, UV exposure, body oils, and temperature cycles gradually degrade foam, glue, and shell materials.
Mark the purchase date on the inside of the helmet with a permanent marker, or save the receipt in a folder on your phone. Some manufacturers also stamp the production date inside the shell. The moment your helmet hits the 5-year mark, replace it, no matter how good it looks.
The Wear Rule: Replace When You See These Signs
Replace your helmet immediately if you notice any of the following:
- Cracks, dents, or deep gouges in the outer shell
- Foam that stays compressed after pressing with your thumb
- Strap webbing that’s frayed, cut, or stretched out
- Buckle that doesn’t snap shut cleanly
- Persistent odor that won’t go away after thorough cleaning
- Padding that’s deteriorated or no longer holds its shape
Frequently Asked Questions
What is the 5 year rule for helmets?
The 5-year rule means replacing your helmet every 3 to 5 years from the date of purchase, even if it has never been in a crash. Sweat, UV exposure, body oils, and temperature cycles gradually break down EPS foam, adhesives, and shell materials. Mark the purchase date inside the helmet with a permanent marker so you always know its age.
How often should I clean my bike helmet?
Clean your bike helmet pads every 2 to 3 rides in hot weather, or once a month for occasional riders. Wipe down the shell and straps with a damp cloth between full cleanings. The moment pads feel sticky or smell musty, it’s time to wash them.
Can I use Febreze or deodorizing spray on my helmet?
Febreze and similar deodorizing sprays are generally safe for the outer fabric of pads and straps, but they don’t kill the bacteria causing odor. For a deeper clean, hand-wash the pads with mild soap or use a 1:10 white vinegar solution for stubborn smells.
Can I put my helmet in the dishwasher?
No. The high heat of a dishwasher warps the polycarbonate shell, and the harsh detergent breaks down EPS foam and weakens the adhesive bonds between the shell and liner. Hand-wash removable pads with mild soap and cool water instead.
Do under-helmet caps actually help with sweat?
Yes, cycling caps worn under the helmet absorb most of your sweat before it reaches the pads. They reduce cleaning frequency and protect the foam from salt buildup. Wash the cap after every ride, and your helmet pads will stay cleaner for longer.
Final Thoughts
Knowing how to clean a sweaty helmet properly takes 20 minutes and only requires mild soap, cool water, and a soft cloth. The bigger win is using cleaning day as a chance to inspect your helmet, since that’s how you catch cracks, foam damage, and worn straps before they fail in a real crash.
Stick to the 3-to-5-year replacement rule, swap your helmet out after any impact, and your head will be protected for thousands of miles to come. Set a reminder on your phone for your next cleaning day, and you’ll never ride in a funky helmet again.