
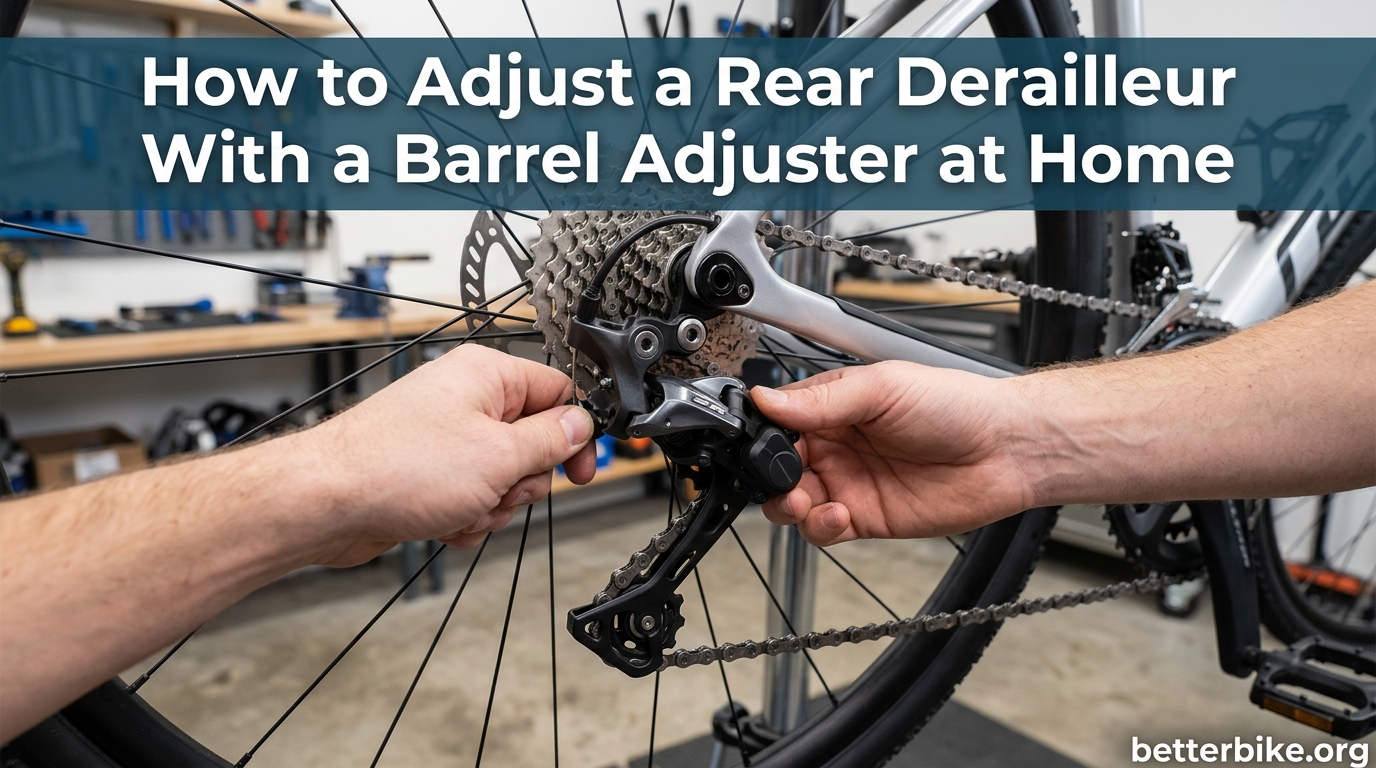
If your bike hesitates when shifting, skips gears, or makes a clicking noise under load, the fix is often a five-minute job you can do yourself. In this guide, I will walk you through how to adjust a rear derailleur with a barrel adjuster at home, using nothing more than a clear workspace and a basic understanding of which way to turn the knob.
Most riders assume they need a bike stand, a mechanic, or a long list of tools to fix shifting problems. The truth is that cable stretch happens to every bike within a few months of riding, and the barrel adjuster is built exactly for that. Once you know the directional rule and the indexing sequence, you can restore crisp shifting in your living room.
By the end of this article, you will know what the barrel adjuster does, which direction to turn it for each symptom, how to dial in perfect indexing across the cassette, and when the problem is bigger than a barrel adjuster can fix.
Table of Contents
What Is a Barrel Adjuster and Why Does It Matter?
A barrel adjuster is a small threaded knob, usually located where the shift cable housing meets the derailleur or the frame. On road bikes, you will typically find it on the rear derailleur body or near the chainstay. On mountain bikes, it often sits at the shifter pod on the handlebar. In some setups, there is one at each end.
Its only job is to fine-tune cable tension without requiring tools. As you turn the barrel, the housing lengthens or shortens by fractions of a millimeter, which slackens or tightens the cable pulling on the derailleur cage. This is the same adjustment a mechanic makes, just made easier and more precise for at-home riders.
Why does this matter? Cables stretch over time. The housing compresses. The result is a derailleur that does not move quite far enough to land on the next cog, and you feel that as a hesitant shift, a noisy shift, or a chain that refuses to climb to the bigger gears. The barrel adjuster lets you take up that slack in seconds, no tools required.
Which Direction to Turn the Barrel Adjuster
The single most common question I see on cycling forums is some version of “which way do I turn it?” The answer depends on which symptom you are trying to fix, and the direction-by-symptom rule is the one piece of information that makes the rest of this process click.
Here is the rule I tell every new rider in my shop: counter-clockwise increases cable tension, clockwise decreases cable tension. Now match that to your symptom.
- Chain hesitates to shift to a bigger (easier) cog: Turn the barrel adjuster counter-clockwise. This adds tension and pulls the derailleur farther out.
- Chain hesitates to shift to a smaller (harder) cog: Turn the barrel adjuster clockwise. This releases tension and lets the derailleur spring pull inward.
- Shifting is rough or noisy in both directions: You likely need a full re-indexing, not just a small turn.
Always make adjustments in half-turn increments, then test. One full turn is usually more than you need, and going too far in either direction will create a new problem.
Tools You Need for At-Home Adjustment
For a basic barrel adjuster indexing, you do not need any tools at all. The whole point of the barrel is on-the-fly tuning. If you are also setting limit screws or replacing a cable, here is the short list.
- A Phillips screwdriver: For the L-limit and H-limit screws on most Shimano, SRAM, and microshift derailleurs.
- A 4 mm or 5 mm hex wrench: For the pinch bolt that holds the cable to the derailleur, and for some older or lower-end limit screws.
- A clean rag and a bright light: For checking the alignment of the pulleys and the cassette.
- Optional – a bike stand or a helper: A stand lets you pedal and shift hands-free. A friend holding the rear wheel off the ground works almost as well.
That is the whole kit. No cassette tool, no chain breaker, no torque wrench. The home version of this job is intentionally simple.
How to Adjust a Rear Derailleur With a Barrel Adjuster at Home: Step-by-Step
Follow these steps in order. Skip ahead only if you are certain your limit screws are already set correctly. If you are unsure, the full sequence takes about 15 minutes the first time and under five on every future tune-up.
Step 1: Set the Barrel Adjuster to the Middle
Unscrew the barrel adjuster until it is almost falling off, then screw it back in until it is finger-tight, and count the turns. Now back it out by half that count. This gives you adjustment room in both directions during the rest of the process.
Step 2: Shift to the Smallest Cog
With the bike on a stand or upside down, click your shifter all the way through to the highest gear. The chain should be sitting on the smallest cog at the back. Stand behind the bike and look straight down the cassette. The pulleys should line up directly under that smallest cog. If they do not, you need to adjust the H-limit screw, which I cover below.
Step 3: Adjust Cable Tension at the Pinch Bolt
Shift down one click so the chain tries to move to the second-smallest cog but cannot quite reach it. Loosen the pinch bolt on the derailleur with your hex wrench. Pull the cable taut by hand, no pliers, just firm finger pressure. Re-tighten the pinch bolt while holding the cable under tension.
Step 4: Index One Cog at a Time
Click through the gears, one shift at a time, in both directions. The chain should land cleanly on each cog with no hesitation, no overshoot, and no skipping. If a particular upshift is slow, give the barrel a quarter turn counter-clockwise. If a downshift is slow, give it a quarter turn clockwise.
Step 5: Fine-Tune With the Barrel Adjuster
This is where the barrel adjuster does its real work. Most bikes end up needing a small trim after the cable is clamped. Pedal under load, in a real gear, and listen. A quiet drivetrain means you are indexed correctly. A ticking or clicking chain means you need another quarter turn.
Step 6: Test All Gears
Run through the full cassette at riding cadence, both upshifting and downshifting. Pay special attention to the middle cogs, which is where indexing problems usually show up. The shifts should be silent, instant, and consistent.
H-Limit and L-Limit Screw Quick Setup
Limit screws are not the barrel adjuster. They set the physical boundaries of how far the derailleur can travel, and they only need touching when something has changed – a new derailleur, a new hanger, or a big crash. If your bike shifts fine except at the very top and very bottom of the cassette, the limit screws are the place to look.
The H-limit screw controls the smallest cog. With the chain in the highest gear, turn the H screw until the upper pulley sits directly under the smallest cog. Clockwise moves the derailleur inward, counter-clockwise lets it move outward. Make tiny adjustments, quarter turns at a time.
The L-limit screw controls the largest cog. Shift to the lowest gear. The upper pulley should sit directly under the largest cog. Same rule: clockwise inward, counter-clockwise outward. Be careful here. Setting the L-limit too loose can throw the chain into the spokes, which will quickly destroy both the chain and the rear wheel.
The B-tension screw is a third adjustment, sitting at the back of most modern derailleurs. It controls how close the upper pulley sits to the cassette. Too close and shifting gets sluggish. Too far and shifting is noisy. Spin the B-tension until the gap between the upper pulley tooth and the largest cog tooth is about 5 to 6 millimeters.
Troubleshooting: When the Barrel Adjuster Is Not Enough
Sometimes you turn the barrel and nothing improves. Sometimes the adjustment works on every cog except one. Sometimes the indexing seems perfect on the stand but the bike misbehaves under load. These are the cases that frustrate home mechanics the most, and they have specific causes.
Symptom: Barrel Adjuster Is Already Fully In or Out
If the barrel is fully unscrewed and the chain still will not reach the bigger cogs, the cable has stretched past the adjustment range. The fix is to loosen the pinch bolt, pull more cable through, re-tighten, and reset the barrel to the middle position. If the barrel is fully screwed in, the cable is over-tensioned and you need to release some at the pinch bolt.
Symptom: Shifts Perfectly on the Stand, Poorly Under Load
This is almost always cable housing. The housing compresses when you actually put power down, especially on mountain bikes. The fix is to slide the housing out a millimeter at a time, or replace the housing entirely if it is more than a year old.
Symptom: One Cog Will Not Index No Matter What
This usually means the derailleur hanger is bent. The hanger is the small aluminum piece that holds the derailleur to the frame, and it is designed to be the part that bends in a crash. A hanger alignment tool is the cheap and accurate way to fix this. Without one, take the bike to a shop. A bent hanger cannot be fixed by the barrel adjuster.
Symptom: Shifting Has Gotten Worse Over Months Despite Adjusting
The cable and housing are worn. A shift cable lasts roughly a year for a regular rider. The internal strands fray, the housing gets soft, and no amount of barrel turning will compensate. A fresh cable and housing costs a few dollars and is the single biggest improvement you can make to an old drivetrain.
When to See a Shop
Take it to a mechanic if the hanger is bent, if the derailleur itself is damaged, if the cassette or chain is worn out, or if you have tried indexing twice and the bike still does not shift cleanly. There is no shame in this. Some repairs need shop tools.
FAQ’s
Which direction should I turn the barrel adjuster?
Turn the barrel adjuster counter-clockwise to add cable tension, which fixes slow shifts to bigger (easier) gears. Turn it clockwise to release tension, which fixes slow shifts to smaller (harder) gears. Make adjustments in quarter-turn increments and test after each change.
What if the barrel adjuster is already all the way in or out?
If the barrel is fully unscrewed and shifting is still slow to bigger cogs, the cable has stretched past the adjustment range. Loosen the pinch bolt on the derailleur, pull the cable taut by hand, re-tighten the bolt, and reset the barrel to the middle position. The same process in reverse fixes an over-tensioned cable.
How often should I adjust my rear derailleur?
For most riders, a quick barrel-adjuster trim once every few weeks keeps shifting crisp. A full re-indexing is usually needed every few months, or after any cable replacement. Heavy use, wet weather, and rough terrain will shorten that interval.
Do I need special tools to adjust a rear derailleur at home?
No. The barrel adjuster itself is hand-operated and needs no tools. If you also want to set the limit screws or replace the cable, a Phillips screwdriver and a 4 mm or 5 mm hex wrench are enough. A bike stand helps but is not required.
How do I know if my derailleur hanger is bent?
A bent hanger usually shows up as one specific cog that will not index correctly no matter how you turn the barrel, or a derailleur cage that visibly angles inward or outward when you look from behind. The accurate test uses a hanger alignment tool, which is cheap and available at any bike shop.
Wrap-Up: How to Adjust a Rear Derailleur With a Barrel Adjuster at Home
That is the whole process. Set the barrel to the middle, clamp the cable with light tension, index one cog at a time, and use the barrel for fine-tuning. Most riders can do this in their living room with a single hex wrench, and most shifting problems disappear within minutes. The barrel adjuster is one of the most useful tools on your bike, and learning how to adjust a rear derailleur with a barrel adjuster at home is the kind of skill that pays back every ride.
If you have followed the steps and the bike still does not shift, the next move is a new cable and housing, then a hanger check, then a trip to your local shop. None of those are hard, and none of them should keep you off the road for long.