
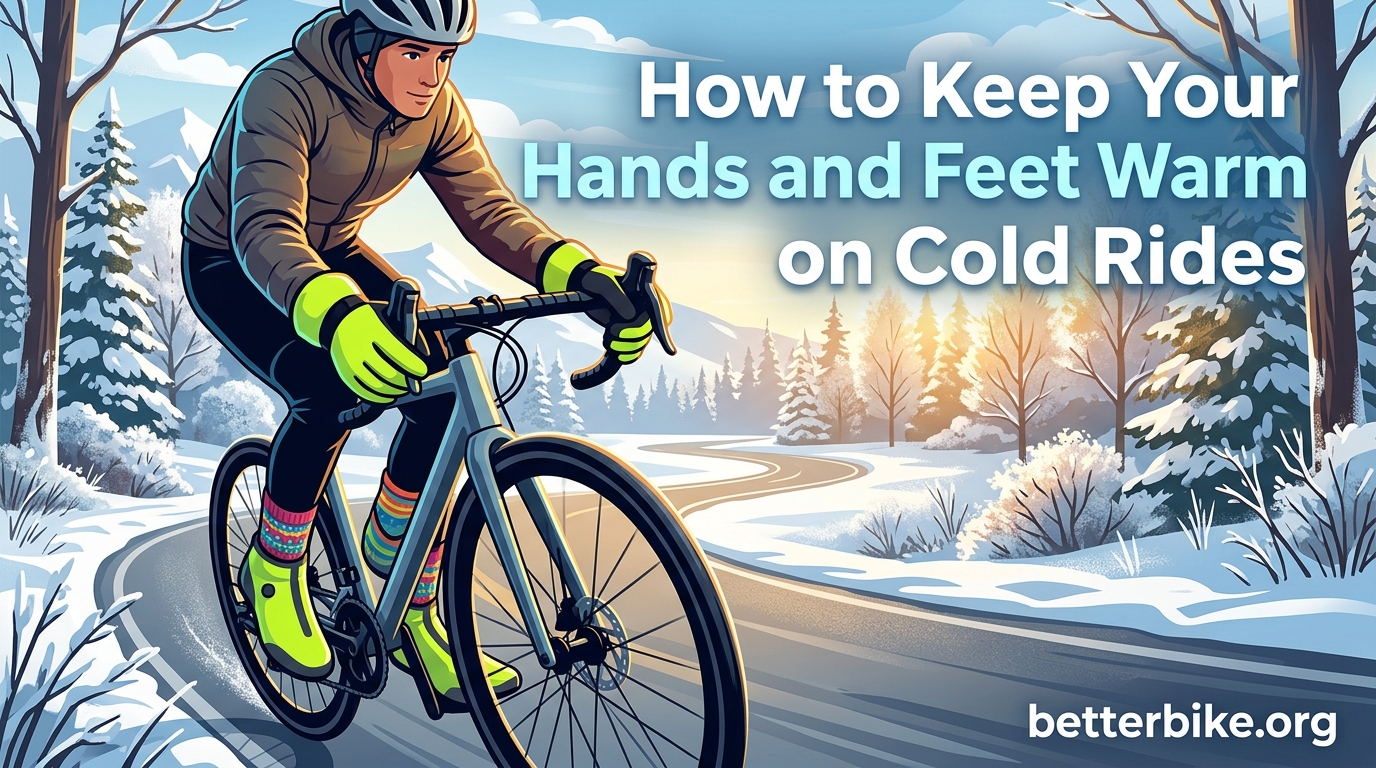
Cold fingers and frozen toes ruin more winter rides than bad roads, mechanicals, or bad weather combined. After 12 winters of riding through Pacific Northwest rain and Rocky Mountain sub-zero mornings, I can tell you this: the difference between a fun December ride and an early bailout almost always comes down to your hands and feet.
This guide breaks down exactly how to keep your hands and feet warm on cold rides. I will cover glove selection by temperature, sock and overshoe strategy, the core-warmth connection most riders miss, mid-ride troubleshooting, and a few budget hacks that actually work. Whether you commute year-round, train through winter, or just want to extend your season by a few months, the tips below are field-tested, not theoretical.
Table of Contents
Why Your Hands and Feet Get Cold on the Bike
Your body is wired to protect your core organs first. When temperatures drop, blood vessels in your extremities (hands, feet, ears, nose) constrict to push warm blood toward your heart and lungs. This is called vasoconstriction, and it is the main reason your fingers go numb 20 minutes before the rest of you feels cold.
On a bike, the problem gets worse. At 18 mph on a road bike, the windchill factor can drop a 35F air temperature to about 12F against your skin. That is the equivalent of standing still in much colder air. Add sweat from effort, and you have moisture cooling your skin even faster through evaporation.
Three things drive cold hands and feet on a bike:
- Windchill from forward motion, even on calm days
- Vasoconstriction as your body sacrifices extremities to protect the core
- Moisture from sweat that cools skin through evaporation
Once you understand this, every solution below makes sense. You need to block wind, manage moisture, and keep your core warm enough that blood keeps flowing outward.
How to Keep Your Hands Warm on Cold Rides
Hand warmth comes down to matching your gloves to the temperature, blocking wind, and adding layers when single gloves fall short. Here is the strategy I use, in order of priority.
Choose the Right Winter Cycling Gloves by Temperature
Most cold-hand problems start with the wrong glove for the conditions. A single pair cannot cover 50F to 5F, so build a small rotation.
50F to 60F (10C to 15C): A light full-finger glove or merino liner is plenty. Brands like DeFeet, Assos, and Giro all make thin options that block wind and wick sweat without overheating.
40F to 50F (4C to 10C): Step up to a windproof softshell glove with light insulation. Look for Gore Windstopper or Polartec shells. This is the range where most riders under-gear and end up with cold hands within an hour.
30F to 40F (-1C to 4C): A medium-insulation winter cycling glove with a windproof or waterproof membrane. PrimaLoft or Thinsulate linings around 100g to 200g work well here. Lobster-style gloves (which group two fingers together) preserve dexterity while sharing warmth between fingers.
20F to 30F (-7C to -1C): Heavy insulated winter gloves, often with a leather palm and gauntlet cuff. Lobster mitts become the smart choice because fingers share heat and stay warm far longer.
Below 20F (-7C): Standard gloves, even premium ones, often fail. This is where layering, Bar Mitts, or heated gloves become necessary.
Layer Gloves for Extreme Cold
Double-gloving is a trick mountain bikers, fat bikers, and winter randonneurs have used for years. The idea is simple: a thin merino or silk liner glove next to the skin, plus a heavier windproof shell glove over the top.
The liner wicks moisture and adds a thin insulating air gap. The shell blocks wind and adds bulk insulation. Together, they keep hands warm at temperatures where a single glove fails.
For very cold conditions, you can go three layers: thin silk liner, mid-weight merino glove, then a neoprene or Gore-Tex shell. Cycling UK has been recommending this approach for years, and it works because you can peel layers if your hands get hot on a climb.
Use Handlebar Mitts (Bar Mitts) for Sub-20F Riding
When the temperature drops below 20F, glove-only solutions start failing. This is where handlebar mitts, often called Bar Mitts or pogies, change the game. They mount directly to your handlebars and create a warm pocket of still air around your hands and the brake hoods.
Because the wind never reaches your gloves inside a Bar Mitt, you can wear a much thinner glove and stay warm. Riders regularly report 20F to 30F comfort using Bar Mitts with a basic winter glove. Some fat bikers and commuters ride at 0F and below with this setup.
Bar Mitts work on road bikes (with drop bars), mountain bikes, and gravel bikes. They take a few minutes to install and add some bulk to the cockpit, but the warmth trade-off is worth it for serious cold.
Block the Wind With Windproof Materials
Windchill is the single biggest factor in cold hands at speed. A windproof membrane on the back of the glove cuts windchill by 80% or more. Look for these materials when shopping:
- Gore Windstopper — windproof, breathable, the gold standard
- Polartec Windbloc — soft, stretchy, good for cycling
- Neoprene — closed-cell foam, blocks wind and water, less breathable
- Softshell with DWR finish — wind-resistant and water-repellent
Pro tip: a glove that is fully waterproof is not always the best choice. If the membrane does not breathe, sweat builds up inside and you end up with cold, wet hands. For pure cold and dry conditions, windproof and breathable beats fully waterproof.
Try Chemical Hand Warmers
Air-activated chemical hand warmers are the cheap, reliable backup every cold-weather rider should carry. They are small, weigh almost nothing, and generate heat for 6 to 10 hours.
For cycling, place them on the back of your wrist or palm, not the fingers. Blood flows through the wrist into the hand, so warming the pulse point warms the fingers more effectively. Toe warmers are sized for shoes and work the same way inside winter cycling shoes.
Brands like HotHands and Grabber are widely available at outdoor stores. Keep a few in your jersey pocket for emergencies. If your hands go numb mid-ride, a hand warmer taped to your wrist can bring feeling back in 10 to 15 minutes.
Consider Heated Gloves for the Longest, Coldest Rides
Heated gloves use battery-powered resistive heating elements to actively warm your hands. Models from Gerbing, Lenz, and Sealskinz can keep hands comfortable at temperatures where even Bar Mitts struggle.
The trade-off is battery life. Most heated gloves last 2 to 4 hours per charge at full power, and the batteries are bulky. If you do long winter centuries or commute in extreme cold, heated gloves are worth the investment. For shorter rides, they are usually overkill.
Road riders in particular have mixed feelings about heated gloves because of windchill. Some report that even battery heat cannot keep up with sustained 20+ mph windchill. For mountain biking, where speeds are lower, heated gloves work much better.
How to Keep Your Feet Warm on Cold Rides
Feet are tricky because they are harder to warm up once cold, and you cannot add a mid-ride layer to your shoes the way you can with gloves. Prevention matters more than reaction.
Start With the Right Cycling Socks (Merino Wool)
Cotton socks are the enemy of warm feet. Cotton holds moisture against your skin, and wet skin loses heat 25 times faster than dry skin. That is the recipe for frozen toes, even in a warm shoe.
Merino wool is the gold standard for winter cycling socks. It insulates when wet, wicks moisture, and resists odor. Brands like DeFeet, Swiftwick, and Ornot make merino socks specifically for cycling with reinforced heels and toes.
For temperature guidance:
- Above 50F: Thin merino or synthetic cycling sock
- 30F to 50F: Medium-weight merino blend
- Below 30F: Heavy merino wool, or layer a thin liner sock under a merino sock
Avoid doubling up cotton socks. Two cotton socks hold twice the moisture, which means twice the cooling. If you need more warmth, switch to a thicker merino sock instead of adding layers.
Pick Winter Cycling Shoes With Insulation
Standard summer cycling shoes have mesh panels and vents that are great for July and terrible for January. Winter cycling shoes close those vents and add insulation.
Look for these features in a winter cycling shoe:
- Closure system that seals out water — Boa dial covers, neoprene cuffs, or fully gusseted tongues
- Insulated lining — fleece, PrimaLoft, or similar
- Reflective or windproof outer — cuts windchill at speed
- Minimal venting — no large mesh panels
Brands like Fizik (Artica line), Specialized, Northwave, and Lake make excellent winter cycling shoes for road and mountain biking. The investment is real, but a good pair of winter shoes can last five or more seasons.
Add Neoprene Overshoes or Waterproof Shoe Covers
If you do not want to buy dedicated winter shoes, overshoes (also called shoe covers) are the most cost-effective upgrade. They slip over your regular cycling shoes and add a windproof and waterproof layer.
Three main types exist:
- Neoprene overshoes — best for cold and wet conditions, very warm, slightly bulky. The classic winter choice.
- Waterproof fabric overshoes — lightweight, packable, good for cool and damp conditions. Less warm than neoprene but more breathable.
- Insulated winter overshoes — combine insulation with weather protection. Best for sustained cold below freezing.
Specialized, Castelli, and Defeet all make popular overshoe models. The key is fit: a gap at the ankle or sole lets water in and cold air follow. Spend the time getting the right size for your shoe.
Use Toe Warmers and Foot-Specific Hacks
Toe warmers are chemical heat packs designed to fit inside a shoe. They activate on contact with air and stick to the outside of your sock with adhesive. Heat output lasts 5 to 8 hours.
Placement matters. Stick the toe warmer on the top of your toes, under the upper part of the shoe, not under the ball of the foot. The heat rises and warms the toes, which are where you feel cold first.
Other tricks that work:
- Place a thin plastic bag inside the sock before putting on the shoe. This blocks wind penetration but traps moisture, so it is best for short rides or as an emergency measure.
- Stuff a hand warmer under the insole if chemical toe warmers are unavailable.
- Tape over any vents on the shoe with electrical tape to block wind without buying new gear.
Cover the Vents on Your Cycling Shoes
Most performance cycling shoes have vents in the sole, toe box, and side panels. These vents are a major source of cold-air infiltration in winter. The fix is simple and free: cover them with reflective tape or heavy-duty duct tape from the inside.
Reflective tape is best because it doubles as nighttime visibility. Cover the sole vents first, since cold air enters from below, then the toe vents, then the side mesh.
This is one of the cheapest upgrades you can make. I have done it on three pairs of shoes and the warmth improvement is noticeable within the first ride.
The Core Warmth Connection Most Riders Miss
Here is the insight that ties everything together: your body prioritizes core warmth above everything else. If your torso, back, and chest are cold, your body cuts blood flow to your hands and feet even if you are wearing the best gloves and overshoes in the world.
This is why some riders wear $200 winter gloves and still have numb fingers. The fix is not better gloves. It is a warmer core.
To keep your core warm enough to share heat with your extremities:
- Layer a windproof vest or jacket over your base layer. The chest is the priority. A good windproof vest does more for hand warmth than upgrading gloves.
- Wear a base layer that wicks moisture. Merino or synthetic, never cotton. A sweaty base layer turns into a cold, clammy layer in 30 minutes of effort.
- Keep your neck covered. A buff, neck gaiter, or high collar prevents heat loss from the major blood vessels in your neck.
- Eat before and during the ride. Your body generates heat from digesting food. A warm meal 60 to 90 minutes before a ride, plus small snacks during, helps maintain core temperature on long winter efforts.
- Avoid overdressing. If you start the ride drenched in sweat, you will get cold. Start slightly cool and let your body warm up over the first 10 minutes.
Once I started focusing on core warmth, my hand and foot problems dropped by about 70%. This is the single highest-leverage change you can make.
DIY Hacks: Aluminum Foil, Plastic Bags, and Budget Tricks
Not everyone wants to invest $200 in winter cycling gear. The cycling community has been using low-cost hacks for decades, and several of them work surprisingly well.
The Aluminum Foil Method
Yes, wrapping your feet in aluminum foil actually helps. A layer of foil on top of your sock, under the shoe or overshoe, reflects body heat back toward your foot. It adds a wind barrier and costs almost nothing.
To do it right: cut a piece of foil large enough to wrap the top of your foot and toes. Place it over your sock, shiny side up, then put on your shoe. Replace every 60 to 90 minutes on long rides because the foil compresses and loses effectiveness.
This is not a gimmick. Riders on a budget use it for early-morning commutes and report real warmth gains compared to no foil. The trade-off is bulk and the odd feeling of having foil in your shoe.
The Plastic Bag Method
A thin plastic bag (like a produce bag or newspaper bag) over your sock creates a vapor barrier. Your foot stays dry inside the shoe because sweat cannot pass through the plastic. Dry feet stay warm.
The downside: the bag traps moisture next to your skin, so it can feel clammy on long rides. For commutes under an hour in freezing rain, the plastic bag is one of the best emergency tricks available.
For best results, use a thin bag so it does not compress your foot and cut off circulation. Pair it with merino socks for a dry, warm combination.
Newspaper and Duct Tape
Crumpled newspaper stuffed inside a shoe adds insulation in an emergency. It is not a long-term solution, but for a forgotten pair of overshoes on a frosty morning, it can get you home warm.
Duct tape over shoe vents is more durable. Cut pieces to fit, stick them on, and ride. The tape lasts for several rides before needing replacement.
Spare Sock Trick
Carry a dry pair of merino socks in a zip-top bag. If your feet get wet from rain, road spray, or sweat, swap them at the next stop. A dry pair of socks can reset your foot warmth for another hour of riding, even in tough conditions.
Combined with overshoes, this is a budget-friendly approach that costs less than $30 and works as well as a $150 set of winter shoes for most rides.
Troubleshooting Cold Hands and Feet Mid-Ride
Sometimes you do everything right and your hands still go numb 45 minutes into a ride. When prevention fails, here is what to do.
If Your Hands Go Numb
Stop pedaling hard for a few minutes. Heavy effort pulls blood to your legs and away from your hands. Soft pedaling for 2 to 3 minutes can restore circulation.
Open and close your fists rapidly. This pumps blood through your hands and fingers. Do 20 to 30 reps, hard, every 10 minutes in extreme cold.
Drop your hands below your heart. Gravity helps blood flow into your fingers. Coast for a minute with your hands low on the drops or hoods.
Use a chemical hand warmer against your wrist. Place it inside your glove, on the palm side of your wrist, over the radial artery. Wrist warming brings finger warmth faster than direct finger warming.
Loosen your grip on the bars. Gripping hard cuts off blood flow. Relax your hands and let the gloves and bars do the work.
Wave your arms in big circles for 30 seconds. This sounds silly but it works. The motion forces blood into your hands and the centrifugal effect pushes it into your fingers.
If Your Feet Go Cold
Stop and wiggle your toes inside the shoe. Twenty rapid toe flexes can restore warmth.
Loosen the shoe closure slightly. Tight shoes restrict blood flow. A quarter-turn on a Boa dial or a slight loosening of Velcro straps makes a real difference.
Stand and pedal for 30 seconds. Standing shifts weight and gets blood moving into the feet, similar to how hand waving works for fingers.
Stuff a chemical toe warmer under the insole. Slide it in from the back of the shoe. The insole holds it in place and the heat radiates up into your foot.
Get off and walk for a minute. Walking forces blood into the feet through muscle contraction. If you have a coffee stop nearby, this is the time to take it.
None of these tricks replace good preparation, but they can save a ride when conditions turn out colder than forecast.
Cycling With Raynaud’s Syndrome
Raynaud’s syndrome affects an estimated 5% to 10% of adults, and cyclists with the condition know that cold-weather riding can trigger painful attacks. During an attack, blood vessels in the fingers or toes spasm and cut off circulation, often turning fingers white, then blue, then red as blood returns.
If you have Raynaud’s, the standard advice in this article still applies, but you need to be more aggressive with layering, pre-warming, and post-ride care.
Key strategies for Raynaud’s riders:
- Pre-warm gloves and shoes before the ride. Store them in a warm room or near a heater. Putting cold hands into cold gloves is a fast track to an attack.
- Use chemical warmers from the start of the ride, not just in emergencies. Maintain warmth continuously rather than reacting to numbness.
- Layer two pairs of gloves minimum. A merino liner and a windproof shell works for most. Below freezing, add a third layer.
- Cover the pulse points. Wrists, ankles, and neck all have major arteries close to the skin. A buff around the neck and wrist warmers under gloves help.
- Avoid gripping the bars too tightly. Tension makes Raynaud’s worse.
- Plan bailout routes. Know where you can stop, warm up, and call for help if an attack is severe.
- Talk to a doctor. Severe Raynaud’s responds to prescription medication. Cycling UK and the Scleroderma and Raynaud’s UK charity (SRUK) have specific advice for riders with the condition.
With proper planning, Raynaud’s riders can still enjoy cold-weather cycling. It just takes more layers, more warmers, and a shorter leash on conditions that are too cold to ride safely.
Temperature-Based Quick Reference
For a fast answer when you are getting ready for a ride, here is a quick-reference guide by temperature range.
50F to 60F (10C to 15C): Light full-finger glove. Thin merino or synthetic sock. Standard cycling shoes.
40F to 50F (4C to 10C): Windproof softshell glove. Medium merino sock. Standard shoes with vent covers.
30F to 40F (-1C to 4C): Insulated winter glove or lobster glove. Heavy merino sock. Winter cycling shoes or standard shoes with neoprene overshoes.
20F to 30F (-7C to -1C): Heavy winter glove with liner. Insulated winter shoe. Neoprene overshoes. Hand and toe warmers recommended.
Below 20F (-7C): Handlebar mitts (Bar Mitts) plus liner + windproof shell glove. Insulated winter shoes. Neoprene overshoes. Hand and toe warmers. Consider heated gloves for rides over 2 hours.
Below 0F (-18C), riding becomes a serious safety decision. Frostbite on exposed skin can happen in 10 to 30 minutes, and even covered fingers and toes are at risk. If you ride in these conditions, ride short routes, ride with a partner, carry emergency warmers, and let someone know your route and expected return time.
Frequently Asked Questions About Cold-Weather Cycling
How to keep hands warm while riding in winter?
Wear windproof gloves matched to the temperature, layer a thin merino liner under a heavier shell, and use handlebar mitts (Bar Mitts) below 20F. Keep your core warm with a windproof vest and avoid overdressing so you do not sweat into your gloves. Carry chemical hand warmers in your pocket for emergencies.
How to keep feet warm while riding?
Start with merino wool socks (not cotton), use winter cycling shoes or neoprene overshoes, and cover any vents in your shoes with reflective tape. Place chemical toe warmers on top of your toes, not under the ball of the foot, and avoid tight closures that cut off circulation.
How do I keep my hands from going numb while cycling?
Stop pedaling hard for a few minutes to redirect blood to your hands, open and close your fists rapidly, and lower your hands below your heart. A chemical hand warmer placed on the inside of your wrist, over the radial artery, brings finger warmth faster than warming the fingers directly. Loosen your grip on the bars and avoid gripping hard.
What is cyclist syndrome?
Cyclist syndrome, also called cyclist’s palsy or handlebar palsy, is nerve compression in the wrist caused by prolonged pressure on the handlebars. Symptoms include numbness, tingling, or weakness in the fingers. It is worsened by cold hands and tight gloves. Treatment includes adjusting bar position, padded gloves, and taking pressure off the wrists during long rides.
Does wrapping your feet in aluminum foil keep your feet warm?
Yes, it works as a low-cost emergency method. Aluminum foil reflects body heat back toward the foot and adds a wind barrier over your sock. Place the foil shiny side up over the sock, then put on the shoe. Replace every 60 to 90 minutes because foil compresses and loses insulation value.
What is the 75% rule in cycling?
The 75% rule is a training guideline suggesting that 75% of your weekly cycling volume should be done at an easy, conversational intensity, with 25% at higher intensity. It is not specifically about cold-weather riding, but it does relate to how hard you should be working on winter base rides, which affects how much heat your body generates.
Final Thoughts: Stay Warm and Keep Riding
Learning how to keep your hands and feet warm on cold rides is what turns winter into just another training season instead of a treadmill-only block. The strategy is layered: match your gloves and shoes to the temperature, block wind, manage moisture, and keep your core warm so blood keeps flowing to your fingers and toes.
Start with the basics. A pair of windproof gloves, merino socks, and neoprene overshoes get most riders through the 30F to 50F range. Add Bar Mitts, a heavier glove, and a windproof vest for the deep cold. Keep chemical warmers in your pocket for the days the forecast got it wrong.
Most importantly, do not let a few cold days push you off the bike. With the right setup, riding in winter is some of the best training you can do. Empty roads, low sun, and the satisfaction of rolling past cars stuck in snow make it worth the effort to dial in your cold-weather kit.
Stay warm, ride safe, and keep the rubber side down.