
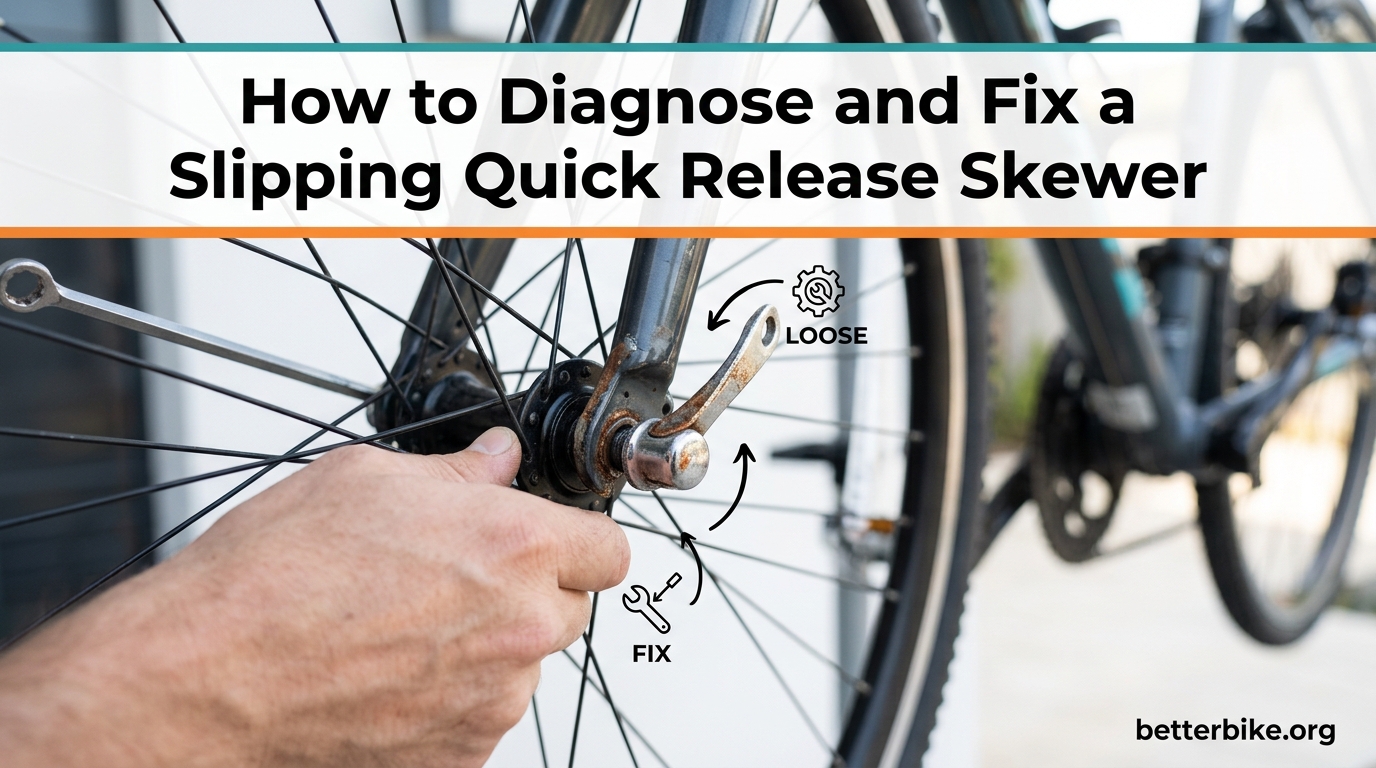
If your rear wheel slides forward in the dropouts every time you stand up to sprint, you are dealing with a slipping quick release skewer. I have wrestled with this problem on three of my own bikes over the years, including a cyclocross rig with horizontal dropouts that fought me for an entire summer before I tracked down the real cause.
This guide on how to diagnose and fix a slipping quick release skewer walks you through the exact diagnostic process I now use on every used bike I work on. You will learn how the cam mechanism works, the five things to check before buying any parts, and the fixes that solve the problem in 90 percent of cases. By the end, you will know whether you need a new skewer, a toothed washer, or just a proper tightening technique.
Table of Contents
What a Quick Release Skewer Is and Why It Slips
A quick release skewer is a lever-actuated cam clamp that holds your wheel in the frame dropouts. The skewer has six parts: a lever with an eccentric cam, a steel rod, an adjusting nut on the opposite side, two conical springs, and two thrust washers. When you flip the lever closed, the eccentric cam rotates and pulls the rod tight, which squeezes the dropouts against the hub shell.
The clamping force produced by a properly adjusted skewer sits between 1000 and 2500 newtons. That force comes from the mechanical advantage of the over-centre cam. As the lever swings through its 180-degree arc, it crosses a point where the cam geometry locks itself in place. This is why a closed lever feels stiff and resists being pushed open.
A slipping quick release skewer fails for one of three reasons. First, the cam itself may be worn and no longer produces enough force. Second, the surfaces of the dropouts may be slippery because of paint, grease, or rounded serrations. Third, the axle may be too long, which means the adjusting nut bottoms out before the cam can develop its full clamping force.
Symptoms of a Slipping Quick Release Skewer
Before you start taking things apart, confirm that your problem really is a slipping QR skewer and not a bent derailleur hanger or a worn freehub. The classic symptom is the rear wheel sliding forward in the dropouts when you stand up to pedal hard. You may also feel a sudden clunk under power.
Other signs include the QR lever loosening on its own mid-ride, a creaking or clicking sound coming from the rear of the bike, and shiny skid marks on the dropout faces. On horizontal dropouts, the wheel may visibly move forward when you push the bike backwards against the cranks.
If you only hear a click when coasting, suspect the freehub body rather than the QR. If the click happens only under power and the wheel moves, you are looking at a slipping quick release.
Step-by-Step Diagnostic Checklist
I run through this six-step diagnostic checklist every time a slipping quick release wheel comes into my workshop. It takes about five minutes and saves hours of guessing.
Step 1: Test for Play in the Dropouts
Open the QR lever and grip the wheel at the top. Try to slide the axle up and down inside the dropouts. If the axle moves freely, the clamping force is too low for the load being applied. A tiny amount of movement is normal, but more than 1-2 mm of vertical play points to a slipping issue.
Step 2: Inspect the Skewer Itself
Remove the wheel and look at the skewer. Run your thumb over the cam lobe. If it feels polished smooth instead of having a defined ridge, the cam is worn and the skewer needs to be replaced. Check the rod for any bends by rolling it on a flat surface.
Step 3: Check the Dropout Faces
Look at the inside faces of both dropouts. Paint buildup, grease, or rounded serrations all reduce friction. Worn dropouts from older steel frames often look shiny and smooth where they contact the axle cones.
Step 4: Measure the Axle Length
Thread the adjusting nut all the way onto the rod. If the rod sticks out past the nut by more than 2 mm once everything is assembled with springs and washers, the axle is too long. This is a common problem on older steel frames and on some aftermarket hubs.
Step 5: Confirm Spring Direction
Each conical spring has a narrow end and a wide end. The narrow end points inward, toward the hub. The wide end faces outward, against the dropout or thrust washer. Reversed springs reduce the effective clamping force and let the wheel sit off-centre.
Step 6: Identify Your Dropout Style
Look at the dropouts from the side. Vertical dropouts face straight up and down. Horizontal dropouts angle backward toward the rear of the bike. The more horizontal the dropout, the more important friction becomes. On a true horizontal dropout, even a properly tightened QR can slip without a toothed washer.
Common Fixes for a Slipping Quick Release
Match each diagnosis from the checklist above to the right fix. Most of these take less than fifteen minutes and require only basic tools.
Fix 1: Reset the Lever Tension
Loosen the adjusting nut on the non-drive side until the lever can close with light palm pressure. Then back the nut off a quarter turn at a time until the lever requires a firm push with the heel of your hand. The clamping force should be high enough that you cannot open the lever with your fingers, but not so high that you need to force it shut.
Fix 2: Reverse the Springs
Slide the wheel out and look at the springs. The narrow end of each cone should point toward the hub centerline. If both springs point outward, flip them. Reversing the springs often solves a wheel that sits off-centre between the brake pads or that feels loose even with a tight lever.
Fix 3: Clean the Dropout Faces
Wipe the inside of both dropouts with a rag soaked in isopropyl alcohol or brake cleaner. Remove any grease, chain lube, or paint chips that have collected on the metal. Let the surface dry completely before reinstalling the wheel. This single fix solves more slipping QR problems than any other.
Fix 4: Add a Serrated Toothed Washer
For older bikes with smooth or worn dropouts, place a toothed washer between the dropout face and the spring. The teeth bite into both the dropout and the washer face, multiplying the friction that resists wheel rotation. Toothed washers cost a few dollars and work wonders on horizontal dropout frames.
Fix 5: Shorten an Over-Long Axle
If the axle rod protrudes past the adjusting nut by more than a couple of millimetres, file the end down with a flat file or cut it carefully with a hacksaw. Deburr the cut end so the threads start cleanly. A shortened axle lets the nut develop proper clamping force before bottoming out.
Fix 6: Replace the Skewer
If the cam lobe is polished smooth, the rod is bent, or the springs are rusted and weak, swap the entire skewer. A quality replacement skewer from Shimano, DT Swiss, or Campagnolo costs less than a shop labour hour and immediately solves most age-related slipping issues.
The Palm Test: How Tight Should a QR Lever Feel
The most common question I get from new riders is how tight a quick release should feel. The answer is the palm test. Close the lever using only the heel of your palm, with your fingers off the lever entirely.
A properly adjusted lever requires firm pressure from the palm and leaves a clear red imprint on your skin when you let go. If two fingers can close the lever all the way, the skewer is too loose. If you need to wrap your whole hand around the lever and grit your teeth to close it, the skewer is too tight and you risk damaging the cam or warping the dropouts over time.
The palm test works on both wheels and for both internal cam and external cam skewers. It is the single best practical reference for proper QR tension.
Internal Cam vs External Cam Skewers
An external cam skewer has the cam mechanism visible on the lever itself. It is the classic Shimano-style design that has shipped on most bikes since the 1980s. External cam skewers are easy to service, inexpensive, and work fine on modern frames with good dropout serrations.
An internal cam skewer encloses the cam inside the lever housing. The enclosed design multiplies the mechanical advantage and produces a higher clamping force with less hand effort. Internal cam skewers also tend to sit closer to the frame, which prevents the lever from contacting the chainstay on certain bike designs.
For bikes with worn dropouts or horizontal dropouts, an internal cam skewer is one of the cheapest upgrades you can make. The higher clamping force overcomes the lower friction of an old dropout, and the slipping problem usually disappears.
Disc Brake and Horizontal Dropout Considerations
If your bike has a disc brake hub, all of the braking torque loads onto the left side of the axle. The axle tries to rotate inside the dropouts every time you pull the front brake or apply the rear brake hard. This one-sided twisting load is why disc brake bikes are more prone to slipping QR problems than rim brake bikes.
Horizontal dropouts multiply the problem. Because the axle is pulled forward by the chain tension, any reduction in friction lets the wheel creep toward the chainstay under power. A bike with horizontal dropouts and a disc brake is the hardest case for a QR system, and is exactly where toothed washers or internal cam skewers earn their keep.
Vertical dropouts with rim brakes are the easiest case. A basic external cam skewer tightened with the palm test holds these wheels securely for years.
When to Replace the Skewer, Axle, or Hub
Sometimes the diagnostic checklist points to a part that needs replacement rather than a fix. Replace the skewer if the cam lobe is polished, the rod is bent, or the springs have lost tension. A replacement skewer is the cheapest place to start.
Replace the axle if the hollow center is crushed, the threads strip when you tighten the nut, or the axle has visible bending. Some hubs allow you to swap just the axle, but many modern hubs use cartridge bearings and require a full hub service.
Replace the hub only as a last resort. A worn bearing seat lets the axle sit off-centre inside the dropouts, which makes any QR feel loose even when properly adjusted. If the wheel has play that you cannot chase out through the bearings, the hub shell itself is worn.
FAQ
How to tighten a quick release skewer?
Loosen the adjusting nut on the non-drive side until the lever closes with firm palm pressure. Flip the lever all the way closed using only the heel of your hand. The lever should leave a clear red imprint on your palm. If two fingers can close it, the nut is too loose. If you need a death grip to close it, the nut is too tight.
Why does my quick-release wheel keep coming loose?
The most common causes are paint or grease on the dropout faces, springs installed in the wrong direction, an axle that is too long, or a worn cam on the skewer. Clean the dropouts with isopropyl alcohol, reverse the springs so the narrow ends point inward, and check that the axle rod does not protrude more than 2 mm past the adjusting nut. A slipping quick release that keeps loosening usually points to low friction rather than low clamping force.
Should you grease quick release skewers?
Do not grease the cam, the rod threads, or the dropout faces. A light film of grease on the rod threads can help with long-term corrosion, but never let grease reach the contact surfaces between the hub cones and the dropouts. Grease on the dropouts eliminates the friction that holds the wheel in place and is one of the leading causes of a slipping quick release skewer.
How do I fix a slipping freehub?
A slipping freehub is a different problem from a slipping quick release. The freehub is the ratcheting mechanism inside the rear hub that engages when you pedal. If your wheel slips forward only when you stop pedaling, or the cranks spin without driving the wheel, the freehub pawls are worn. This requires hub service or replacement, not QR adjustment. If the wheel slips forward in the dropouts under pedaling force, the issue is the quick release skewer, not the freehub.
Conclusion
Most slipping quick release skewer problems come down to low friction at the dropout face, not low clamping force from the cam. Run through the six-step diagnostic checklist before buying any parts. In my experience, cleaning the dropouts and reversing the springs solves the issue nine times out of ten on bikes that are otherwise in good shape.
For older frames, a toothed washer or an internal cam skewer is the cheapest insurance you can buy against a slipping rear wheel. If the cam is polished or the axle is bent, replace the skewer and axle as a pair. Use the palm test to set proper tension, and your wheels will stay put under any amount of pedaling force.