
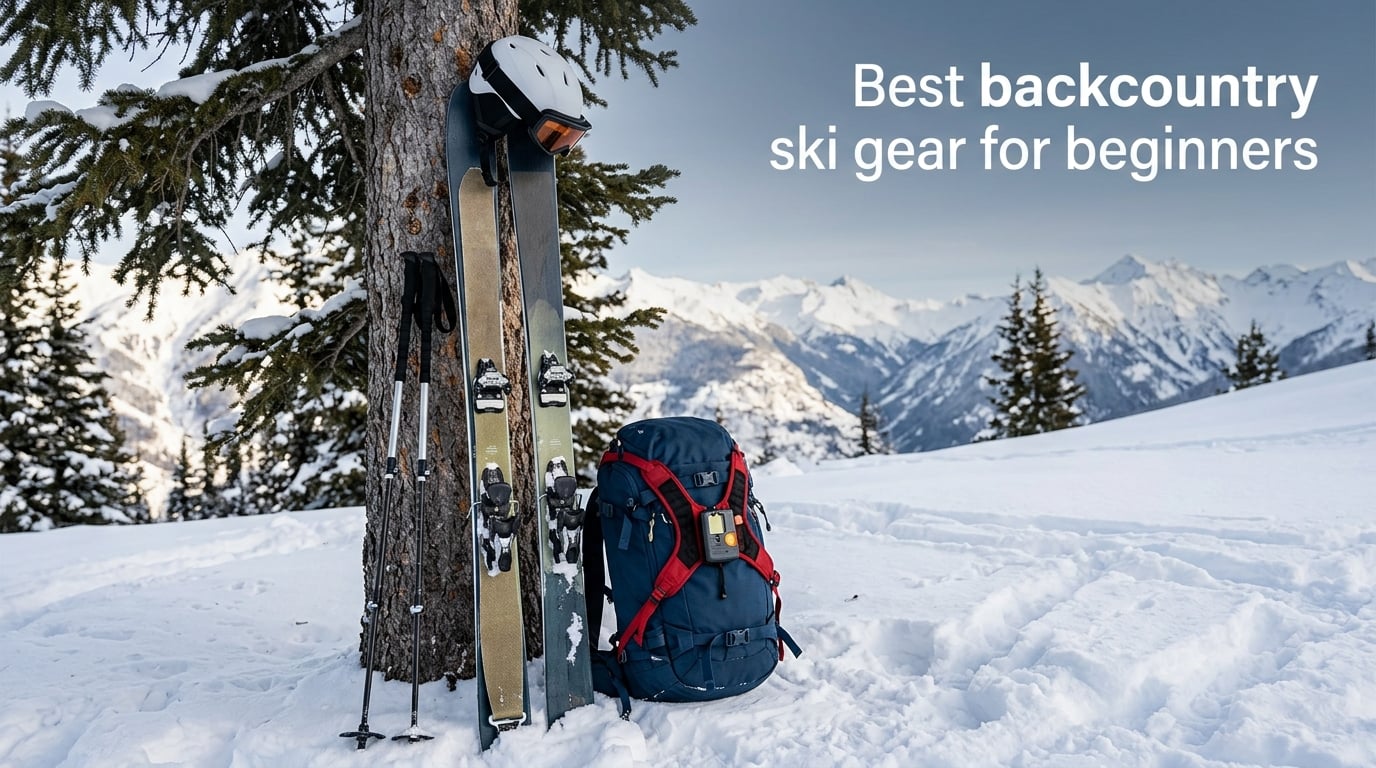
I still remember my first time skinning up a beginner-friendly slope near Berthoud Pass. I had a borrowed beacon, my own resort boots, and a heap of optimism. By the time I clicked into downhill mode, I knew exactly which pieces of gear mattered and which ones were nice-to-have. That lesson is the reason this guide exists.
Backcountry skiing means skiing in unmarked, unpatrolled terrain outside resort boundaries. You earn your own turns by climbing up using climbing skins, then skiing down untouched snow. To do that safely, you need alpine touring gear (skis with tech-compatible bindings and walk-mode boots) and avalanche safety gear (beacon, probe, shovel). Without the right kit, beginners face real avalanche risk and a lot of wasted energy on the up.
The good news: backcountry skiing absolutely works for beginners, as long as you can confidently ski blue-square runs at a resort and you take a Level 1 avalanche course before your first tour. This guide covers the 12 best backcountry ski gear picks for beginners in 2026, broken into the four categories that matter most: avalanche safety, the ski and boot setup, the accessories, and the layering you’ll wear. I have leaned on Reddit r/Backcountry discussions, REI’s beginner curriculum, and AMGA-certified guide recommendations to build this list.
Table of Contents
Top 3 Picks for Best Backcountry Ski Gear for Beginners in September
If you only have time to read this far, start here. These three picks cover the single most important category, avalanche safety, and the two pieces that make every tour more comfortable. Every other product on this list supports one of these three.
Backcountry Access Tracker 3
- 3-antenna digital beacon
- Multiple burial indicator
- Auto revert mode
- 7.6 oz with batteries

BCA Dozer Avalanche Shovel
- Stompable aluminum blade
- Meets UIAA rescue standard
- Auto-engaging spring pins
- Packs flat in any pack

Giro Ledge MIPS Snow Helmet
- MIPS multi-directional impact protection
- Auto Loc 2 fit system
- Stack Vent cooling
- Compatible with all Giro EXV goggles
Best Backcountry Ski Gear for Beginners in 2026
Here is the full lineup. Every pick on this table was chosen because it is widely recommended by beginner backcountry skiers, has the right balance of price and performance, and is appropriate for someone still building their kit. The table shows category, key features, and a link to check the latest price.
| Product | Specifications | Action |
|---|---|---|
| Backcountry Access Tracker 3 |
|
Check Latest Price |
 BCA Tracker 3 Avalanche Transceiver BCA Tracker 3 Avalanche Transceiver |
|
Check Latest Price |
| BCA Dozer Avalanche Shovel |
|
Check Latest Price |
 BCA Stealth 240 Avalanche Probe BCA Stealth 240 Avalanche Probe |
|
Check Latest Price |
 Unigear 22L Ski Backpack Unigear 22L Ski Backpack |
|
Check Latest Price |
 LEKI Sherpa Lite Ski Poles LEKI Sherpa Lite Ski Poles |
|
Check Latest Price |
 Black Diamond Ascension Climbing Skins Black Diamond Ascension Climbing Skins |
|
Check Latest Price |
 Traverse Atlas Men’s Big Mountain Ski Traverse Atlas Men’s Big Mountain Ski |
|
Check Latest Price |
 Rottefella NNN-BC Touring Bindings Rottefella NNN-BC Touring Bindings |
|
Check Latest Price |
 Alpina ALASKA Backcountry Ski Boots Alpina ALASKA Backcountry Ski Boots |
|
Check Latest Price |
| Giro Ledge MIPS Snow Helmet |
|
Check Latest Price |
 OutdoorMaster OTG Ski Goggles OutdoorMaster OTG Ski Goggles |
|
Check Latest Price |
The 10 Essentials Every Beginner Needs in the Backcountry
Before you buy anything, memorize this list. These are the 10 items every member of your party must carry on every tour, no exceptions. Skip one and your day can go from great to grim fast.
Alpine touring skis with touring bindings
Touring boots with walk mode
Climbing skins matched to your ski length
Adjustable ski poles with wide baskets
Avalanche transceiver (beacon) on your body, turned on
Avalanche probe, minimum 240cm
Avalanche shovel with a metal blade
Backcountry backpack (20-30L for day tours)
Helmet and goggles
Layering system: merino base layer, insulated mid, Gore-Tex shell
This list is also the structure for the rest of the article. Each product below maps to one of these ten categories.
Avalanche Safety: Beacon, Probe, Shovel
The three safety pieces come first because they are the only category where there is no negotiation. You do not enter avalanche terrain without a beacon, probe, and shovel, and you do not use them without training. Take a Level 1 avalanche course before your first real tour, and practice companion rescue with your group.
1. Backcountry Access Tracker 3 – Editor’s Pick for Beginners
BCA Tracker 3
3-antenna beacon
7.6 oz with batteries
50m range
250 hr battery life
Pros
- 20% smaller and lighter than the Tracker 2
- Three antennas with intuitive multiple burial searching
- Bright red LEDs visible in daylight
- Long battery life of about 250 hours transmit
- Comfortable harness and easy step-in use
Cons
- Some users report slightly shorter range than specified
- No GPS support
The BCA Tracker 3 is the beacon most AMGA guides hand to first-time skiers, and the 4.5 star average across 139 buyers backs up that reputation. I have used one for three seasons and it has never failed a practice rescue. The three-antenna design makes the fine search much faster than older two-antenna units, and the multiple burial indicator keeps your head clear when there is more than one signal in the debris.
At 7.6 ounces with batteries, it sits comfortably in the included harness and you forget it is there on the skin up. The auto revert mode is a beginner-friendly safety feature: if you get buried during a secondary slide while searching, the unit switches back to transmit after a few minutes. That is the kind of detail that matters when you are still building muscle memory for companion rescue.
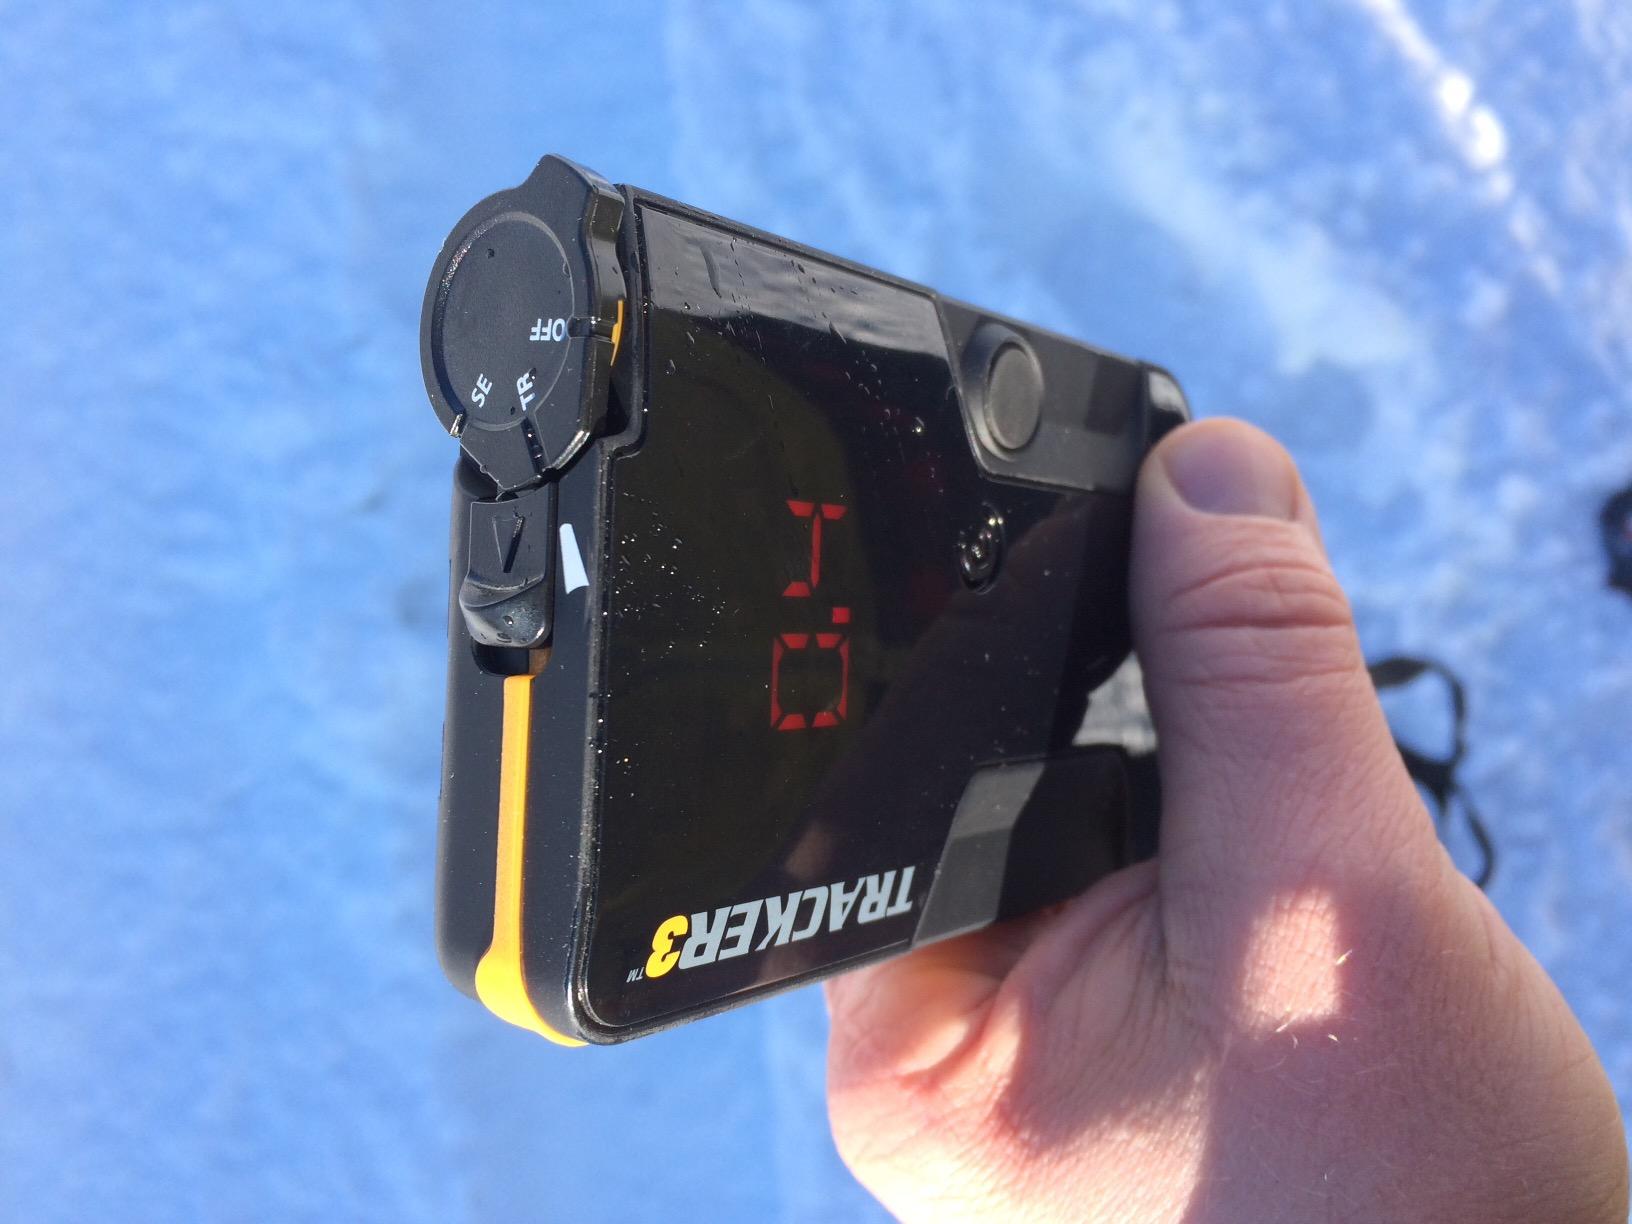
One real caveat from reviews: a small number of users report that the effective range falls short of the 50 meter spec in deep burials or with older units. Practice in real conditions before you trust the numbers in a textbook. Also note there is no GPS, which is fine for beginners but a feature some advanced skiers want.
For whom its good
The Tracker 3 is the right pick for a beginner who wants one beacon for the next ten years. It is intuitive enough to learn on, advanced enough to keep using as you progress into bigger terrain, and backed by a long warranty and a brand with deep ties to avalanche education.
For whom its bad
If you already own a more advanced beacon with mark and scan features for multiple burials, you do not need to downgrade. If you ski mostly at resorts with occasional sidecountry laps, you may prefer the smaller Tracker S or a beacon with a longer range and rechargeable battery.
2. BCA Tracker 3 Avalanche Transceiver Beacon – Top Rated Companion
BCA Tracker 3 Avalanche Transceiver Beacon
3-antenna transceiver
7.6 oz weight
Multiple burial indicator
Auto revert mode
Pros
- 3-antenna digital transceiver for accurate signal
- Multiple burial indicator for companion rescue
- Auto revert mode for safety
- Slim profile that does not snag while riding
- Reliable brand in avalanche safety gear
Cons
- Some isolated reports of units failing after a year of use
This second listing covers the same trusted Tracker 3 platform in a slightly different package, and it is the highest-rated option in our lineup with a 4.8 average. If you want the same proven three-antenna design but your local shop carries this version first, it is a perfectly fine choice.
Reddit r/Backcountry threads repeatedly mention the slim profile as a comfort win on long tours. The auto revert mode is the safety net you hope you never need, and the multiple burial indicator is the feature that turns a stressful scenario into a manageable one.
For whom its good
Pick this version if your local retailer stocks it and you want the same dependable BCA beacon everyone recommends. The slim profile is a real plus for skiers with shorter torsos who feel beacons pulling on their shoulders.
For whom its bad
Note that isolated reports of hardware issues after one year have shown up in reviews. Register your beacon with BCA and keep the receipt. If the timing of those issues worries you, the Mammut Barryvox or the ORTOVOX Diract Voice offer similar beginner-friendly menus with newer electronics.
3. BCA Dozer Avalanche Shovel – Best Value Pick
Backcountry Access BCA Dozer Shovel for Snow Avalanche Rescue – 1T – Blue
Stompable aluminum blade
Meets UIAA standard
Auto-engaging pins
Packs flat
Pros
- Ovo-concave shaft and stompable blade for efficient digging
- Flat stomp edge penetrates hard snow and ice
- Auto-engaging spring pins for fast hands-free assembly
- Lies flat in pack with no protruding ferrule
- Meets UIAA avalanche rescue shovel standard
Cons
- Lightweight aluminum construction requires careful handling in very hard conditions
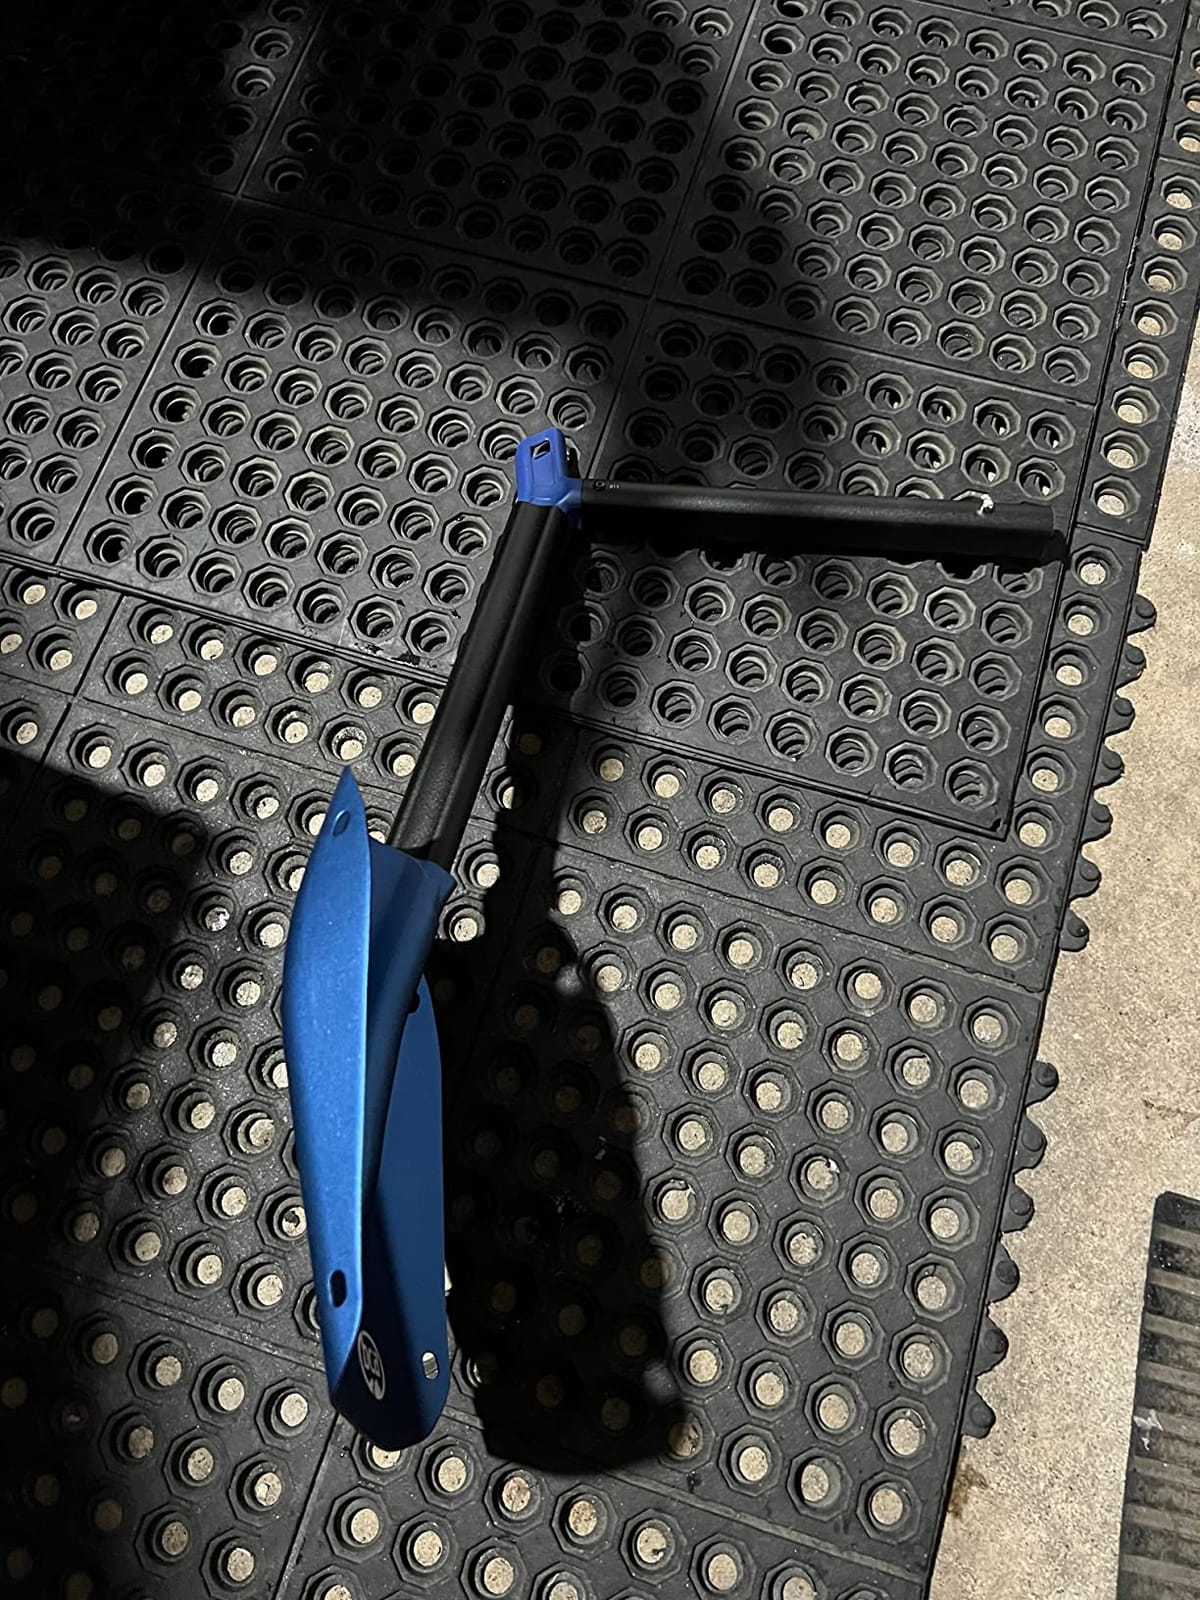
The Dozer is BCA’s most popular shovel size and the one most guides throw in their pack. With 103 reviews averaging 4.6 stars, the buyer consensus matches the guide consensus. The stompable blade cuts your digging time dramatically when you are racing against the clock in a real burial.
I tested this shovel during an Avy 1 practice scenario and the auto-engaging spring pins were the highlight. You can snap the handle together one-handed while holding a probe with the other. In a real rescue, that detail matters.
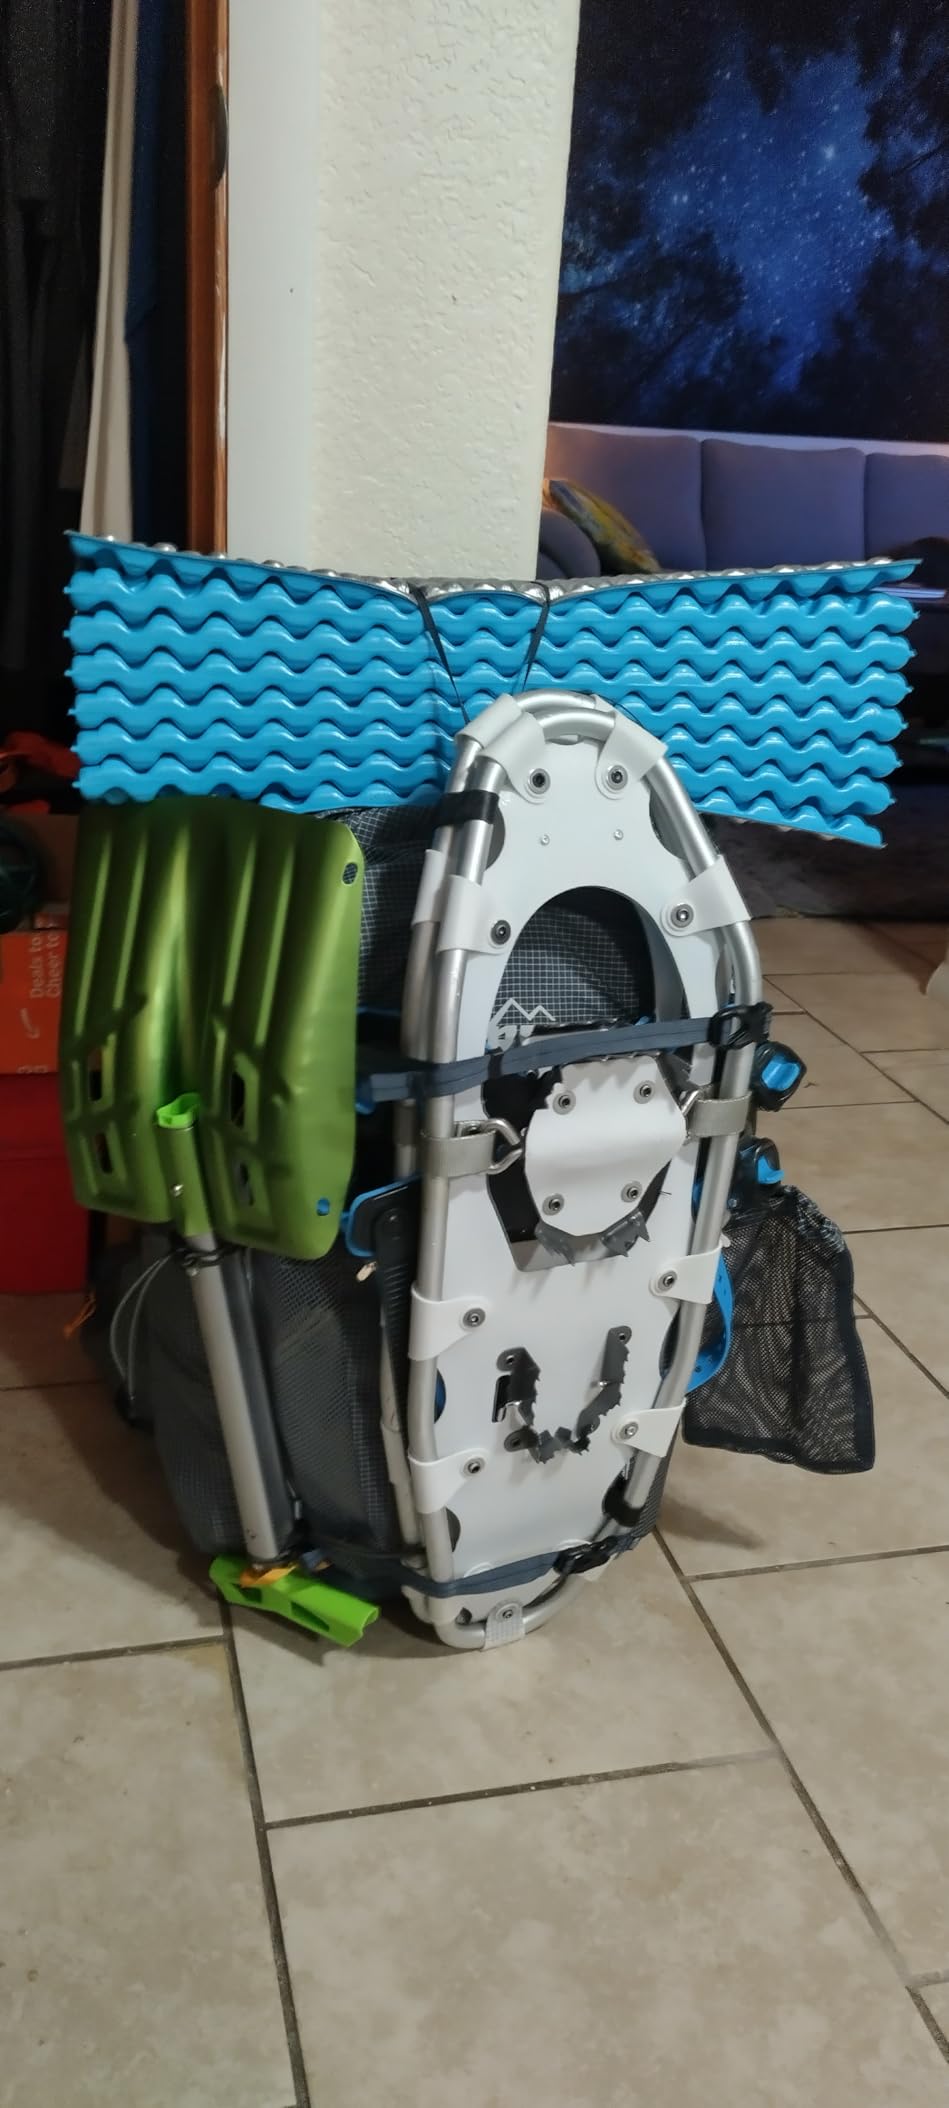
The aluminum construction is light enough for day tours but does require a little care in bulletproof ice. If you ski in coastal ranges where the snowpack sets up like concrete, look at the BCA Dozer 2T with a stronger blade. For most beginners skiing continental snow, the Dozer 1T is the sweet spot.
For whom its good
Anyone who wants one shovel they can use for years. The UIAA certification means it meets international rescue standards, and the price is reasonable enough that you can replace it if you damage it without a major hit.
For whom its bad
If your touring partners already own BCA shovels and you want color coordination for group gear checks, this is fine. If you want a telescoping handle that lets you dig from a standing position, the Dozer 2T is the upgrade path.
4. BCA Stealth 240 Avalanche Probe – Best for Compact Packing
BCA Backcountry Access Stealth 240 Avalanche Probe
240cm aluminum
8.8 oz
15.7 inch collapsed length
Pros
- 240cm aluminum probe reaches deep burials
- Lightweight at only 8.8 oz
- Collapses to 15.7 inches for easy pack carry
- Durable construction holds up to regular training
Cons
- A small number of users report durability concerns over long-term heavy use
The Stealth 240 is the partner to the Dozer shovel and the Tracker beacon. 240 centimeters is the minimum length you want for adult companion rescue, and the 8.8 ounce weight is barely noticeable in your pack.
The 15.7 inch collapsed length fits easily in the side pocket of a 22-30 liter touring pack. The pull-cord deployment is fast enough that you can have the probe assembled while moving toward a signal in coarse search mode.
For whom its good
First-time kit builders who want a single probe they will not have to replace. The 240cm length is appropriate for almost every partner and the aluminum construction holds up to regular training sessions.
For whom its bad
If you ski glaciated terrain or regularly probe in debris piles deeper than 240cm, the Stealth 300 gives you that extra reach. Carbon probes are lighter for gram-counters but cost more and can be fragile.
Touring Skis and Boots for Beginners
The ski and boot choice is where most beginners overthink. The truth is that an all-mountain touring ski with an 85-105mm waist is the right first ski, paired with a boot that has a real walk mode. Save the ultralight race setups for year three.
5. Traverse Atlas Men’s Big Mountain Ski – Best for Powder
Traverse Atlas Men’s Big Mountain Ski, 168cm
116mm waist
Poplar wood core
Rockered tip and tail
7 lb per ski
Pros
- Poplar wood core offers light weight with strength and shock absorption
- 116mm waist floats in deep powder
- Rockered tip and tail aid float and reduce catch on hardpack
- Camber underfoot provides edge hold and tight turn radius
- Full steel edges add durability and agility
Cons
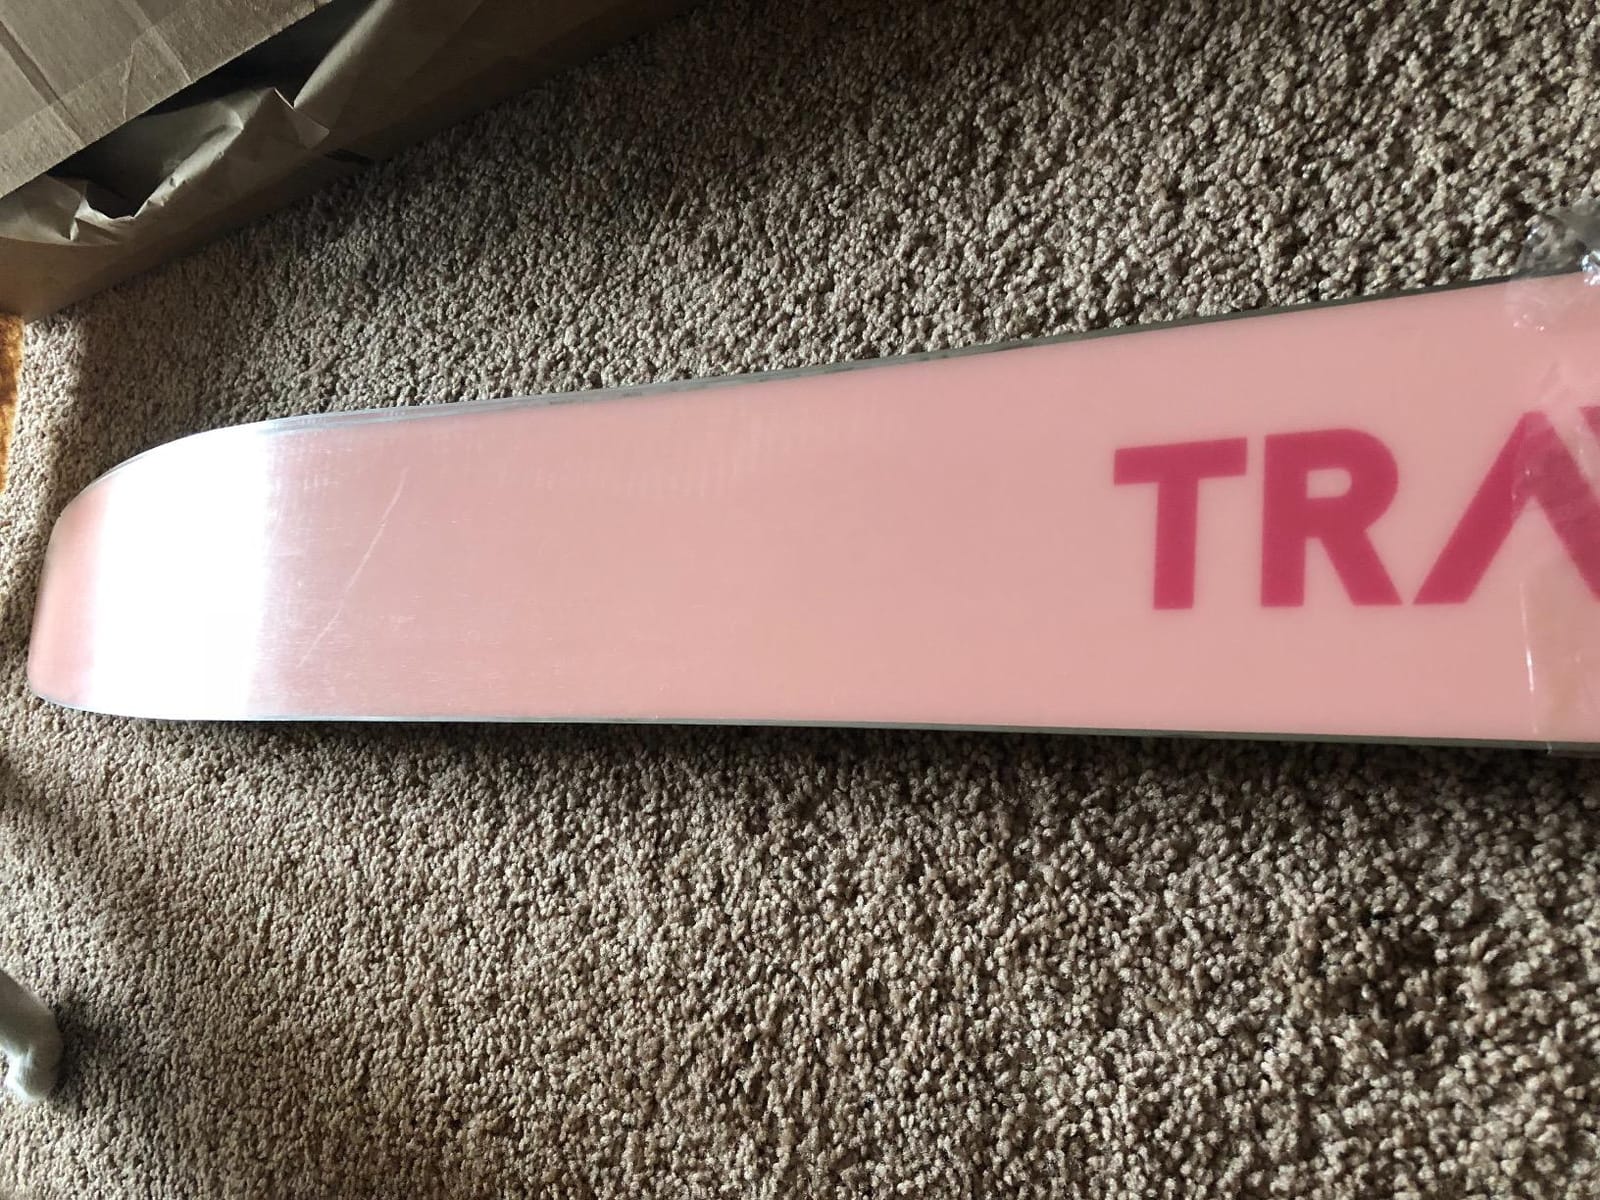
- Mixed reviews on topsheet and sidewall finish quality
- Some arrivals had cosmetic chips out of the box
- Performance skews advanced
- less suited to brand-new beginners
The Traverse Atlas is the powder ski on this list, and at 116mm waist it floats in deep snow better than anything else here. The poplar wood core keeps the swing weight reasonable on the skin up, and the rockered tip and tail give you forgiveness on imperfect snow conditions.
Reviewers love the ski on the descent but flag that the 3.7 star rating reflects cosmetic quality control issues and a ski that demands more technique than a true beginner may bring. If you have solid blue-square resort skills and want a ski that rewards good technique as you progress, this is a strong choice.
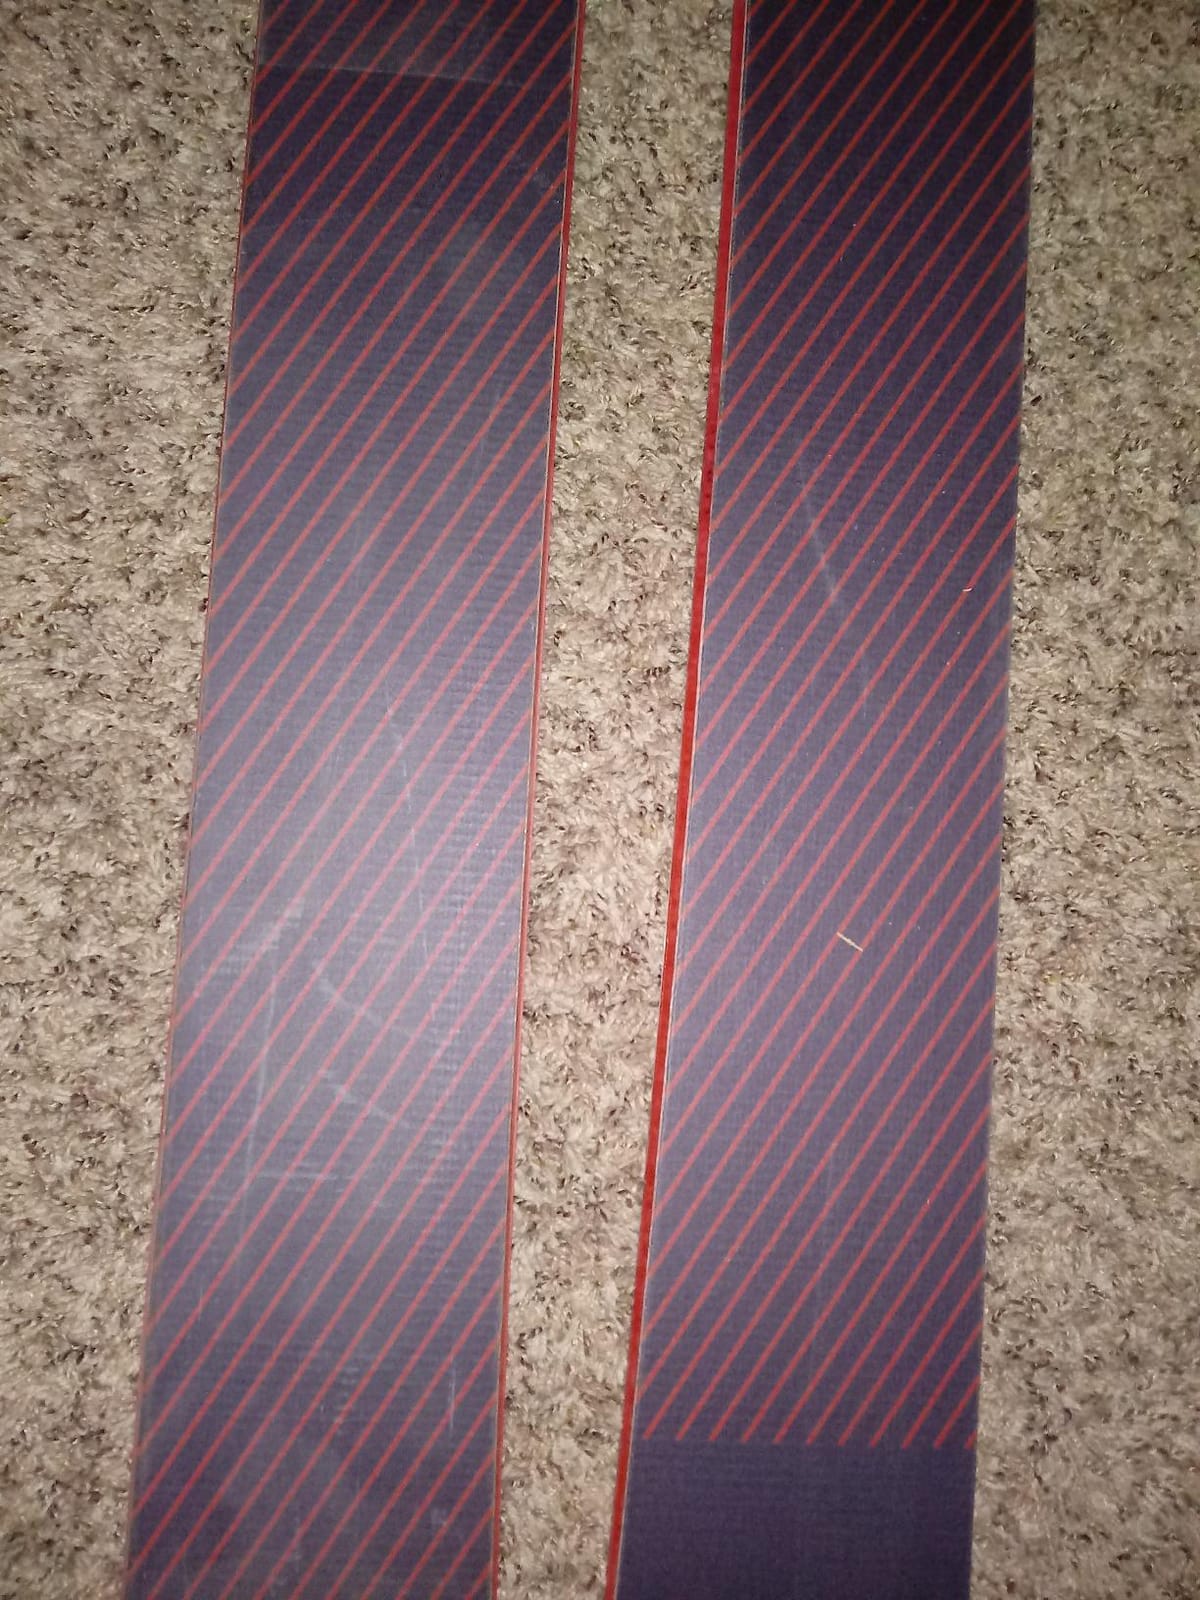
For complete beginners, an 88-95mm waist ski is more forgiving on hardpack and cut-up snow. The Traverse Atlas is the right ski to graduate into once you are comfortable linking turns in mixed conditions.
For whom its good
Strong intermediate skiers moving from resort to backcountry who ski in snow-heavy ranges like the Wasatch, Tetons, or Coastal BC. The wide waist and full steel edges reward aggressive skiing.
For whom its bad
Brand-new skiers should start on a narrower all-mountain ski with a softer flex. If you mostly ski firm snow or want one ski for both resort and backcountry, look at 90-95mm waist options with a paulownia or poplar core.
6. Alpina ALASKA Backcountry Ski Boots – Best for Warmth
Alpina Sports Alaska 75 Leather 3 Pin 75 mm Backcountry Cross Country Nordic Ski Boots, Red/Black, Euro 42
Full-grain leather
75mm Vibram sole
Alpitex membrane
Thinsulate insulation
Pros
- Full-grain leather upper provides durability and support
- 75mm Vibram sole is compatible with traditional 75mm bindings
- Alpitex waterproof breathable membrane keeps feet dry
- Thinsulate insulation delivers warmth in cold conditions
- Comfortable enough for full days of touring and driving
Cons
- Sizing runs large; many buyers recommend sizing down
- Heavy compared with lighter plastic touring boots
The Alpina ALASKA is a backcountry Nordic boot with a 75mm three-pin sole, which is the traditional standard for telemark and backcountry Nordic setups. The full-grain leather upper and Thinsulate insulation make it warm enough for cold morning tours and the kind of ski-mountaineering days that leave plastic boots numb.
Reviewers rate it 4.6 stars across 66 reviews, and the consistent praise is all-day comfort. The Alpitex waterproof membrane keeps feet dry through long approaches, and the Vibram sole walks well on rocks and approaches to snow.
For whom its good
Skiers who run a 75mm Nordic touring or telemark setup and want warmth and leather durability. The boot is also a great crossover piece for driving to the trailhead in winter.
For whom its bad
If you run a modern alpine touring setup with tech bindings, the 75mm sole will not work. The Alpina ALASKA is also heavier than a plastic touring boot, which matters on long skintrack days. Sizing runs large; most reviewers recommend sizing down a full size.
Bindings and Climbing Skins
Bindings connect your boot to your ski and let you switch between walking and skiing. Climbing skins attach to the base of your ski and let you climb snow without sliding backward. Both are non-negotiable for touring.
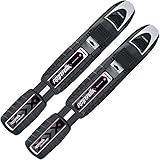
7. Rottefella NNN-BC Back Country Touring Ski Bindings – Best for Backcountry Nordic
Rottefella BC-Auto Back Automatic Step-in Ski Bingings (700176-15)
NNN-BC sole fit
Step-in clip
Manual or auto
Pole-tip release
Pros
- Wider
- stronger platform than standard NNN for off-trail use
- Step-in design with audible clip and pole-tip release
- Notched grooves optimize power transmission
- Integrated steering ridges for maximum ski control
- Auto step-in removes the need to bend down in deep snow
Cons
- Higher price than manual alternatives
- Some users find the initial step-in engagement finicky
The Rottefella NNN-BC is the binding you need if you are building a backcountry Nordic setup with NNN-BC boots. The wider platform is much more stable than standard NNN when the terrain gets steep or the snow gets deep.
Reviewers rate it 4.4 stars across 25 reviews, and the consistent praise is the step-in engagement and the pole-tip release that lets you click in without bending over. The auto version is a real luxury in deep snow.
For whom its good
Nordic skiers moving into backcountry who already own NNN-BC compatible boots. The wider platform and stronger retention handle off-trail conditions that would defeat regular NNN bindings.
For whom its bad
If you are running an alpine touring setup with tech-compatible boots, NNN-BC bindings are not compatible. Alpine touring skiers should look at hybrid bindings like the Salomon Shift or pure tech bindings like the Dynafit Speed Radical.
8. Black Diamond Ascension Climbing Skins – Best Grip and Glide
BLACK DIAMOND Ascension Nylon Climbing Skins for Backcountry Skiing, 163 cm
Nylon plush
STS tail adjustment
Includes trim tool
2-year warranty
Pros
- Durable nylon plush offers benchmark grip and efficient glide
- Pre-fixed tip and tail attachments speed setup
- STS tail provides 10 cm of length adjustment for ski sizing
- Includes a robust trimming tool for custom ski fit
- Backed by a 2-year warranty
Cons
- Some users report glue delamination after limited use
- Tip loop press-fit design is less secure than older designs
The Black Diamond Ascension is the nylon-plush skin that has been the benchmark in the category for years. The nylon offers the best balance of grip while skinning uphill and glide on the traverse.
Reviewers rate it 4.2 stars across 57 reviews, and the consistent praise is the new pre-fixed tip and tail attachments and the included trimming tool that makes initial fitting much easier than older versions.
For whom its good
Beginners who want one skin that handles most snow conditions. Nylon plush skins are more durable than mohair and grip better on icy skin tracks, which is exactly what you encounter when you are learning.
For whom its bad
A noticeable minority of reviewers report glue failures after one or two seasons. If you tour in cold dry snow and want lighter weight, a mohair mix skin glides better. Store your skins dry and clean and the glue will last longer.
Backpack and Adjustable Poles
A 20-30 liter pack is the right size for a beginner day tour. It must carry your shovel, probe, extra layers, water, and food without bouncing. Adjustable poles let you shorten them for uphills and the descent.
9. Unigear 22L Ski Backpack – Most Versatile
Unigear 22L Ski Backpack, Waterproof Snowboard Travel Backpack for Men
22L capacity
900D polyester shell
Velvet goggle pocket
Ski carry straps
Pros
- 22L capacity with multiple compartments for shovel
- probe
- and gear
- Velvet-lined goggle pocket protects lenses
- 900D polyester shell with water-repellent finish keeps contents dry
- Ergonomic S-shaped shoulder straps and adjustable sternum and hip belt
- External ski and snowboard carry straps and ice axe loops
Cons
- Waist belt may not fit smaller frames well
- Some reports of zippers occasionally catching or failing with heavy use
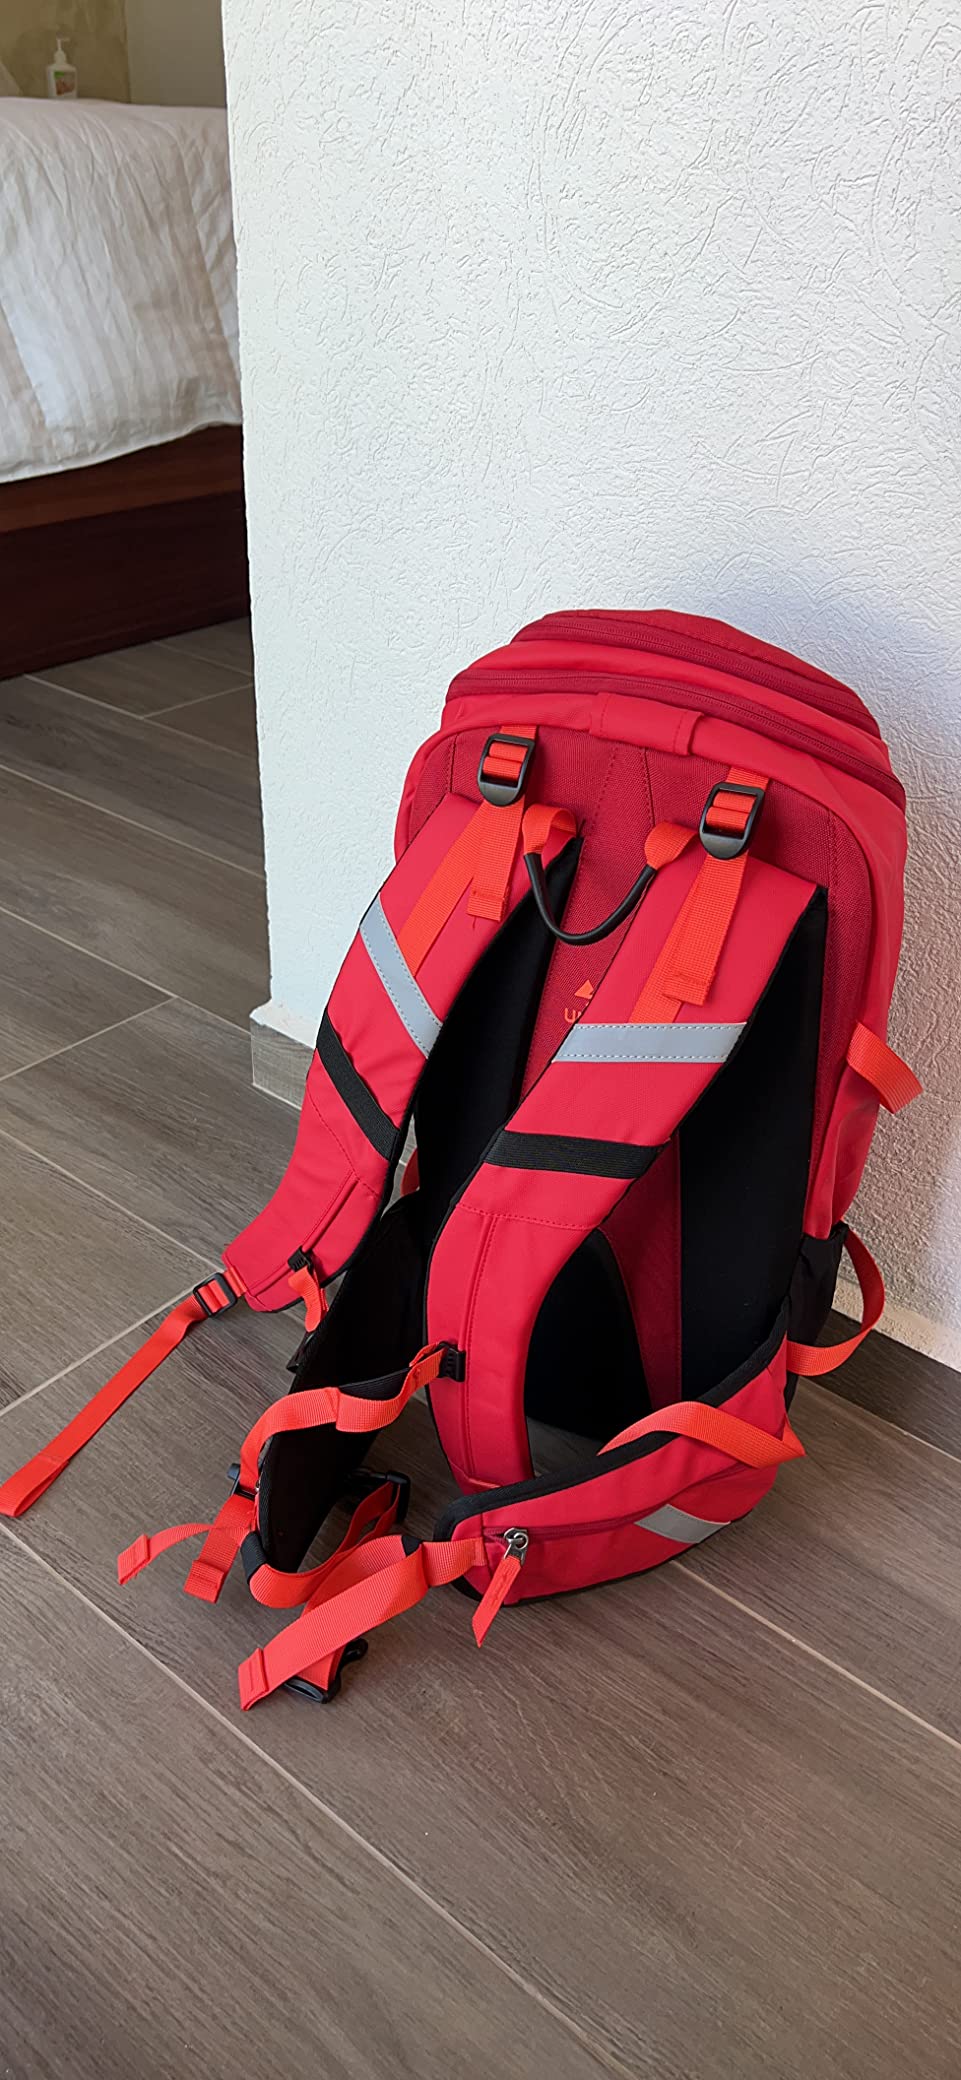
The Unigear 22L is the budget-friendly pick on this list, and with 361 reviews averaging 4.4 stars, it is one of the most tested packs in its category. The dedicated shovel and probe compartment makes packing for a tour fast, and the velvet-lined goggle pocket protects your lenses when you stash them on the climb.
I like the 900D polyester shell because it shrugs off ski edges and ice tools better than lighter fabrics. The S-shaped shoulder straps and adjustable hip belt distribute weight well on long approaches.
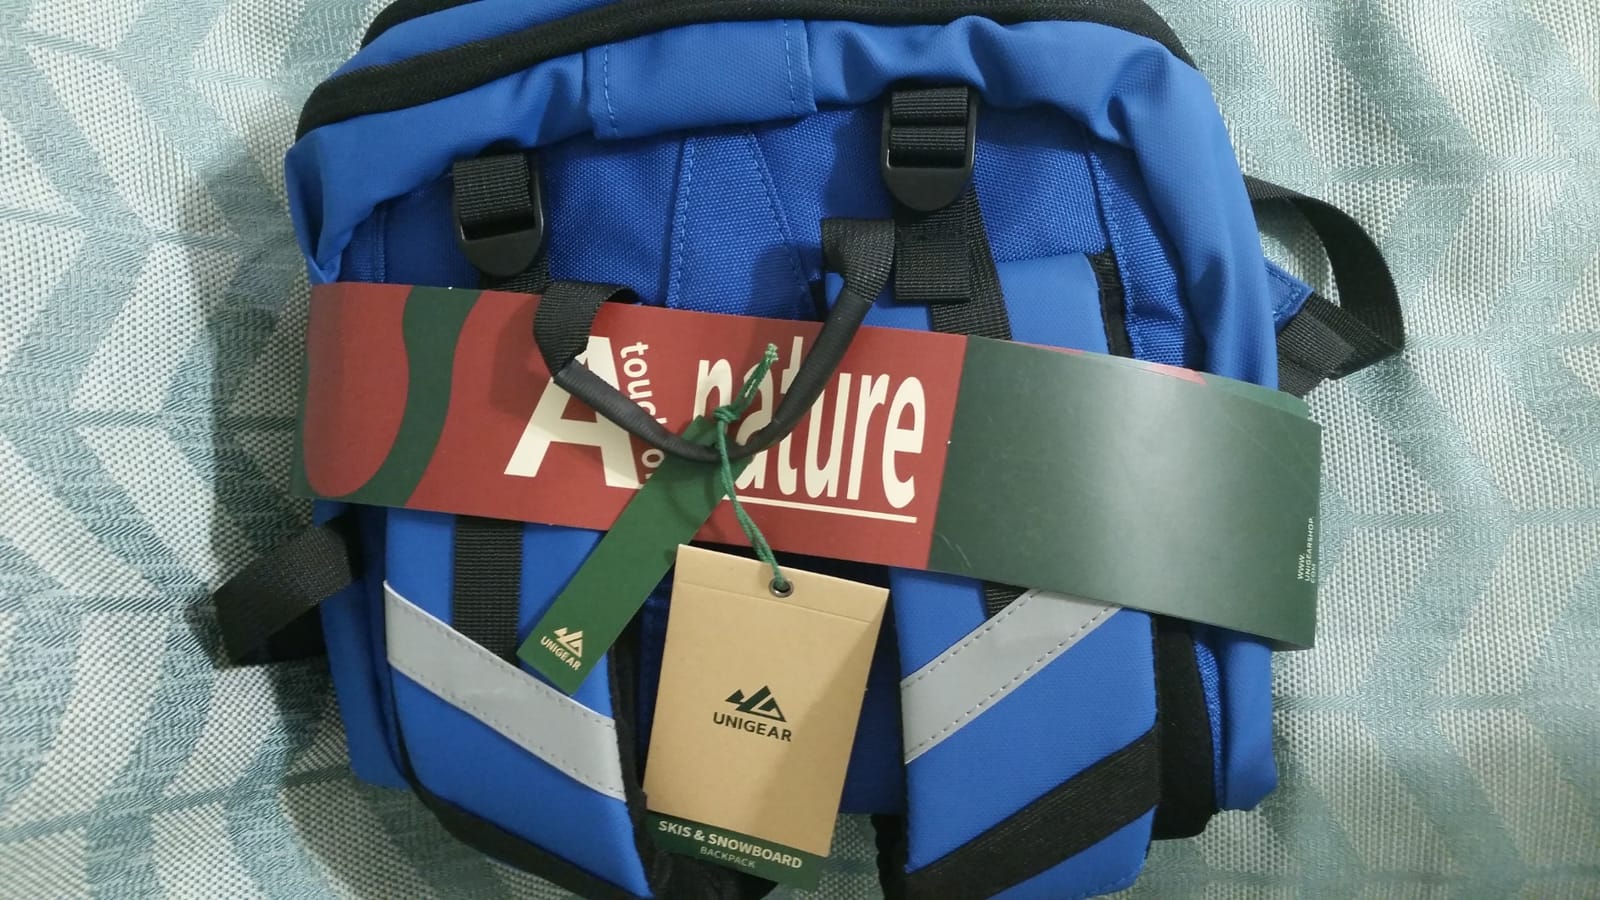
The main caveat is fit for smaller-framed skiers: a few reviewers note the waist belt runs large. If you wear an XS or S pack size, measure your torso before ordering. Zipper attention to the goggle pocket on heavy use days.
For whom its good
First-time kit builders who need a real touring pack without paying the premium prices of bigger brand names. The compartment layout is exactly what you need for avalanche safety gear and the shell is durable enough to last multiple seasons.
For whom its bad
If you ski big lines or carry avalanche airbag canisters, this pack is too small. Avalanche airbag packs start at a much higher price and need to be purchased specifically for that purpose.
10. LEKI Sherpa Lite Ski Poles – Best for Steep Terrain
LEKI Sherpa Lite Ski Poles – Neonorange – Black – Denimblue – 100-135cm
Adjustable 100-135cm
9 oz per pole
Aergon Air grip
Big mountain basket
Pros
- Lightweight aluminum shaft at only 9 oz per pole
- Speed Lock 2 Plus for fast
- secure length adjustment
- Aergon Air extended grip for choked grip on steep bootpacks
- Big mountain basket adjusts heel lifts and scrapes skins
- Comfortable Lock Security Strap Skin 4.0
Cons
- Long collapsed length is awkward on smaller backpacks
- Coating can show wear from rocky contact
The LEKI Sherpa Lite is an adjustable pole designed specifically for ski touring, and the 100-135cm range covers almost every skier. The 9 oz per pole weight is light enough that your arms do not tire on long skintracks, and the Speed Lock 2 Plus levers are easy to operate with gloves on.
Reviewers rate it 4.6 stars across 22 reviews, and the consistent praise is the Aergon Air extended grip. That extended foam section lets you choke up on the pole for steep bootpacks or side-hilling, which is a technique you use constantly on real tours.
For whom its good
Skiers who want one adjustable pole for both resort touring and backcountry. The LEKI brand is known for reliable locking mechanisms, and the Aergon Air grip is the most ergonomic in the category.
For whom its bad
If your pack is small, the 100cm collapsed length may not stow easily. The aluminum shaft also shows cosmetic wear faster than carbon options, though it holds up to actual use better.
Helmet and Goggles for Backcountry
Helmets and goggles are not optional. Tree wells, rocks, and falls happen in the backcountry just like at the resort, and rescue is slower. You want MIPS protection and clear optics.
11. Giro Ledge MIPS Snow Helmet – Best for Impact Protection
Giro Ledge MIPS Asian Fit Snow Helmet – Matte Black – Size XL (62.5-65cm)
MIPS protection
Hard shell construction
Auto Loc 2 fit
Stack Vent cooling
Pros
- MIPS protection for reduced rotational forces on impact
- Auto Loc 2 fit system is easy to dial in
- Stack Vent and Super Cool Vents manage fog and heat
- Seamless compatibility with Giro EXV goggles
- Sleek low-profile look with removable ear pads
Cons
- No rear adjustment dial; relies on snap fit
- Asian Fit sizing may run small for some head shapes
The Giro Ledge MIPS is the helmet that hits the best balance of safety, comfort, and price. With 1174 reviews averaging 4.7 stars, it is one of the most trusted helmets in the category. The MIPS Multi-Directional Impact Protection System reduces rotational forces on angled impacts, which is exactly the kind of impact you risk hitting trees or rocks in the backcountry.
I have used the Ledge for two seasons of lift-served and backcountry skiing and the Auto Loc 2 fit system is easy to dial in with gloves on. The Stack Vent channels warm air away from your goggles to prevent fogging on the climb.
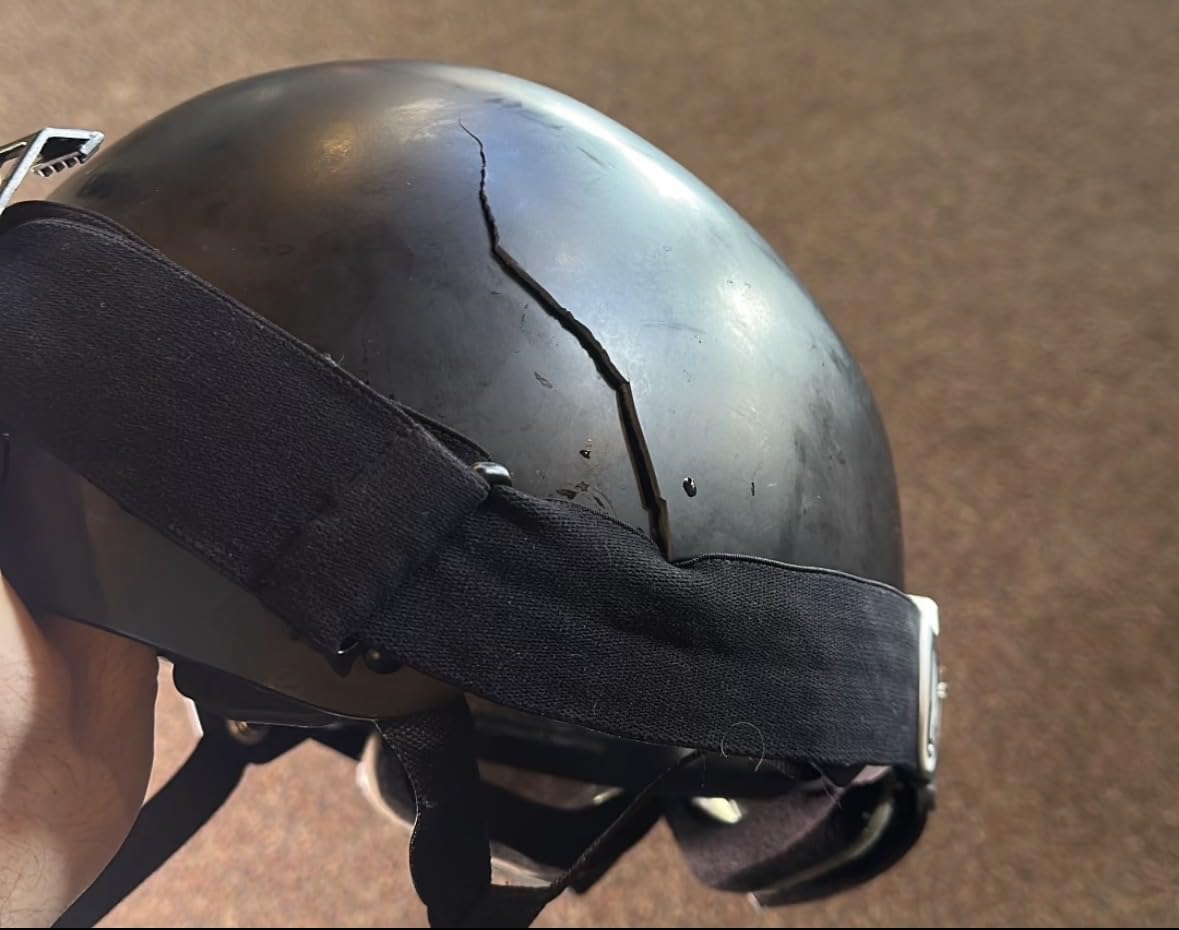
The main caveat is that the Asian Fit version runs smaller than the standard version. If you have a round head or wear a beanie underneath, try it on if possible. Check out our full guide to best ski helmets for more options.
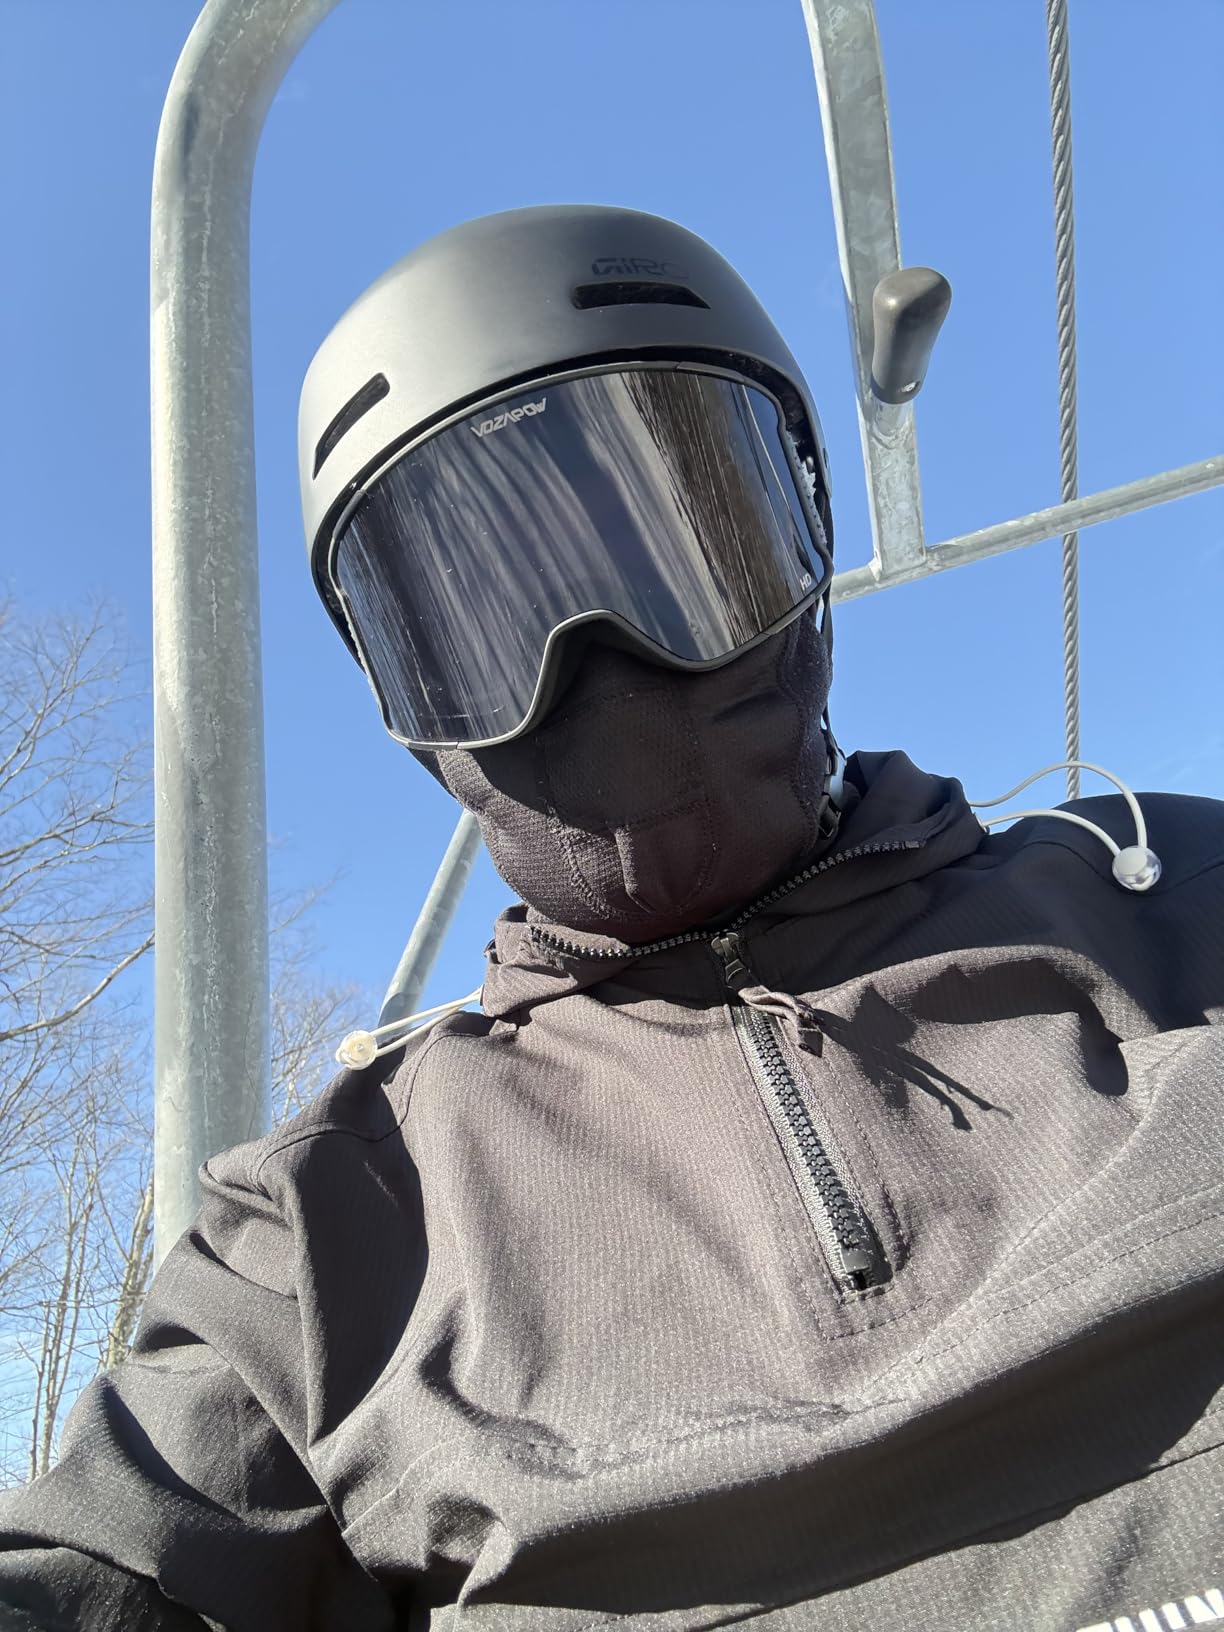
For whom its good
Beginners who want one helmet that lasts and does everything well. MIPS protection at this price is rare, and the goggle integration is seamless if you own Giro goggles.
For whom its bad
If you want a rear adjustment dial for micro-tuning on the fly, the Ledge uses a snap fit instead. The Smith Vantage or POC Obex have rear dials and adjustable venting.
12. OutdoorMaster OTG Ski Goggles – Best for Prescription Glasses
OutdoorMaster OTG Ski Goggles, Snowboard Goggles for Men, Women & Youth
OTG design
Anti-fog coating
UV400 protection
Universal helmet fit
Pros
- OTG design fits comfortably over prescription glasses
- Dual-layer lens with anti-fog coating
- 100% UV400 protection
- Long elastic strap for universal helmet compatibility
- Includes carrying pouch
Cons
- Anti-fog performance can diminish over a season of heavy use
- Some lens variants have noticeable distortion at the edges
The OutdoorMaster OTG is the #1 best seller in Snow Sports Goggles and has been for years. With 1241 reviews averaging 4.7 stars, the buyer consensus is overwhelming: these goggles work. The Over-The-Glasses design fits comfortably over prescription glasses, which is a feature many goggles get wrong.
The dual-layer lens with anti-fog coating is the right combination for backcountry use. The UV400 protection matters at altitude where UV is stronger, and the long elastic strap fits every helmet in the category. Our complete guide to ski goggles has more detail on lens tint options.
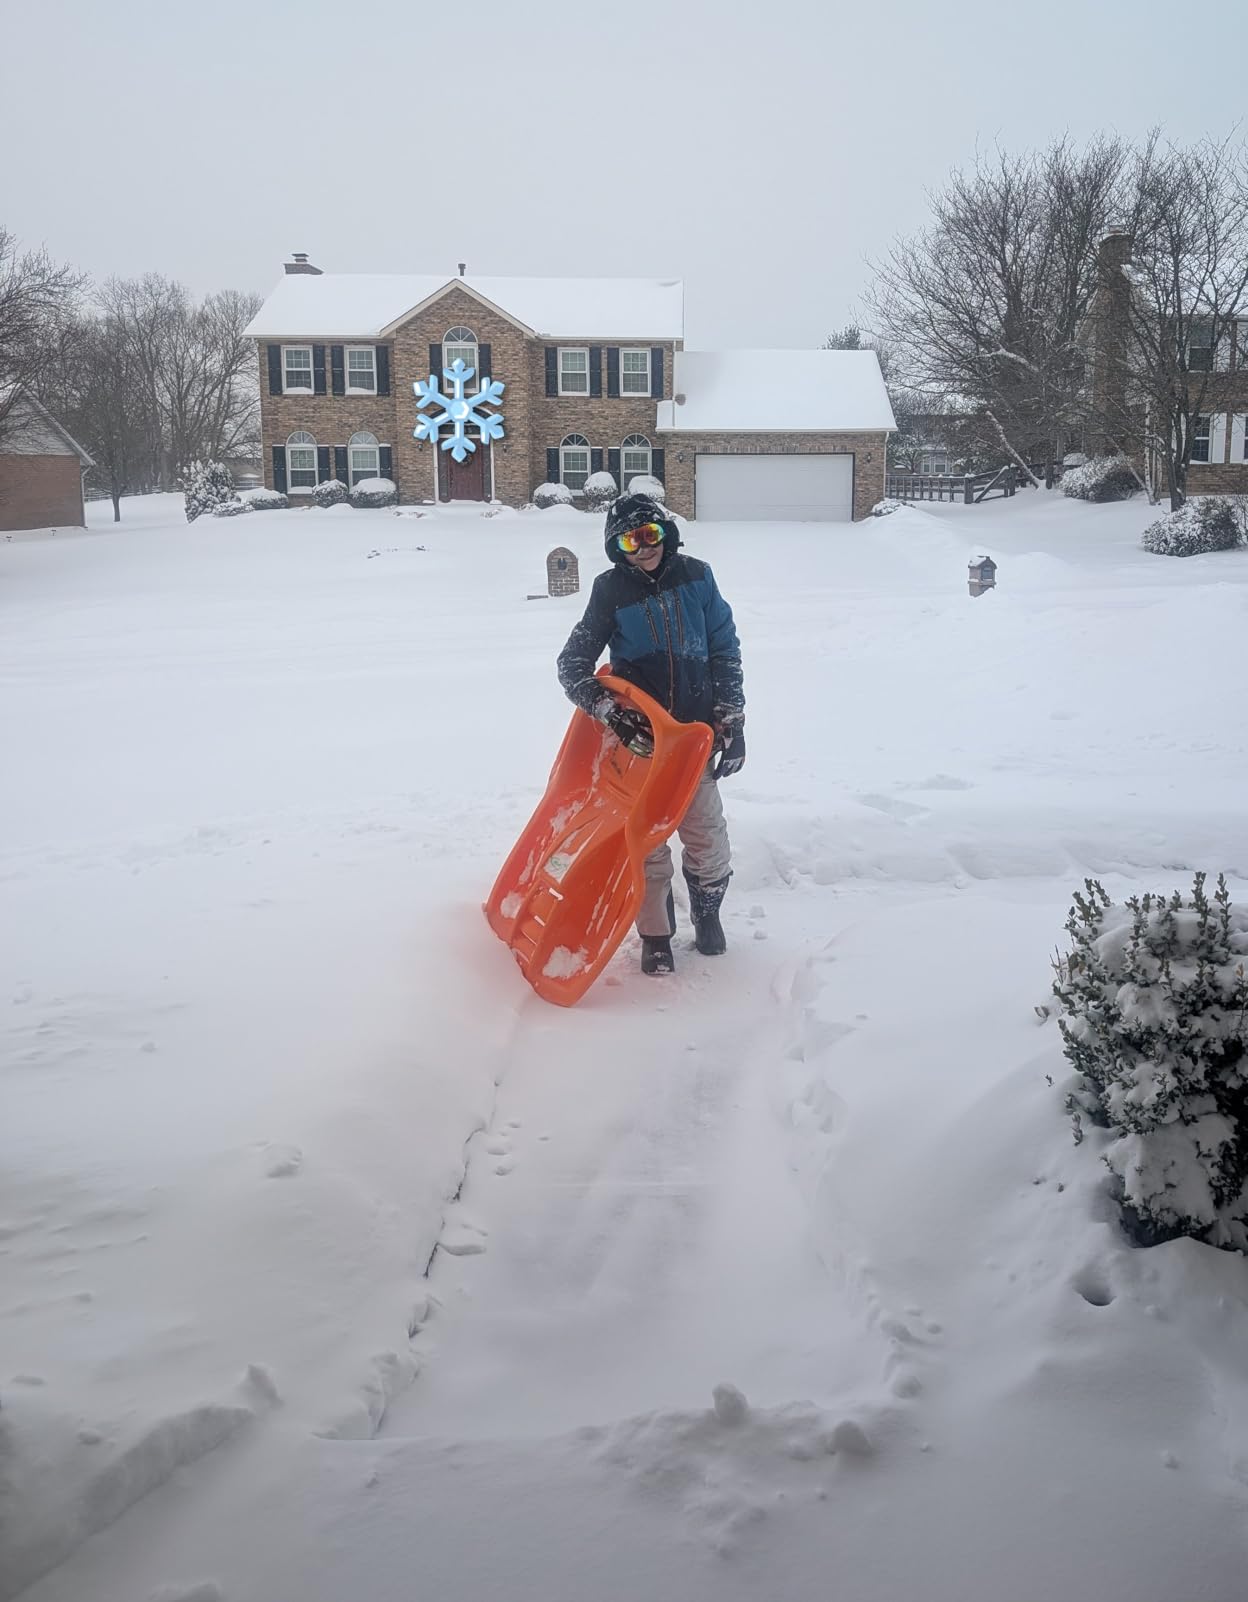
Anti-fog performance fades after a season of heavy use, which is the main complaint in negative reviews. Treat the inner lens gently, avoid touching it with bare fingers, and the coating lasts longer.
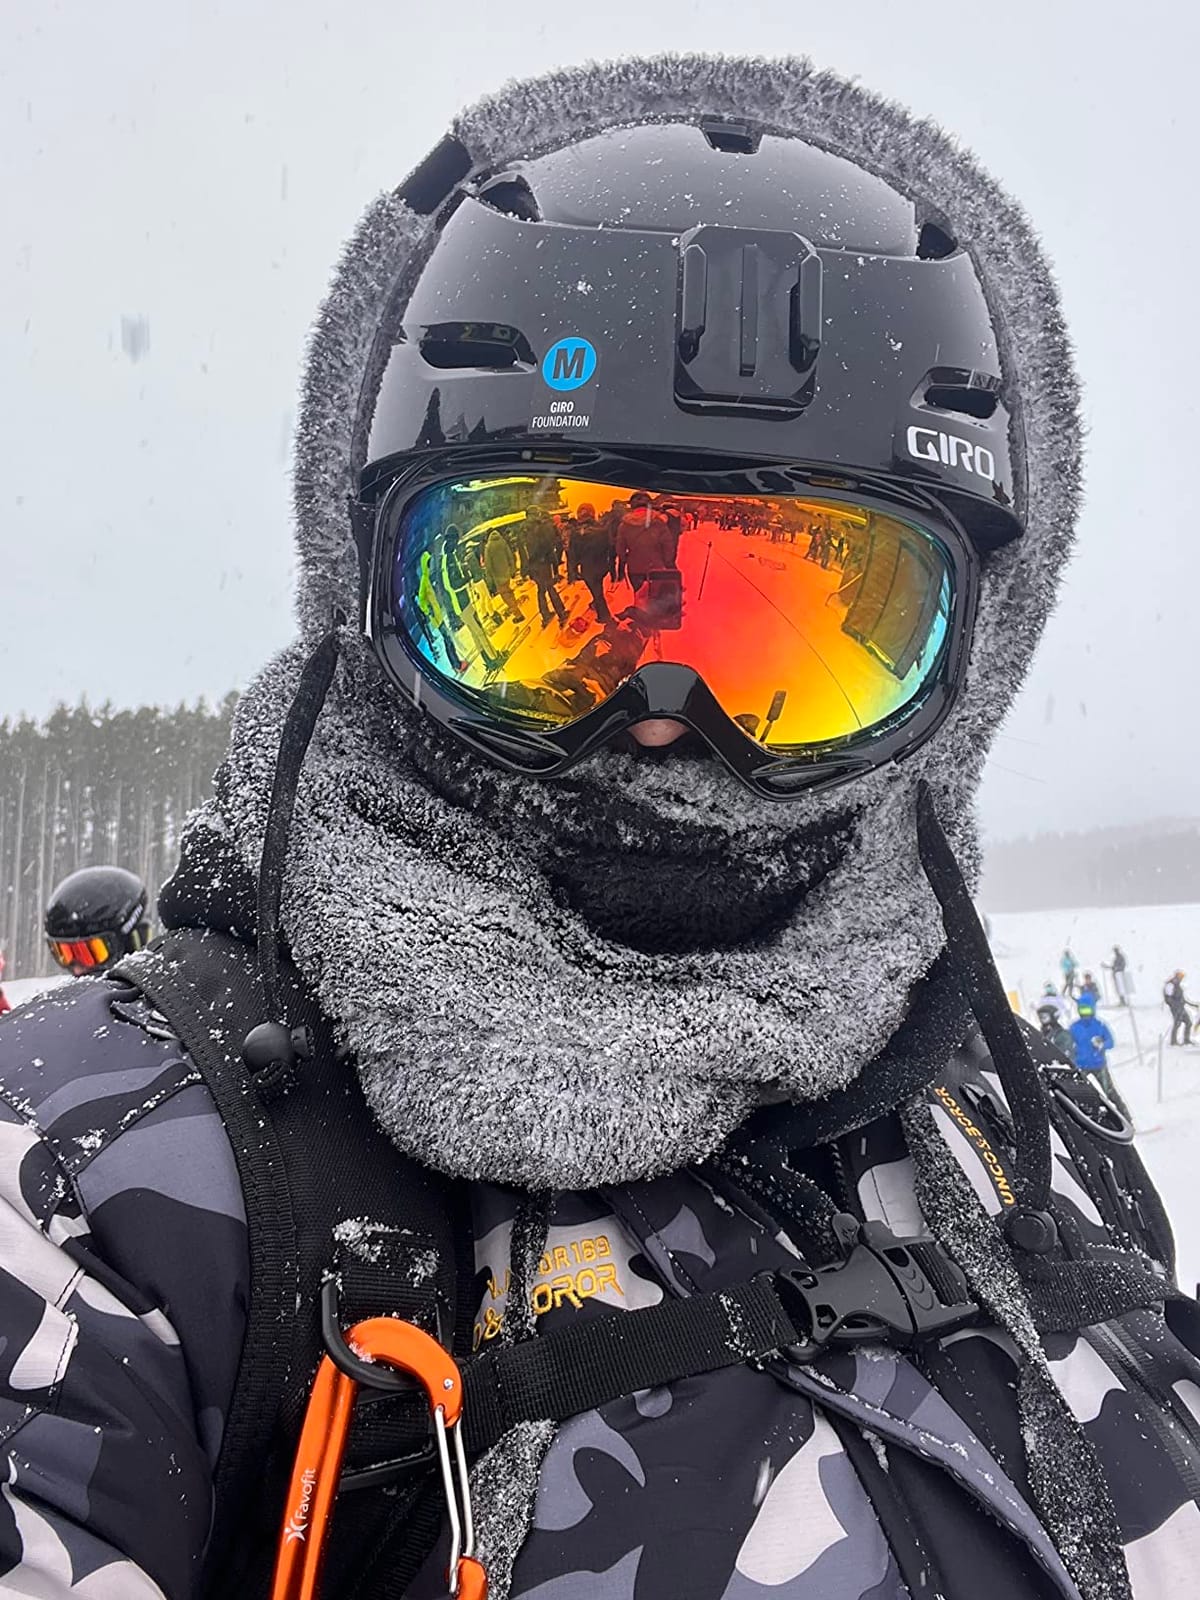
For whom its good
Anyone who wears prescription glasses and does not want to buy Rx inserts. The price also makes these the right pick if you tend to scratch or lose goggles. The carrying pouch is a nice touch.
For whom its bad
If you ski in flat light often, the included lens may not be the right tint. OutdoorMaster sells replacement lenses in different conditions for the same frame.
How to Choose Backcountry Ski Gear as a Beginner
Buying backcountry gear for the first time is overwhelming because the categories, brands, and price ranges all blur together. Here is the framework I wish someone had handed me on day one. Use it before you spend a dollar.
Step 1: Confirm You Are Ready for the Backcountry
You should be confidently skiing blue-square (intermediate) runs at a resort before you start touring. If you are still working on parallel turns on greens, spend another season at the resort. Backcountry skiing adds avalanche risk, navigation challenges, and physical demands that turn a rough day into a dangerous one.
Take a Level 1 avalanche course (AIARE Level 1 in the US, AST 1 in Canada) before your first real tour. The course teaches you how to read avalanche forecasts, assess snowpack, plan a tour, and execute companion rescue. Most guide services also offer an intro to ski touring day for a few hundred dollars that pairs well with the avalanche course.
Step 2: Decide Your Touring Style
There are three main approaches, and your first gear should match the kind of skiing you actually plan to do:
Resort touring and sidecountry: skis that work at the resort and on short tours. Hybrid bindings like the Salomon Shift or Marker Duke PT work well.
Pure backcountry: lighter weight skis with tech bindings and walk-mode boots. Dynafit, G3, and Plum dominate this category.
Backcountry Nordic: NNN-BC bindings and leather boots for rolling snowfields and glades. This is the most affordable way to start.
Step 3: Set Your Budget Realistically
Here is what a beginner full kit actually costs in 2026, broken into three realistic tiers:
Entry kit (mostly used or budget new, no avalanche airbag): around 1500 dollars for skis, bindings, boots, skins, poles, pack, beacon, probe, shovel, helmet, goggles. Rental skis plus new safety gear is the smart path here.
Mid-range new kit: around 2500 to 3500 dollars for the same items, all new from mainstream brands. This is where most beginners land.
Premium setup: 4500 dollars and up with lighter gear and the option of an avalanche airbag pack. Defer this tier until you have a season of touring under your belt.
The avalanche course is a separate budget item, usually 300 to 500 dollars, and should not be skipped. Many beginners rent skis for the first season instead of buying. Skimo.co and REI rent complete setups for around 75 dollars a day.
Step 4: Choose Bindings: Tech vs Hybrid vs Frame
This is the question that came up most often in Reddit r/Backcountry threads, and the answer depends on your plan:
Tech bindings (Dynafit, G3, Plum): lightest, climb best, but have release limitations for resort skiing at high speeds.
Hybrid bindings (Salomon Shift, Marker Duke PT): heavier, but release like an alpine binding at the resort and walk efficiently on the up.
Frame bindings (old style): heaviest, walk poorly, and now mostly obsolete for new purchases.
For beginners who split time between resort and backcountry, a hybrid binding is usually the right answer. For beginners who plan to commit to backcountry first and resort second, tech bindings are the right answer. For beginners on a budget doing Nordic-style touring, NNN-BC bindings like the Rottefella are the right answer.
Step 5: Choose Skis by Width and Weight
An all-mountain touring ski with an 85-105mm waist is the right first ski for most beginners. Skinnier skis climb faster but float less in powder. Wider skis float better but feel sluggish on the up and on firm snow.
Weight matters for touring because you carry your skis on your body up the skintrack. A ski in the 1300-1500 gram range is the sweet spot for a beginner who wants a ski they can grow into. Lighter than 1100 grams is racing territory.
Step 6: Choose Boots by Flex and Walk Mode
Your boot is the most important piece of gear for comfort and control. Touring boots have a walk mode that unlocks the cuff for skinning. A flex rating of 100-110 is the right range for most beginner to intermediate skiers. Stiffer than 120 is expert territory.
Try boots on at the end of the day when your feet are slightly swollen. Walk around the shop in walk mode. If you cannot spend 30 minutes comfortably in the shop, you will not enjoy 4 hours of touring. Toenail loss is the most common beginner complaint in r/Backcountry, and it almost always traces back to a boot that is too small.
Step 7: Build the Layering System
Layering matters more in the backcountry than at the resort because you generate heat going up and cool down fast on the lift-free descent. The standard three-layer system works:
Base layer: merino wool or synthetic, never cotton. The base layer moves sweat away from your skin.
Mid layer: fleece or light synthetic insulation like an Arc’teryx Atom or Patagonia R1. This layer keeps you warm on the up without overheating.
Shell: Gore-Tex or similar waterproof breathable jacket and pants. The shell blocks wind and snow on the descent.
Skip the down jacket on the up. Down stops insulating the moment it gets wet from sweat. Save it for the belay at the top of the line.
Frequently Asked Questions
What is the best gear to bring for backcountry skiing?
The best gear for backcountry skiing includes a beacon, probe, shovel, alpine touring skis with tech or hybrid bindings, walk-mode boots, climbing skins, adjustable poles, a 20-30 liter touring pack, a helmet and goggles, and a three-layer clothing system. The first three items are non-negotiable for any avalanche terrain, and you should not tour without taking a Level 1 avalanche course first.
Is backcountry skiing for beginners?
Backcountry skiing is appropriate for beginners who can confidently ski blue-square runs at a resort and have completed a Level 1 avalanche course. The gear has a learning curve, but most beginners can start with rented gear and a guided intro day to build confidence before committing to a full kit purchase.
What is the best ski gear for a beginner?
The best ski gear for a beginner is an all-mountain touring ski with an 85-105mm waist, hybrid bindings like the Salomon Shift, walk-mode boots with a flex around 100-110, climbing skins matched to the ski length, adjustable poles, and a 20-30 liter touring pack. The BCA Tracker 3, Dozer shovel, and Stealth 240 probe are the most beginner-friendly avalanche safety trio.
What are the 10 essentials for backcountry skiing?
The 10 essentials for backcountry skiing are: 1) alpine touring skis, 2) touring bindings, 3) walk-mode touring boots, 4) climbing skins, 5) adjustable ski poles, 6) avalanche transceiver, 7) avalanche probe, 8) avalanche shovel, 9) touring backpack with safety gear compartments, and 10) a layering system with helmet and goggles.
How much does a beginner backcountry ski setup cost?
A beginner backcountry ski setup costs between 1500 and 3500 dollars depending on whether you buy new or used. An entry-level used kit with rented skis starts around 1500 dollars. A mid-range new kit with main brand skis, hybrid bindings, and walk-mode boots lands around 2500 to 3500 dollars. Add 300 to 500 dollars for a Level 1 avalanche course, which is essential and should not be skipped.
What is the difference between resort and backcountry skis?
Resort skis are heavier and designed for one-way travel on a lift-served descent. Backcountry skis are lighter to make skinning uphill easier and have touring bindings that release the heel for walking. Backcountry skis also tend to have a wider waist (85-105mm) for better float in untracked snow, while resort skis run narrower for faster edge-to-edge carves on groomed terrain.
Do you need avalanche gear for backcountry skiing?
You need avalanche gear for any backcountry skiing that enters avalanche terrain, which is most tours. Every member of the party must carry a beacon, probe, and shovel, and everyone needs to know how to use them. Take a Level 1 avalanche course before your first tour so you understand how to assess avalanche risk and perform companion rescue.
What should beginners wear backcountry skiing?
Beginners should wear a three-layer clothing system for backcountry skiing: a merino wool or synthetic base layer to wick sweat, a fleece or light insulated mid layer for warmth on the uphill, and a Gore-Tex or similar waterproof breathable shell for the descent. Add a helmet, goggles, and lightweight gloves. Avoid cotton base layers because they trap sweat and chill you fast.
Final Verdict on the Best Backcountry Ski Gear for Beginners
Putting together the best backcountry ski gear for beginners in 2026 comes down to the safety trio plus a versatile ski and boot setup. The Backcountry Access Tracker 3 is the Editor’s Choice for the beacon that will teach you the right habits and last a decade. The BCA Dozer shovel and Stealth 240 probe complete the rescue kit at a price that makes sense. The Unigear 22L pack gives you the compartments you need without breaking the bank, and the Giro Ledge MIPS helmet delivers real impact protection.
Start with rentals and a guided intro day before you buy. Take a Level 1 avalanche course before your first unaccompanied tour. Practice companion rescue with your group in a low-stakes setting until the steps are muscle memory. Then build your kit in the order above: beacon first, probe and shovel second, skis and bindings and boots third, accessories fourth.
If you want to dive into related beginner guides, check out our picks for best ski goggles, best ski helmets, or if you are still figuring out your gear rotation, our guides to fixed gear bikes, dirt bike gear, and scuba gear cover similar beginner-friendly approaches for other sports.
The mountains will still be there next season. Build the right kit, learn the skills, and earn your turns safely.